

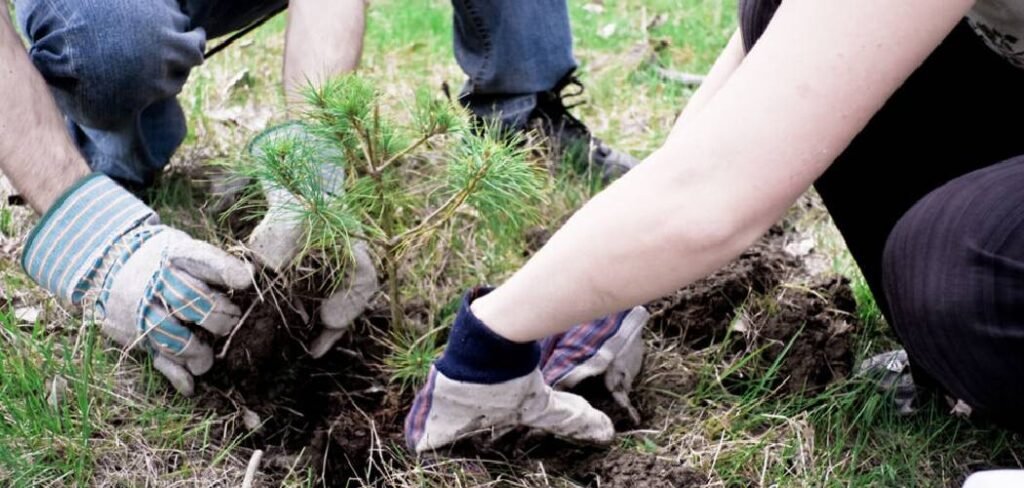
Are you wondering how to clean soil for planting? Having clean, healthy soil is the most important thing for growing strong plants. When you know how to prepare soil for gardening, your plants will grow better and produce more flowers, fruits, and vegetables. Many gardeners struggle with poor soil quality. Dirty soil can have weeds, pests, diseases, and harmful chemicals. Learning proper soil cleaning methods will help you create the perfect growing environment for your plants.
In this guide, you’ll learn everything about soil preparation techniques. We’ll show you how to test soil quality, remove harmful materials, and make your garden soil rich and healthy. These garden soil preparation tips work for both new and experienced gardeners.
Why Clean Soil Matters for Plant Growth
Clean soil is like a healthy home for your plants. Just like people need clean air and water, plants need clean soil to grow strong. Dirty soil can make plants sick and stop them from growing well. When soil has too many weeds, bugs, or chemicals, plants can’t get the nutrients they need. Clean soil helps plant roots grow deep and strong. It also helps water and air move through the soil easily. Good soil preparation methods make sure your plants have everything they need to thrive. This means better flowers, bigger vegetables, and healthier plants all season long.
8 Step by Step Guide on How to Clean Soil for Planting
Step 1: Test Your Soil Quality
Before you start cleaning, you need to know what’s in your soil. Testing soil quality is the first step in any good soil preparation plan. You can buy a simple soil test kit at any garden store. These kits tell you about your soil’s pH level and nutrient content. Most plants like soil with a pH between 6.0 and 7.0.

Take soil samples from different parts of your garden. Mix them together in a clean container. Follow the test kit instructions carefully. Write down your results so you can track improvements over time. Professional soil tests cost more but give you detailed information. They can tell you about heavy metals, organic matter, and specific nutrients. This information helps you make better decisions about soil amendments.
Step 2: Remove Weeds and Debris
The next step in how to clean soil for planting is removing all unwanted materials. Pull out weeds by hand or use a hoe to cut them down. Make sure to get the roots too, or weeds will grow back.
Remove rocks, sticks, old plant materials, and any trash from the soil. These materials can block plant roots and hold harmful bacteria. Pick out pieces of plastic, glass, or metal that might hurt your plants.
If you have a lot of weeds, consider using a garden tiller to break up the soil. This makes it easier to remove weed roots and mix in soil improvements. Work when the soil is slightly damp, not too wet or too dry.
Dead leaves and plant materials can stay if they’re healthy. They will break down and add nutrients to your soil. However, remove any diseased or pest-infested plant materials to prevent problems.
Step 3: Improve Soil Drainage
Good drainage is essential for healthy soil preparation. When water sits on top of soil or pools around plant roots, it can cause root rot and other diseases. Dig a hole about 12 inches deep and fill it with water. If the water doesn’t drain away within 24 hours, your soil has drainage problems. Heavy clay soil often has poor drainage, while sandy soil drains too quickly.
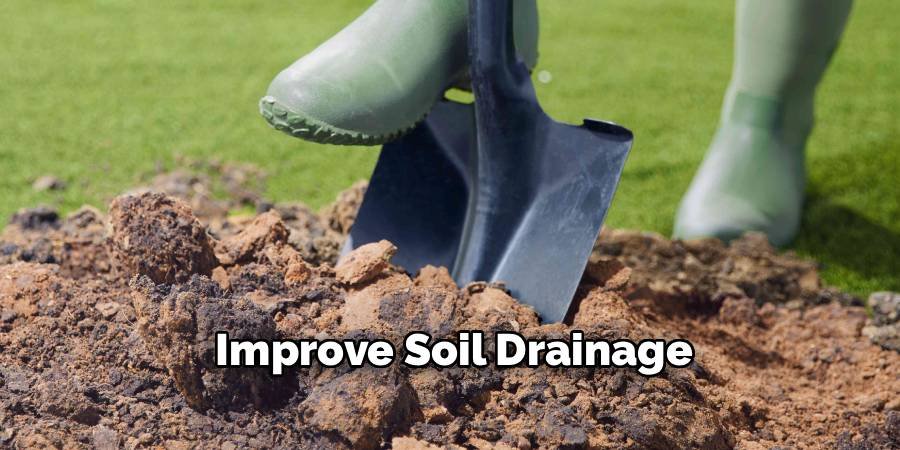
To fix drainage problems, add organic matter like compost or aged manure. These materials help clay soil drain better and help sandy soil hold water longer. Mix these amendments into the top 8-10 inches of soil. Consider creating raised beds if drainage problems are severe. Raised beds give you better control over soil quality and make gardening easier. They also warm up faster in spring, giving you a longer growing season.
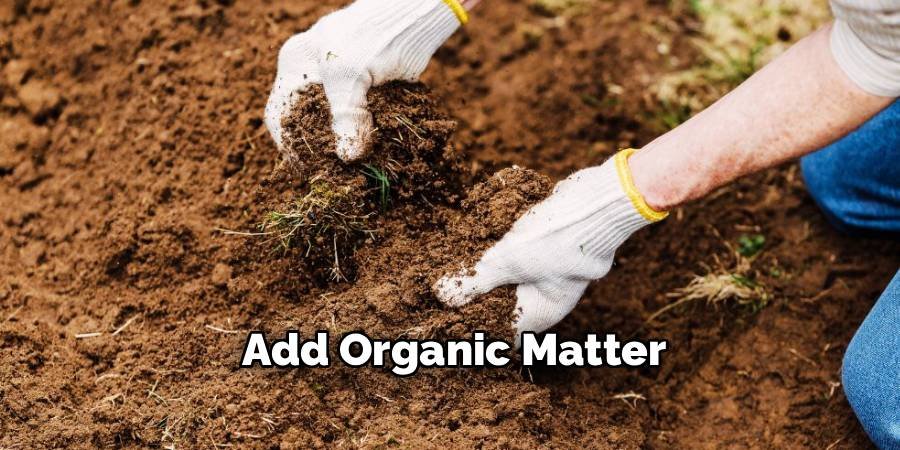
Step 4: Add Organic Matter
Adding organic matter is one of the best soil preparation techniques for creating healthy garden soil. Organic matter feeds beneficial soil organisms and improves soil structure. Compost is the best organic matter to add to your soil. You can make your own compost or buy it from garden centers. Good compost looks dark and crumbly and smells like fresh earth.
Other good organic materials include aged manure, leaf mold, and worm castings. Avoid fresh manure, which can burn plants and contain harmful bacteria. Always use well-aged or composted animal manure. Spread a 2-3 inch layer of organic matter over your garden area. Mix it into the top 6-8 inches of soil using a shovel or garden fork. This gives plant roots access to nutrients and improves soil structure.
Step 5: Balance Soil pH
Soil pH affects how well plants can use nutrients in the soil. Even if your soil has lots of nutrients, plants can’t use them if the pH is wrong. This is why pH balance is crucial in soil cleaning methods.
If your soil test shows acidic soil (pH below 6.0), add lime to raise the pH. Use agricultural limestone, which breaks down slowly and provides long-lasting results. Follow package directions for how much to use.
For soil that’s too alkaline (pH above 7.5), add sulfur or organic matter like pine needles or peat moss. These materials slowly lower soil pH over time. Be patient, as pH changes happen gradually.
Apply pH amendments in fall or early spring before planting. Water the area well after application to help materials move into the soil. Test your soil pH every 2-3 years to track changes.
Step 6: Remove Soil Contaminants
Modern soil preparation methods include checking for and removing harmful contaminants. These can include pesticide residues, heavy metals, or chemical pollutants that harm plant growth. If you’re starting a garden in a new location, research the area’s history. Former industrial sites, roadsides, or areas near old buildings may have contaminated soil. Professional soil tests can detect these problems.
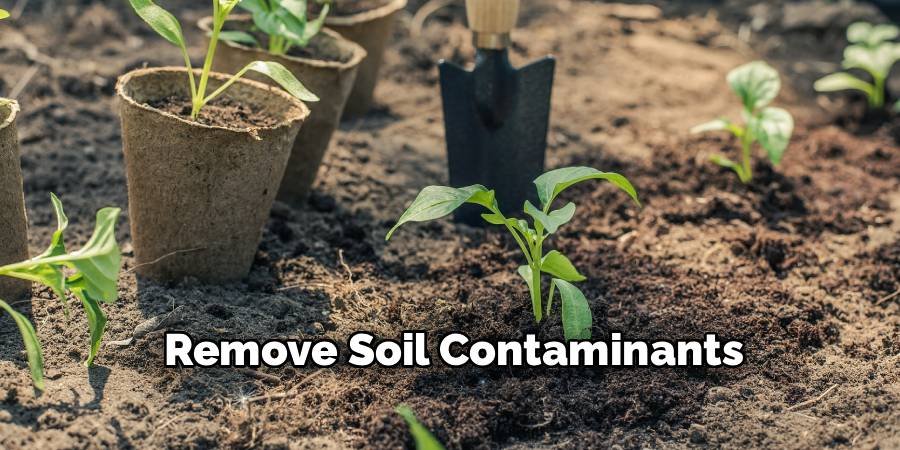
For chemical contamination, adding lots of organic matter helps. Beneficial microorganisms in compost can break down some chemical pollutants. This process takes time, so be patient and keep adding organic matter. If soil contamination is severe, you may need to remove contaminated soil and bring in clean topsoil. This is expensive but sometimes necessary for safe food production. Always prioritize your family’s health and safety.
Step 7: Cultivate and Aerate the Soil
Proper soil cultivation is an important part of garden soil preparation. Compacted soil makes it hard for plant roots to grow and for water to move through the soil. Use a garden fork or tiller to break up compacted soil. Work when soil moisture is right – it should crumble in your hand but not be dusty dry or muddy wet. Tilling wet soil creates hard clumps that are difficult to break up later.

For ongoing soil health, avoid walking on planting areas. Create permanent pathways between garden beds to prevent soil compaction. Consider using raised beds or containers if soil compaction is a constant problem. Add coarse materials like perlite or coarse sand to heavy soils to improve aeration. These materials create spaces for air and water movement. However, don’t add fine sand to clay soil, as this can create concrete-like conditions.
Step 8: Final Soil Preparation Before Planting
The final step in how to clean soil for planting involves preparing the soil surface for seeds or transplants. This step ensures your plants get the best possible start. Rake the soil surface smooth and level. Remove any remaining debris, rocks, or large clumps of soil. The soil should be fine and even, making it easy for seeds to make good contact with the soil. Water the prepared soil lightly if it’s dry. The soil should be moist but not soggy when you plant. Proper moisture helps seeds germinate and helps transplant roots establish quickly.
Consider adding a thin layer of fine compost or potting soil to the surface. This provides extra nutrients for young plants and helps prevent soil crusting after watering or rain. Mark your planting areas with stakes or string lines. This helps you plant in straight rows and makes garden maintenance easier throughout the growing season.
Benefits of Properly Cleaned Soil
When you follow these soil preparation techniques, you’ll see many benefits in your garden. Clean soil helps plants grow faster and stronger than they would in poor soil conditions. Plants grown in well-prepared soil have better root systems. Strong roots help plants find water and nutrients more easily. This means less watering and fertilizing for you, saving time and money.
Clean soil also has fewer pest and disease problems. Healthy soil supports beneficial organisms that naturally control harmful pests. This reduces the need for pesticides and creates a safer garden environment. Your vegetables will taste better and be more nutritious when grown in clean, healthy soil. Flowers will be more colorful and bloom longer. Overall, your garden will be more productive and enjoyable.
Common Mistakes to Avoid
Many gardeners make mistakes when learning how to clean soil for planting. Avoiding these common errors will help you succeed faster and get better results. Don’t work soil when it’s too wet or too dry. Wet soil becomes compacted, while dry soil creates dust and doesn’t mix well with amendments. Test soil moisture by squeezing a handful – it should hold together but crumble when poked. Avoid adding too much of any soil amendment at once. Even good things like compost can cause problems if used in excess. Follow recommended application rates and build soil health gradually over time.
Don’t forget to water newly prepared soil. Soil amendments need moisture to begin working. However, don’t overwater, as this can wash away nutrients and create drainage problems. Never skip soil testing. Guessing about your soil’s needs often leads to poor results and wasted money on unnecessary amendments. Invest in proper testing to make informed decisions about soil preparation.
Frequently Asked Questions
1. How often should I clean my garden soil?
You should do major soil cleaning and preparation once a year, typically in fall or early spring. However, you can add compost and organic matter throughout the growing season. Test your soil every 2-3 years to check pH and nutrient levels. Regular maintenance like removing weeds and adding mulch should be done as needed throughout the year.
2. Can I use regular dirt from my yard for planting?
Regular yard dirt can be used for planting, but it usually needs improvement first. Most yard soil lacks proper nutrients, drainage, or pH balance for optimal plant growth. You should test the soil and add organic matter, adjust pH if needed, and ensure good drainage. Native soil that’s been improved is often better than store-bought topsoil because it’s adapted to your local climate.
3. What’s the difference between soil cleaning and soil sterilization?
Soil cleaning removes harmful materials, weeds, and debris while preserving beneficial organisms. Soil sterilization kills all living organisms, both good and bad, using heat or chemicals. For most gardens, cleaning is better because it maintains the beneficial bacteria and fungi that help plants grow. Sterilization is only needed for special cases like treating diseased soil or preparing sterile growing media.
4. How long does it take for cleaned soil to be ready for planting?
The time needed depends on what cleaning methods you use. Basic cleaning like removing weeds and debris can be done immediately before planting. However, if you add lime to change pH or incorporate large amounts of organic matter, wait 2-4 weeks before planting. This allows materials to settle and chemical reactions to stabilize, creating better growing conditions.
5. Is it better to clean soil in spring or fall?
Fall is generally the best time for major soil cleaning and preparation. This gives amendments time to break down and integrate into the soil over winter. Fall preparation also means your soil is ready for early spring planting. However, you can clean soil in spring if needed – just allow extra time for materials to settle before planting. Light cleaning and maintenance can be done any time during the growing season.
Conclusion
Learning how to clean soil for planting is essential for any successful garden. By following these eight detailed steps, you’ll create healthy, productive soil that helps your plants thrive. Remember that good soil preparation takes time and patience, but the results are worth the effort. Start with testing your soil quality to understand what improvements are needed. Remove weeds and debris, improve drainage, and add plenty of organic matter. Balance your soil pH and check for contaminants. Finally, cultivate the soil properly and prepare it for planting. These soil preparation techniques will give you better plant growth, fewer pest problems, and more productive gardens. Clean soil is the foundation of successful gardening, whether you’re growing vegetables, flowers, or herbs.
Remember that soil improvement is an ongoing process. Keep adding organic matter, maintain proper pH levels, and continue testing your soil regularly. With consistent care and attention, your garden soil will become richer and more productive each year. Good soil preparation methods may require initial investment in time and materials, but they pay dividends in healthier plants and better harvests. Start implementing these soil cleaning methods today, and enjoy the benefits of clean, healthy soil in your garden for years to come.
Read More Our Garden Guides:
- How to Make Bonsai Soil at Home
- How to Make Landscaping Beds
- How to Remove Dallisgrass From Lawn
- How to Stop Turkeys from Digging Up Lawn
- How to Prep Garden Beds for Spring
About Ravuk Barg
B.Sc. Horticulture Science | Certified Master Gardener
Ravuk Barg has spent more than a decade with his hands in the soil and his head full of questions about why some gardens thrive while others struggle. What started as a single raised bed of tomatoes and basil in a modest backyard has grown into a deep, working knowledge of everything from seed germination and soil amendment to companion planting and seasonal pruning.
Over the years, Ravuk has gardened through drought summers, waterlogged springs, and pest invasions that would make most gardeners hang up their trowels for good. Those hard seasons, he’ll tell you, taught him more than any perfect growing year ever could. He writes from that earned experience—covering vegetable growing, ornamental planting, houseplant care, composting, and garden design with equal confidence and curiosity.
Philosophy & Approach
Ravuk’s approach to gardening is rooted in practicality. He favors organic methods not out of dogma, but because they work long-term—resulting in healthier soil, fewer inputs, and stronger plants. He has a particular fondness for heirloom vegetable varieties (the kind with proper flavor), unruly cottage-style flower beds, and the stubborn houseplants that everyone else gave up on.
The Mission: Give readers the honest, experience-backed advice that helps them actually succeed in their gardens—not just the ideal version, but the real one; weeds, failures, and all.
Education & Credentials
-
B.Sc. in Horticulture Science
-
Greenfield Agricultural University
-
Focus: Plant Physiology, Soil Ecology, and Sustainable Crop Production
-
-
Master Gardener Certification
-
Cooperative Extension Service
-
Focus: 200+ hours of hands-on practical training and community garden work
-
Continuing Education
-
Organic Pest Management
-
Native Plant Landscaping
-
Sustainable Crop Production