

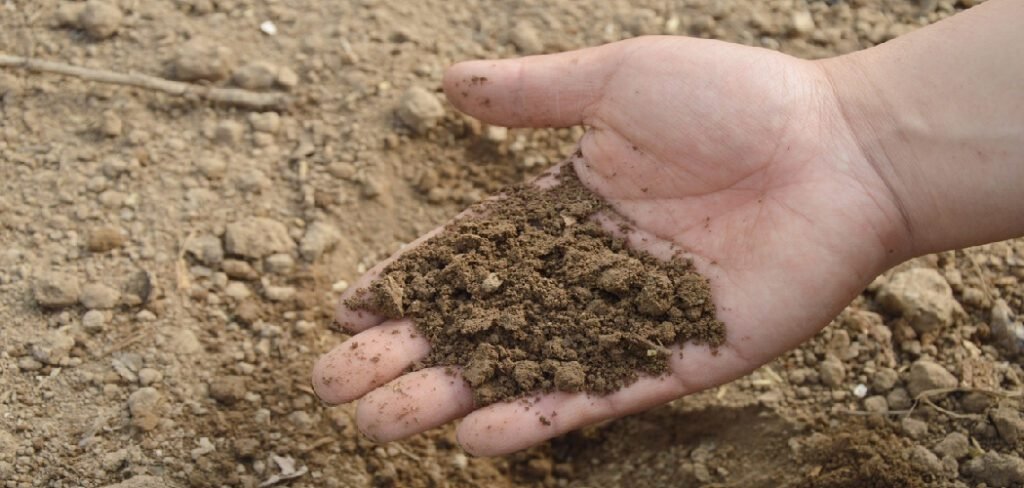
Working with sandy soil can feel like a constant battle. Its large particles make it drain incredibly fast, taking valuable nutrients and water with it. This can leave your plants thirsty and undernourished, struggling to establish strong roots. Fortunately, improving this soil type is not as difficult as it may seem. With a bit of knowledge and effort, you can transform your loose, gritty garden bed into a rich, supportive environment for your plants to thrive. This guide will walk you through exactly how to stabilize sandy soil, turning its weaknesses into strengths and building a foundation for a lush, productive garden.
Why Stabilizing Sandy Soil is Crucial for Your Garden
Sandy soil presents a unique set of challenges that can frustrate even the most patient gardener. Its primary issue is its low water-holding capacity. Water rushes through it, leaching away essential nutrients like nitrogen before plant roots can absorb them. This creates a dry, nutrient-poor environment where plants may wilt quickly and show signs of deficiencies. Furthermore, the loose structure offers poor support for root systems, making plants less stable and more susceptible to being uprooted by wind or disturbance.
By stabilizing your soil, you improve its structure, enhance its ability to retain moisture and nutrients, and create a healthier ecosystem for beneficial microbes. This leads to stronger, more resilient plants and a more successful garden overall.
8 Step-by-Step Guide on How to Stabilize Sandy Soil
Step 1: Test Your Soil’s pH and Nutrient Levels
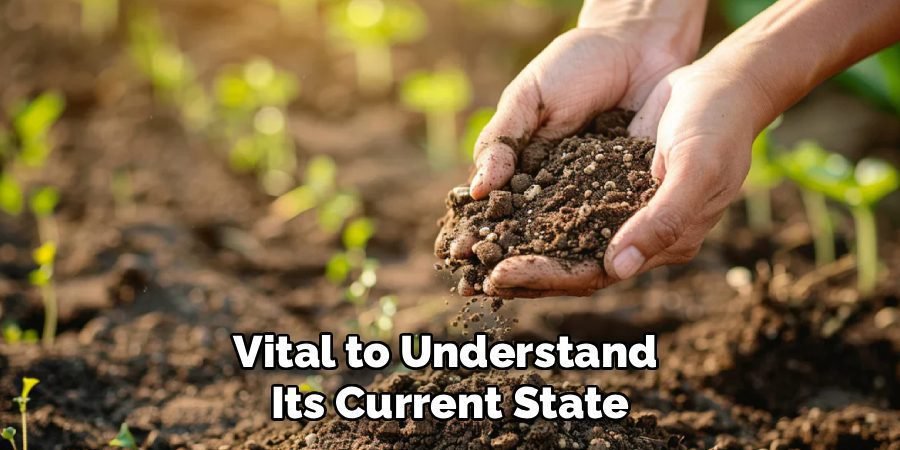
Before adding anything to your garden, it is vital to understand its current state. A simple soil test kit, available at most garden centers, can reveal your soil’s pH and major nutrient deficiencies. Sandy soils tend to be acidic, but it’s always best to confirm. The test results will guide your amendment choices, ensuring you add what is truly needed. This initial assessment prevents you from wasting time and resources on incorrect solutions. Knowing your baseline allows you to make informed decisions that will effectively balance and enrich your soil, setting the stage for all subsequent steps.
Step 2: Incorporate Generous Amounts of Organic Matter
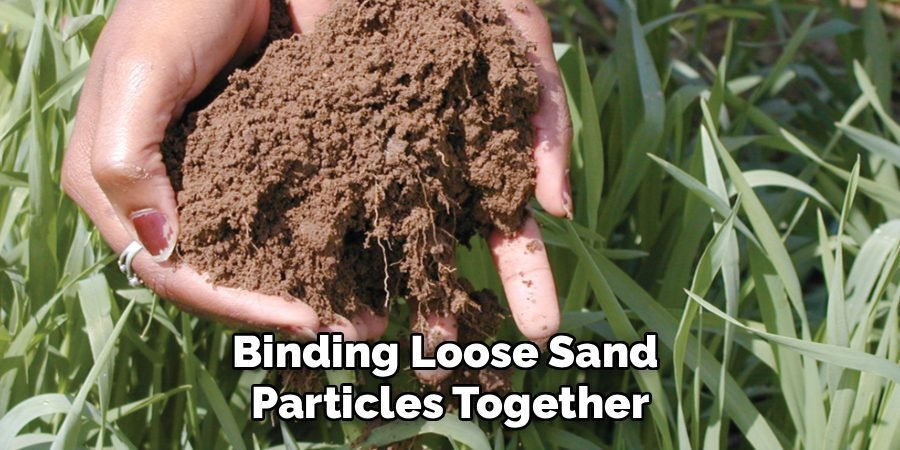
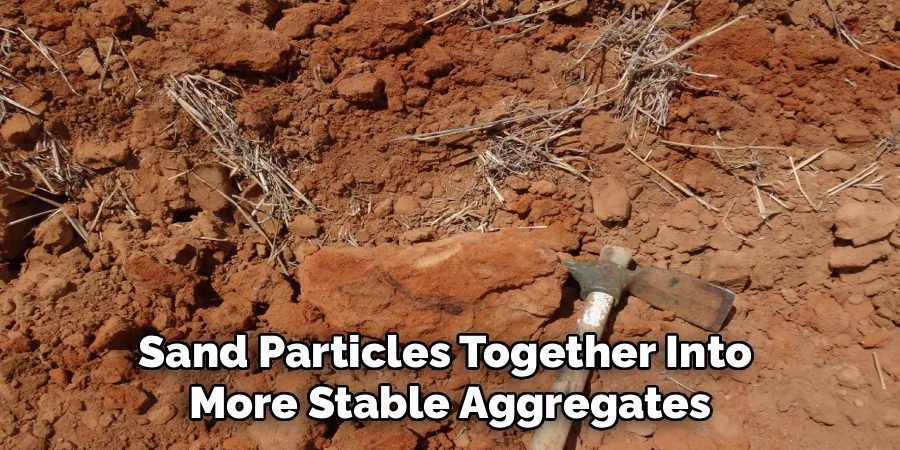
Organic matter is the single most important ingredient for improving sandy soil. Materials like compost, well-rotted manure, peat moss, and leaf mold work wonders. These amendments act like sponges, absorbing and holding moisture that would otherwise drain away. They also bind the large sand particles together, creating a better soil structure known as aggregates. As organic matter breaks down, it slowly releases a steady supply of nutrients for your plants. Aim to add a thick layer, at least two to four inches deep, over the entire garden bed each year for the best results.
Step 3: Mix in Bentonite Clay for Better Water Retention
For a powerful boost in water and nutrient retention, consider adding bentonite clay. This natural clay is composed of extremely fine particles that have a remarkable ability to swell and hold many times their weight in water. When mixed into sandy soil, bentonite fills the large gaps between sand particles, dramatically slowing down drainage. This helps keep moisture and dissolved nutrients in the root zone where plants can access them. It also improves soil structure by binding sand particles together. Start with a light application, following package directions, as a little goes a long way.
Step 4: Till Amendments into the Top 6-8 Inches
Once you have spread your organic matter and other amendments like bentonite clay, you need to mix them into the soil. Use a spade, garden fork, or rototiller to work the materials into the top six to eight inches of your garden bed. This ensures the amendments are integrated where most plant roots will grow, rather than just sitting on the surface. Thoroughly mixing creates a uniform blend that provides consistent moisture and nutrients throughout the root zone. This step is crucial for transforming the texture and fertility of your soil effectively and preparing it for planting.

Step 5: Apply a Thick Layer of Mulch
After amending and planting, applying mulch is a critical step in managing sandy soil. A two- to three-inch layer of organic mulch, such as wood chips, straw, or shredded bark, serves multiple purposes. It helps to keep the soil cool and significantly reduces water evaporation from the surface, which is especially important in fast-draining soil. As the mulch slowly decomposes, it continues to add valuable organic matter, further improving the soil structure over time. Mulching also suppresses weed growth, reducing competition for the limited water and nutrients available to your plants.
Step 6: Plant Cover Crops During the Off-Season
Cover crops, also known as green manure, are an excellent way to protect and enrich your soil when your main garden beds are fallow. Plants like clover, vetch, or winter rye grow dense root systems that hold the soil in place, preventing erosion from wind and rain. When these crops are tilled back into the ground before they set seed, they decompose and add a significant amount of organic matter and nutrients. Leguminous cover crops, such as clover, have the added benefit of “fixing” nitrogen from the atmosphere, making this essential nutrient available for your next round of plants.
Step 7: Practice Smart Watering Techniques
Because sandy soil drains so quickly, your watering habits need to be adjusted accordingly. Instead of deep, infrequent watering that works for clay soils, it is more effective to water more frequently but for shorter durations. This method ensures that water reaches the plant roots without quickly draining past them. Drip irrigation or soaker hoses are ideal systems for this, as they deliver water slowly and directly to the soil surface, minimizing runoff and evaporation. This targeted approach keeps the root zone consistently moist without creating a waterlogged environment or wasting water.
Step 8: How to Stabilize Sandy Soil with Perennial Plants
Establishing plants with deep and fibrous root systems is a fantastic long-term strategy for soil stabilization. Perennial grasses, shrubs, and flowers develop extensive roots that act as a natural net, binding loose sand particles together. These permanent plantings reduce soil erosion and contribute organic matter as their roots die and regenerate. Choose drought-tolerant native species that are already adapted to your local climate and soil conditions. Over time, their presence will create a more stable and self-sustaining ecosystem in your garden, continually improving the soil structure year after year.
Maintenance
Maintaining a healthy and sustainable garden requires regular care and attention. Start by monitoring the growth of your plants to ensure they are thriving in their environment. Remove invasive weeds promptly, as they can compete with your chosen native species for nutrients and water. Mulching around plants helps retain soil moisture, suppress weeds, and regulate soil temperature. Periodic pruning and trimming are essential for encouraging healthy growth and preventing overcrowding.
Additionally, observe soil health by checking for compaction or nutrient deficiencies, and amend it as needed with organic compost or natural fertilizers. Consistent maintenance will keep your garden vibrant and resilient over time.
Common Mistakes to Avoid
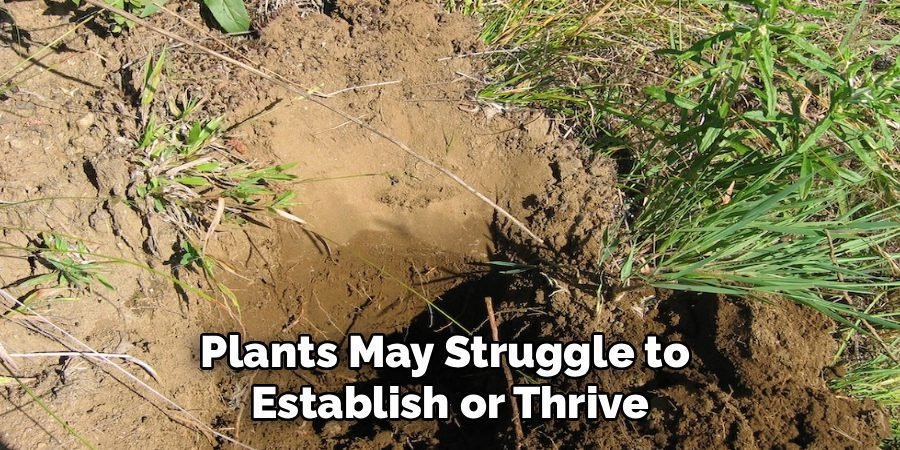
When working to stabilize soil and improve your garden’s ecosystem, it’s important to avoid a few common pitfalls. One significant mistake is relying heavily on non-native plant species. While they may seem appealing, non-native plants can disrupt local ecosystems and may require more water, fertilizer, and maintenance. Another common error is neglecting soil preparation. Without proper soil testing and amendments, plants may struggle to establish or thrive. Additionally, avoid overwatering, as excess moisture can lead to root rot and further destabilize the soil.
Instead, focus on sustainable practices that work with your environment rather than against it.
Frequently Asked Questions (FAQ)
What Are the Best Plants to Grow in Sandy Soil?
Many plants thrive in well-draining conditions. Drought-tolerant perennials like lavender, rosemary, sedum, and Russian sage are excellent choices. Vegetables such as carrots, radishes, and potatoes often do well because the loose soil allows their roots to expand easily. Many native grasses and wildflowers are also perfectly adapted to sandy conditions. The key is to select plants that prefer “drier feet” and won’t suffer from the rapid drainage, especially after you have started amending the soil to improve its water retention.
How Often Should I Add Compost to Sandy Soil?
For the best results, you should add compost and other organic matter to sandy soil at least once a year. The ideal times are in the spring before planting or in the fall after you have cleared your garden beds. Because the organic material breaks down relatively quickly in the well-aerated environment of sandy soil, annual applications are necessary to maintain its structure and fertility. A generous layer of two to four inches tilled into the topsoil will continue to build a healthier foundation for your plants over time.
Can I Use Worm Castings to Improve Sandy Soil?
Absolutely. Worm castings are a powerhouse amendment for any soil type, but they are especially beneficial for sandy soil. They are rich in nutrients, beneficial microbes, and organic matter that significantly improves water retention and soil structure. Castings act like a slow-release fertilizer and help bind sand particles together into more stable aggregates. You can mix them into the soil before planting or use them as a top dressing around the base of existing plants to give them a nutrient boost.
Is It Possible to Add Too Much Organic Matter?
While it is difficult to add too much organic matter, it is technically possible. An excessive amount, particularly uncomposted material like fresh wood chips, can temporarily tie up nitrogen in the soil as it decomposes. However, when using finished compost or well-rotted manure, this is rarely an issue. For sandy soil, the benefits of moisture retention and improved structure from generous applications far outweigh the minimal risks. A good rule of thumb is to aim for a soil composition with up to 50% organic matter in the top six inches.
How Long Does It Take to Improve Sandy Soil?
Improving sandy soil is a continuous process, not a one-time fix. You will likely see noticeable improvements in water retention and plant health within the first growing season after your initial amendments. However, building truly rich, stable, and fertile soil can take several years of consistent effort. Each annual application of compost, use of cover crops, and layer of mulch contributes to the long-term health of your garden. Patience and persistence are key, as you are gradually building a living, resilient soil ecosystem.
Conclusion
Creating a garden that flourishes in sandy conditions is entirely achievable. By focusing on building up organic content, you can fundamentally change your soil’s ability to hold water and nutrients. Techniques like adding compost, using mulch, and planting cover crops are not just quick fixes; they are long-term investments in your garden’s health. While it takes time and consistency, learning how to stabilize sandy soil is one of the most rewarding skills a gardener can develop. Embrace the process, and you will soon see your garden transform from a sandy plot into a thriving, productive oasis.
About Ravuk Barg
B.Sc. Horticulture Science | Certified Master Gardener
Ravuk Barg has spent more than a decade with his hands in the soil and his head full of questions about why some gardens thrive while others struggle. What started as a single raised bed of tomatoes and basil in a modest backyard has grown into a deep, working knowledge of everything from seed germination and soil amendment to companion planting and seasonal pruning.
Over the years, Ravuk has gardened through drought summers, waterlogged springs, and pest invasions that would make most gardeners hang up their trowels for good. Those hard seasons, he’ll tell you, taught him more than any perfect growing year ever could. He writes from that earned experience—covering vegetable growing, ornamental planting, houseplant care, composting, and garden design with equal confidence and curiosity.
Philosophy & Approach
Ravuk’s approach to gardening is rooted in practicality. He favors organic methods not out of dogma, but because they work long-term—resulting in healthier soil, fewer inputs, and stronger plants. He has a particular fondness for heirloom vegetable varieties (the kind with proper flavor), unruly cottage-style flower beds, and the stubborn houseplants that everyone else gave up on.
The Mission: Give readers the honest, experience-backed advice that helps them actually succeed in their gardens—not just the ideal version, but the real one; weeds, failures, and all.
Education & Credentials
-
B.Sc. in Horticulture Science
-
Greenfield Agricultural University
-
Focus: Plant Physiology, Soil Ecology, and Sustainable Crop Production
-
-
Master Gardener Certification
-
Cooperative Extension Service
-
Focus: 200+ hours of hands-on practical training and community garden work
-
Continuing Education
-
Organic Pest Management
-
Native Plant Landscaping
-
Sustainable Crop Production