

Growing healthy plants starts with clean soil. Many gardeners struggle with soil problems like harmful bacteria, fungi, and insects. These problems can kill plants and ruin gardens. The good news is, you can naturally disinfect your soil using the power of the sun. This method is called solar disinfection or solarization.
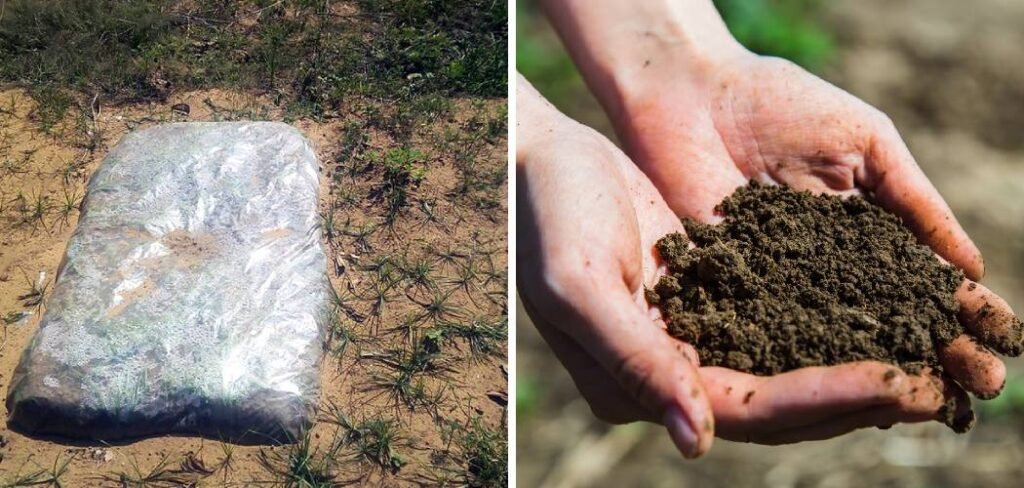
Solar disinfection is a natural way to clean your soil without using chemicals. It uses the sun’s heat to kill bad bacteria and pests in the soil. This method is safe, inexpensive, and works very well. Many farmers and gardeners around the world use this technique to improve the quality of their soil.
What is Solar Soil Sterilization?
Solar soil sterilization is a process that uses sunlight to heat the soil and destroy harmful microbes. When the soil is very hot for a long time, it destroys bacteria, fungi, viruses, and insect eggs. This heat also kills weed seeds that may germinate later. This natural method works because most harmful microbes cannot survive very hot temperatures. When the soil temperature is 140° Fahrenheit (60° Celsius) or higher for several hours, it becomes clean and safe for planting. The sun provides this heat energy for free.
Solar sterilization is different from chemical sterilization because it does not use any harmful substances. It is also better than steam sterilization because it does not require special equipment or electricity.
Why Should You Sterilize Soil?
Disinfecting the soil helps your plants grow better and healthier. Here are the main benefits:
Kills Harmful Bacteria and Fungi: Many soil diseases are caused by bad bacteria and fungi. These microbes can cause root rot, wilting, and plant death. Solar sterilization kills these harmful microorganisms.
Removes Pest Eggs: Many garden pests lay eggs in the soil. These eggs can hatch and damage your plants. Heat treatment destroys these eggs before they can cause problems.
Eliminates Weed Seeds: Weed seeds can grow in the soil and compete with your plants for nutrients and water. Solar sterilization naturally kills these seeds.
Improves Soil Health: Clean soil helps beneficial microbes grow better. It creates a healthy environment for plant roots.
Saves Money: This natural method costs nothing but your time. You don’t have to buy expensive chemicals or equipment.
10 Step-by-Step Guide on How to Sterilize Soil in the Sun
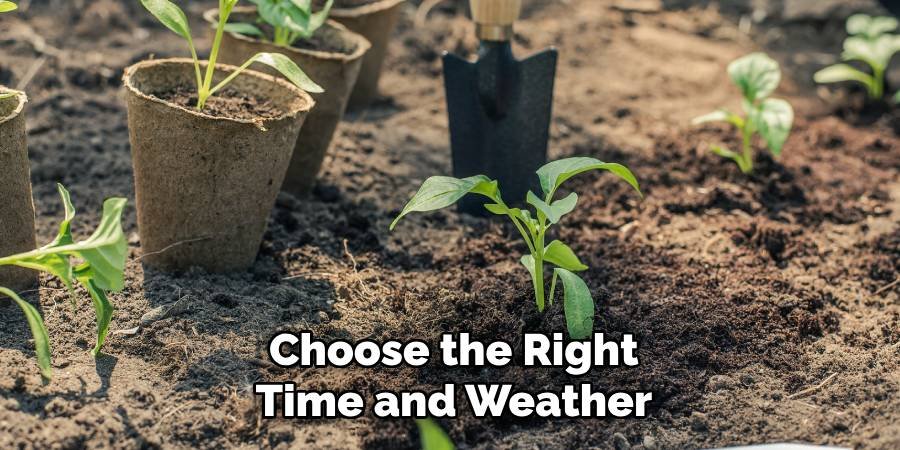
Step 1: Choose the Right Time and Weather
Choose the warmest time of year to disinfect the soil. The summer months work best because the sun is at its strongest. You need at least 4-6 weeks of warm, sunny weather. Daytime temperatures should be above 80°F (27°C). Check the weather forecast before you start. Avoid rainy weather because water will cool the soil. Clear, sunny days are best for this process. In most places, early summer is usually the best time.
Step 2: Prepare Your Soil Area
Clear the area where you want to disinfect the soil. Remove all plants, weeds, and debris from the surface of the soil. Break up any large clumps of soil with a rake or hoe. The soil should be loose and level. If you are disinfecting a garden bed, clearly mark the boundaries. For potting soil, choose a sunny spot where the pots can sit without being moved. Make sure the area gets direct sunlight for most of the day.
Step 3: Water the Soil Properly
Moist soil heats up faster than dry soil. Water until the soil is damp, but not soggy. The soil should feel like a wrung-out sponge. Excess water will prevent proper heating. Use a sprinkler or hose to evenly distribute the water. Let the water soak in for about 30 minutes before covering the soil. This moisture helps heat move deeper into the soil layer.
Step 4: Cover with Clear Plastic
Cover the moist soil with a sheet of clear plastic. Use thin, transparent plastic that allows sunlight to pass through. Do not use black or colored plastic, as these block sunlight. For best results, the plastic should be 1-4 mm thick. Stretch the plastic tightly over the soil surface. The plastic should touch the soil as much as possible. This creates a greenhouse effect that traps heat and makes the soil very hot.
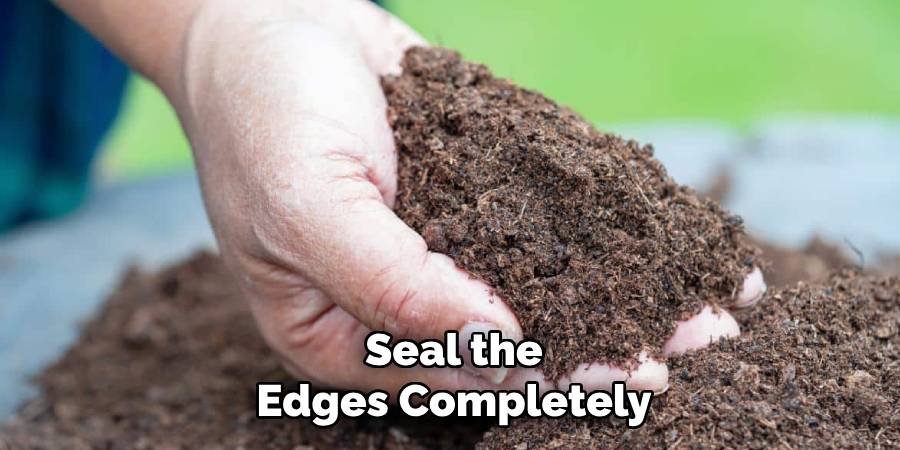
Step 5: Seal the Edges Completely
Seal all edges of the plastic to keep warm air in. Bury the edges of the plastic in the ground or weigh them down with rocks, bricks, or boards. Do not leave any gaps where warm air can escape. A good seal is critical to success. Any open space will let warm air out and cool air in. This lowers the temperature and makes the process less efficient. Check the seal every few days and fix any problems.
Step 6: Monitor Temperature Daily
Check the soil temperature regularly using a soil thermometer. Push the thermometer 4-6 inches into the soil through the plastic. The temperature should reach at least 140°F (60°C) for proper disinfection. Take temperature readings at different times of the day. The warmest time is usually mid-afternoon. Keep a record of the temperature to track your progress. If the temperature is too low, you may need to wait for warmer weather.
Step 7: Maintain for 4-6 Weeks
Leave the plastic covering in place for 4-6 weeks. This gives the heat enough time to kill any harmful germs. Even if the soil seems ready, don’t remove the plastic too soon. During this time, check the plastic for any wind or animal damage. Repair any holes or punctures immediately. Also, make sure the edges are sealed. Strong winds can sometimes loosen the plastic.
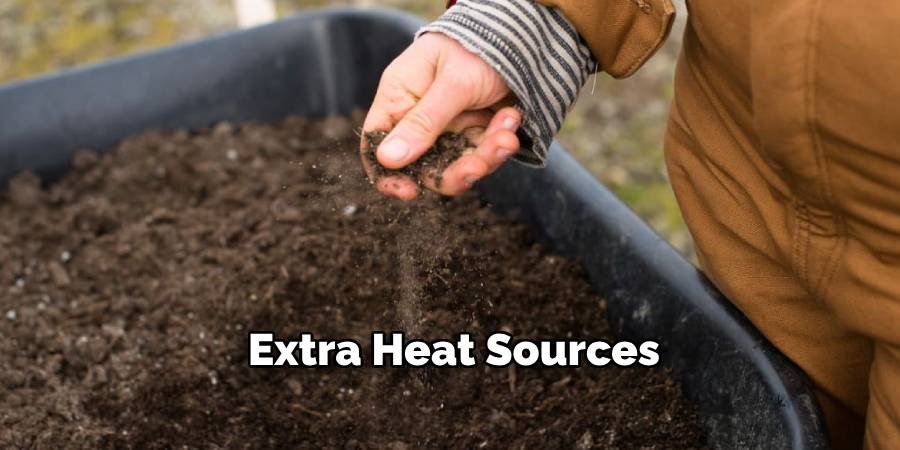
Step 8: Add Extra Heat Sources
In cold weather, you may need extra help reaching higher temperatures. Place dark containers filled with water around the edges of the plastic. These containers absorb heat during the day and release it at night. You can also use reflective materials like aluminum foil or mirrors to send more sunlight onto the plastic. Place these reflectors to bounce sunlight onto the covered soil.
Step 9: Test Soil Temperature Depth
Check to see if the heat is penetrating deep into the soil. Most harmful microbes live in the top 6-8 inches of soil. Use a long thermometer to check the temperature at different depths. If the deep soil is not warm enough, you may need to increase the treatment time. Sometimes it takes longer for the heat to penetrate thick or clayey soil. Be patient and continue to monitor.
Step 10: Remove Plastic and Cool Down
After 4-6 weeks, carefully remove the plastic wrap. Do this on a calm day so that the treated soil does not get disturbed. Let the soil cool for a few days before planting. The soil may look slightly different after being treated. It may be lighter in color or have a different texture. This is normal and shows that the disinfection has worked. The soil is now ready to plant healthy crops.
Common Mistakes to Avoid
Many people make mistakes when attempting solar disinfection. Avoiding these mistakes will help you succeed:
Using Colored Plastic: Black or colored plastic blocks sunlight and prevents proper heat. Always use clear, transparent plastic for best results.
Poor Sealing: Loose or poorly sealed plastic allows heat to escape. This lowers the soil temperature and makes curing less effective. Always seal the edges completely.
Insufficient Time: Removing the plastic too soon will not achieve complete disinfection. Be patient and leave the cover in place for the full 4-6 weeks.
Wrong Weather: Starting in cold or rainy weather wastes time and effort. Always wait for warm, sunny weather before starting the process.
Ignoring Soil Moisture: Soil that is too dry does not heat evenly, while soil that is too wet stays too cold. Find the right moisture balance for best results.
When to Use Solar Sterilization
Solar disinfection works best in certain situations:
New Garden Beds: Disinfect the soil before planting in a new location. This prevents problems from starting and gives the plants the best chance of growing well.
Problem Areas: Use this method in areas where plants have died due to disease. Disinfection eliminates the pathogens that are causing the problem.
Greenhouse Soil: Disinfect greenhouse soil during the growing season. This prevents disease growth in a confined environment.
Seed Starting Mix: Clean the soil in the pot before you start sowing seeds. This helps the seedlings get the cleanest start and prevents damp diseases.
Container Gardens: Disinfect the tub and soil for planting, especially if soil from the previous season is reused.

Conclusion
Learning how to sterilize soil in the sun is a valuable skill for every gardener. This natural method uses the power of the sun to create clean, healthy soil without harmful chemicals. Solar sterilization kills bacteria, fungi, viruses, and insect eggs that can harm plants. The process is simple, inexpensive, and environmentally safe. Success depends on choosing the right time, preparing the soil properly, and maintaining a high temperature for 4-6 weeks.
Hot, sunny weather works best, and proper plastic sealing is essential. Although the process takes time, the results last for months and greatly improve plant health. Solar sterilization saves money compared to chemical treatments and does not harm beneficial soil microbes in the long run. This method works well for growing in gardens, greenhouses, and containers. With patience and the right technique, you can create the perfect growing environment for healthy, productive plants using only the sun.
About Ravuk Barg
B.Sc. Horticulture Science | Certified Master Gardener
Ravuk Barg has spent more than a decade with his hands in the soil and his head full of questions about why some gardens thrive while others struggle. What started as a single raised bed of tomatoes and basil in a modest backyard has grown into a deep, working knowledge of everything from seed germination and soil amendment to companion planting and seasonal pruning.
Over the years, Ravuk has gardened through drought summers, waterlogged springs, and pest invasions that would make most gardeners hang up their trowels for good. Those hard seasons, he’ll tell you, taught him more than any perfect growing year ever could. He writes from that earned experience—covering vegetable growing, ornamental planting, houseplant care, composting, and garden design with equal confidence and curiosity.
Philosophy & Approach
Ravuk’s approach to gardening is rooted in practicality. He favors organic methods not out of dogma, but because they work long-term—resulting in healthier soil, fewer inputs, and stronger plants. He has a particular fondness for heirloom vegetable varieties (the kind with proper flavor), unruly cottage-style flower beds, and the stubborn houseplants that everyone else gave up on.
The Mission: Give readers the honest, experience-backed advice that helps them actually succeed in their gardens—not just the ideal version, but the real one; weeds, failures, and all.
Education & Credentials
-
B.Sc. in Horticulture Science
-
Greenfield Agricultural University
-
Focus: Plant Physiology, Soil Ecology, and Sustainable Crop Production
-
-
Master Gardener Certification
-
Cooperative Extension Service
-
Focus: 200+ hours of hands-on practical training and community garden work
-
Continuing Education
-
Organic Pest Management
-
Native Plant Landscaping
-
Sustainable Crop Production