

It can be disheartening when a beloved houseplant reaches the end of its life. While it’s sad to say goodbye, it doesn’t mean everything is lost.Many gardeners wonder what to do with the leftover potting mix, and the good news is that you don’t have to throw it away.
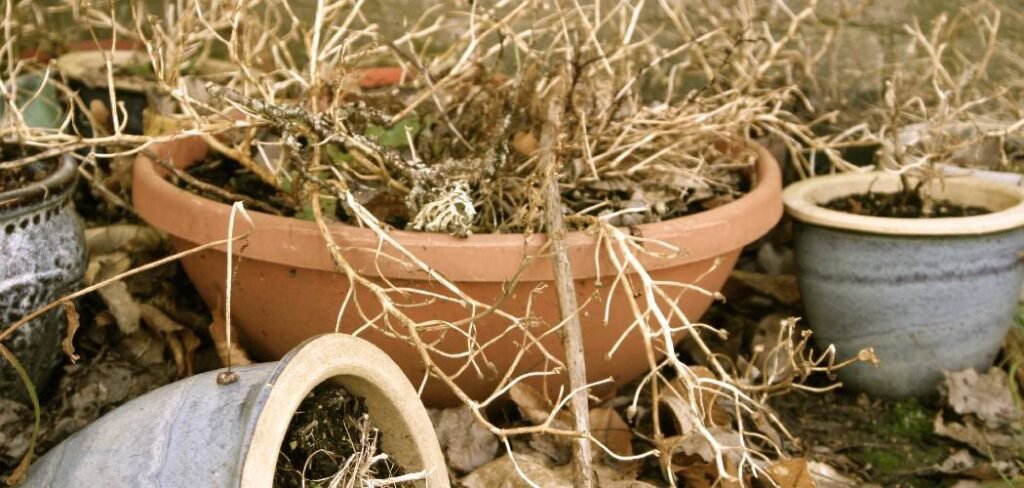
With a few simple steps, you can breathe new life into that old medium,making it a healthy home for your next plant.Learning how to reuse soil from dead plant is not only cost-effective but also a fantastic sustainable practice for any home gardener.This guide will walk you through the entire process, from removing the old plant to revitalizing the soil, ensuring your next green friend gets the best possible start. It’s an easy way to reduce waste and become a more resourceful gardener.
Why Reusing Potting Soil Matters
For any gardener, sustainability and resourcefulness are key. When a plant dies, the soil it lived in still contains a valuable structure that can be saved. Tossing it out is like throwing away a perfectly good resource. By revitalizing old soil, you reduce your garden waste, which is better for the environment.
It also saves you money on buying new bags of potting mix for every new plant you bring home. Furthermore, the process of refreshing soil helps you understand the components of a healthy growing medium. You learn about aeration, nutrient balance, and moisture retention firsthand. This practice transforms a moment of gardening loss into a valuable learning opportunity, making you a more knowledgeable and confident plant parent.
7 Step-by-Step Guide: How to Reuse Soil From a Dead Plant
Follow these detailed steps to safely and effectively prepare your old potting soil for a new plant. This process ensures you remove any potential pathogens and replenish essential nutrients.
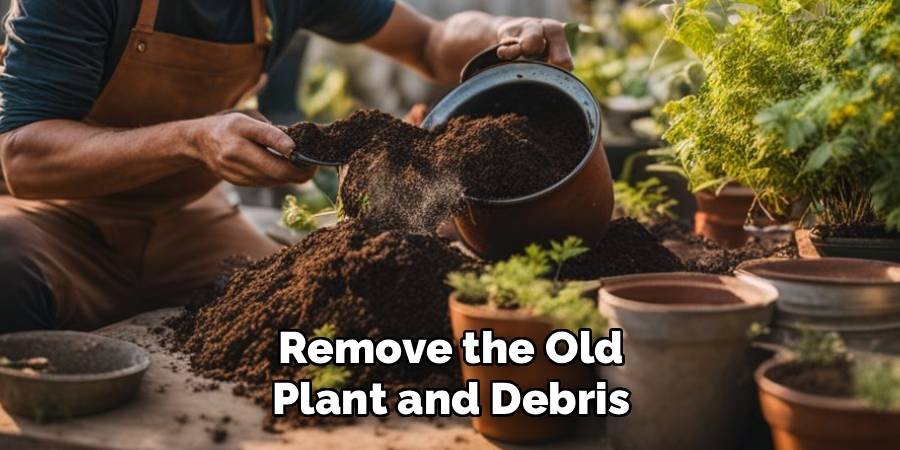
Step 1: Remove the Old Plant and Debris
First, carefully take the dead plant out of its pot. Gently shake the root ball to dislodge as much soil as possible. It’s important to inspect the plant’s remains for any signs of disease or pests. Look for issues like root rot, which appears as dark, mushy roots, or evidence of insects like fungus gnats or spider mites. Discard the dead plant, including its roots, in your compost or green waste bin. If you suspect a serious disease, it’s best to throw the plant in the trash to avoid spreading it. Sift through the soil with your hands to remove any remaining large root fragments, leaves, or other organic debris.
Step 2: Sterilize the Soil to Eliminate Pathogens
This is a critical step to prevent transferring diseases to your new plant. The most common and effective method for home gardeners is heat sterilization. Spread the soil in a thin layer, about one to two inches deep, on a baking sheet. Bake it in the oven at 180-200°F (82-93°C) for about 30 minutes. Be warned, this can create an earthy smell in your kitchen.
Alternatively, you can use a microwave by placing damp soil in a microwave-safe container and heating it on high for 90 seconds per couple of pounds of soil. Solarization is another option for sunny climates; simply place the soil in a clear plastic bag, moisten it, and leave it in direct sun for four to six weeks.
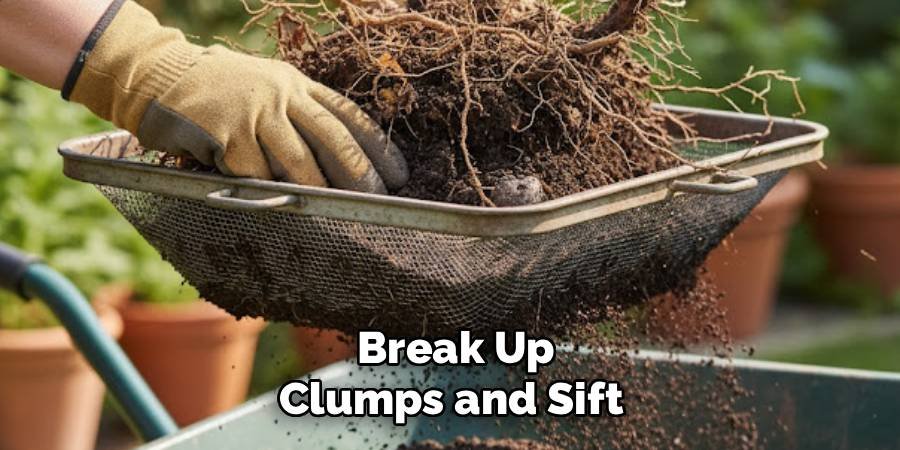
Step 3: Break Up Clumps and Sift
After sterilization and cooling, the soil will likely be dry and may have formed hard clumps. It’s essential to restore its fine, loose texture to ensure proper aeration for the new plant’s roots. You can break up large chunks by hand or with a small trowel. For an even better result, sift the soil through a screen or a soil sieve.
This process removes any remaining small roots, pebbles, or other debris you might have missed earlier. The goal is to create a uniform, friable medium that allows water to drain freely and roots to grow without obstruction, giving your next plant a much better environment.
Step 4: Replenish Nutrients with Compost
The sterilization process, while necessary, kills beneficial microbes along with the harmful ones. It also doesn’t replace the nutrients that the previous plant consumed. Now is the time to bring your soil back to life by amending it. The best way to do this is by adding fresh, high-quality compost.
A good rule of thumb is to mix in one part compost for every two to three parts of old soil. Compost reintroduces beneficial microorganisms, improves soil structure, and provides a slow-release source of essential nutrients. Mix it in thoroughly to ensure it is evenly distributed throughout the potting medium.
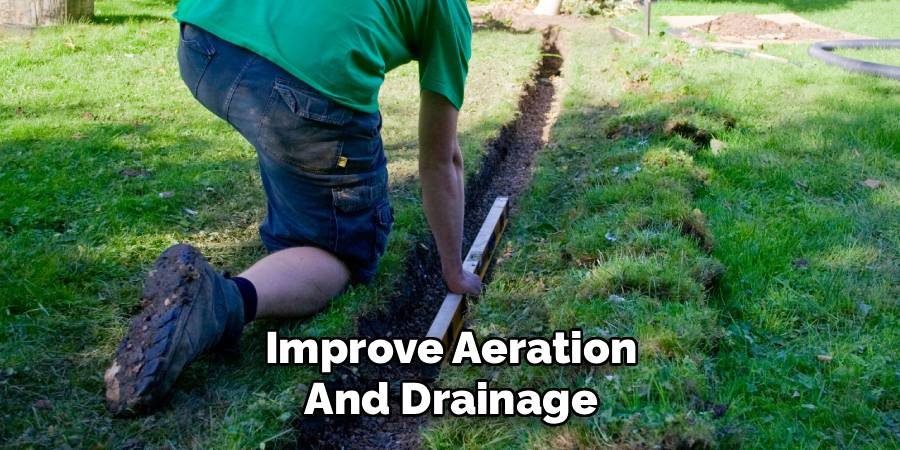
Step 5: Improve Aeration and Drainage
Over time, potting soil can become compacted, reducing the amount of oxygen available to the roots. Good aeration and drainage are vital for preventing root rot and promoting healthy growth. To improve this, you can add amendments like perlite, pumice, or coarse sand to the mix.
Perlite is a lightweight volcanic glass that creates air pockets, while pumice is a heavier alternative that also enhances drainage. Add about one part of your chosen aeration material to every four parts of your soil-compost mixture. This step is a key part of learning how to reuse soil from dead plant effectively, as it customizes the soil for your next plant’s specific needs.
Step 6: Adjust the Soil pH if Necessary
While not always necessary for general houseplants, checking the soil pH can be beneficial, especially if you plan to grow plants with specific needs (like acid-loving ferns or azaleas). You can buy a simple soil testing kit from any garden center. Most houseplants thrive in a pH range of 6.0 to 7.0.
If your soil is too acidic (low pH), you can add a small amount of garden lime. If it’s too alkaline (high pH), incorporating organic matter like peat moss or elemental sulfur will help lower it. Make any adjustments gradually and retest after a week to ensure you’ve reached the desired level.
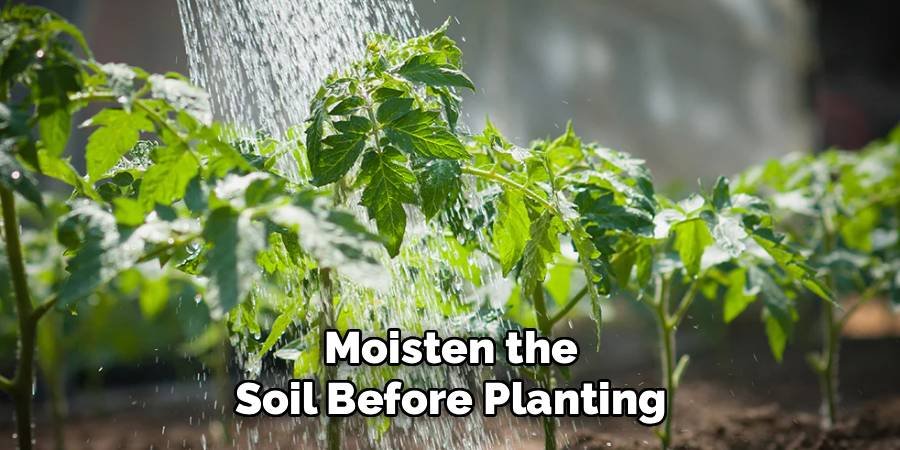
Step 7: Moisten the Soil Before Planting
Your revitalized soil is now almost ready for its new inhabitant. Before you start potting, it’s a good idea to slightly moisten the mix. Dry soil can be hydrophobic, meaning it repels water initially, which can cause uneven watering after you’ve potted your new plant. Place your refreshed soil mix in a bucket or tub and slowly add water while mixing with your hands or a trowel.
You want it to be damp and crumbly, like a wrung-out sponge, but not soaking wet. This pre-moistening ensures the new plant’s roots will have immediate access to water upon being repotted.
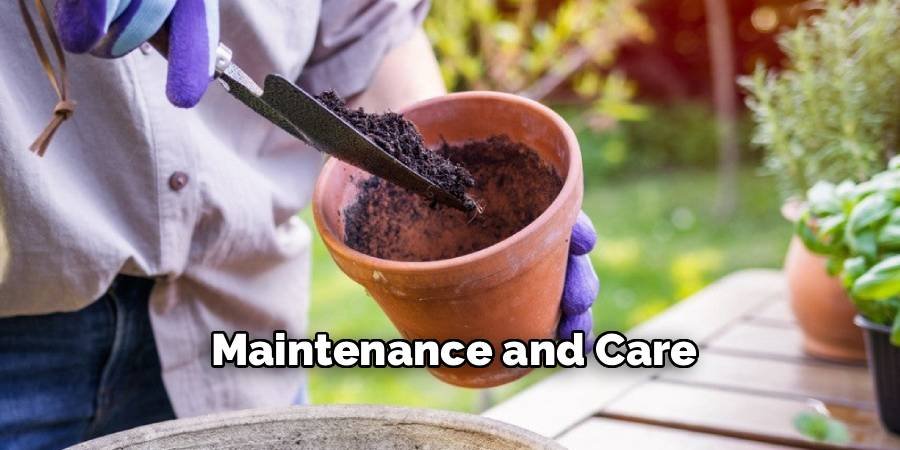
Maintenance and Care
Proper maintenance and care are key to ensuring the health and longevity of your plants after repotting. Begin by placing the newly potted plant in an area with suitable light conditions based on its specific needs—some plants thrive in direct sunlight, while others prefer indirect or low light.
Water the plant moderately after repotting, avoiding overwatering, as the roots need time to adjust to their new container. Regularly check the soil’s moisture level and allow it to dry slightly between waterings, depending on the plant’s preferences. Additionally, keep an eye out for pests, yellowing leaves, or signs of overwatering or under-watering, and address these issues promptly. With consistent care, your plant will thrive in its refreshed environment.
Common Mistakes to Avoid
When caring for plants, there are several common mistakes that can hinder their growth and overall health. One major pitfall is overwatering, which can lead to root rot and other moisture-related issues. Similarly, allowing the soil to remain consistently dry can cause wilting or stunted growth. Another frequent error is placing plants in improper lighting conditions—too much direct sunlight can scorch leaves, while too little light may prevent photosynthesis.
Neglecting to repot plants when they outgrow their containers is another issue, as crowded roots can restrict nutrient absorption. Lastly, failing to monitor for pests or disregarding signs of plant stress, such as discoloration or drooping, can quickly escalate problems. Being mindful of these mistakes will significantly improve your plant care routine.
Frequently Asked Questions (FAQ)
Can I Reuse Soil if the Plant Died From Root Rot?
Yes, you can, but you must sterilize it first. Root rot is caused by fungal pathogens that thrive in overly wet conditions. These pathogens will remain in the soil and can easily infect your next plant. To reuse the soil safely, spread it on a baking sheet and bake it at 180°F (82°C) for 30 minutes to kill any lingering fungi. After sterilizing, you will need to amend the soil with compost to reintroduce beneficial microbes and nutrients.
How Often Can I Reuse the Same Potting Soil?
You can reuse potting soil two or three times before its structure breaks down too much. Each time a plant grows in it, the organic materials like peat moss and coco coir decompose and the soil becomes more compacted. Even with amendments, it will eventually lose its ability to provide good aeration and drainage. After a few cycles, it’s best to add the old soil to an outdoor garden bed or compost pile and start fresh for your potted plants.
What Is the Difference Between Potting Soil and Garden Soil?
Potting soil (or potting mix) is specifically designed for containers. It’s a soilless medium made of ingredients like peat moss, coco coir, perlite, and compost. This mix is lightweight, drains well, and resists compaction. Garden soil, on the other hand, is topsoil from the ground. It is much denser, contains clay and sand, and can carry diseases, pests, and weed seeds. Using garden soil in pots can lead to poor drainage and compacted roots.
Do I Need to Sterilize Soil From a Healthy Plant I’m Repotting?
No, you do not need to sterilize soil if you are simply repotting a healthy plant into a larger container. In this case, the soil is still full of beneficial microbes that are good for the plant. You can mix the old soil with some fresh potting mix and amendments like compost or worm castings to fill the new, larger pot. Sterilization is primarily recommended when the previous plant died from a disease or pest infestation.
What Are the Best Amendments to Add to Old Soil?
The best amendments depend on what you are trying to achieve. Here are a few top choices:
- Compost or Worm Castings: To add a wide range of nutrients and beneficial microbes.
- Perlite or Pumice: To improve aeration and drainage, preventing soil compaction.
- Coco Coir or Peat Moss: To improve water retention for thirsty plants.
- Biochar: To increase nutrient retention and provide a home for beneficial microorganisms.
Conclusion
Giving old potting soil a second chance is a rewarding practice for any gardener. It not only saves money and reduces waste but also deepens your understanding of what makes a healthy growing environment. By following the steps of removing debris, sterilizing, and replenishing nutrients, you can confidently create a fresh, welcoming home for your next plant.
This process turns the disappointment of a dead plant into a positive and sustainable action. Now that you have a clear guide on how to reuse soil from dead plant, you can approach your indoor gardening with more resourcefulness and resilience, ensuring your green space continues to thrive.
About Ravuk Barg
B.Sc. Horticulture Science | Certified Master Gardener
Ravuk Barg has spent more than a decade with his hands in the soil and his head full of questions about why some gardens thrive while others struggle. What started as a single raised bed of tomatoes and basil in a modest backyard has grown into a deep, working knowledge of everything from seed germination and soil amendment to companion planting and seasonal pruning.
Over the years, Ravuk has gardened through drought summers, waterlogged springs, and pest invasions that would make most gardeners hang up their trowels for good. Those hard seasons, he’ll tell you, taught him more than any perfect growing year ever could. He writes from that earned experience—covering vegetable growing, ornamental planting, houseplant care, composting, and garden design with equal confidence and curiosity.
Philosophy & Approach
Ravuk’s approach to gardening is rooted in practicality. He favors organic methods not out of dogma, but because they work long-term—resulting in healthier soil, fewer inputs, and stronger plants. He has a particular fondness for heirloom vegetable varieties (the kind with proper flavor), unruly cottage-style flower beds, and the stubborn houseplants that everyone else gave up on.
The Mission: Give readers the honest, experience-backed advice that helps them actually succeed in their gardens—not just the ideal version, but the real one; weeds, failures, and all.
Education & Credentials
-
B.Sc. in Horticulture Science
-
Greenfield Agricultural University
-
Focus: Plant Physiology, Soil Ecology, and Sustainable Crop Production
-
-
Master Gardener Certification
-
Cooperative Extension Service
-
Focus: 200+ hours of hands-on practical training and community garden work
-
Continuing Education
-
Organic Pest Management
-
Native Plant Landscaping
-
Sustainable Crop Production