

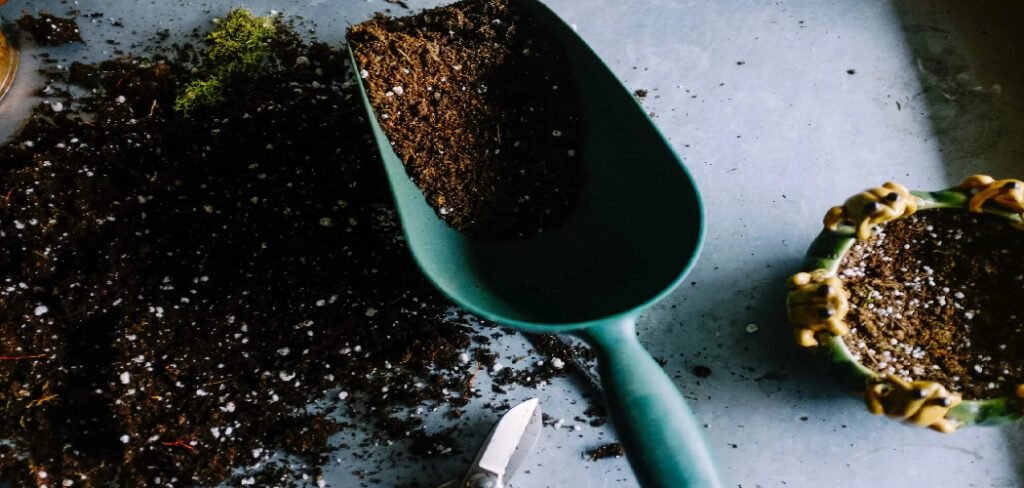
Miracle-Gro soil is a popular choice for many home gardeners, packed with nutrients to give plants a strong start. However, over time, these added fertilizers can accumulate, leading to a buildup of salts that can harm your plants. This is where learning How to Flush Miracle Grow Soil for Healthier Plants becomes an essential skill. Flushing is the simple process of using plain water to wash out these excess salts and nutrients from the soil. This “reset” prevents root burn, nutrient lockout, and other common issues, allowing your plants to absorb what they need more effectively.
For beginners and seasoned gardeners alike, understanding this technique is key to maintaining healthy, vibrant container plants for the long term.
Why Flushing Your Potting Soil Is Important
Using a nutrient-rich potting mix like Miracle-Gro gives your plants an initial boost, but regular watering and additional feeding can cause problems. The synthetic fertilizers in the soil contain mineral salts. As water evaporates, these salts are left behind and build up in the soil. High concentrations of salts can “burn” plant roots, causing them to dehydrate and become damaged. This damage hinders the plant’s ability to absorb water and essential nutrients.
This condition is often called “nutrient lockout,” where nutrients are present in the soil, but the plant cannot access them due to the high salt levels and resulting root damage. You might notice your plant’s growth has stalled, its leaves are yellowing or have brown, crispy tips, or it looks generally unwell despite your best care efforts. Flushing the soil effectively washes away this accumulation, giving the roots a fresh start and restoring the soil’s balance. It’s a simple but powerful maintenance task that can revive struggling plants and prevent issues before they begin.
Step-by-Step Guide: How to Flush Miracle Grow Soil for Healthier Plants
Follow these simple steps to wash away excess salts and give your plants a new lease on life. This process is easy enough for any beginner and is crucial for the health of your container garden.
Step 1: Check for Signs of Nutrient Buildup
Before you begin, confirm your plant needs flushing. Look for common signs of salt and nutrient buildup. You might see a white, crusty layer forming on the surface of the soil or around the drainage holes of the pot. The plant itself will also show symptoms, such as yellowing leaves (chlorosis), brown or crispy leaf tips, stunted growth, or sudden wilting even when the soil is moist. These are all indicators that the roots are struggling to absorb water and nutrients due to high salt concentration in the soil.
Step 2: Prepare Your Plant and Workspace
Flushing can be a wet process, so it’s best to move your plant to a suitable location. A bathtub, shower, or an outdoor area near a hose are all great options. If you are working indoors, place a large tray or bucket underneath the pot to catch the excess water runoff. This preparation prevents a mess and allows you to easily manage the large volume of water you will be using. Ensure the pot has at least one drainage hole at the bottom; if it doesn’t, this process will not work and may drown your plant.
Step 3: Begin the Initial Soaking
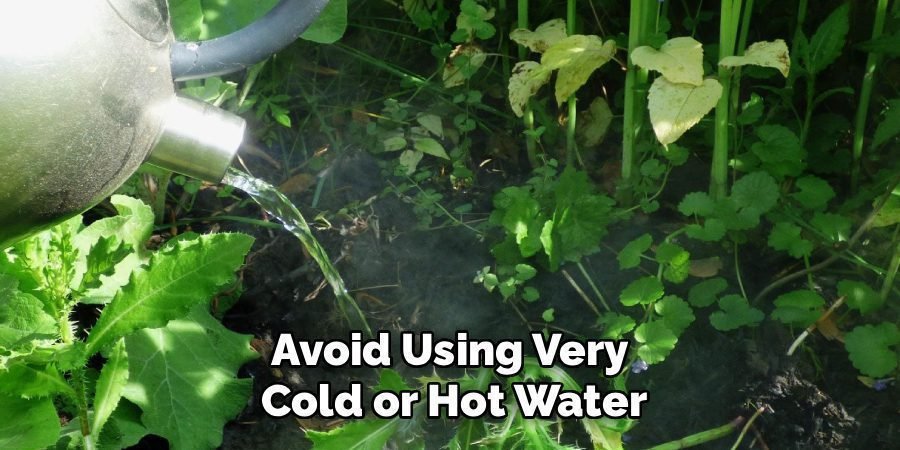
Start by slowly pouring lukewarm or room-temperature water over the entire surface of the soil. Avoid using very cold or hot water, as extreme temperatures can shock the plant’s root system. Continue watering until water begins to flow freely from the drainage holes at the bottom of the pot. This initial soaking helps to moisten the soil completely and begins the process of dissolving the accumulated mineral salts, preparing them to be washed away in the next steps of the flushing process.
Step 4: Let the Plant Sit and Drain
After the initial soaking, let the pot sit for about 30 minutes to an hour. This waiting period is important because it gives the water time to dissolve the concentrated salts built up in the soil. As the salts dissolve into the water, they become mobile and are ready to be carried out of the soil with the next round of watering. Don’t skip this step; allowing the water to do its work ensures that the flushing process will be far more effective at removing the harmful accumulation.
Step 5: Perform the Main Flush
Now it’s time for the main event in learning how to flush Miracle-Gro soil. You will need to use a volume of water that is roughly four times the volume of the pot. For example, if you have a 1-gallon pot, you should plan to use about 4 gallons of water. Pour the water slowly and steadily over the soil, letting it drain completely through the bottom. This large volume of water will pick up the dissolved salts and carry them out of the pot, effectively cleansing the soil and giving the roots a fresh start.
Step 6: Check the Runoff Water
As you flush the soil, you can monitor your progress by observing the runoff water. Initially, the water draining from the pot may appear discolored, often with a brownish or yellowish tint. This color is from the dissolved fertilizers and salts being washed away. Continue flushing until the water running out of the bottom of the pot is mostly clear. Clear runoff is a good sign that you have successfully removed the majority of the excess buildup from the soil environment around the roots.
Step 7: Allow for Complete Drainage
Once the flushing is complete and the runoff is clear, it’s crucial to let the pot drain thoroughly. Tip the pot at a slight angle to help any remaining excess water escape from the drainage holes. You want the soil to be moist, not waterlogged. Leaving a plant in a saucer full of water will defeat the purpose of flushing, as the salts you just washed out can be reabsorbed. Let the pot drain for at least an hour or until it stops dripping before moving it back to its usual spot.
Step 8: How to Flush Miracle Grow Soil and Reintroduce Nutrients
Flushing removes the bad (excess salts) but also the good (essential nutrients). Because the soil is now depleted, you’ll need to replenish it. Wait until the top inch or two of soil is dry, which could take a few days. Then, apply a balanced, water-soluble fertilizer at half its recommended strength. This gentle feeding provides your plant with the nutrients it needs to recover and thrive without overwhelming the now-sensitive roots. From this point, you can resume your regular fertilizing schedule.
Monitor Your Plant’s Recovery
After flushing and fertilizing the soil, it’s crucial to monitor your plant closely for signs of recovery. Look for new growth, such as emerging leaves or stems, which indicates that your plant is regaining its health. Keep an eye out for any persistent issues, like yellowing leaves or limp stems, as these may require further attention. Ensure your plant is in a proper location with sufficient light, and maintain a consistent watering schedule moving forward. By staying observant and responsive, you can ensure your plant continues to thrive in the weeks ahead.
Gradually Resume Fertilization
Once your plant shows signs of recovery and appears stable, you can begin to reintroduce fertilizer slowly. Choose a balanced, diluted fertilizer that matches your plant’s needs, and apply it sparingly to avoid overwhelming the roots. Start with small amounts and monitor your plant’s response over time. Proper fertilization will help support new growth and replenish essential nutrients, enabling your plant to thrive in the long term. Always follow recommended guidelines for your specific plant type to ensure optimal care.
Frequently Asked Questions (FAQ)
How Often Should I Flush My Potted Plants?
For most plants in a mix like Miracle-Gro, flushing every 4 to 6 months is a good practice. However, if you fertilize frequently or use hard tap water, you may need to do it more often, perhaps every 2 to 3 months. Pay attention to your plants. If you see a white crust on the soil or notice symptoms like brown leaf tips, it’s a clear sign that it’s time to flush, regardless of your schedule. Regular flushing is preventative maintenance for container plants.
Can Flushing Damage My Plants?
When done correctly, flushing is highly beneficial and unlikely to harm your plants. The biggest risk is overwatering if the pot has poor drainage. Always use a pot with drainage holes and allow it to drain completely afterward. Using lukewarm water also prevents shocking the roots. While the process temporarily washes away nutrients, this is easily remedied by applying a diluted fertilizer once the soil has had a chance to dry out slightly, making the process a safe and effective reset for your plant.
Does Flushing Help With Root Rot?
Flushing is not a direct cure for root rot, which is a fungal disease caused by overly saturated soil and lack of oxygen. However, the symptoms of salt buildup (wilting, yellow leaves) can sometimes be mistaken for root rot. Flushing helps you rule out salt damage as the cause of your plant’s distress. If a plant is suffering from overwatering, flushing can help by replacing stagnant, deoxygenated water with fresh, oxygenated water, but proper drying time afterward is critical to prevent making root rot worse.
Should I Use Distilled Water for Flushing?
Using distilled, filtered, or rainwater is the ideal choice for flushing because it is free of the minerals and chlorine found in most tap water. Using pure water ensures you are not adding any new mineral salts back into the soil during the flushing process. However, if you don’t have access to distilled water, tap water will still work effectively. Simply letting your tap water sit out for 24 hours can help some of the chlorine evaporate, making it a better option for your plants.
What Do I Do After I Flush the Soil?
After flushing, let the plant drain completely and move it back to a spot with its preferred light conditions. Do not water it again until the top one to two inches of soil feel dry to the touch. This is very important to prevent overwatering. Once the soil has dried appropriately, give your plant a dose of balanced, water-soluble fertilizer, usually at half strength, to replenish the nutrients that were washed away. Then, you can return to your regular watering and feeding routine.
Conclusion
Mastering how to flush Miracle Grow soil is a game-changer for anyone growing plants in containers. This simple technique is your key to preventing the damaging buildup of mineral salts that can stifle growth and harm your plant’s roots. By periodically washing the soil, you are essentially hitting the reset button, creating a healthier environment for your plants to absorb the water and nutrients they need to flourish. Don’t be afraid to try it; your plants will thank you with more vibrant leaves and robust growth. Incorporate flushing into your plant care routine and watch the positive difference it makes.
About Ravuk Barg
B.Sc. Horticulture Science | Certified Master Gardener
Ravuk Barg has spent more than a decade with his hands in the soil and his head full of questions about why some gardens thrive while others struggle. What started as a single raised bed of tomatoes and basil in a modest backyard has grown into a deep, working knowledge of everything from seed germination and soil amendment to companion planting and seasonal pruning.
Over the years, Ravuk has gardened through drought summers, waterlogged springs, and pest invasions that would make most gardeners hang up their trowels for good. Those hard seasons, he’ll tell you, taught him more than any perfect growing year ever could. He writes from that earned experience—covering vegetable growing, ornamental planting, houseplant care, composting, and garden design with equal confidence and curiosity.
Philosophy & Approach
Ravuk’s approach to gardening is rooted in practicality. He favors organic methods not out of dogma, but because they work long-term—resulting in healthier soil, fewer inputs, and stronger plants. He has a particular fondness for heirloom vegetable varieties (the kind with proper flavor), unruly cottage-style flower beds, and the stubborn houseplants that everyone else gave up on.
The Mission: Give readers the honest, experience-backed advice that helps them actually succeed in their gardens—not just the ideal version, but the real one; weeds, failures, and all.
Education & Credentials
-
B.Sc. in Horticulture Science
-
Greenfield Agricultural University
-
Focus: Plant Physiology, Soil Ecology, and Sustainable Crop Production
-
-
Master Gardener Certification
-
Cooperative Extension Service
-
Focus: 200+ hours of hands-on practical training and community garden work
-
Continuing Education
-
Organic Pest Management
-
Native Plant Landscaping
-
Sustainable Crop Production