

Creating a beautiful and functional rain garden is an excellent way to manage stormwater runoff, prevent erosion, and support local ecosystems. Many gardeners, however, feel discouraged by the prospect of working with heavy, dense clay soil. The good news is that with the right approach, it is entirely possible to create a thriving water-wise landscape.
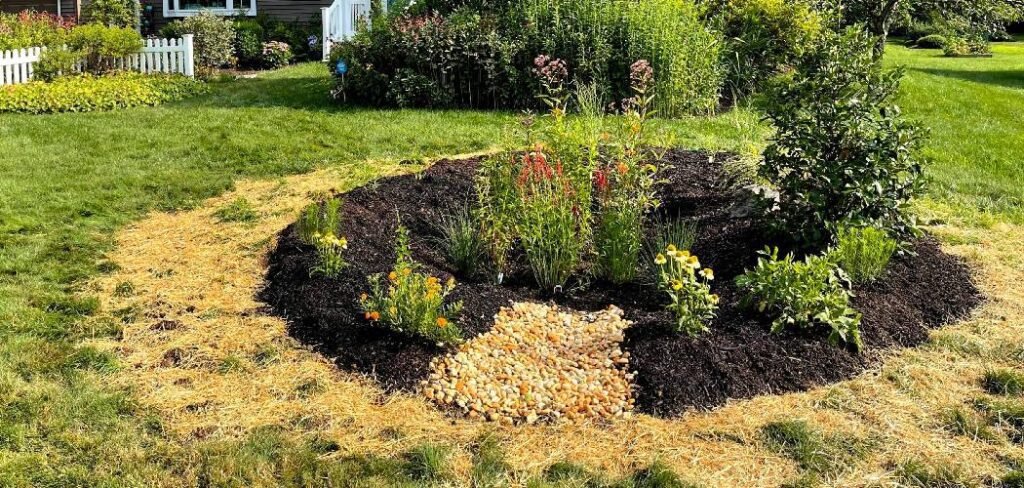
This guide will walk you through the process of how to build a rain garden in clay soil, transforming a challenging soil type into a flourishing habitat for native plants. We will cover everything from site selection and soil amendment to choosing the right plants and maintaining your new garden. This project not only enhances your property’s beauty but also contributes positively to the environment by filtering pollutants and recharging groundwater. Get ready to turn that soggy patch of your yard into a stunning and sustainable feature.
Why Clay Soil Presents a Unique Challenge
Clay soil is notorious for its dense texture and poor drainage, which can make it difficult to work with in gardening projects. Unlike sandy or loamy soils, clay tends to compact easily, reducing the amount of air and water that can flow through it. This leads to water pooling on the surface during heavy rains, while during dry periods, the soil can become extremely hard and cracked.
Additionally, clay soil often retains excess nutrients, which can sometimes lead to imbalances that hinder plant growth. These characteristics make it important to carefully prepare and amend the soil when building a rain garden, ensuring it can support healthy plant life while also managing stormwater effectively.
8-Step Guide: How to Build a Rain Garden in Clay Soil
Step 1: Choose the Right Location
Selecting the perfect spot is the first and most important step. Your rain garden should be located at least 10 feet away from your home’s foundation to prevent any water from seeping into your basement or crawlspace. Look for a natural low spot in your yard where water already tends to collect after a storm. You can also direct water to the garden from a downspout, but make sure the flow is gentle and doesn’t cause erosion.
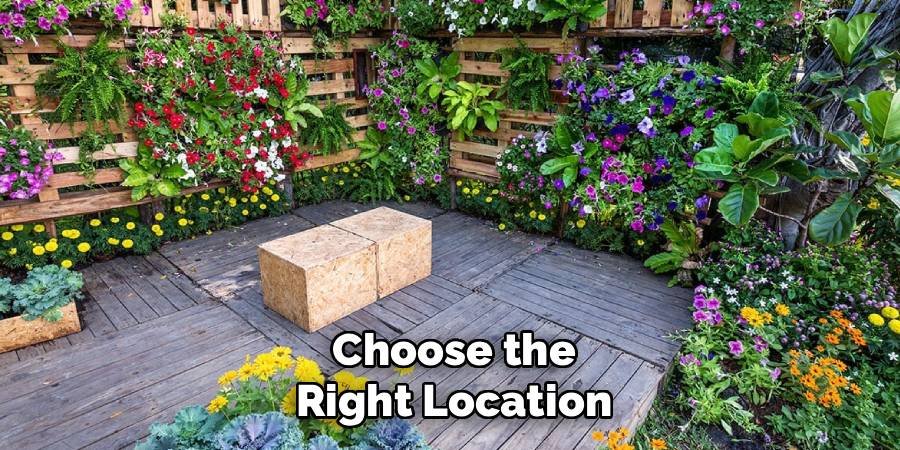
Observe your property during a heavy rain to see where runoff flows naturally. The ideal location receives partial to full sun, as this will support a wider variety of native plants. Avoid placing your garden directly over septic systems or underground utility lines to prevent any potential damage.
Step 2: Determine the Garden Size
The size of your rain garden depends on the amount of runoff it needs to handle. A good rule of thumb is to make the garden about 20-30% of the size of the drainage area it serves, such as the roof section or driveway that directs water to it. For clay soil, it’s wise to make the garden slightly larger to compensate for the slower absorption rate.
To calculate the area, measure the length and width of the impervious surface (like your roof) draining into the garden. For example, if a 500-square-foot section of your roof drains to the chosen spot, a rain garden of about 100-150 square feet would be appropriate. A simple percolation test can also help you fine-tune the size and depth needed.
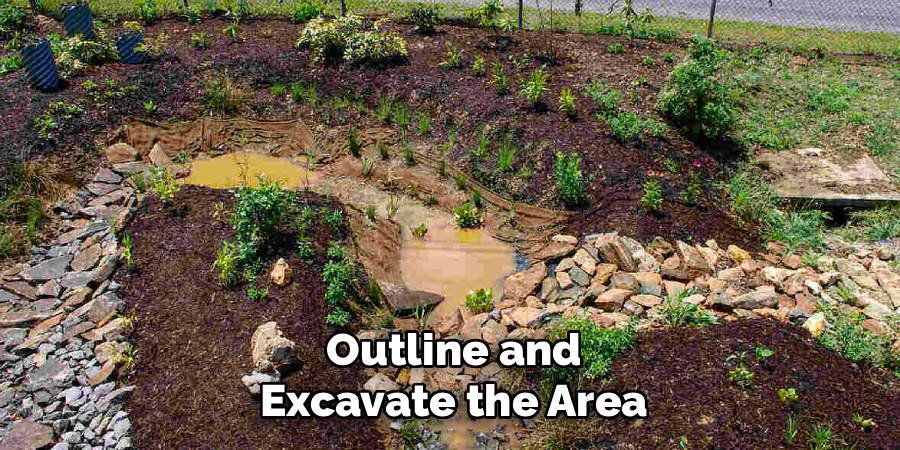
Step 3: Outline and Excavate the Area
Once you have determined the location and size, it’s time to outline the shape of your garden. Use a garden hose, rope, or spray paint to mark the perimeter. Rain gardens often have a gentle, curved, kidney-bean shape, which looks natural in the landscape. After outlining, you can begin to excavate. For clay soil, a depth of 12 to 18 inches is generally recommended.
The bottom of the garden should be flat and level to allow water to spread out evenly and soak in uniformly. The sides should slope gently from the edge down to the base. This excavation is the most labor-intensive part of the project, so pace yourself or consider renting a small excavator for larger gardens.
Step 4: Perform a Percolation Test
Before you start amending the soil, it’s crucial to understand how quickly it drains. A percolation test will tell you this. Dig a small hole, about 8 inches deep and 8 inches wide, within your excavated garden area. Fill the hole with water and let it drain completely. Then, fill it again and measure the water level with a ruler.

Check the level every hour until the water has drained away. In ideal soil, the water level should drop by at least half an inch per hour. Clay soil will be much slower. If your soil drains less than a quarter-inch per hour, you will need to amend it more heavily or consider installing an underdrain to handle overflow.
Step 5: Amend the Clay Soil
This step is critical for success in heavy clay. The goal is to create a soil mixture that drains well but still retains enough moisture for the plants. You will want to replace some of the excavated clay with a mix of compost and sand. A common recipe is 50% sand, 30% compost, and 20% of the original topsoil.
The sand improves drainage, while the compost adds vital organic matter and nutrients. Mix these components thoroughly before backfilling the garden bed. Fill the excavated area with this amended soil mix, leaving a depression of about 6-8 inches from the surrounding ground level. This depression, known as ponding depth, is what allows the garden to hold water temporarily after a storm.
Step 6: Create a Berm
A berm is a small, raised ridge of soil on the lowest-lying side of your rain garden. Its purpose is to contain the water within the garden and allow it to soak into the ground, rather than running off. Use some of the excavated clay soil to build this berm. It should be about 6 to 12 inches high and have gentle slopes so it blends into the landscape.
Pack the soil down firmly to ensure it is stable. You can plant grass or other groundcover plants on the berm to help hold it in place and prevent erosion. The top of the berm should be level to ensure that if the garden overflows during a very heavy storm, the water will spill out evenly over the top.
Step 7: Select Native Plants
Choosing the right plants is essential for a low-maintenance, effective rain garden. Native plants are the best choice because they are adapted to the local climate and soil conditions. They also provide valuable food and habitat for local wildlife, such as birds and pollinators. When selecting plants, consider the different moisture zones within your garden.
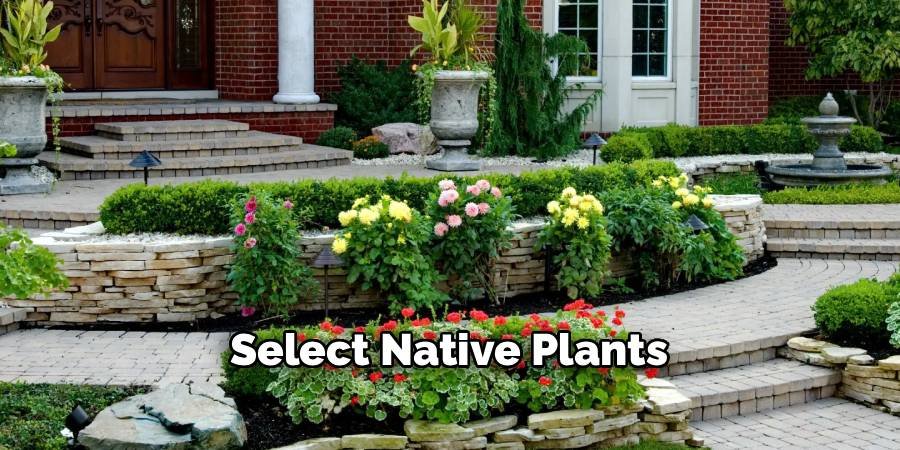
The base of the garden, or Zone 1, will be the wettest area. The sloping sides, Zone 2, will be moderately moist. The top edge and berm, Zone 3, will be the driest. Choose plants that can tolerate “wet feet” for the center and more drought-tolerant species for the edges. Good choices for clay soil include Blue Flag Iris, Swamp Milkweed, and Joe Pye Weed.
Step 8: Arrange and Install Your Plants
Now for the fun part: planting. Arrange your plants according to their moisture needs, placing the wet-tolerant species in the center basin and the drier plants along the upper edges and berm. Give each plant enough space to grow to its mature size; a crowded garden can lead to competition for resources and poor air circulation.
Dig holes that are twice as wide as the plant’s root ball and just as deep. Gently remove each plant from its container, loosen any compacted roots, and place it in the hole. The top of the root ball should be level with the surrounding soil. Backfill the hole with the amended soil, pressing down gently to remove any air pockets.
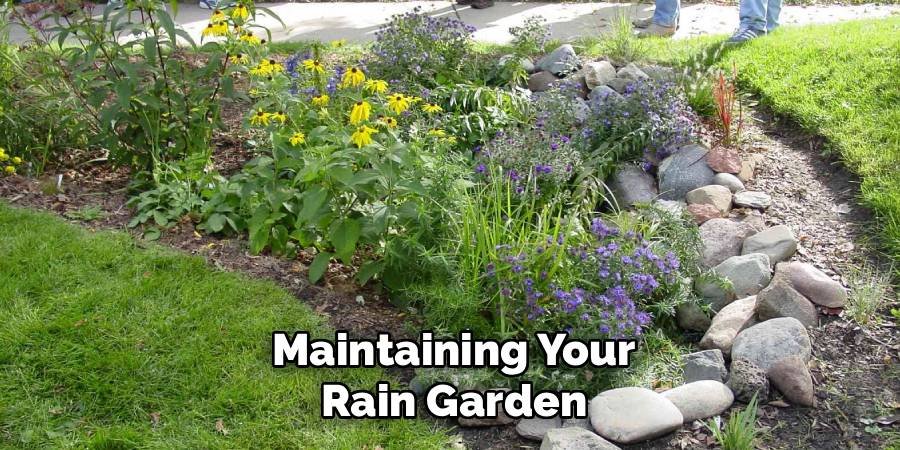
Maintaining Your Rain Garden
Long-term maintenance for a rain garden is relatively minimal once it’s established. The primary tasks involve weeding, especially during the first two seasons, to prevent invasive species from taking over. You should also check the inlet and outlet (if you have one) periodically to ensure they are not clogged with debris.
Every spring, you can cut back any dead plant material from the previous year to make way for new growth. It is also a good idea to refresh the mulch layer every couple of years to continue suppressing weeds and retaining moisture. By choosing native plants, you have already reduced the need for watering, fertilizing, and pest control, making for a beautiful and low-effort garden feature.
Common Mistakes to Avoid
One of the most common mistakes is improper placement. Locating the garden too close to your home’s foundation can lead to serious water damage. Another frequent error is insufficient soil amendment. Simply digging a hole in clay soil without improving its structure will create a stagnant pond, not a functional rain garden. Choosing the wrong plants is also a pitfall; non-native or inappropriate species may not survive the alternating wet and dry conditions. Finally, underestimating the amount of labor involved in excavation can cause a project to stall. It’s important to plan ahead, gather the right tools, and ask for help if needed to ensure the project is completed successfully and safely.
FAQ Frequently Asked Questions
How Deep Should a Rain Garden in Clay Soil Be?
For heavy clay soil, a depth of 12 to 18 inches is recommended. This allows enough room for amended soil to be added, improving drainage significantly.
What Are the Best Plants for a Clay Soil Rain Garden?
Native plants that tolerate both wet and dry conditions are best. Consider species like Swamp Milkweed, Blue Flag Iris, Cardinal Flower, and Switchgrass for their adaptability.
Do Rain Gardens Attract Mosquitoes?
No. A properly functioning rain garden should drain completely within 24 to 48 hours, which is not enough time for mosquito larvae to complete their life cycle.
How Much Does It Cost to Build a Rain Garden?
The cost can vary widely, from a few hundred dollars for a DIY project using free compost to several thousand for a professionally installed garden.
Can I Direct a Sump Pump Hose to a Rain Garden?
Yes, you can direct a sump pump outlet to your rain garden. This is an excellent way to manage the water and prevent it from creating a soggy spot elsewhere in your yard.
Conclusion
Learning how to build a rain garden in clay soil is a rewarding project that transforms a landscape challenge into a beautiful, eco-friendly solution. By carefully selecting your site, properly sizing the garden, and thoroughly amending the heavy clay, you can create a system that effectively manages stormwater. The key is to improve the soil’s permeability with sand and compost, allowing it to absorb rainwater efficiently.
Choosing hardy native plants adapted to your region ensures a low-maintenance garden that thrives in the unique wet-dry cycle of a rain garden. This effort not only prevents runoff and filters pollutants but also creates a vital habitat for pollinators and other wildlife. Your new rain garden will be a source of pride, adding both beauty and function to your yard for years to come. Your garden (and the local ecosystem!) will thank you.
About Ravuk Barg
B.Sc. Horticulture Science | Certified Master Gardener
Ravuk Barg has spent more than a decade with his hands in the soil and his head full of questions about why some gardens thrive while others struggle. What started as a single raised bed of tomatoes and basil in a modest backyard has grown into a deep, working knowledge of everything from seed germination and soil amendment to companion planting and seasonal pruning.
Over the years, Ravuk has gardened through drought summers, waterlogged springs, and pest invasions that would make most gardeners hang up their trowels for good. Those hard seasons, he’ll tell you, taught him more than any perfect growing year ever could. He writes from that earned experience—covering vegetable growing, ornamental planting, houseplant care, composting, and garden design with equal confidence and curiosity.
Philosophy & Approach
Ravuk’s approach to gardening is rooted in practicality. He favors organic methods not out of dogma, but because they work long-term—resulting in healthier soil, fewer inputs, and stronger plants. He has a particular fondness for heirloom vegetable varieties (the kind with proper flavor), unruly cottage-style flower beds, and the stubborn houseplants that everyone else gave up on.
The Mission: Give readers the honest, experience-backed advice that helps them actually succeed in their gardens—not just the ideal version, but the real one; weeds, failures, and all.
Education & Credentials
-
B.Sc. in Horticulture Science
-
Greenfield Agricultural University
-
Focus: Plant Physiology, Soil Ecology, and Sustainable Crop Production
-
-
Master Gardener Certification
-
Cooperative Extension Service
-
Focus: 200+ hours of hands-on practical training and community garden work
-
Continuing Education
-
Organic Pest Management
-
Native Plant Landscaping
-
Sustainable Crop Production