

Building a raised garden bed is a fantastic way to take control of your soil, reduce weed problems, and create an organized, beautiful garden space. Cedar is an excellent material choice due to its natural resistance to rot and insects, ensuring your garden structure lasts for many seasons.

This guide will walk you through the entire process, showing you exactly how to build a cedar garden bed from scratch. Even if you’re a complete beginner with tools, you’ll find these steps straightforward and achievable. With a bit of planning and a weekend afternoon, you can construct a durable and attractive bed that will be the foundation of a productive garden for years to come.
Why Build with Cedar?
When planning a raised garden, your choice of material is one of the most important decisions. While many types of wood and other materials are available, cedar consistently stands out as a top contender, especially for organic gardening. The primary advantage of cedar is its impressive natural durability. It contains oils and compounds that make it inherently resistant to both decay and insect infestation. This means you can build your garden bed without treating the wood with harsh chemicals that could potentially leach into your soil and contaminate your plants. This natural preservation ensures your garden bed will withstand the elements—rain, sun, and soil contact—for many years, often lasting a decade or more without significant degradation.
Beyond its longevity, cedar is also a beautiful wood that adds a touch of natural elegance to any backyard or patio. Its rich color and pleasant aroma make it a joy to work with and look at. Furthermore, cedar is relatively lightweight compared to other durable woods, making the boards easier to handle, cut, and assemble during the construction process. This makes it a great choice for a DIY project, as you won’t need heavy-duty equipment to move your materials. By choosing cedar, you are investing in a long-lasting, safe, and attractive home for your plants.
6 Step-by-Step Guide on How to Build a Cedar Garden Bed
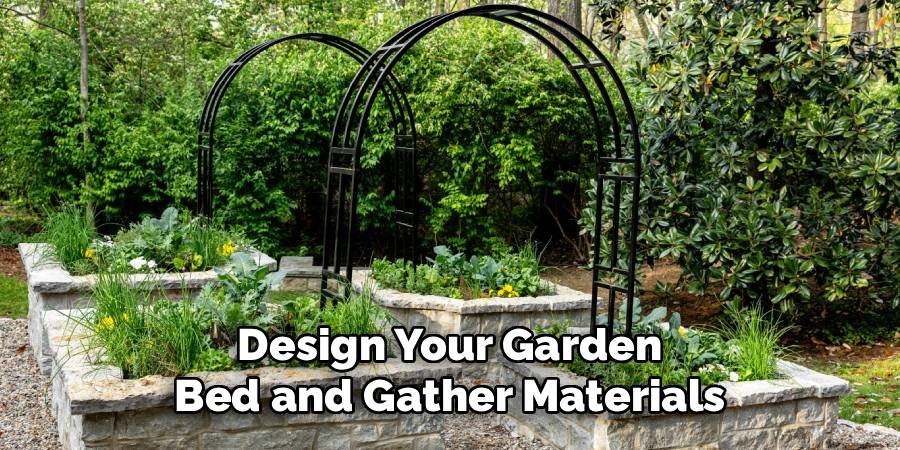
Step 1: Design Your Garden Bed and Gather Materials
Before you make a single cut, it’s essential to plan the size and location of your garden bed. A common size for beginners is 4 feet by 8 feet, as this width allows you to reach the center from either side without stepping on the soil. For the height, 11 inches (the width of two 2×6 boards stacked) is a great starting point, providing ample depth for most vegetable roots. Once you have your dimensions, create a list of materials. You will need cedar lumber (such as 2×6 or 2×4 boards), exterior-grade wood screws, a measuring tape, a pencil, a saw, and a power drill.
Step 2: Cut Your Cedar Boards to Size
With your plan finalized, it’s time to cut your cedar boards. For a 4×8 foot bed, you will need to cut four pieces for the sides and four for the ends. Using your measuring tape and pencil, carefully mark the lengths on your boards. For the long sides, you will cut four boards to 8 feet. For the short ends, you will cut four boards to 4 feet. Precision is important here, so double-check your measurements before cutting. Use a circular saw or miter saw for clean, straight cuts. Always wear safety glasses and follow proper safety procedures when operating power tools.
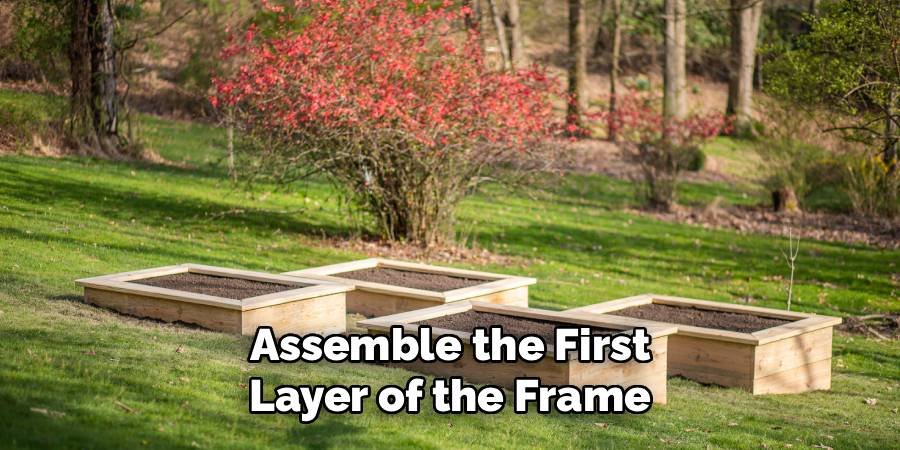
Step 3: Assemble the First Layer of the Frame
Lay out two 8-foot boards and two 4-foot boards on a flat surface to form a rectangle. This will be the bottom layer of your garden bed frame. Position the end of a 4-foot board flush against the inside edge of an 8-foot board to create a corner. Use a carpenter’s square to ensure the corner is a perfect 90-degree angle. Once aligned, use your power drill to drive three exterior-grade wood screws through the side of the long board and into the end of the short board. Repeat this process for all four corners until the first rectangular frame is secure and stable.
Step 4: How to Build a Cedar Garden Bed Frame: Adding the Second Layer
Now that your base layer is assembled, you will add the second tier to give your bed more height. Place the remaining two 8-foot boards and two 4-foot boards directly on top of the first frame, ensuring the edges are perfectly aligned. This stacking method adds strength and stability to the structure. To secure the second layer, drive screws vertically through the top boards into the bottom boards every 18 to 24 inches along all four sides. This prevents the layers from shifting over time. This step is a key part of how to build a cedar garden bed that is strong and long-lasting.
Step 5: Reinforce the Corners and Sides
To ensure your garden bed withstands the pressure of the soil and remains sturdy for years, adding corner and side reinforcements is a crucial step. Cut four pieces of a 4×4 cedar post to match the height of your bed walls (e.g., 11 inches if you used two 2×6 boards). Place one post in each of the four interior corners, flush against both sides. Secure these posts by driving screws through the outer walls of the bed and into the 4×4 posts. For beds longer than 6 feet, it’s also wise to add a center brace across the middle to prevent the long sides from bowing outward.
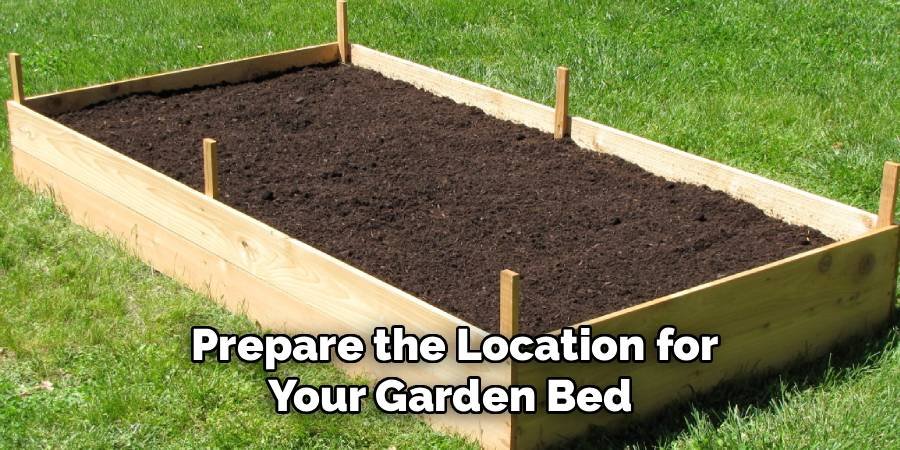
Step 6: Prepare the Location for Your Garden Bed
Before moving your newly built frame into its final position, you need to prepare the ground. Choose a spot in your yard that receives at least six to eight hours of direct sunlight per day, which is ideal for most vegetables and flowers. Clear the area of any grass, weeds, or large rocks. To ensure proper drainage and prevent aggressive weeds from growing up into your bed, lay down a layer of cardboard or several sheets of newspaper on the cleared ground. This organic barrier will smother any remaining vegetation and will decompose over time, adding nutrients to the soil.
Position the Frame and Fill with Soil
With the help of another person, carefully move the cedar frame into its prepared location, setting it directly on top of the cardboard or newspaper layer. Once you are happy with its position, it’s time to fill it up. A good soil mixture for raised beds is often referred to as “garden soil” or “triple mix” and typically consists of topsoil, compost, and peat moss or coconut coir. This blend provides nutrients, retains moisture, and ensures good drainage. Fill the bed to about an inch from the top, allowing space for mulch. Your garden bed is now ready for planting!
Frequently Asked Questions
What Is the Best Type of Cedar to Use for a Garden Bed?
Western Red Cedar is widely considered the best choice for garden beds. It has one of the highest natural concentrations of rot- and insect-resistant oils, giving it exceptional longevity without chemical treatments. While it can be more expensive than other woods, its durability makes it a cost-effective investment over the long term. If Western Red Cedar is not available, other types like Eastern White Cedar or Northern White Cedar are also excellent, durable options for building your garden.
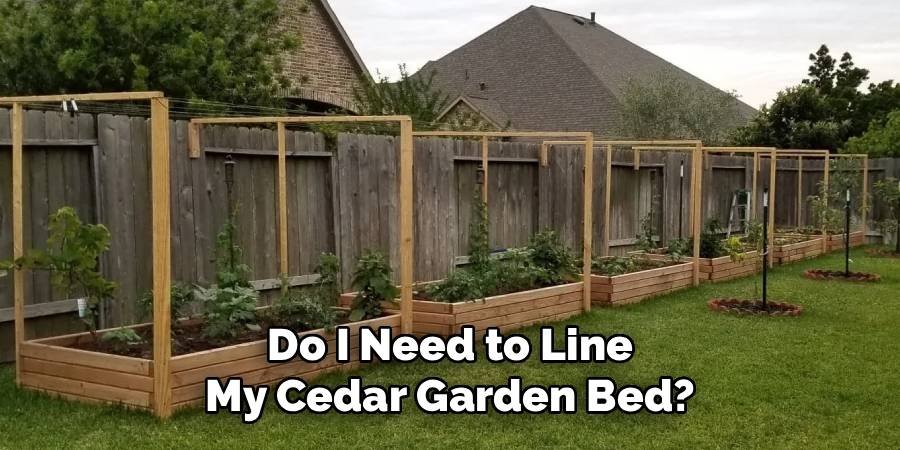
Do I Need to Line My Cedar Garden Bed?
Lining a cedar garden bed is generally not necessary, but it can be beneficial in certain situations. If you are placing the bed on a deck or patio and want to protect the surface, a liner is a good idea. For beds on the ground, many gardeners choose to line the bottom with cardboard to suppress weeds. Avoid using plastic liners, as they can trap water and lead to waterlogged soil, which harms root health. Cedar itself is rot-resistant and doesn’t require a liner for protection.
How Deep Should a Cedar Raised Garden Bed Be?
The ideal depth depends on what you plan to grow.
- 6-8 inches: Sufficient for leafy greens, herbs, and shallow-rooted plants like lettuce and spinach.
- 10-12 inches: A great all-purpose depth suitable for most vegetables, including carrots, beets, and bush beans. This depth provides ample room for healthy root development.
- 18 inches or more: Recommended for deep-rooted vegetables like large tomatoes, potatoes, or asparagus. A deeper bed provides more soil volume, which helps with moisture retention.
Should I Treat or Seal the Cedar Wood?
It is not necessary to treat or seal cedar for a garden bed. The wood’s natural oils provide excellent protection against rot and pests. Applying a sealer or stain can interfere with this natural resistance and may contain chemicals you don’t want near your edible plants. Over time, untreated cedar will weather to a beautiful silvery-gray color but will remain structurally sound for many years. Embracing this natural aging process is the simplest and safest approach for a vegetable garden.
How Long Will a Cedar Garden Bed Last?
An untreated cedar garden bed can last anywhere from 10 to 20 years, depending on the climate, soil conditions, and the thickness of the wood used. Thicker boards, such as 2-inch lumber, will naturally last longer than thinner 1-inch boards. Cedar’s exceptional durability is one of its main selling points. While it may cost more upfront than pine or other softwoods, its extended lifespan makes it a much better long-term value, saving you the effort of rebuilding your beds every few years.
Conclusion
You now have all the information needed to create a sturdy, functional, and beautiful garden feature. Building your own raised bed allows you to customize its size and shape to perfectly fit your space while providing an ideal growing environment for your plants. The process is a rewarding weekend project that sets you up for gardening success for many seasons to come. By following these steps, you’ve learned more than just a construction project; you’ve gained the skills to take control of your garden’s foundation. We hope this guide has inspired you and given you the confidence for how to build a cedar garden bed of your own.
About Ravuk Barg
B.Sc. Horticulture Science | Certified Master Gardener
Ravuk Barg has spent more than a decade with his hands in the soil and his head full of questions about why some gardens thrive while others struggle. What started as a single raised bed of tomatoes and basil in a modest backyard has grown into a deep, working knowledge of everything from seed germination and soil amendment to companion planting and seasonal pruning.
Over the years, Ravuk has gardened through drought summers, waterlogged springs, and pest invasions that would make most gardeners hang up their trowels for good. Those hard seasons, he’ll tell you, taught him more than any perfect growing year ever could. He writes from that earned experience—covering vegetable growing, ornamental planting, houseplant care, composting, and garden design with equal confidence and curiosity.
Philosophy & Approach
Ravuk’s approach to gardening is rooted in practicality. He favors organic methods not out of dogma, but because they work long-term—resulting in healthier soil, fewer inputs, and stronger plants. He has a particular fondness for heirloom vegetable varieties (the kind with proper flavor), unruly cottage-style flower beds, and the stubborn houseplants that everyone else gave up on.
The Mission: Give readers the honest, experience-backed advice that helps them actually succeed in their gardens—not just the ideal version, but the real one; weeds, failures, and all.
Education & Credentials
-
B.Sc. in Horticulture Science
-
Greenfield Agricultural University
-
Focus: Plant Physiology, Soil Ecology, and Sustainable Crop Production
-
-
Master Gardener Certification
-
Cooperative Extension Service
-
Focus: 200+ hours of hands-on practical training and community garden work
-
Continuing Education
-
Organic Pest Management
-
Native Plant Landscaping
-
Sustainable Crop Production