

Welcome to the world of happy, climbing houseplants! If you’ve given your vining plants like Monstera or Pothos a moss pole to climb, you’ve already taken a great step toward encouraging healthier, more mature growth. But simply providing the pole isn’t enough; keeping it moist is the secret to unlocking its full potential. Many beginners feel unsure about the best way to do this. This guide will provide a clear, step-by-step process for how to water moss pole structures, ensuring your plants receive the consistent moisture they need to thrive and develop those beautiful aerial roots.
The Importance of a Moist Moss Pole
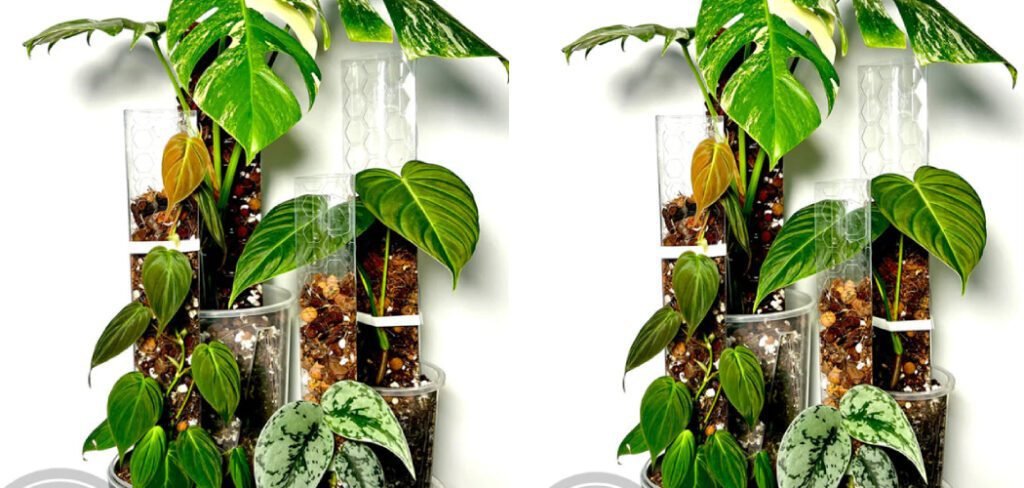
You might wonder why you need to water a moss pole at all. The answer lies in mimicking a plant’s natural environment. In the wild, vining plants, known as epiphytes, climb up tree trunks, sinking their aerial roots into the damp bark to absorb moisture and nutrients. A moss pole serves as a substitute for that tree trunk. When the pole is kept consistently moist, it encourages your plant’s aerial roots to attach and grow into the sphagnum moss.
This process not only provides physical support but also delivers supplemental hydration and nutrients directly to the plant’s stems, leading to larger leaves and more vigorous growth. A dry pole offers support but misses the key benefit of hydration.
8 Step Methods Guide on How to Water Moss Pole
Step 1: Gather Your Watering Supplies
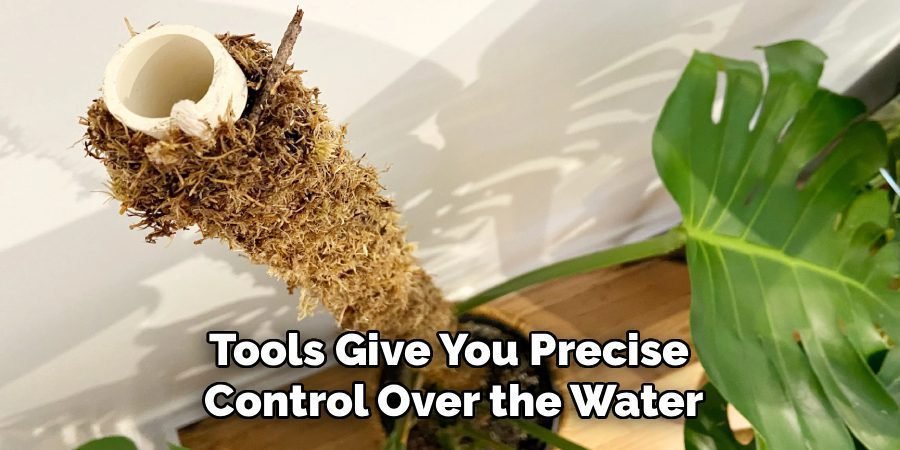
Before you begin, gather everything you need to make the process smooth and efficient. You will need a watering can with a narrow spout, a plastic squeeze bottle, or even a turkey baster. These tools give you precise control over the water flow. It’s also helpful to have a towel or a shallow tray handy to place under the pot. This will catch any excess water that runs through the moss and drips out, protecting your furniture and floors from water damage. Having your supplies ready ensures you can work quickly and cleanly.
Step 2: Check the Moss Pole’s Dryness
Just as you check the soil before watering your plant, you should check the moss pole. Gently touch the sphagnum moss at various points along the pole—top, middle, and bottom. If it feels dry and crispy to the touch, it’s time to water. If it still feels damp or cool, you can wait another day or two. The goal is to keep the moss consistently moist, but not soaking wet. Overwatering can lead to mold or mildew growth, while letting it dry out completely will discourage aerial roots from attaching.
Step 3: Position Your Plant for Watering
To avoid creating a puddle around your plant, it’s best to move it to a suitable location for watering. A sink, bathtub, or a large plastic tray are all great options. If the plant is too large or heavy to move easily, this is where the towel you gathered earlier comes in. Place it carefully around the base of the pot to absorb any runoff. This simple preparation step makes cleanup much easier and prevents any potential water stains on your surfaces, keeping your plant care routine stress-free.
Step 4: Slowly Pour Water from the Top
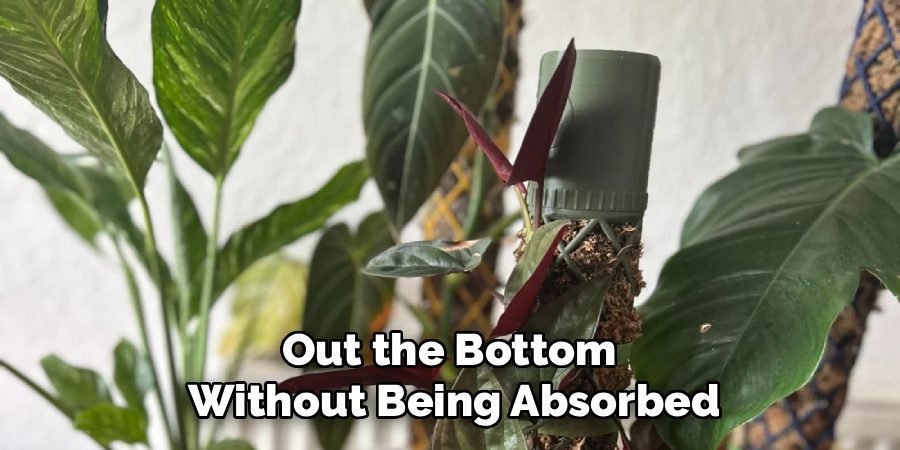
Begin the watering process by slowly pouring water directly into the top opening of the moss pole. Use your watering can or squeeze bottle to apply the water in a steady, gentle stream. The objective is to allow the sphagnum moss to absorb the moisture gradually. If you pour too quickly, the water may run straight through the pole and out the bottom without being absorbed. Continue pouring slowly until you see water starting to darken the moss all the way down the length of the pole.
Step 5: Ensure Even Saturation
As you pour water from the top, you may notice that some areas of the pole absorb water faster than others, leaving dry patches. To ensure the entire pole is evenly moist, gently rotate the pot or move your watering can around the top opening. You can also use your squeeze bottle to target any specific dry spots along the sides of the pole. The goal is for the entire column of moss to become damp, providing a consistent source of hydration for any aerial roots that attach to it.
Step 6: Let Excess Water Drain Completely
Once the moss pole is thoroughly and evenly moistened, it’s important to let all the excess water drain away. If you moved your plant to a sink or tub, simply leave it there for 10 to 15 minutes. This prevents the pot’s soil from becoming waterlogged, which could lead to root rot. A well-draining moss pole and pot combination is crucial for plant health. This step ensures the moss is damp but not dripping wet, creating the perfect environment for your plant’s aerial roots.
Step 7: Water the Plant’s Soil as Needed
Watering the moss pole and watering the plant’s soil are two separate tasks. After you have finished watering the pole and allowed it to drain, check the soil in the pot. If the top one or two inches of soil are dry, you should water the plant as you normally would. Sometimes, runoff from the pole is enough to moisten the soil, but you should always check to be sure. This two-part approach ensures that both the aerial roots and the soil roots receive the hydration they need.

Step 8: Return the Plant to Its Spot
After the moss pole has finished draining and you’ve watered the plant’s soil (if necessary), it’s time to return your plant to its original location. Gently wipe down the outside of the pot and the saucer to remove any drips. Placing your plant back in its designated spot ensures it continues to receive the consistent light it is accustomed to, preventing any shock or stress from a sudden environmental change. Your plant and its newly hydrated moss pole are now ready to keep growing.
Monitor and Maintain
Keeping an eye on your moss pole’s moisture levels is crucial for your plant’s ongoing health. Check the pole regularly to ensure it remains slightly damp, as this helps support aerial roots and keeps the humidity levels around the plant consistent. Depending on your environment, you may need to rehydrate the pole every few days or once a week. Additionally, inspect the pole for any signs of mold or decay and address them promptly to maintain a healthy growing environment. Consistent care will help your plant thrive and make the most of its moss pole support.

Frequently Asked Questions (FAQ)
How Often Should I Water My Moss Pole?
The frequency depends on your home’s environment. In a dry, warm home, you may need to water the moss pole every 2–4 days. In more humid conditions, you might only need to water it once a week. The best method is to check the moss with your finger. If the top half of the pole feels dry to the touch, it is time to re-moisten it. Consistency is key to encouraging aerial roots to attach and grow into the moss.
Can I Add Fertilizer to the Water for the Moss Pole?
Yes, you can and should. Using a heavily diluted liquid fertilizer in the water for your moss pole can provide supplemental nutrients to your plant through its aerial roots. This mimics how these plants absorb nutrients from organic matter on tree bark in their native habitat. Use the fertilizer at one-quarter or one-half strength every few weeks during the growing season to avoid burning the sensitive aerial roots. This practice can lead to faster growth and larger, more impressive leaves.
What Is the Best Type of Water to Use?
Whenever possible, use filtered, distilled, or rainwater for your moss pole. Tap water often contains minerals like chlorine and fluoride that can build up in the sphagnum moss over time. This mineral accumulation can eventually harm the plant’s sensitive aerial roots. If you only have access to tap water, let it sit out for 24 hours before using it. This allows some of the chlorine to evaporate, making it a bit safer for your plant.
What Should I Do if My Moss Pole Starts to Smell Bad?
A foul odor, often smelling musty or swampy, is a sign that the moss pole is too wet and not getting enough air circulation. This can lead to mold or bacterial growth. To fix this, allow the pole to dry out more than usual between waterings. You can also try to increase airflow around the plant. If the smell persists, you may need to replace the sphagnum moss entirely, which involves carefully detaching the plant and re-wrapping the pole with fresh, clean moss.
Do I Still Need to Water the Plant’s Pot if I Water the Moss Pole?
Yes, you should treat them as two separate watering routines. The moss pole provides supplemental hydration to the aerial roots, but the plant’s main root system is in the soil. While some water from the pole may drip into the pot, it’s rarely enough to adequately water the entire root ball. Always check the soil moisture independently of the moss pole’s moisture and water the pot thoroughly whenever the top inch or two of soil becomes dry.
Conclusion
Mastering how to water a moss pole is one of the most effective ways to support the health and vitality of your climbing houseplants. By following these straightforward steps—from checking for dryness to ensuring even saturation and proper drainage—you create the ideal humid environment that encourages strong aerial root growth. This simple routine will reward you with a plant that not only stands tall but also produces larger, more mature leaves. Don’t be intimidated by the process; embrace this essential plant care task and watch your vining beauties thrive like never before.
About Ravuk Barg
B.Sc. Horticulture Science | Certified Master Gardener
Ravuk Barg has spent more than a decade with his hands in the soil and his head full of questions about why some gardens thrive while others struggle. What started as a single raised bed of tomatoes and basil in a modest backyard has grown into a deep, working knowledge of everything from seed germination and soil amendment to companion planting and seasonal pruning.
Over the years, Ravuk has gardened through drought summers, waterlogged springs, and pest invasions that would make most gardeners hang up their trowels for good. Those hard seasons, he’ll tell you, taught him more than any perfect growing year ever could. He writes from that earned experience—covering vegetable growing, ornamental planting, houseplant care, composting, and garden design with equal confidence and curiosity.
Philosophy & Approach
Ravuk’s approach to gardening is rooted in practicality. He favors organic methods not out of dogma, but because they work long-term—resulting in healthier soil, fewer inputs, and stronger plants. He has a particular fondness for heirloom vegetable varieties (the kind with proper flavor), unruly cottage-style flower beds, and the stubborn houseplants that everyone else gave up on.
The Mission: Give readers the honest, experience-backed advice that helps them actually succeed in their gardens—not just the ideal version, but the real one; weeds, failures, and all.
Education & Credentials
-
B.Sc. in Horticulture Science
-
Greenfield Agricultural University
-
Focus: Plant Physiology, Soil Ecology, and Sustainable Crop Production
-
-
Master Gardener Certification
-
Cooperative Extension Service
-
Focus: 200+ hours of hands-on practical training and community garden work
-
Continuing Education
-
Organic Pest Management
-
Native Plant Landscaping
-
Sustainable Crop Production