

Large indoor plants, like the popular Fiddle Leaf Fig or Monstera Deliciosa, can transform a room into a lush, green oasis. However, their size and weight often make watering a significant challenge.
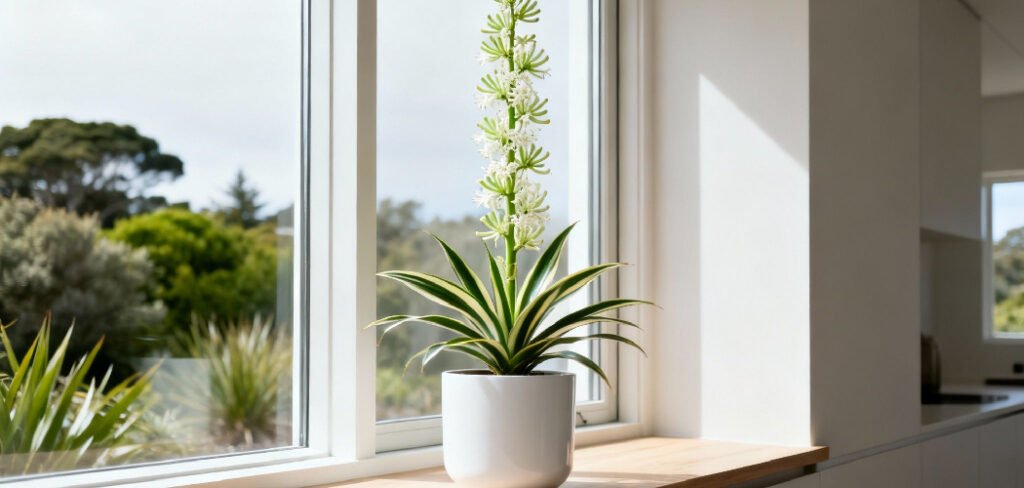
Lugging a heavy pot to the sink or bathtub is not just inconvenient; it can risk damage to your plant, your back, and your floors. Fortunately, you can keep your oversized green friends perfectly hydrated without the strain. This guide will walk you through exactly how to water large indoor plants without moving them, ensuring they stay healthy and vibrant right where they are.
Why Ditching the Heavy Lifting is Best for Your Plants
Moving large plants for watering can be more than just a hassle; it can be detrimental to their health. Plants become accustomed to their specific spot, including the light and temperature conditions. Frequently relocating them can cause stress, leading to leaf drop and stunted growth. Furthermore, the risk of accidental damage—like broken stems or cracked pots—increases with every move. Learning to water your large plants in place not only saves you physical effort but also creates a more stable and consistent environment, which is crucial for their long-term well-being and vitality.
7 Step Methods Guide on How to Water Large Indoor Plants Without Moving
Step 1: Gather Your Watering Tools
Before you begin, gather all the necessary supplies to make the process efficient and clean. You will need a watering can with a long, narrow spout to reach the soil easily, avoiding the foliage. A large, deep saucer or a plant caddy with a built-in reservoir is essential for catching excess water. Have a few old towels or a small mat ready to place under the pot to protect your flooring from spills. Finally, a soil moisture meter can be an invaluable tool to help you determine exactly when your plant needs a drink, preventing overwatering.
Step 2: Check the Soil Moisture Level
The most common mistake plant owners make is watering on a fixed schedule instead of checking the plant’s actual needs. To see if it’s time to water, insert your finger about two inches into the soil. If the soil feels dry at that depth, it’s time to water.
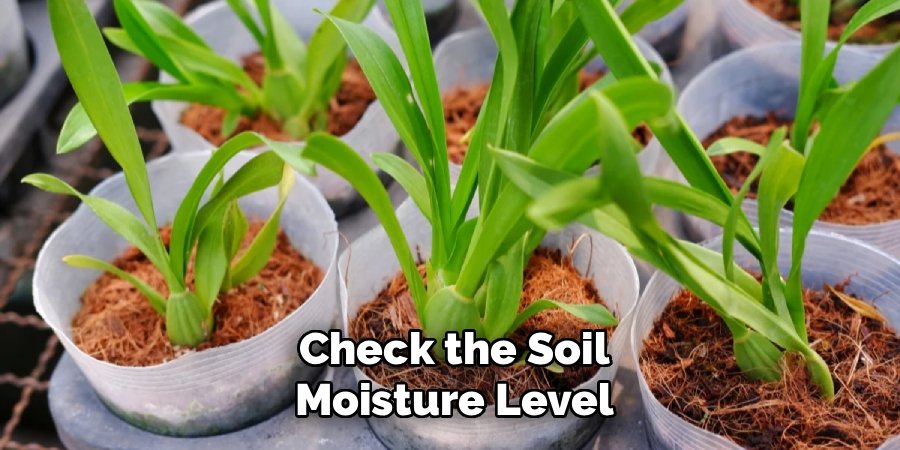
For a more precise reading, use a soil moisture meter. Insert the probe into the soil halfway between the plant’s stem and the edge of the pot. This step ensures you only provide water when necessary, which is key to preventing root rot and other moisture-related issues.
Step 3: Protect Your Floors
Even with a saucer, spills can happen. Before you start watering, place an old towel, a waterproof mat, or a shallow plastic tray directly under the plant’s pot. This simple precaution provides an extra layer of defense against accidental drips and overflow, safeguarding your hardwood floors, carpets, or rugs from water damage and stains. This step gives you peace of mind, allowing you to focus on giving your plant a thorough watering without worrying about creating a mess on your floor surfaces.
Step 4: Water Slowly and Evenly
Using your long-spout watering can, begin to pour water slowly and directly onto the soil surface. Avoid pouring water onto the plant’s leaves or stem, as this can encourage fungal diseases. Move the spout around the entire circumference of the pot to ensure all the roots get access to moisture, not just one section. Pour a little at a time, allowing the water to soak in before adding more. This slow, deliberate method helps prevent water from running straight through the pot and ensures the entire root ball becomes evenly saturated.
Step 5: How to Water Large Indoor Plants Without Moving: Let It Drain Completely
Continue watering until you see water begin to collect in the saucer or drainage tray below. This is a sign that the soil is fully saturated. Now, let the plant sit for about 15 to 30 minutes to allow all the excess water to drain out of the pot. Proper drainage is crucial because it allows the roots to access oxygen. If a plant’s roots sit in standing water, they can “drown,” leading to root rot, a condition that is often fatal for houseplants. This waiting period is a critical part of the process.
Step 6: Remove the Excess Water
Once the plant has finished draining, you must remove the standing water from the saucer. If you don’t, the pot will reabsorb the water, leaving the soil waterlogged and suffocating the roots.
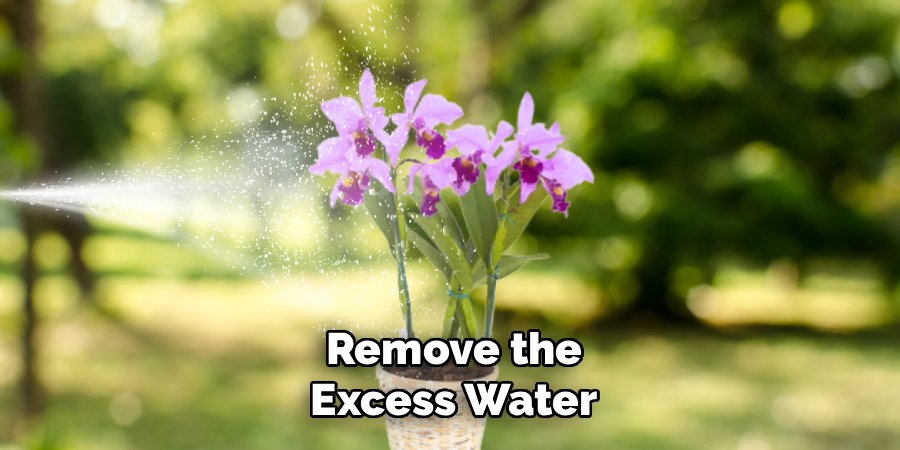
You can use a turkey baster, a large syringe, or a sponge to soak up and remove the water from the tray. Alternatively, you can carefully tip the pot and saucer to one side to pour the water out into a bucket. This step is non-negotiable for maintaining the long-term health of your large indoor plant.
Step 7: Clean Up and Monitor
After removing the excess water, wipe down the pot and the saucer to remove any dirt or drips. Remove the protective towel or mat from your floor. In the days following watering, keep an eye on your plant. Look for signs of good health, such as firm, vibrant leaves. If you notice yellowing leaves or drooping, it could be a sign of overwatering or underwatering. Adjust your frequency based on these observations and the results from your soil moisture checks. This ongoing monitoring will help you perfect your routine.
Fertilize Your Plant
To keep your plant thriving, consider incorporating a regular fertilizing schedule. Use a balanced, water-soluble fertilizer suited for your plant type, following the manufacturer’s instructions for dilution and frequency. Fertilizing provides essential nutrients that promote healthy growth, vibrant foliage, and, for flowering plants, more abundant blooms. Be cautious not to over-fertilize, as this can lead to salt build-up in the soil, which may harm the plant. Observe your plant’s response and adjust the schedule as needed for optimal results.
Monitor for Pests and Diseases
Regularly inspect your plants for signs of pests or diseases to ensure their health and vitality. Common symptoms include discolored leaves, holes in foliage, or a sticky residue on surfaces, which may indicate the presence of insects like aphids or spider mites.
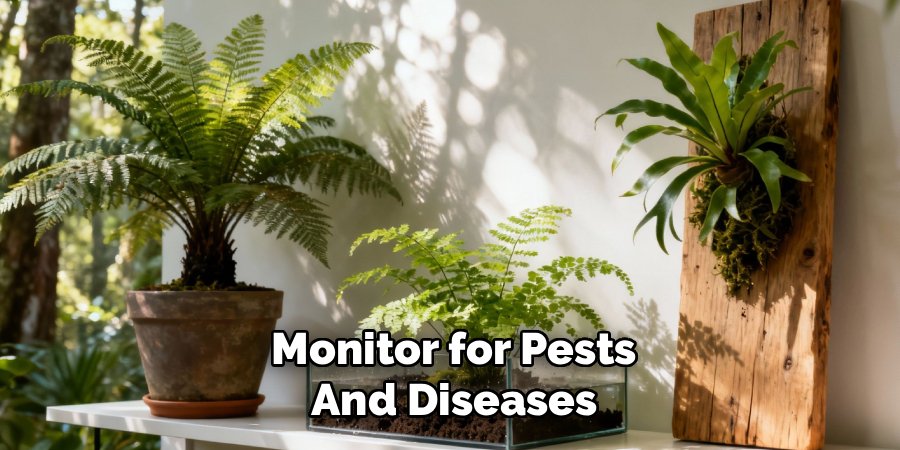
If any issues are identified, address them promptly using appropriate remedies, such as insecticidal soap or natural predators. For diseases like fungal infections, ensure proper air circulation and avoid overwatering. Early detection and treatment can prevent these problems from spreading and help maintain a thriving garden.
Frequently Asked Questions (FAQ)
How Often Should I Water My Large Indoor Plant?
There is no single answer, as it depends on the plant type, pot size, light, and humidity. Instead of a schedule, check the soil. Water when the top two inches of soil feel dry to the touch. For most large plants, this could be anywhere from once a week to every two to three weeks. Using a moisture meter can provide a more accurate reading and help you develop a consistent routine based on your plant’s specific needs.
What Is the Best Type of Water to Use?
Whenever possible, use room-temperature filtered, distilled, or rainwater. Tap water often contains chlorine, fluoride, and other minerals that can build up in the soil over time and harm sensitive plants, causing issues like brown leaf tips. If you must use tap water, let it sit out overnight. This allows some of the chlorine to evaporate before you use it on your plants.
What Should I Do if I Accidentally Overwater My Plant?
If the saucer is full, immediately empty it. If the soil is completely saturated, you can try to increase air circulation around the pot by using a fan to help the soil dry out faster. Avoid watering again until the soil has dried out significantly. If the plant shows signs of distress like yellowing leaves and a mushy stem base, you may need to repot it into fresh, dry soil to save it from root rot.
Can I Use Self-Watering Pots for Large Plants?
Yes, self-watering pots are an excellent solution for large indoor plants. These pots have a built-in reservoir at the bottom that wicks water up into the soil as needed. This system provides a consistent level of moisture and significantly reduces the frequency of watering. It also eliminates the risk of water spilling onto your floors, making it a convenient, low-mess option for managing big plants.
Is It Necessary for a Large Pot to Have Drainage Holes?
Absolutely. Drainage holes are non-negotiable for almost all indoor plants, regardless of size. Without proper drainage, water will pool at the bottom of the pot, saturating the soil and leading to root rot. If you have a decorative pot without holes, you can use it as a “cachepot.” Keep your plant in a plastic nursery pot with drainage holes that fits inside the decorative one, and remove it to drain after watering.
Conclusion
Caring for large indoor plants doesn’t have to involve back-breaking work or messy floors. By adopting a few simple techniques and using the right tools, you can keep your botanical giants thriving right in their designated spots. Following this guide on how to water large indoor plants without moving them will save you time and effort while promoting a more stable and healthy environment for your greenery. Give this method a try and enjoy the beauty of your large plants without the struggle.
About Ravuk Barg
B.Sc. Horticulture Science | Certified Master Gardener
Ravuk Barg has spent more than a decade with his hands in the soil and his head full of questions about why some gardens thrive while others struggle. What started as a single raised bed of tomatoes and basil in a modest backyard has grown into a deep, working knowledge of everything from seed germination and soil amendment to companion planting and seasonal pruning.
Over the years, Ravuk has gardened through drought summers, waterlogged springs, and pest invasions that would make most gardeners hang up their trowels for good. Those hard seasons, he’ll tell you, taught him more than any perfect growing year ever could. He writes from that earned experience—covering vegetable growing, ornamental planting, houseplant care, composting, and garden design with equal confidence and curiosity.
Philosophy & Approach
Ravuk’s approach to gardening is rooted in practicality. He favors organic methods not out of dogma, but because they work long-term—resulting in healthier soil, fewer inputs, and stronger plants. He has a particular fondness for heirloom vegetable varieties (the kind with proper flavor), unruly cottage-style flower beds, and the stubborn houseplants that everyone else gave up on.
The Mission: Give readers the honest, experience-backed advice that helps them actually succeed in their gardens—not just the ideal version, but the real one; weeds, failures, and all.
Education & Credentials
-
B.Sc. in Horticulture Science
-
Greenfield Agricultural University
-
Focus: Plant Physiology, Soil Ecology, and Sustainable Crop Production
-
-
Master Gardener Certification
-
Cooperative Extension Service
-
Focus: 200+ hours of hands-on practical training and community garden work
-
Continuing Education
-
Organic Pest Management
-
Native Plant Landscaping
-
Sustainable Crop Production