

Large pots make a stunning statement in any garden or patio, but filling them completely with soil can be expensive, heavy, and often unnecessary for plant health. Many gardeners find themselves wondering if there’s a better way. The good news is that you can create a thriving environment for your plants without using an entire bag of potting mix for a single container.
Learning how to use less soil in large pots not only saves money but also makes your containers much lighter and easier to move. This guide will walk you through simple, effective methods to fill the space in your large planters, ensuring your plants get the root depth they need while you conserve resources. It’s a practical approach that benefits both your garden and your wallet.
Why Using Less Soil Matters
Filling oversized containers to the brim with potting mix is a common practice, but it presents several challenges, especially for home gardeners. First, the cost of high-quality potting soil adds up quickly when you’re dealing with multiple large pots. Second, a container filled entirely with dense, moist soil is incredibly heavy, making it difficult to reposition for changing sunlight or to bring indoors for the winter. Furthermore, many plants don’t require that much depth for their root systems.
The soil at the very bottom of a deep pot often stays overly wet, as drainage can be slow. This can lead to root rot and other moisture-related problems. By using fillers in the bottom portion of the pot, you improve drainage, reduce weight, and use only as much soil as your plants truly need to flourish.
7 Step-by-Step Guide on How to Use Less Soil in Large Pots
Step 1: Choose the Right Pot
Before you can think about filling it, selecting the right pot is essential. Ensure your chosen container has at least one large drainage hole at the bottom. Without proper drainage, any water that collects in your filler material can become stagnant and harmful to plant roots. If your favorite decorative pot lacks a hole, you can often drill one yourself using a bit designed for the specific material, whether it’s ceramic, plastic, or terracotta. This foundational step is crucial for preventing waterlogged conditions, which is one of the biggest risks in container gardening and a key to success when using fillers.
Step 2: Select Your Filler Material
The key to using less soil is choosing a lightweight, inert material to occupy the bottom third or half of the pot. Common options include empty plastic water bottles, soda cans, or milk jugs with their caps on. You can also use packing peanuts, but be sure they are the styrofoam kind, not the biodegradable cornstarch variety, which will dissolve over time. Another excellent choice is to turn smaller plastic nursery pots upside down at the bottom of the larger container. These fillers create large air pockets, significantly reducing weight and the amount of soil needed.
Step 3: Cover the Drainage Hole
To prevent your filler material or soil from washing out of the bottom, it’s a good idea to cover the drainage hole. You don’t want to block it completely, but rather create a screen. A piece of broken terracotta pot, a flat stone, or a plastic coffee filter works perfectly for this purpose. This simple barrier allows water to escape freely while keeping your soil and fillers securely inside the container. This step ensures that your pot maintains its excellent drainage capabilities without losing its contents every time you water your plants.
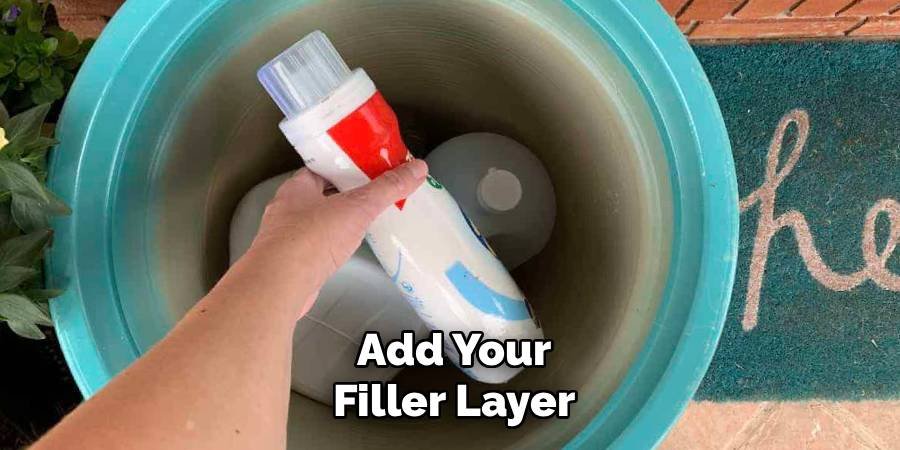
Step 4: Add Your Filler Layer
Now it’s time to add the lightweight filler you selected in step two. Place the material at the bottom of the pot, filling it to about one-third or one-half of its total height. The exact amount of filler depends on the size of your pot and the needs of the plant you intend to grow. For plants with shallow root systems, like annual flowers or herbs, you can use more filler. For plants that develop deeper roots, such as small shrubs or perennials, a smaller filler layer is more appropriate to allow ample room for root growth.
Step 5: Place a Barrier Over the Filler
To prevent soil from settling down into the gaps between your filler materials, place a barrier layer on top. This is an important step when figuring out how to use less soil in large pots effectively. A piece of landscape fabric, window screening, or even a layer of newspaper or cardboard will work well. This barrier separates the soil from the filler, ensuring your plant’s roots have a stable medium to grow into. It also helps maintain good drainage by stopping fine soil particles from clogging the air pockets you created with the filler.
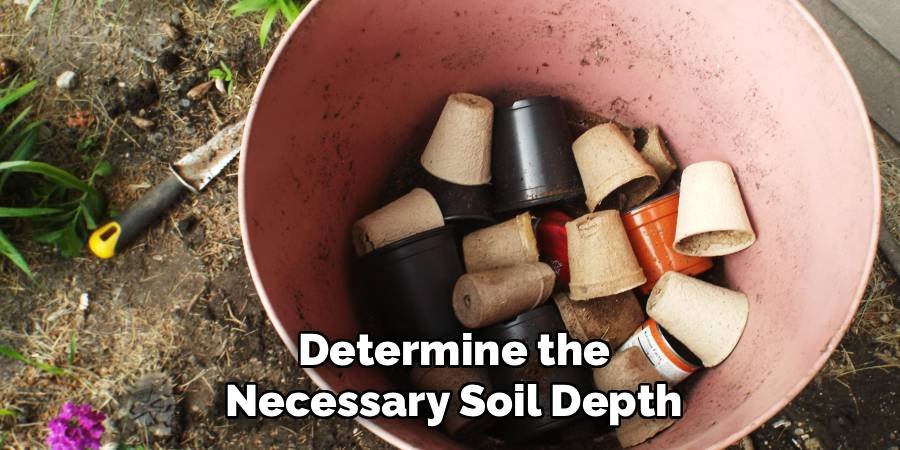
Step 6: Determine the Necessary Soil Depth
Before adding soil, consider the plant you will be growing. Research its typical root depth to determine how much soil it will need. Most annuals, perennials, and vegetables require about 6 to 12 inches of soil to establish a healthy root system. For example, lettuce and spinach have shallow roots needing only about 6 inches, while a tomato plant will want at least 12 inches. Measuring from the top of the barrier layer, ensure you leave enough space to provide this required depth, plus an inch or two at the top for watering.
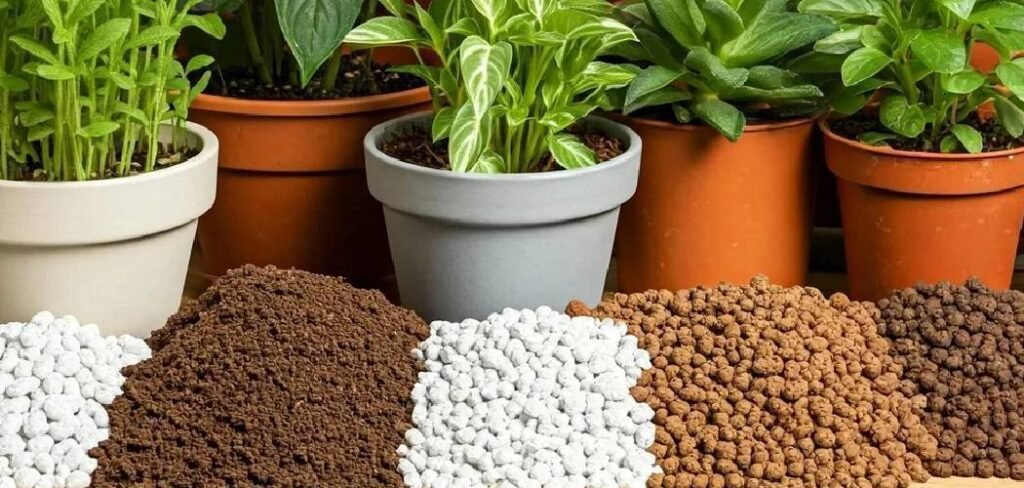
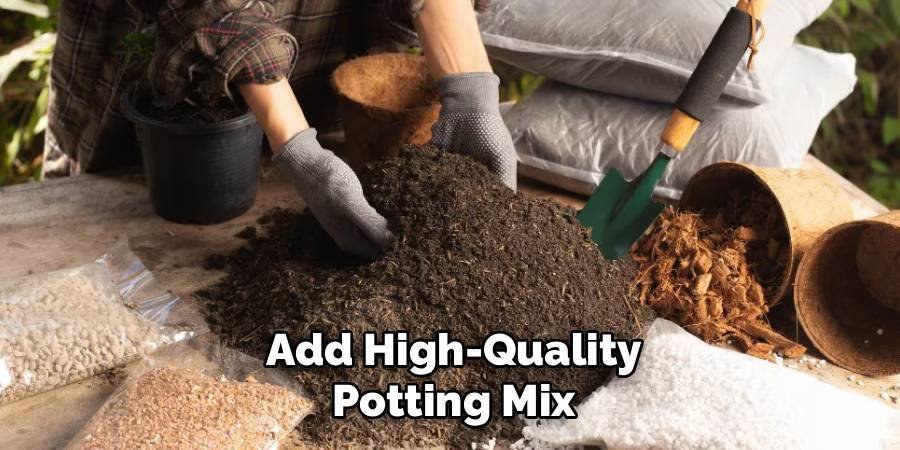
Step 7: Add High-Quality Potting Mix
With your filler and barrier in place, you can now add the soil. Use a high-quality potting mix, as this is where your plant will get all its nutrients and support. Fill the pot with enough mix to accommodate the root ball of your plant. Avoid using garden soil or topsoil, as these are too dense for containers and will compact easily, restricting root growth and impeding drainage. A good potting mix is specifically formulated to be light, airy, and to retain the right amount of moisture for container-grown plants.
Plant and Top Off with Soil
Gently place your plant on top of the soil layer, ensuring the top of its root ball sits about one to two inches below the rim of the pot. Then, fill in the surrounding space with more potting mix, lightly firming it around the plant to remove any large air pockets. This final layer of soil provides stability for your plant. Once it’s securely in place, you’ve successfully planted in a large container while minimizing soil usage. Water the plant thoroughly to help the soil settle and to give your plant a good start in its new home.
Frequently Asked Questions
What Can I Put in the Bottom of a Large Planter To Take Up Space?
You have many options for lightweight fillers. The most popular choices include:
- Empty, capped plastic bottles or milk jugs.
- Crushed aluminum soda cans.
- Styrofoam packing peanuts (avoid biodegradable types).
- Upside-down plastic nursery pots.
- Chunks of broken styrofoam from packaging.
The goal is to choose something that is bulky, light, and will not decompose quickly, ensuring it provides a stable base for years.
Is It Safe To Put Plastic Bottles in the Bottom of a Planter?
Yes, it is generally safe to use plastic bottles, like water or soda bottles, as fillers. Most of these plastics are relatively stable and will not leach harmful chemicals into the soil in significant amounts, especially since they will be at the bottom, away from the bulk of the plant’s roots. To be extra cautious, use plastics labeled #2 (HDPE), #4 (LDPE), or #5 (PP), as they are considered the most stable and safest for food-grade containers.
How Much Filler Should I Use in a Large Pot?
A good rule of thumb is to fill the bottom one-third to one-half of the pot with filler material. The exact ratio depends on what you plan to grow. For shallow-rooted plants like annual flowers (petunias, marigolds) or herbs, you can fill up to half the pot with fillers. For plants with deeper roots, such as tomatoes, small shrubs, or perennials, stick to filling only the bottom quarter or third to ensure they have enough room to grow.
Will Using Fillers Affect Drainage?
When done correctly, using fillers will actually improve drainage. The large air pockets created by materials like plastic bottles or inverted pots allow excess water to move away from the soil and root zone much faster than a pot filled entirely with dense soil. However, it is critical to ensure your pot has a drainage hole and that you use a barrier like landscape fabric to prevent soil from washing down and clogging these air pockets.
Can I Reuse the Filler Material?
Absolutely! One of the benefits of using non-biodegradable fillers like plastic bottles or styrofoam is that they can be reused season after season. When it’s time to repot your plant or change out the soil, simply empty the container, separate the soil from the filler, and save the filler material for your next large container project. This makes the method even more sustainable and cost-effective over time.
Conclusion
Mastering the art of container gardening in large pots doesn’t have to mean breaking the bank on soil or straining your back. By using lightweight fillers to take up space, you create a healthier growing environment with improved drainage while making your pots significantly lighter and more manageable. This technique is a game-changer for anyone with a balcony, patio, or garden, allowing you to enjoy the beauty of large-scale plantings without the common drawbacks. Now that you know how to use less soil in large pots, you can confidently tackle those oversized container projects and build the garden of your dreams.
About Ravuk Barg
B.Sc. Horticulture Science | Certified Master Gardener
Ravuk Barg has spent more than a decade with his hands in the soil and his head full of questions about why some gardens thrive while others struggle. What started as a single raised bed of tomatoes and basil in a modest backyard has grown into a deep, working knowledge of everything from seed germination and soil amendment to companion planting and seasonal pruning.
Over the years, Ravuk has gardened through drought summers, waterlogged springs, and pest invasions that would make most gardeners hang up their trowels for good. Those hard seasons, he’ll tell you, taught him more than any perfect growing year ever could. He writes from that earned experience—covering vegetable growing, ornamental planting, houseplant care, composting, and garden design with equal confidence and curiosity.
Philosophy & Approach
Ravuk’s approach to gardening is rooted in practicality. He favors organic methods not out of dogma, but because they work long-term—resulting in healthier soil, fewer inputs, and stronger plants. He has a particular fondness for heirloom vegetable varieties (the kind with proper flavor), unruly cottage-style flower beds, and the stubborn houseplants that everyone else gave up on.
The Mission: Give readers the honest, experience-backed advice that helps them actually succeed in their gardens—not just the ideal version, but the real one; weeds, failures, and all.
Education & Credentials
-
B.Sc. in Horticulture Science
-
Greenfield Agricultural University
-
Focus: Plant Physiology, Soil Ecology, and Sustainable Crop Production
-
-
Master Gardener Certification
-
Cooperative Extension Service
-
Focus: 200+ hours of hands-on practical training and community garden work
-
Continuing Education
-
Organic Pest Management
-
Native Plant Landscaping
-
Sustainable Crop Production