

You’ve spent weeks, maybe even months, carefully tending to your garden. Your fruits are ripening, and your vegetables are nearly ready for harvest. But overnight, you discover that birds have turned your hard work into their personal buffet. It’s a frustrating experience for any gardener. Fortunately, there’s a simple and effective solution to protect your precious crops.
This guide will walk you through exactly how to use bird netting for garden protection, ensuring your harvest stays safe from feathered thieves. From choosing the right material to proper installation, we will cover everything a beginner needs to know to successfully shield their plants.
Why Use Bird Netting for Your Garden?
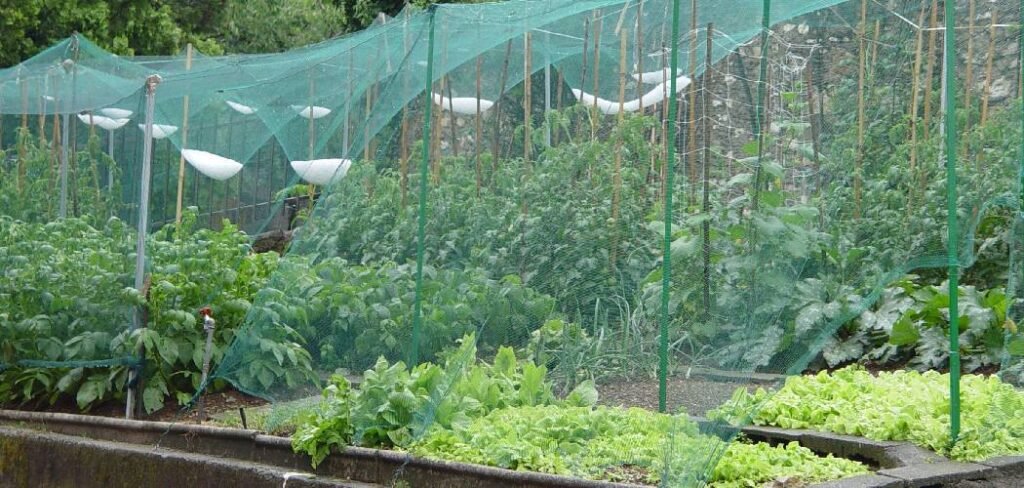
Protecting your garden from birds is crucial for a successful harvest, especially if you’re growing fruits like berries, cherries, or figs, which are irresistible to them. Birds can decimate a crop in a surprisingly short amount of time, pecking at ripening fruit and rendering it inedible. Unlike chemical deterrents or scare tactics that can lose effectiveness, physical barriers like bird netting offer a reliable and humane solution.
It creates an impassable shield around your plants, preventing birds from ever reaching the produce. This method is also safe for the birds, as proper installation ensures they cannot get tangled. For a home gardener who has invested time and effort, using netting is a straightforward way to guarantee that you, not the local wildlife, get to enjoy the fruits of your labor.
8 Step-by-Step Guide: How to Use Bird Netting for Garden Protection
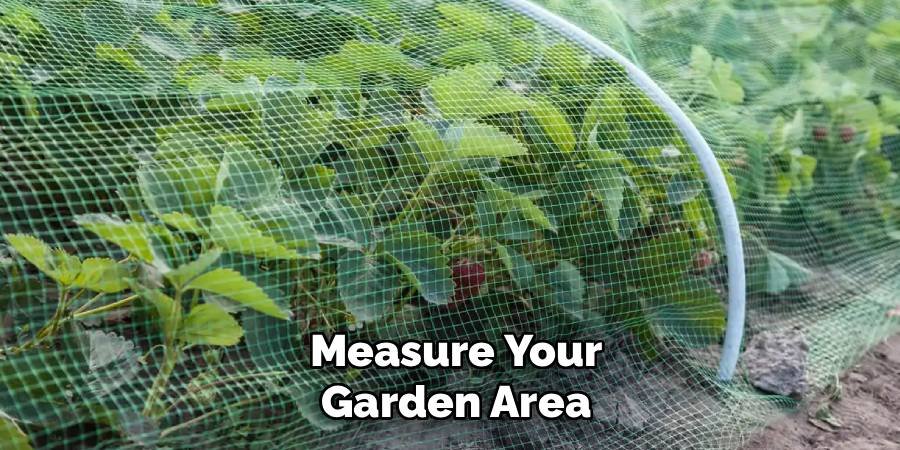
Step 1: Measure Your Garden Area
Before you can purchase your netting, you need to know how much you need. Use a tape measure to determine the length and width of the garden bed or the area you intend to cover. For raised beds or rows of plants, measure the full span you want to protect. When protecting individual fruit trees or bushes, measure the height and the diameter of the canopy. Always add a few extra feet to your measurements. This extra material gives you enough slack to secure the netting to the ground or around the base of the structure, preventing birds from sneaking in underneath. Accurate measurements are the foundation of a successful installation.
Step 2: Choose the Right Netting
Not all bird netting is created equal. The most common materials are polypropylene or polyethylene, which are durable, UV-resistant, and lightweight. The key factor to consider is the mesh size. For smaller birds like sparrows and finches, a mesh size of 1/2 inch to 3/4 inch is ideal. For larger birds like pigeons or crows, a 1-inch mesh will suffice. Smaller mesh is generally better as it excludes a wider variety of birds. Also, consider the color. Black netting tends to be more UV-resistant and less visible, blending into the landscape, while white netting is more visible to birds, potentially helping them avoid flying into it.
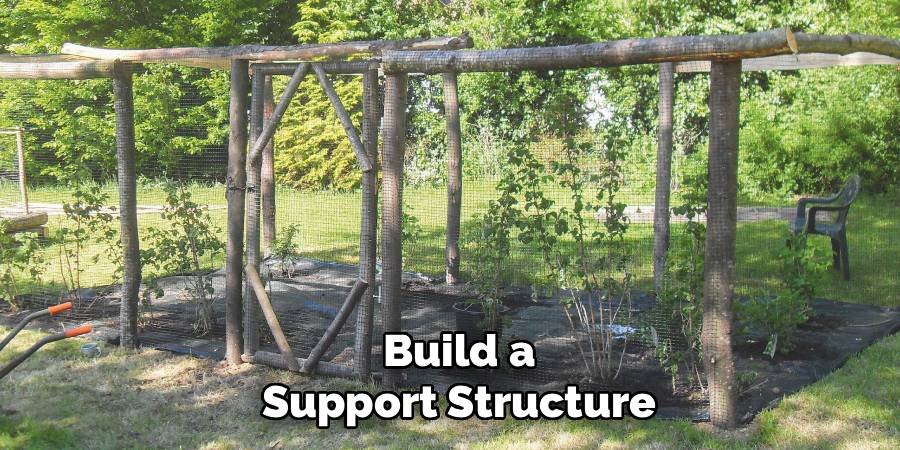
Step 3: Build a Support Structure
Draping netting directly onto your plants is a common mistake. This can restrict plant growth, damage leaves and fruit, and make it easier for birds to peck through the material. A support structure is essential. You can create a simple frame using PVC pipes, bamboo poles, flexible hoops, or wooden stakes. For row crops or raised beds, place stakes at each corner and every few feet along the sides. Connect them with wire or twine at the top to create a ridge. For fruit trees or berry bushes, you can build a cube-like frame around the plant. The goal is to create a framework that holds the netting several inches away from the foliage on all sides.
Step 4: Drape the Netting Over the Frame
With your support structure in place, it’s time to cover it. This step is often easiest with two people, especially for larger areas. Carefully unroll the bird netting and drape it over the frame you built. Start at one end and slowly walk it over the top, ensuring it covers the entire structure from one side to the other. Be gentle to avoid snagging the material on branches or the frame itself. Make sure the netting extends all the way to the ground on all sides, with enough extra material to secure it. This complete coverage is key to how to use bird netting for garden defense effectively.
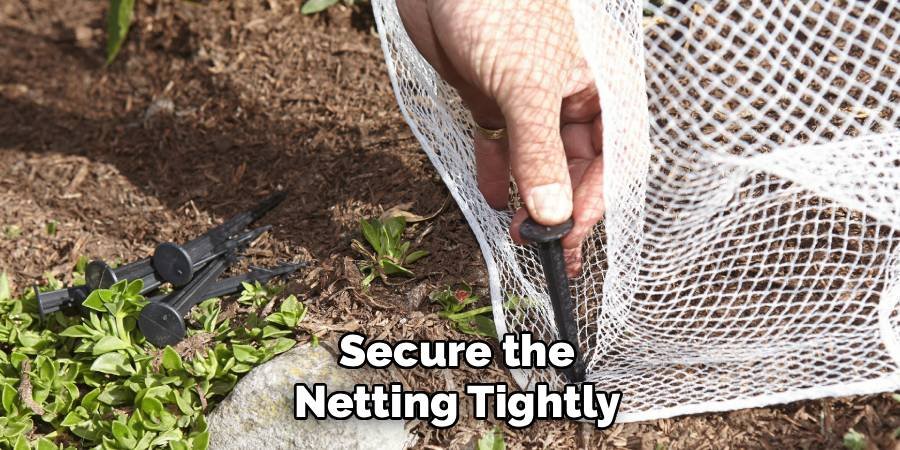
Step 5: Secure the Netting Tightly
A loosely draped net is an invitation for birds to find a way in. The bottom edge is the most vulnerable point. Birds are resourceful and will hop underneath if given the chance. To prevent this, you must secure the netting firmly to the ground. You can use garden staples, landscape pins, or even rocks and bricks placed every few feet along the perimeter. Pull the netting taut as you secure it, but not so tight that it puts excessive strain on the frame. The goal is to eliminate all gaps and create a sealed enclosure around your plants.
Step 6: Create an Access Point
Once your garden is fully enclosed, you will still need a way to get inside to water, weed, and harvest your crops. Plan for an access point before you finish securing the netting. An easy way to do this is to choose one side or corner to serve as a “door.” Instead of permanently pinning it down with staples, use rocks or bricks to weigh down the netting in that section. This allows you to easily lift the edge, tend to your plants, and then securely place the weights back down when you are finished. This simple method provides convenient access without compromising protection.
Step 7: How to Use Bird Netting for Garden Trees
Protecting individual fruit trees requires a slightly different approach. After building a frame around the tree or deciding to drape it directly (if the tree is sturdy), wrap the netting around the entire canopy. Ensure the netting reaches all the way down to the trunk. Gather the excess netting at the base of the tree and tie it securely around the trunk with twine or a zip tie. This prevents birds from flying up from underneath into the branches. Be sure not to tie it so tightly that it could damage the bark. This method effectively cocoons the fruit-bearing parts of the tree.
Step 8: Inspect and Maintain the Netting
Your work isn’t done after the initial installation. Regularly inspect your bird netting for any rips, tears, or new gaps. Strong winds, falling branches, or animals can cause damage. Check the perimeter to ensure it remains securely fastened to the ground. If you find any holes, patch them immediately with zip ties or by weaving in a small piece of extra netting. Also, check to make sure no birds or other wildlife have become trapped inside. Consistent maintenance ensures your netting remains an effective barrier throughout the growing season, providing continuous protection for your garden.

Common Mistakes to Avoid
When using garden netting, there are several common mistakes that can reduce its effectiveness or even harm your plants and wildlife. One frequent error is selecting netting with holes that are too large, allowing pests or birds to pass through easily. Similarly, using netting that is too fine can block sunlight and air circulation, negatively impacting your plants’ growth. Another mistake is failing to securely anchor the netting, which can result in it being dislodged by wind or wildlife. Additionally, neglecting regular inspections can lead to unnoticed damage or trapped animals, both of which compromise the netting’s utility. Avoiding these pitfalls will help you maximize the benefits of your garden netting and maintain a healthy, thriving garden.
Frequently Asked Questions
What Is the Best Color for Bird Netting?
The best color often depends on your priorities. Black netting is generally the most popular choice because it is treated with carbon black, which makes it highly resistant to UV degradation and longer-lasting. It is also less visible from a distance, so it doesn’t detract from your garden’s appearance. White netting, on the other hand, is more visible to birds, which may help deter them from flying into it. However, it can stand out more visually in your landscape. Both colors are effective at protecting crops.
Can Birds Get Trapped in Garden Netting?
Yes, birds and other wildlife can become entangled in garden netting if it is not installed correctly. The biggest risk comes from draping the net directly over plants or leaving it loose and unsecured. To prevent this, always use a frame to keep the netting elevated off the foliage and pull it taut. Most importantly, secure the edges firmly to the ground so there are no loose, sagging areas where an animal could get tangled. Proper installation is the key to making bird netting a safe and humane solution.
How Long Does Bird Netting Last?
The lifespan of bird netting depends on the material quality and environmental exposure. High-quality, UV-stabilized polypropylene or polyethylene netting can last for 5 to 10 years, or even longer if it is well-maintained and stored properly during the off-season. Cheaper, lower-quality nets may only last one or two seasons before they become brittle and start to tear from sun exposure. Investing in a durable, weather-resistant product will save you money and effort in the long run.
When Should I Put Up Bird Netting?
The best time to install bird netting is just before your fruit begins to ripen or change color. Birds are most attracted to fruit as it starts to sweeten. Putting the netting up too early can be an unnecessary hassle, as you will have to work around it for longer. However, don’t wait until you see birds already feeding on your crops. Once they have identified your garden as a food source, they will be more persistent. By installing the net as the fruit begins to mature, you protect it during its most vulnerable stage.
Can You Put Bird Netting Directly on Plants?
While you can drape netting directly onto some sturdy plants, it is not recommended. Direct contact can:
- Restrict airflow and sunlight.
- Damage delicate leaves, flowers, and developing fruit.
- Allow birds to still peck the fruit through the holes in the net.
- Inhibit plant growth by constricting branches.
Using a frame or support structure to hold the netting away from the plants is always the best practice. This creates a true barrier that protects your plants without interfering with their health and growth.
Conclusion
Protecting your garden from birds doesn’t have to be a constant battle. With the right materials and a proper installation technique, bird netting provides a simple, humane, and highly effective barrier. By following the steps to measure your space, build a supportive frame, and secure the netting properly, you can create a fortress for your fruits and vegetables. Remember that a taut, well-maintained net is the key to success. Now that you understand how to use bird netting for garden protection, you are ready to ensure that your hard work results in a bountiful harvest for you and your family to enjoy.
About Ravuk Barg
B.Sc. Horticulture Science | Certified Master Gardener
Ravuk Barg has spent more than a decade with his hands in the soil and his head full of questions about why some gardens thrive while others struggle. What started as a single raised bed of tomatoes and basil in a modest backyard has grown into a deep, working knowledge of everything from seed germination and soil amendment to companion planting and seasonal pruning.
Over the years, Ravuk has gardened through drought summers, waterlogged springs, and pest invasions that would make most gardeners hang up their trowels for good. Those hard seasons, he’ll tell you, taught him more than any perfect growing year ever could. He writes from that earned experience—covering vegetable growing, ornamental planting, houseplant care, composting, and garden design with equal confidence and curiosity.
Philosophy & Approach
Ravuk’s approach to gardening is rooted in practicality. He favors organic methods not out of dogma, but because they work long-term—resulting in healthier soil, fewer inputs, and stronger plants. He has a particular fondness for heirloom vegetable varieties (the kind with proper flavor), unruly cottage-style flower beds, and the stubborn houseplants that everyone else gave up on.
The Mission: Give readers the honest, experience-backed advice that helps them actually succeed in their gardens—not just the ideal version, but the real one; weeds, failures, and all.
Education & Credentials
-
B.Sc. in Horticulture Science
-
Greenfield Agricultural University
-
Focus: Plant Physiology, Soil Ecology, and Sustainable Crop Production
-
-
Master Gardener Certification
-
Cooperative Extension Service
-
Focus: 200+ hours of hands-on practical training and community garden work
-
Continuing Education
-
Organic Pest Management
-
Native Plant Landscaping
-
Sustainable Crop Production