

Welcome to the world of gardening, where the right tools can transform a chore into a joy. Among the most essential yet often overlooked tools is the hand cultivator. This simple, claw-like instrument is a powerhouse for aerating soil, removing weeds, and preparing garden beds for planting.
For beginners, understanding how to use a hand cultivator properly is a fundamental skill that unlocks a healthier, more vibrant garden. It saves your back from strenuous digging and helps create the perfect environment for your plants to thrive. This guide will walk you through everything you need to know, making you a confident gardener in no time.
Why a Hand Cultivator is a Gardener’s Best Friend
A hand cultivator might seem basic, but its impact on your garden’s health and your own efficiency is significant. Its primary function is to break up compacted soil. Loosening the top layer allows air, water, and nutrients to penetrate deeper, reaching plant roots where they are needed most. This aeration is crucial for healthy root development and overall plant vitality. Furthermore, the sharp tines are perfect for uprooting shallow-rooted weeds, clearing your garden beds without disturbing your established plants. It’s a versatile tool that helps you work smarter, not harder, by combining the functions of a small rake, a weeder, and an aerator into one compact device.
10 Step Methods Guide on How to Use a Hand Cultivator
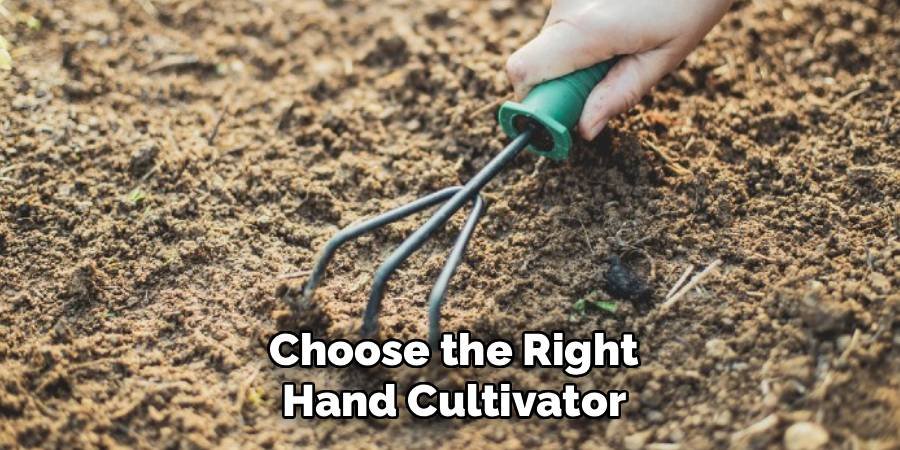
Step 1: Choose the Right Hand Cultivator
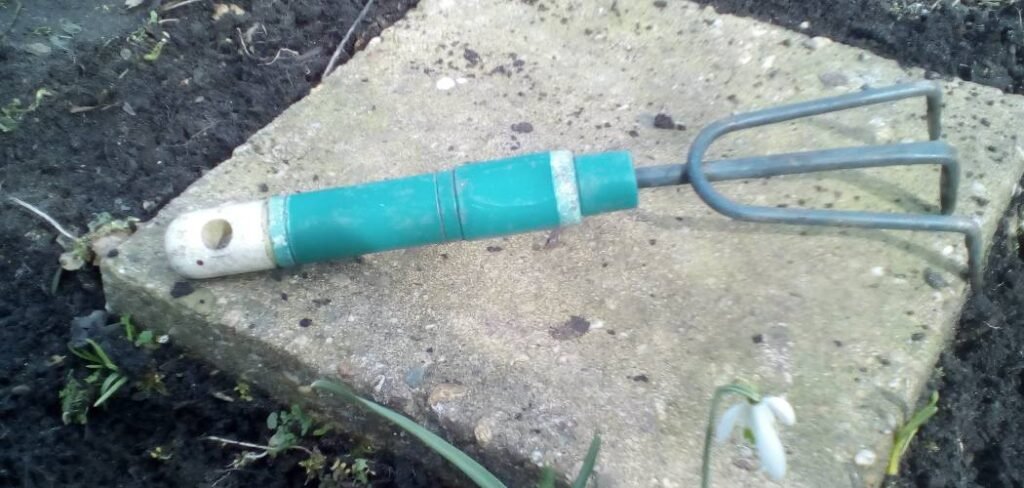
Before you begin, select a hand cultivator that feels comfortable in your hand. Look for one with an ergonomic handle to reduce wrist strain during use. The tines should be strong and made from a durable material like stainless steel or carbon steel, which can withstand rocky soil without bending. Some models have three tines, while others have five. A three-tined cultivator is excellent for tougher, more compacted soil, while a five-tined model covers more ground for general-purpose loosening.
Step 2: Prepare Your Garden Bed
Start by clearing the area of any large debris, such as fallen branches, large rocks, or thick patches of dead leaves. This initial cleanup prevents the cultivator’s tines from getting snagged, allowing you to work more smoothly and efficiently. If the ground is extremely dry and hard, lightly watering it about an hour before you plan to cultivate can make the soil much easier to work with, reducing the physical effort required on your part.
Step 3: Adopt the Correct Stance and Grip
Proper technique begins with your posture. Kneel on a gardening pad or crouch comfortably to get close to the soil. This position gives you better leverage and control over the tool, minimizing strain on your back. Grip the hand cultivator firmly but not too tightly. Your hold should be secure enough to guide the tool with precision. Wearing gardening gloves will protect your hands from blisters and keep them clean while you work the soil.
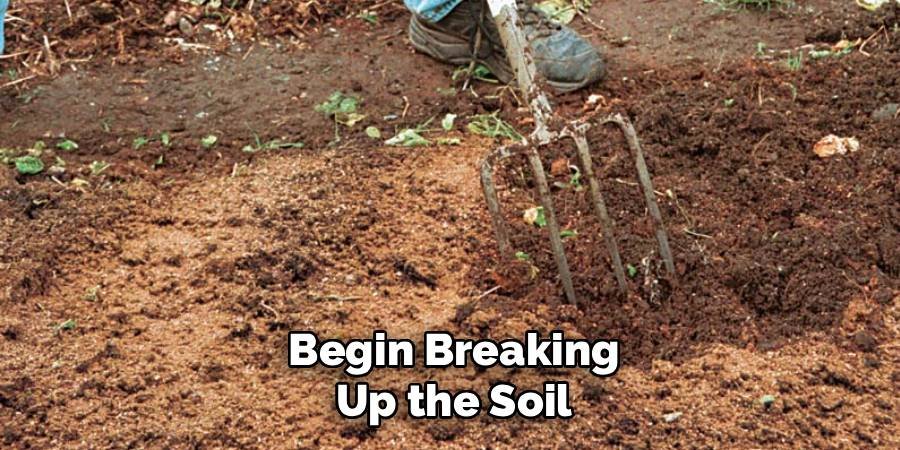
Step 4: Begin Breaking Up the Soil
Drive the tines of the cultivator into the top 2-3 inches of soil. There is no need to dig deeply; the goal is to loosen the surface. Use a simple downward and pulling motion toward your body. Work in short, deliberate strokes. You should feel the soil breaking apart and becoming looser. This action aerates the topsoil, which is the most critical layer for seed germination and nutrient absorption for young plants, preparing a welcoming bed for them.
Step 5: Master the Twisting Motion for Weeding
When you encounter small weeds, a hand cultivator is your best ally. Plunge the tines into the soil at the base of the weed. Give the tool a slight twist and pull upward. This motion effectively dislodges the weed and its root system from the soil. This technique is particularly effective for shallow-rooted weeds like chickweed or crabgrass. It allows you to remove unwanted growth without excessively disturbing the surrounding soil or the roots of nearby desirable plants.
Step 6: Work in a Systematic Pattern
To ensure you cultivate the entire area evenly, work in a methodical pattern. You can move in straight rows or work in small, circular sections. This systematic approach guarantees that no patches of compacted soil are missed. Overlapping your strokes slightly will create a uniform, finely tilled texture across the garden bed. This consistent soil structure promotes even water distribution and gives your plant roots an ideal environment to spread out and grow strong.
Step 7: How to Use a Hand Cultivator Around Existing Plants
When working near established plants, exercise extra care to avoid damaging their delicate root systems. Use the very tips of the tines to gently scratch the surface of the soil. Keep a safe distance from the plant’s main stem. This shallow cultivation is sufficient to break up any surface crusting and remove competing weeds without harming your beloved flowers or vegetables. This careful approach ensures your plants remain undisturbed while still reaping the benefits of aerated soil.
Step 8: Mix in Amendments and Fertilizers
A hand cultivator is an excellent tool for incorporating compost, fertilizer, or other soil amendments. After spreading the material over the surface of your garden bed, use the cultivator to gently mix it into the top few inches of soil. Use the same pulling and twisting motions as before. This action ensures the nutrients are distributed evenly throughout the root zone, where your plants can readily access them for a healthy boost.

Step 9: Smooth the Soil for Planting
After you have finished cultivating and amending, use the side of the cultivator’s tines or a small rake to smooth the soil surface. This creates a fine, level seedbed, which is ideal for planting seeds or transplanting seedlings. A smooth surface ensures good seed-to-soil contact, which is essential for successful germination. It also gives your garden a neat, professional appearance, ready for the next stage of planting.
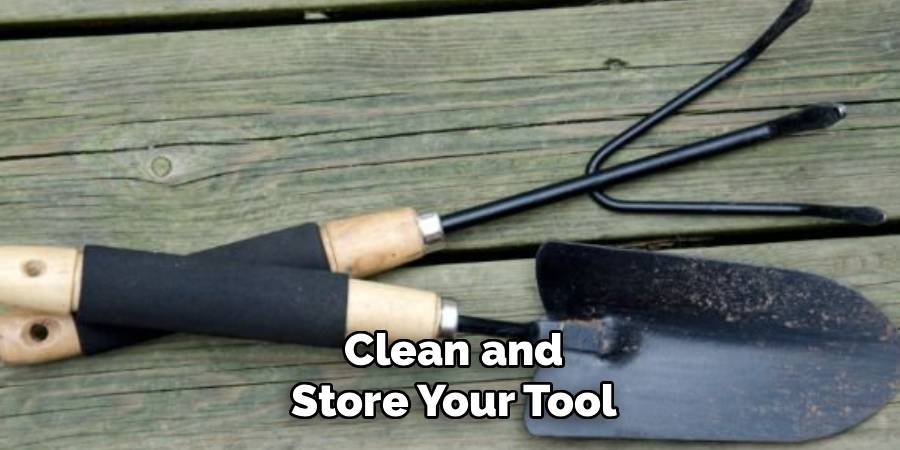
Step 10: Clean and Store Your Tool
Proper maintenance will extend the life of your hand cultivator. After each use, scrape off any caked-on mud and soil. You can use a stiff brush or a spray of water to clean it thoroughly. Dry the tool completely with an old cloth to prevent rust, especially if it is made of carbon steel. Storing your clean, dry cultivator in a shed or garage will keep it in excellent condition for many gardening seasons to come.
Frequently Asked Questions (FAQ)
What Is the Difference Between a Hand Cultivator and a Tiller?
A hand cultivator is a small, manual tool used for loosening soil, weeding, and aerating in small spaces like garden beds or containers. A tiller, on the other hand, is a much larger machine, powered by gasoline or electricity. Tillers are designed to break up large areas of compacted earth, like an entire lawn or a new garden plot. While a hand cultivator is for precision work, a tiller is for heavy-duty, large-scale soil preparation.
How Deep Should I Cultivate the Soil?
For most gardening tasks, you only need to cultivate the top 2 to 3 inches of soil. This depth is sufficient for:
- Breaking up surface crust.
- Aerating the soil to allow water and air to penetrate.
- Removing shallow-rooted weeds.
- Mixing in compost or granular fertilizer.
Digging deeper can disturb the natural soil structure and may harm the roots of nearby established plants.
Can a Hand Cultivator Be Used on Clay Soil?
Yes, a hand cultivator can be effective on clay soil, but it requires more effort. For best results, work with clay soil when it is slightly moist—not bone-dry and not waterlogged. Choose a sturdy cultivator with strong, sharp tines that won’t bend. It is also beneficial to amend the clay soil with organic matter like compost over time. This will gradually improve its structure, making it easier to work with your hand cultivator in the future.
How Often Should I Cultivate My Garden?
The frequency depends on your soil type and gardening goals. Generally, it’s a good practice to cultivate your garden beds at the beginning of the planting season to prepare them. You can also cultivate lightly every few weeks to control weeds and break up any surface crust that forms after heavy rain or watering. For vegetable gardens, cultivating between rows during the growing season can keep weeds down and soil loose.
What Are Some Common Mistakes to Avoid?
The most common mistakes beginners make include:
- Digging too deep: This can damage plant roots and disrupt healthy soil layers.
- Using the tool on wet soil: This can lead to clumpy, compacted soil that is worse than before.
- Working too close to plants: Be gentle and stay a few inches away from stems to avoid root damage.
- Applying too much force: Let the tool do the work. A forceful, hacking motion is less effective and more tiring than a smooth, pulling stroke.
Conclusion
Mastering a hand cultivator is a simple step that yields profound benefits for your garden. From aerating soil to vanquishing weeds and mixing in nutrients, this humble tool is a true workhorse. By following the steps outlined in this guide, you can improve your soil’s health, save yourself time and effort, and create a more productive and beautiful garden. Now that you understand how to use a hand cultivator, you are well-equipped to tackle your gardening tasks with confidence and skill. Happy gardening
About Ravuk Barg
B.Sc. Horticulture Science | Certified Master Gardener
Ravuk Barg has spent more than a decade with his hands in the soil and his head full of questions about why some gardens thrive while others struggle. What started as a single raised bed of tomatoes and basil in a modest backyard has grown into a deep, working knowledge of everything from seed germination and soil amendment to companion planting and seasonal pruning.
Over the years, Ravuk has gardened through drought summers, waterlogged springs, and pest invasions that would make most gardeners hang up their trowels for good. Those hard seasons, he’ll tell you, taught him more than any perfect growing year ever could. He writes from that earned experience—covering vegetable growing, ornamental planting, houseplant care, composting, and garden design with equal confidence and curiosity.
Philosophy & Approach
Ravuk’s approach to gardening is rooted in practicality. He favors organic methods not out of dogma, but because they work long-term—resulting in healthier soil, fewer inputs, and stronger plants. He has a particular fondness for heirloom vegetable varieties (the kind with proper flavor), unruly cottage-style flower beds, and the stubborn houseplants that everyone else gave up on.
The Mission: Give readers the honest, experience-backed advice that helps them actually succeed in their gardens—not just the ideal version, but the real one; weeds, failures, and all.
Education & Credentials
-
B.Sc. in Horticulture Science
-
Greenfield Agricultural University
-
Focus: Plant Physiology, Soil Ecology, and Sustainable Crop Production
-
-
Master Gardener Certification
-
Cooperative Extension Service
-
Focus: 200+ hours of hands-on practical training and community garden work
-
Continuing Education
-
Organic Pest Management
-
Native Plant Landscaping
-
Sustainable Crop Production