

Adding a roof to your deck transforms it from a fair-weather spot into a true extension of your living space, usable rain or shine. However, the most critical aspect of this project isn’t the shingles or the style; it’s understanding the structural requirements to keep it safe. Learning how to support a roof over a deck is essential for any homeowner planning this upgrade.
The added weight of a roof requires a completely different support system than what your existing deck likely has. This guide will walk you through the fundamental principles of load paths, posts, and footings, ensuring your new outdoor haven is as sturdy as it is beautiful. Whether you are planning a DIY build or hiring a pro, knowing these basics is key to a successful project.
The structural integrity of a deck roof is not something to take lightly. A roof adds significant “dead load” (the weight of the materials themselves) and “live load” (temporary weight like snow, wind, or rain) to your structure. Most existing decks are designed only to support people and furniture, not thousands of pounds of overhead lumber and roofing material.
Without proper support, the added weight can cause the deck posts to buckle, the footings to sink, or the connection to the house to fail. This could lead to catastrophic collapse, property damage, and serious injury. Properly supporting your roof ensures that the load is transferred safely down through the posts and into the ground, bypassing the deck structure itself. This protects your home’s structural shell and guarantees that your new outdoor room meets local building codes and remains safe for years to come.
Step-by-Step Guide on How to Support a Roof Over a Deck
This section breaks down the complex process of creating a structural support system into manageable phases. Building a roof over a deck is a major construction project that requires precision and adherence to safety standards.
We will focus on the “post-and-beam” method, which is the most common way to transfer roof loads. Each step below outlines a specific part of the process, from digging footings to securing the final beam. Understanding how to support a roof over a deck involves visualizing the continuous path of weight from the ridge of the roof all the way down to the solid earth beneath your backyard.
Step 1: Determine Load Requirements and Footing Locations
Before you purchase a single piece of lumber, you must calculate the loads your roof will generate. This involves consulting local building codes to understand snow and wind load requirements in your area. Once you know the weight you need to support, you can determine where your posts need to go.
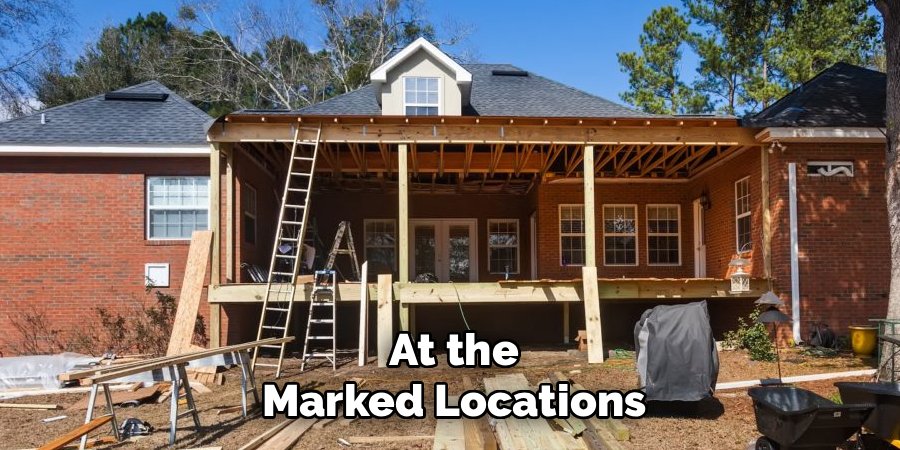
These posts generally shouldn’t rest on the existing deck floor; they need to go through the deck to their own footings. Mark the locations on the ground directly below where the roof beams will sit. Accurate placement here is crucial because these points will bear the entire weight of the new structure.
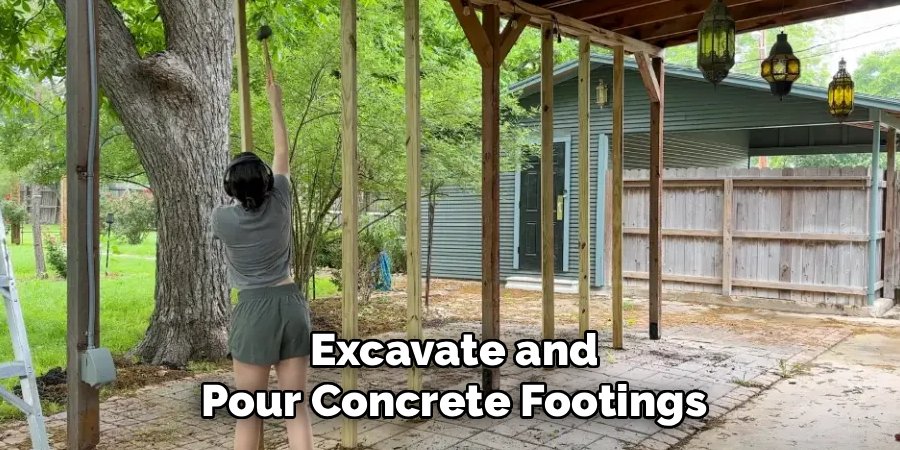
Step 2: Excavate and Pour Concrete Footings
The foundation is the most critical part of your support system. You need to dig holes for your footings at the marked locations. The depth of these holes must extend below the frost line in your area to prevent the ground from heaving during freeze-thaw cycles, which would destabilize the roof.
Once dug, pour concrete into the holes to create substantial footings. In many cases, you will embed metal post bases into the wet concrete. These brackets will eventually hold your wooden posts securely in place, keeping them elevated slightly off the concrete to prevent rot and moisture damage.
Step 3: Install the Support Posts
Once the concrete footings have cured and hardened completely, typically after a few days, you can install the vertical support posts. These are usually 6×6 pressure-treated timbers, as 4x4s are often insufficient for carrying roof loads. Measure the height required for each post carefully, accounting for the slope of the roof and the height of the beam that will sit on top. Cut the posts to length and position them in the metal bases on your footings. Use a level to ensure each post is perfectly plumb (vertically straight) before securing them temporarily with braces to keep them steady while you work.
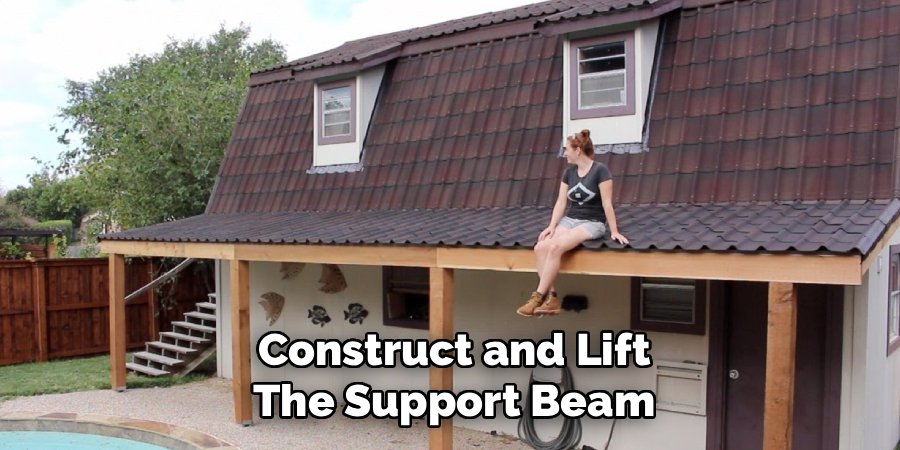
Step 4: Construct and Lift the Support Beam
The support beam is a heavy, horizontal structural member that spans across the tops of your posts. It carries the weight of the rafters and transfers it to the posts.
This beam is typically made by fastening two or three pieces of 2-by lumber together (like 2x10s or 2x12s) with a piece of plywood sandwiched in between for correct thickness. Once assembled, you will need help to lift this heavy beam onto the tops of your posts. It is vital that this beam sits directly on top of the posts, not bolted to the side, to rely on the wood’s compressive strength rather than the shear strength of bolts.
Step 5: Secure the Beam to the Posts
With the beam positioned correctly on top of the posts, you must secure it permanently to prevent any movement. This is done using specialized metal post-to-beam connectors or hardware. These metal brackets wrap around the beam and the top of the post, tying them together into a single unit. Use structural screws or hot-dipped galvanized nails designed for this specific hardware. Avoid using generic deck screws, which can snap under shear loads. The connection must be rigid enough to resist uplift from strong winds, keeping the roof attached to the posts during storms.
Step 6: Install the Ledger Board (If Attached to House)
If your deck roof will be attached to your home, you need to install a ledger board on the house wall. This horizontal board supports the house-side of the rafters. You must remove the siding on your house to expose the structural framing underneath. The ledger board must be bolted directly into the house’s rim joist or studs using lag screws or structural bolts. Flashing must be installed carefully behind and over the ledger to prevent water from leaking into your home’s walls. This connection is as critical as the footings; if it fails, the roof collapses.
Step 7: Install Rafters and Bracing
The final structural step is installing the rafters that will hold the roof decking and shingles. Rafters span from the ledger board on the house to the beam you installed on the posts. They are typically spaced 16 or 24 inches apart. Secure the rafters to the ledger with joist hangers and to the beam with hurricane ties. Once the rafters are in place, you may need to add diagonal knee braces between the posts and the beam. These braces prevent the roof structure from racking or wobbling side-to-side, adding essential stability against lateral forces like wind.
Common Mistakes to Avoid
A frequent and dangerous mistake is resting new roof posts directly on the existing deck boards. The deck surface is not designed to carry point loads from a roof. The posts must continue through the deck to their own independent footings in the ground. Another common error is undersizing the beam or posts. Using 4×4 posts instead of 6x6s, or a single 2×8 for a beam, often results in sagging or failure.
Failing to account for “uplift” is also a major oversight. Gravity pushes the roof down, but wind tries to lift it up. You must use proper hurricane ties and metal connectors to tie the entire structure together from the rafters down to the footings. Finally, improper flashing at the house connection causes rot that can destroy the wall of your home. Always prioritize water management at the ledger board.
Frequently Asked Questions (FAQ)
H3: Can I Build A Roof Over An Existing Deck?
Yes, you can build a roof over an existing deck, but you generally cannot use the existing deck structure to support it. You will likely need to cut holes in the deck floor to install new footings and posts that are dedicated solely to supporting the weight of the new roof.
H3: How Deep Should The Footings Be For A Deck Roof?
The depth of your footings depends on your local climate. They must extend below the frost line, which is the depth to which the ground freezes in winter. This prevents frost heave from lifting and damaging the structure. Check with your local building department for the specific depth requirement in your area.
H3: Do I Need A Permit To Build A Roof Over My Deck?
Almost certainly, yes. Adding a roof changes the structural load and profile of your home. Most municipalities require a building permit and inspections to ensure the work meets safety codes. Building without a permit can lead to fines, insurance issues, and trouble selling your home in the future.
H3: What Size Posts Should I Use For A Deck Roof?
For most deck roofs, 6×6 pressure-treated posts are the standard requirement. They offer significantly more structural stability and load-bearing capacity than 4×4 posts. Furthermore, 6×6 posts provide a larger surface area for notching beams and attaching necessary hardware, making the overall structure much more secure and robust.
H3: How Do I Attach The Roof To The House?
The roof is attached to the house using a ledger board. This board is bolted directly to the house’s structural framing (studs or rim joist) after removing the siding. It requires meticulous flashing to prevent water intrusion. Structural lag screws or through-bolts are used to ensure a connection that can handle the weight.
Conclusion
Building a roof over your deck is a rewarding project that adds value and enjoyment to your home, but it demands respect for structural physics. By ensuring you have deep footings, robust 6×6 posts, and proper metal connectors, you create a load path that keeps your family safe. Don’t cut corners on materials or skip the permitting process. If you are ever unsure about the calculations or techniques involved, consulting a structural engineer or professional builder is a smart investment. Now that you understand the basics of how to support a roof over a deck, you can proceed with confidence, knowing your new outdoor sanctuary will stand strong against the elements.