

A beautiful sloped yard can add unique character to your property, but it also presents challenges, especially when it comes to soil erosion. Heavy rain and wind can wash away valuable topsoil, threatening your landscape and even your home’s foundation. Fortunately, there are effective methods to combat this problem.
Learning how to stabilize soil on a slope is essential for protecting your garden, preventing runoff, and creating a lush, healthy outdoor space. This guide will walk you through the process step-by-step, offering practical and beginner-friendly solutions that you can implement to secure your landscape for years to come.
Why Stabilize Soil on Your Slope?
Understanding the importance of stabilizing soil goes beyond preventing a muddy mess. When soil on a slope erodes, it carries away vital nutrients that your plants need to thrive. This can lead to patchy, unhealthy grass and struggling gardens. More seriously, unchecked erosion can compromise the structural integrity of retaining walls, patios, and even your home’s foundation over time. By taking proactive steps to control erosion, you are not just beautifying your yard; you are making a long-term investment in your property’s safety and value. A stable slope also promotes better water absorption, reducing polluted runoff into local waterways and contributing to a healthier environment.
8 Step-by-Step Guide: How to Stabilize Soil on a Slope
Follow these steps to effectively control erosion and create a stable, beautiful slope in your yard.
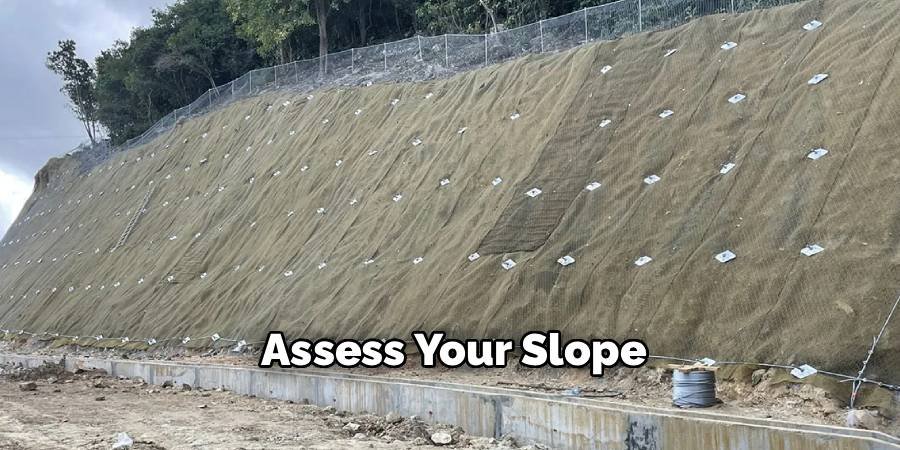
Step 1: Assess Your Slope
Before you begin any project, take time to carefully evaluate the slope. Determine its steepness and size, as this will influence which stabilization methods are most appropriate. A gentle, gradual incline may only require simple planting techniques, while a steeper grade might need structural support like a retaining wall. Also, observe the current erosion patterns. Note where water tends to flow during rainfall and identify areas where the soil is most vulnerable. This initial assessment is crucial for creating an effective plan and choosing the right materials for the job.
Step 2: Clear and Grade the Area
Once you have a plan, the next step is to prepare the surface. Start by clearing away any weeds, unwanted plants, and large debris like rocks or fallen branches. This creates a clean slate for your project. If you notice significant unevenness or ruts caused by previous erosion, you may need to do some light grading. Use a rake or shovel to smooth out the soil, filling in low spots and gently breaking up high spots. The goal is to create a more uniform surface, which helps prevent water from concentrating in one area and causing further damage.
Step 3: Add Organic Matter
Improving the soil’s structure is a key part of long-term stability. Healthy soil with plenty of organic material acts like a sponge, absorbing more water and binding soil particles together. Spread a generous layer of compost, aged manure, or other rich organic matter over the entire slope. Use a hard rake or a tiller on a very gentle slope to work this material into the top few inches of the existing soil. This amendment not only helps prevent erosion but also provides essential nutrients for the new plants you will be adding, setting them up for successful growth.
Step 4: Choose the Right Plants
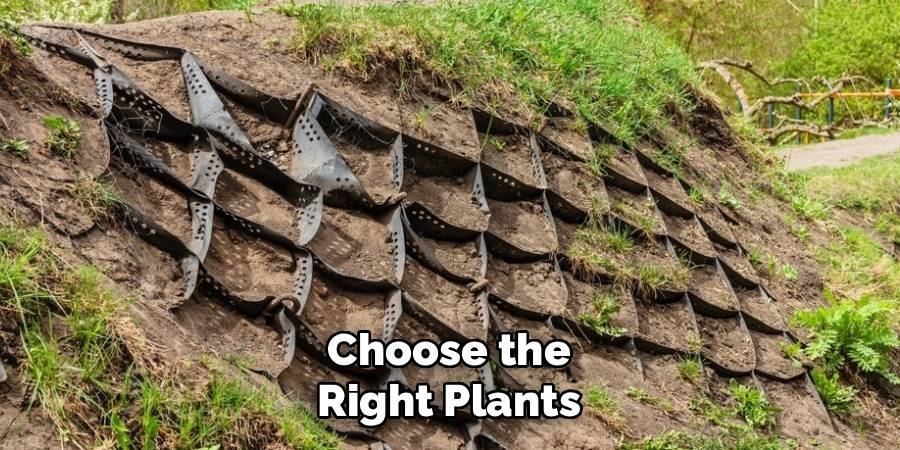
Vegetation is your best ally in the fight against erosion. Plant roots create a fibrous network that holds soil in place, making it one of the most effective ways to secure a slope. Select plants known for their deep or dense root systems. Ground covers like creeping thyme, juniper, and periwinkle are excellent choices because they spread quickly to cover bare ground. Native grasses and wildflowers are also ideal, as they are adapted to your local climate and soil conditions. For steeper slopes, consider shrubs and small trees that develop extensive root structures to anchor the soil more deeply.
Step 5: Install Erosion Control Blankets
For newly seeded areas or particularly steep slopes, erosion control blankets or jute matting provide immediate protection. These biodegradable blankets are laid over the prepared soil and staked into place. They work by shielding the soil surface from the direct impact of rain and wind while your new plants take root. The open weave of the matting allows seeds to germinate and grow through it. Over time, as the plants become established, the natural fibers of the blanket will decompose, adding more organic matter back into the soil.
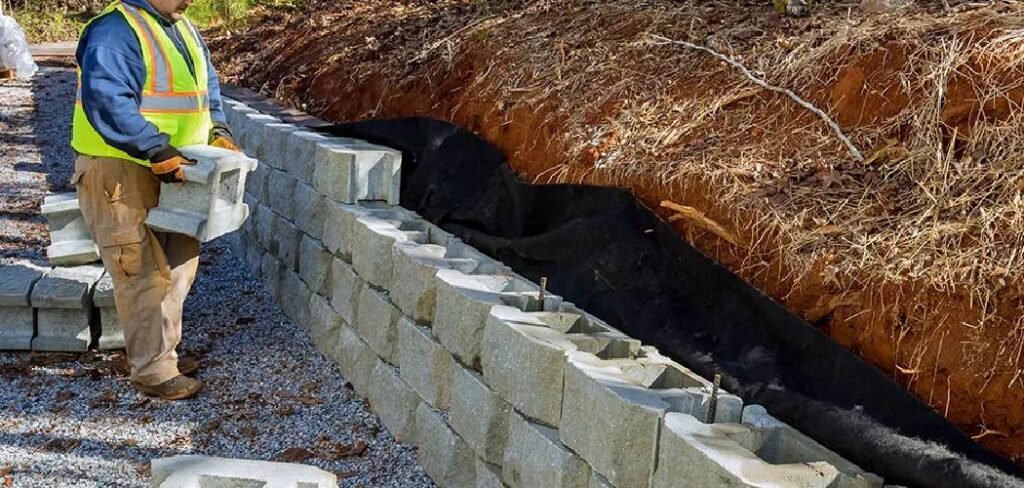
Step 6: Consider Terracing or Retaining Walls
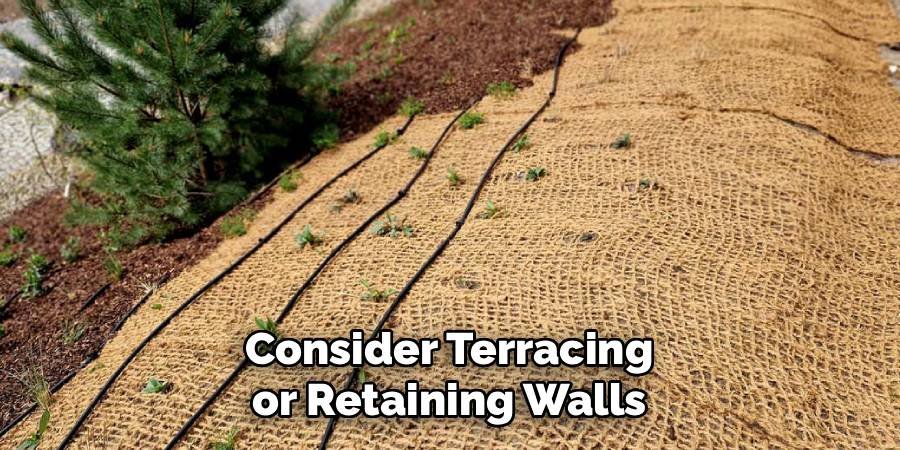
For very steep or long slopes, structural solutions may be necessary. Terracing involves creating a series of smaller, level steps down the slope. Each level can then be planted, effectively breaking up the long incline and slowing down water runoff. Another option is to build one or more retaining walls. These walls are typically made from stone, concrete blocks, or timber and are engineered to hold back soil. While these are more labor-intensive and costly projects, they provide a permanent and highly effective solution for managing severe erosion problems. This is an advanced method of how to stabilize soil on a slope.
Step 7: Apply Mulch
Whether you have planted ground cover or installed an erosion blanket, applying a layer of mulch is a crucial finishing touch. Mulch helps retain soil moisture, suppresses weed growth, and adds another layer of protection against the elements. Use a heavy, textured mulch like shredded bark or wood chips, as these types are less likely to be washed or blown away than lighter materials like straw. Apply a two- to three-inch layer over the entire area, being careful not to cover the crowns of your new plants. Mulch will slowly break down, further enriching the soil.
Step 8: Water Properly and Maintain
Once your project is complete, proper care is essential for success. New plantings will need consistent watering to help them establish strong root systems. Instead of heavy, infrequent watering, aim for gentle and regular watering that allows the soil to absorb the moisture without causing runoff. A drip irrigation system or soaker hose is ideal for this purpose. Periodically check for any new signs of erosion, especially after heavy rains, and fill in any small ruts that may form. Also, be sure to remove any weeds that compete with your new plants for water and nutrients.
Frequently Asked Questions
What Is the Cheapest Way to Stop Erosion on a Slope?
The most cost-effective method is typically through planting. Using vegetation, especially native plants or ground covers, leverages nature’s ability to hold soil in place with root systems.
- Seeding: Planting native grass or wildflower seeds is very budget-friendly.
- Ground Covers: Fast-spreading plants like ivy or periwinkle can quickly cover a large area.
- Mulching: Applying a thick layer of wood chip or bark mulch is an affordable way to provide immediate surface protection while plants grow.
Can You Put Topsoil on a Slope?
Yes, you can, but it must be done correctly. Simply dumping topsoil on a slope will likely result in it washing away in the first heavy rain. To add topsoil effectively, you should first till or rough up the existing surface to help the new soil bind. It’s best to apply the topsoil in conjunction with other methods, such as mixing it with compost, laying an erosion control blanket over it, and immediately planting or seeding the area to help anchor it in place.
What Plants Are Best for Holding Soil on a Hillside?
The best plants have dense, fibrous, or deep root systems. For sunny slopes, consider ground covers like creeping juniper, sedum, or creeping phlox. For shady areas, pachysandra, vinca minor (periwinkle), and certain types of ferns work well. Native grasses, such as switchgrass or little bluestem, are excellent choices as their deep roots are adapted to local conditions and provide superior erosion control. Small shrubs like sumac or viburnum also develop strong root systems that are great for anchoring soil.
How Do You Stop a Steep Slope From Eroding?
For a steep slope, a multi-layered approach is often necessary. Combining vegetative cover with structural support is highly effective.
- Erosion Control Blankets: Use jute or coir matting to provide immediate stability for seeds and young plants.
- Terracing: Building level tiers breaks up the slope and slows water flow.
- Retaining Walls: A professionally installed wall provides the strongest and most permanent solution for severe erosion issues on very steep inclines.
How Long Does It Take for Roots to Stabilize Soil?
The time it takes depends on the type of plant and growing conditions. Grasses and fast-growing ground covers can begin to establish a soil-holding root network within a single growing season (3–6 months). For larger shrubs and perennials, it may take one to two years for their root systems to become fully established and provide significant erosion control. Consistent watering and care during the first year are critical to encourage rapid and deep root development.
Conclusion
Securing the soil on your property’s slopes is a manageable and rewarding project. By assessing your needs, preparing the ground properly, and choosing the right combination of plants and materials, you can effectively stop erosion in its tracks. From planting robust ground covers to installing erosion control blankets or building terraces, the methods are scalable to any challenge. Taking on this task not only protects your landscape from damage but also enhances its beauty and health. With the steps outlined above, you are now well-equipped with the knowledge of how to stabilize soil on a slope and transform a potential problem into a stunning feature of your garden.
About Ravuk Barg
B.Sc. Horticulture Science | Certified Master Gardener
Ravuk Barg has spent more than a decade with his hands in the soil and his head full of questions about why some gardens thrive while others struggle. What started as a single raised bed of tomatoes and basil in a modest backyard has grown into a deep, working knowledge of everything from seed germination and soil amendment to companion planting and seasonal pruning.
Over the years, Ravuk has gardened through drought summers, waterlogged springs, and pest invasions that would make most gardeners hang up their trowels for good. Those hard seasons, he’ll tell you, taught him more than any perfect growing year ever could. He writes from that earned experience—covering vegetable growing, ornamental planting, houseplant care, composting, and garden design with equal confidence and curiosity.
Philosophy & Approach
Ravuk’s approach to gardening is rooted in practicality. He favors organic methods not out of dogma, but because they work long-term—resulting in healthier soil, fewer inputs, and stronger plants. He has a particular fondness for heirloom vegetable varieties (the kind with proper flavor), unruly cottage-style flower beds, and the stubborn houseplants that everyone else gave up on.
The Mission: Give readers the honest, experience-backed advice that helps them actually succeed in their gardens—not just the ideal version, but the real one; weeds, failures, and all.
Education & Credentials
-
B.Sc. in Horticulture Science
-
Greenfield Agricultural University
-
Focus: Plant Physiology, Soil Ecology, and Sustainable Crop Production
-
-
Master Gardener Certification
-
Cooperative Extension Service
-
Focus: 200+ hours of hands-on practical training and community garden work
-
Continuing Education
-
Organic Pest Management
-
Native Plant Landscaping
-
Sustainable Crop Production