

Learn how to make sandy soil for carrots with our easy 10-step guide. Discover the best soil mix, drainage tips, and growing secrets for perfect carrots in your garden.
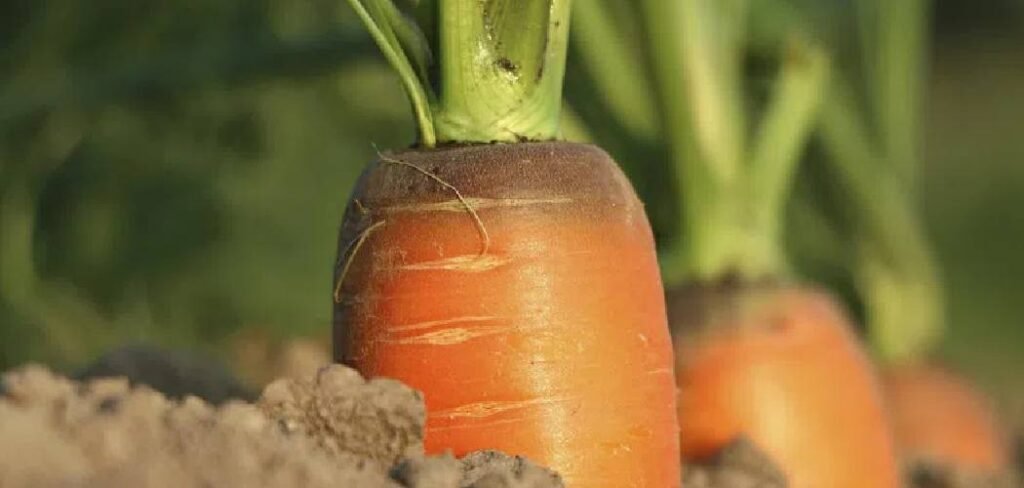
Growing carrots in your garden can be fun and rewarding. But did you know that carrots prefer sandy soil? Many gardeners struggle with heavy clay soil or soil that holds too much water. This can cause carrots to become short, twisted, or split. The good news is, you can easily create sandy soil for carrots at home. Sandy soil helps carrots grow tall and straight. It gives carrots room to grow deep in the soil. When carrots have loose, sandy soil, they can develop their full size and sweet flavor. This guide will show you how to create the perfect sandy soil for growing amazing carrots.
Why Carrots Need Sandy Soil
Carrots are root vegetables that grow underground. They need soil that is loose and easy to push through. Heavy soil makes it difficult for carrots to grow properly. Sandy soil offers many advantages for growing carrots:
Sandy soil drains water quickly, so carrot roots don’t rot. It allows air to reach the roots, which helps them grow healthily. The loose structure allows carrots to expand and grow to their full size. Sandy soil warms up quickly in the spring, which allows carrots to get an early start.
When the soil is too heavy or has too much mud, carrot growth is stunted. They can split into multiple roots or grow into odd shapes. Sandy soil prevents these problems and helps you grow perfect, straight carrots every time.
10 Step by Step How to Make Sandy Soil for Carrots
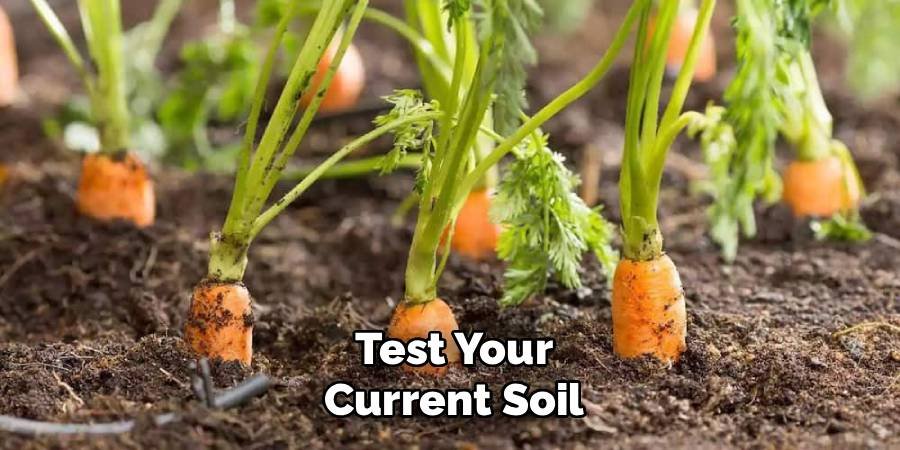
Step 1: Test Your Current Soil
Before you can make sandy soil for carrots, you need to know what type of soil you have now. Take a handful of moist soil from your garden. Squeeze it in your hand. If it forms a hard ball, you have clay soil. If it breaks easily, you may already have some sand in it. You can also do a simple jar test. Fill a jar with soil and water, shake it, and let it settle. The sand will sink to the bottom, the clay will stay on top, and the organic matter will float. This will show you how much sand you need to add.
Step 2: Choose the Right Sand
Not all sand is good for creating sandy soil for carrots. Don’t use beach sand because it contains a lot of salt. Avoid play sand or sandbox sand because it is too fine. The best sand for carrots is coarse river sand or builder’s sand. Coarse sand has large particles that create good drainage. You can buy this type of sand at a garden center or building supply store. Make sure the sand is clean and doesn’t contain any chemicals or additives that could harm your plants.
Step 3: Gather Organic Matter
Sandy soil needs organic matter to retain moisture and provide nutrients to carrots. Good choices include compost, aged manure, or leaf mold. These materials help sandy soil retain enough water and prevent it from becoming soggy. Manure is the best choice because it adds nutrients and improves soil structure. If you don’t have compost, aged cow manure also works very well. Avoid fresh manure because it can burn carrot roots and attract pests.
Step 4: Remove Rocks and Debris

Clear your planting area of rocks, sticks, and other debris. Even small rocks can cause carrots to become thorny or grow into odd shapes. Use a rake to remove surface debris, then dig down about 12 inches and remove any buried rocks or roots. Pay special attention to removing any hard objects that may be obstructing the growth of the carrots. Carrots will grow around obstacles, creating thorny or twisted roots that are unsightly and difficult to harvest.
Step 5: Add Sand to Your Soil
Now is the time to start preparing sandy soil for carrots. Add coarse sand to your existing soil. For most soils, you will need to add about 30-40% sand by volume. This means if you have 10 buckets of soil, add 3-4 buckets of sand.
Spread the sand evenly over your planting area. Don’t just dump it in one spot. Even distribution is important to create an even sandy soil for carrots to grow consistently throughout your garden bed.
Step 6: Mix in Organic Matter
Add organic matter to your sand and soil mixture. Use about 20-25% organic matter by volume. For every 10 buckets of soil and sand mixture, there can be 2-3 buckets of compost. Organic matter helps bind the sand and soil together while keeping it loose. Spread the organic matter evenly over your sand and soil. This creates a balanced mixture that drains well but holds enough moisture and nutrients for healthy carrot growth.
Step 7: Till Everything Together
Use a garden fork, tiller, or shovel to mix all the ingredients together. Mix well until the sand, soil, and organic matter are well combined. The mixture should look uniform, with no clumps of clay or clumps of pure sand.

Turn the soil over to a depth of at least 12 inches, but 18 inches is better for tall carrots. The deeper you prepare the sandy soil, the longer your carrots will be able to grow. Break up any hard clumps as you work.
Step 8: Check Soil Drainage
Test your newly created sandy soil for carrots by digging a hole about 12 inches deep and filling it with water. Good sandy soil should drain completely within 24 hours. If it has been standing for longer than that, you will need to add more sand. Proper drainage is crucial for carrot success. Carrots can rot or develop disease in soil that stays wet for too long. Sandy soil should stay moist but never wet or waterlogged.
Step 9: Level and Smooth the Surface
After mixing the sandy soil for carrots, smooth and level the surface. Remove any remaining debris or clumps. The surface should be smooth and even, which gives the carrot seeds the best chance of germination and growth. A smooth surface also makes it easier to plant carrot seeds at the correct depth. Carrots have small seeds that need to be planted shallowly, so a flat surface helps ensure even germination across your garden bed.
Step 10: Let the Soil Settle
Before planting carrots, let your newly prepared sandy soil settle for about a week. This helps the various ingredients to combine and creates a stable growing environment. Water lightly if the area feels too dry. During this settling period, you can add more organic matter if needed. The soil may become slightly compacted, which is normal. After a week, your sandy soil for carrots will be ready for planting.

Best Sand Types for Carrot Soil
When creating sandy soil for carrots, the type of sand you choose makes a big difference. Coarse river sand is the gold standard because it provides excellent drainage and helps the soil retain some moisture. This type of sand has particles that are about 1-2 millimeters in size.
Builder’s sand is another excellent choice for creating sandy soil for carrots. It is readily available at most home improvement stores and has the right particle size for good drainage. Avoid fine sand or masonry sand as these can actually create a concrete-like mixture when wet, making drainage worse.
Sharp sand, also called angular sand, also works well. The angular particles create more air space in the soil, which carrots love. Whatever sand you choose, make sure it is washed and free of salts, chemicals, or other additives that can harm your plants.
Maintaining Your Sandy Soil
Once you have created the perfect sandy soil for carrots, you need to maintain it properly. Sandy soil dries out quickly, which means nutrients can wash away more quickly than regular soil. Add compost or organic matter each growing season to replenish what has been lost.
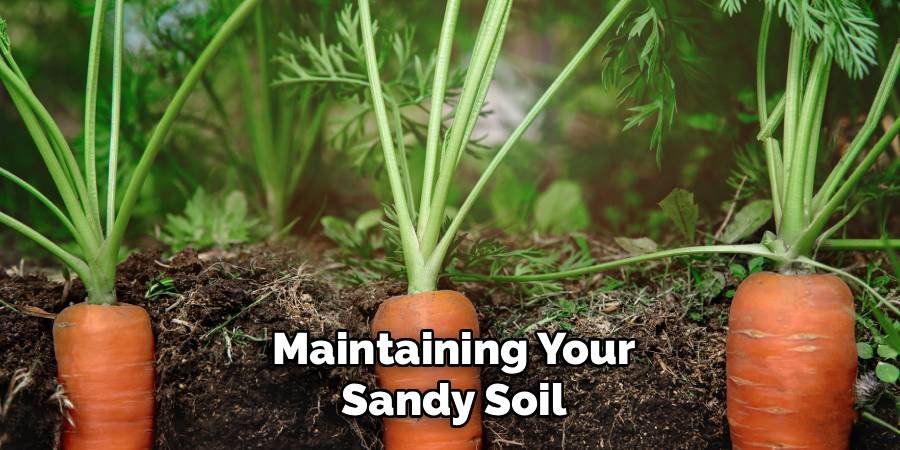
Water your carrots more frequently in sandy soil, but use less water each time. The soil should remain moist but never soggy. Mulching around your carrot plants helps retain moisture and prevents sandy soil from drying out too quickly.
Test your soil pH every year or two. Sandy soil can become acidic over time, and carrots prefer slightly alkaline soil with a pH between 6.0 and 7.0. Add lime as needed to maintain the correct pH level for healthy carrot growth.
Common Mistakes to Avoid
Many gardeners make mistakes when preparing sandy soil for carrots. A common mistake is using too much sand without enough organic matter. This causes the soil to drain too quickly and not hold any nutrients. Always balance the sand with compost or other organic matter.
Another mistake is using the wrong type of sand. Fine sand or play sand can actually make drainage worse, not better. Stick with coarse sand whose particles you can easily see and feel.
Do not add sand to clay soil without organic matter. This can create a concrete-like mixture that is worse than what you started with. Always add organic matter when mixing sand into heavy soil.
Seasonal Care for Sandy Carrot Soil
Spring is the best time to freshen up your sandy soil for carrots. Add a 2-3 inch layer of compost to the top few inches of soil and work it in gently. This replaces nutrients washed away by winter rains.
During the summer, monitor the moisture levels of your sandy soil closely. Sandy soil dries out faster than regular soil, especially in hot weather. Water deeply but less frequently to encourage deep root growth.
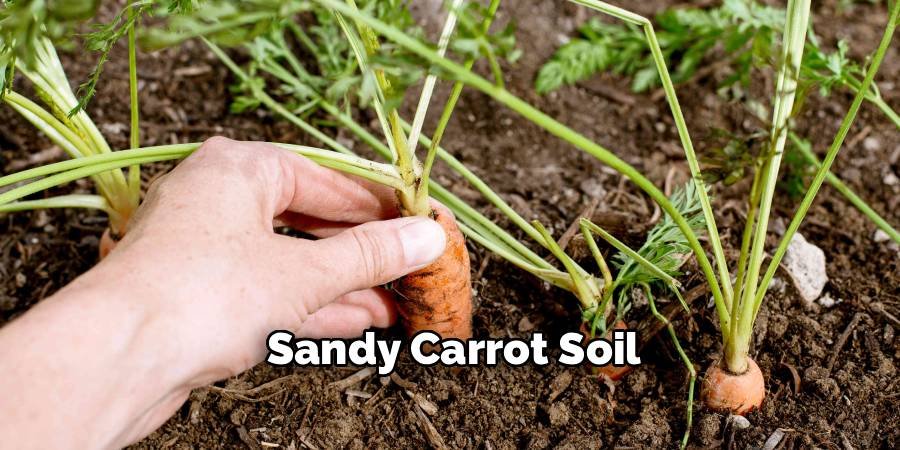
In the fall, after you harvest your carrots, add more organic matter to prepare the sandy soil for next year. Cover the area with mulch or plant a cover crop to prevent erosion and maintain soil structure over the winter.
FAQs
Q: How much sand should I add to make sandy soil for carrots?
Answer: Add about 30-40% sand by volume to your existing soil. For heavy clay soils, you may need up to 50% sand. Always add organic matter when adding sand to prevent the soil from becoming too loose.
Q: Can I use beach sand to make sandy soil for carrots?
Answer: No, never use beach sand for growing carrots. Beach sand contains salt which will damage your plants. For best results use coarse river sand or builder’s sand.
Q: How deep should I prepare sandy soil for carrots?
Answer: Prepare sandy soil at least 12 inches deep, but 18 inches is best for tall carrot varieties. The deeper you prepare the soil, the longer and straighter your carrots will be.
Q: Do I need to add fertilizer to sandy soil for carrots?
Answer: Yes, sandy soil dries out quickly and loses nutrients faster than regular soil. Add compost or organic fertilizer regularly. Carrots do not need high nitrogen, but they do need phosphorus and potassium for good root development.
Q: How often should I water carrots in sandy soil?
Answer: Water carrots in sandy soil more often than in regular soil, but use less water each time. Check the soil moisture daily and water if the top inch feels dry. Deep, infrequent watering is better than shallow, frequent watering.
Conclusion
Creating sandy soil for carrots will transform your garden into a carrot-growing paradise. These ten easy steps will help you create the perfect soil mix that produces long, straight, delicious carrots every time. The secret is to combine coarse sand and rich organic matter and prepare your soil deep enough for carrots to reach their full potential.
Remember that sandy soil requires regular care and feeding. Add compost every season, water more frequently, and test your soil pH annually. This ongoing maintenance will keep your sandy soil healthy and productive for years to come.
Good drainage prevents root rot while organic matter provides essential nutrients. When you balance these elements properly, your carrots will thank you with impressive size and sweet flavor. Start your sandy soil project today and watch your carrot crop improve dramatically. With patience and proper preparation, you’ll soon be enjoying the best tasting homegrown carrots you can find.
About Ravuk Barg
B.Sc. Horticulture Science | Certified Master Gardener
Ravuk Barg has spent more than a decade with his hands in the soil and his head full of questions about why some gardens thrive while others struggle. What started as a single raised bed of tomatoes and basil in a modest backyard has grown into a deep, working knowledge of everything from seed germination and soil amendment to companion planting and seasonal pruning.
Over the years, Ravuk has gardened through drought summers, waterlogged springs, and pest invasions that would make most gardeners hang up their trowels for good. Those hard seasons, he’ll tell you, taught him more than any perfect growing year ever could. He writes from that earned experience—covering vegetable growing, ornamental planting, houseplant care, composting, and garden design with equal confidence and curiosity.
Philosophy & Approach
Ravuk’s approach to gardening is rooted in practicality. He favors organic methods not out of dogma, but because they work long-term—resulting in healthier soil, fewer inputs, and stronger plants. He has a particular fondness for heirloom vegetable varieties (the kind with proper flavor), unruly cottage-style flower beds, and the stubborn houseplants that everyone else gave up on.
The Mission: Give readers the honest, experience-backed advice that helps them actually succeed in their gardens—not just the ideal version, but the real one; weeds, failures, and all.
Education & Credentials
-
B.Sc. in Horticulture Science
-
Greenfield Agricultural University
-
Focus: Plant Physiology, Soil Ecology, and Sustainable Crop Production
-
-
Master Gardener Certification
-
Cooperative Extension Service
-
Focus: 200+ hours of hands-on practical training and community garden work
-
Continuing Education
-
Organic Pest Management
-
Native Plant Landscaping
-
Sustainable Crop Production