

A well-tended garden is a source of pride, but the work involved can be tough on your body and your tools. If you’ve ever felt like you’re fighting a losing battle against weeds, the problem might not be your technique—it could be your hoe. A dull blade requires more effort, damages plants, and makes a simple task feel like a major chore.

Learning how to sharpen garden hoe is a fundamental skill that transforms your gardening experience. It not only makes your work easier but also improves the health of your garden. This guide will walk you through the simple process, turning your worn-out tool into a highly effective weeding machine.
Why Sharpening Your Garden Hoe Matters
Using a dull garden hoe is like trying to chop vegetables with a butter knife—it’s inefficient and frustrating. A sharp hoe blade slices cleanly through weed roots just below the soil surface with minimal effort. This clean cut is crucial because it disrupts the weed’s life cycle without excessively disturbing the surrounding soil structure, which can bring more weed seeds to the surface.
Conversely, a dull hoe tends to drag and pull, compacting the soil and often just bending weeds over instead of cutting them. This means you have to apply more force, leading to back and shoulder strain. The repeated, forceful chopping can also damage the delicate roots of your desirable plants. A sharp tool allows you to work faster, more precisely, and with significantly less physical strain. Taking a few minutes to maintain your hoe’s edge is an investment that pays off in a healthier garden and a happier gardener.
6 Step-by-Step Guide: How to Sharpen Garden Hoe
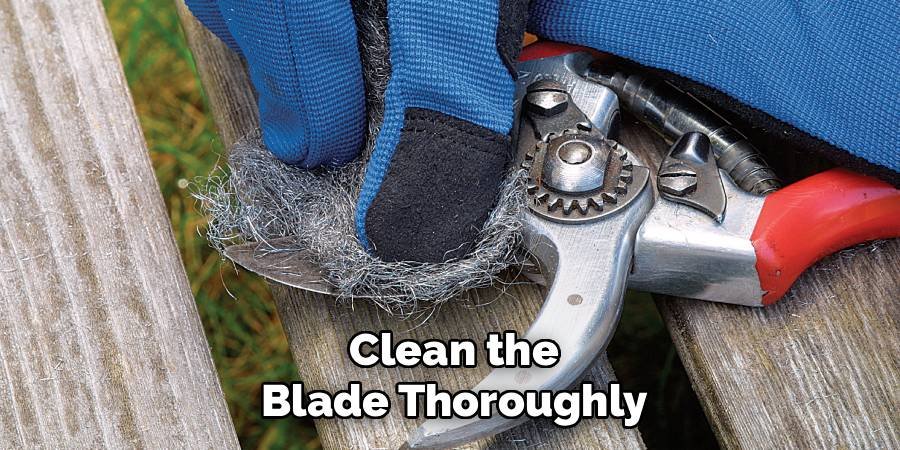
Step 1: Clean the Blade Thoroughly
Before you can sharpen your hoe, you need to clean it properly. Garden tools accumulate a lot of caked-on mud, sap, and rust over time, which can interfere with the sharpening process. Start by using a stiff-bristled brush to scrub away any loose dirt and debris. For more stubborn grime, you can use a putty knife to scrape it off. Afterward, wash the entire hoe head with warm, soapy water and a sponge. If you notice any rust spots, a wire brush or a piece of steel wool will help remove them. Finally, dry the blade completely with a clean cloth to prevent new rust from forming.
Step 2: Secure the Hoe in a Vise
Safety and stability are essential when working with sharp tools. The best way to ensure the hoe doesn’t slip while you’re sharpening it is to secure it in a bench vise. Open the jaws of the vise wide enough to accommodate the hoe head. Position the blade so that the edge you intend to sharpen is facing upward and is easily accessible. Tighten the vise firmly, but be careful not to overtighten, which could damage the tool’s handle or head. If you don’t have a vise, you can lay the hoe on a stable, flat surface like a workbench, using clamps to hold it securely in place.
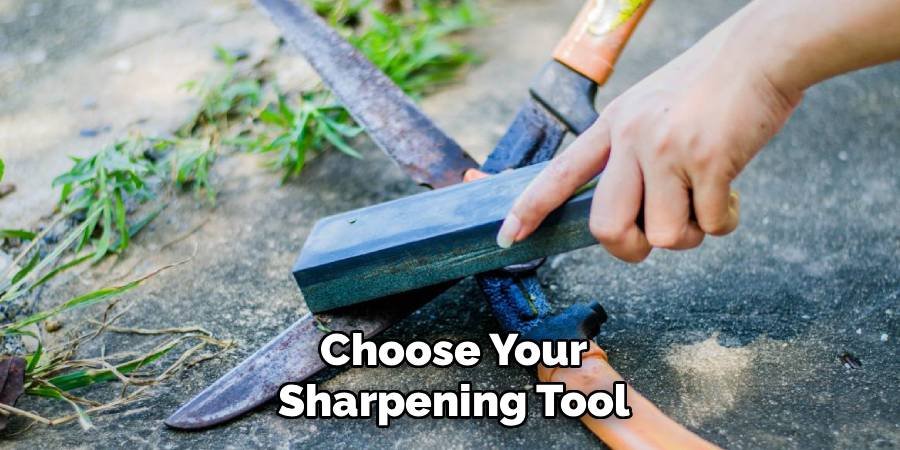
Step 3: Choose Your Sharpening Tool
You have several options for sharpening your garden hoe, and the best one often comes down to personal preference and what you have on hand. The most common and effective tool for this job is a 10-inch mill bastard file. Its single-cut pattern is perfect for creating a sharp, durable edge on garden tools. Other options include a whetstone, a diamond file, or a sharpening stone. For those who prefer power tools, a bench grinder or a rotary tool with a grinding stone attachment can speed up the process. However, for beginners, a hand file offers the most control and reduces the risk of removing too much metal.
Step 4: Identify the Beveled Edge
Examine the blade of your garden hoe. You will notice that one side is angled or beveled, while the other is flat. You should only sharpen the beveled side. The factory-ground angle is typically between 30 and 45 degrees, and your goal is to match this existing angle as closely as possible. Sharpening the flat side will create a less effective, knife-like edge that dulls quickly and is more prone to damage when striking rocks or hard soil. Maintaining the original bevel is key to achieving a long-lasting, effective cutting edge for chopping and scraping weeds.
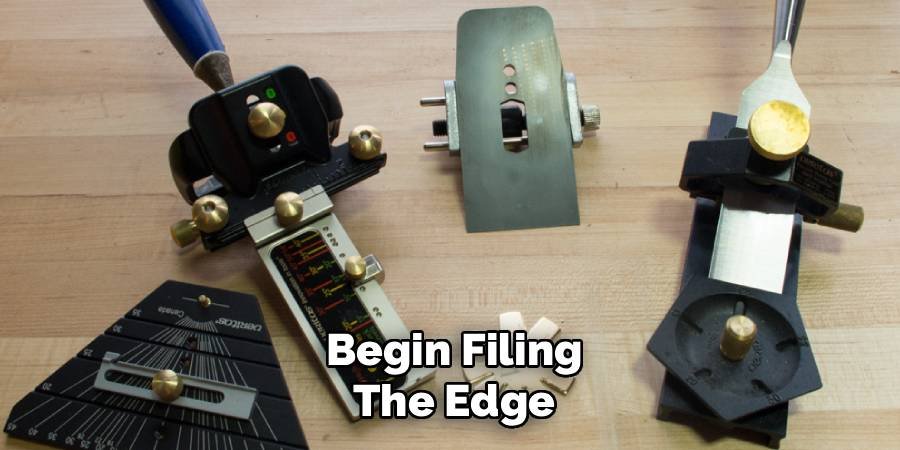
Step 5: Begin Filing the Edge
Grasp the file handle with your dominant hand and place the palm of your other hand on the file’s tip. Position the file on the beveled edge of the hoe, making sure to match the existing angle. The key to a good sharpening technique is to push the file away from you, across the blade, in a smooth and even stroke. Apply firm, steady pressure during this forward motion. As you bring the file back for the next stroke, lift it completely off the blade. Dragging the file backward will dull its teeth and can damage the edge you’re trying to create.
Step 6: How to Sharpen Garden Hoe Consistently
Continue filing along the entire length of the blade, from one side to the other. Use consistent pressure and maintain the same angle with each stroke. After a few passes, you will start to see shiny, new metal appearing on the edge. This indicates that you are successfully removing the dull, worn material. It usually takes about 10 to 20 strokes to restore a sharp edge, depending on how dull the hoe was to begin with. Check your progress frequently by looking at the edge. Your goal is a uniformly sharp edge across the entire blade.
Remove the Burr from the Flat Side
As you file the beveled side, a small ridge of metal, known as a burr, will form on the opposite, flat side of the blade. This is a normal part of the sharpening process. To remove it, lay the file flat against the back of the blade and make one or two light passes. You are not trying to sharpen this side; you are simply knocking off the delicate burr. You will feel it come off easily. Removing the burr is the final step in creating a clean, sharp cutting edge that will slice through soil and weeds with ease.
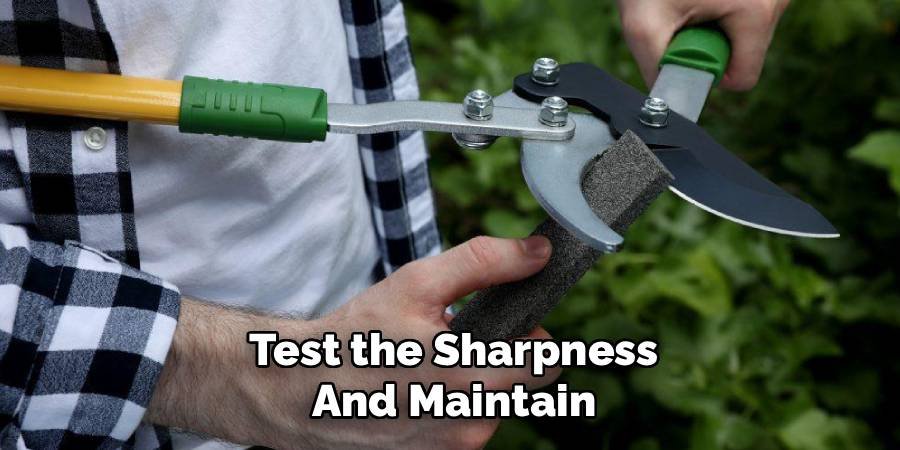
Test the Sharpness and Maintain
Once you’ve removed the burr, your hoe should be sharp. A safe way to test it is to carefully run it across the edge of a piece of scrap wood or even a tough weed stem—it should bite in and cut cleanly. If it still feels dull, repeat the filing process with a few more strokes. To protect your newly sharpened tool, apply a light coat of multi-purpose oil, like linseed oil or WD-40, to the metal head. This prevents rust and keeps the blade in good condition. Wipe off any excess oil before storing the hoe in a dry place.
Frequently Asked Questions
How Often Should I Sharpen My Garden Hoe?
The frequency depends on your soil type and how often you use the tool. In rocky or heavy clay soil, you may need to sharpen it every few uses. For sandy or loamy soils, once or twice per gardening season might be sufficient. A good rule of thumb is to sharpen it whenever you notice it requires more effort to cut through weeds.
What Is the Best Angle to Sharpen a Hoe?
The ideal angle for a garden hoe is typically between 30 and 45 degrees. It’s best to follow the original angle set by the manufacturer. This angle provides a good balance between sharpness for cutting and durability for handling tough soil and occasional rocks. A steeper angle will be sharper but will dull more quickly.
Can I Use a Grinder to Sharpen My Hoe?
Yes, you can use a bench grinder or an angle grinder with a grinding wheel. However, power tools remove metal much faster than a hand file and can generate a lot of heat, which can weaken the blade’s temper if you’re not careful. If you use a grinder, work in short passes and dip the blade in water frequently to keep it cool. This method is best for experienced users.
What Is the Difference Between a Hoe and a Scuffle Hoe?
A standard garden hoe is used with a chopping motion to sever weeds at the root. It typically has a single blade. A scuffle hoe, also known as a stirrup or action hoe, has a blade that is sharpened on both sides. It is designed to be used with a push-pull motion, cutting weeds just below the soil surface in both directions. Both types benefit from regular sharpening.
Is It Possible to Over-Sharpen a Hoe?
While you can’t make it “too sharp,” you can remove too much metal, which shortens the tool’s lifespan. This is more of a risk with power grinders than with a hand file. Aim to remove just enough metal to create a clean, sharp edge. Avoid creating a razor-thin, knife-like edge, as it will be too fragile for garden work and will chip or dull almost immediately.
Conclusion
A sharp garden hoe is one of a gardener’s best allies. It reduces physical strain, protects your plants from accidental damage, and makes the chore of weeding far more efficient and satisfying. By taking just a few minutes to follow these steps, you can restore your tool’s cutting power and transform your gardening routine. Now that you understand how to sharpen garden hoe, you have a valuable skill that will serve you for many seasons to come. Give it a try—your back and your garden will thank you for it.
About Ravuk Barg
B.Sc. Horticulture Science | Certified Master Gardener
Ravuk Barg has spent more than a decade with his hands in the soil and his head full of questions about why some gardens thrive while others struggle. What started as a single raised bed of tomatoes and basil in a modest backyard has grown into a deep, working knowledge of everything from seed germination and soil amendment to companion planting and seasonal pruning.
Over the years, Ravuk has gardened through drought summers, waterlogged springs, and pest invasions that would make most gardeners hang up their trowels for good. Those hard seasons, he’ll tell you, taught him more than any perfect growing year ever could. He writes from that earned experience—covering vegetable growing, ornamental planting, houseplant care, composting, and garden design with equal confidence and curiosity.
Philosophy & Approach
Ravuk’s approach to gardening is rooted in practicality. He favors organic methods not out of dogma, but because they work long-term—resulting in healthier soil, fewer inputs, and stronger plants. He has a particular fondness for heirloom vegetable varieties (the kind with proper flavor), unruly cottage-style flower beds, and the stubborn houseplants that everyone else gave up on.
The Mission: Give readers the honest, experience-backed advice that helps them actually succeed in their gardens—not just the ideal version, but the real one; weeds, failures, and all.
Education & Credentials
-
B.Sc. in Horticulture Science
-
Greenfield Agricultural University
-
Focus: Plant Physiology, Soil Ecology, and Sustainable Crop Production
-
-
Master Gardener Certification
-
Cooperative Extension Service
-
Focus: 200+ hours of hands-on practical training and community garden work
-
Continuing Education
-
Organic Pest Management
-
Native Plant Landscaping
-
Sustainable Crop Production