

Working with bonsai trees is a delicate art that requires precision and care. A key part of that care involves maintaining your equipment. Clean, sharp tools are not just a pleasure to use; they are essential for the health and beauty of your miniature trees. Dull blades can crush stems, tear bark, and create ragged cuts that invite disease. This guide will walk you through everything you need to know about how to sharpen bonsai tools, ensuring every snip is clean, precise, and promotes healthy growth for your beloved bonsai.
Why Sharpening Bonsai Tools Is Essential
Keeping your bonsai tools sharp is fundamental to the practice of bonsai. Sharp blades allow you to make clean, precise cuts that heal quickly. When you use a dull tool, you are more likely to crush plant tissue instead of slicing through it. This damage stresses the tree and creates larger wounds that are more susceptible to fungal infections and pests. Properly sharpened tools also give you greater control, allowing you to execute detailed pruning and styling with accuracy. Ultimately, sharp tools protect your tree’s health, improve its appearance, and make your work more enjoyable and effective.
10 Step-by-Step Guide on How to Sharpen Bonsai Tools
Step 1: Gather Your Sharpening Supplies
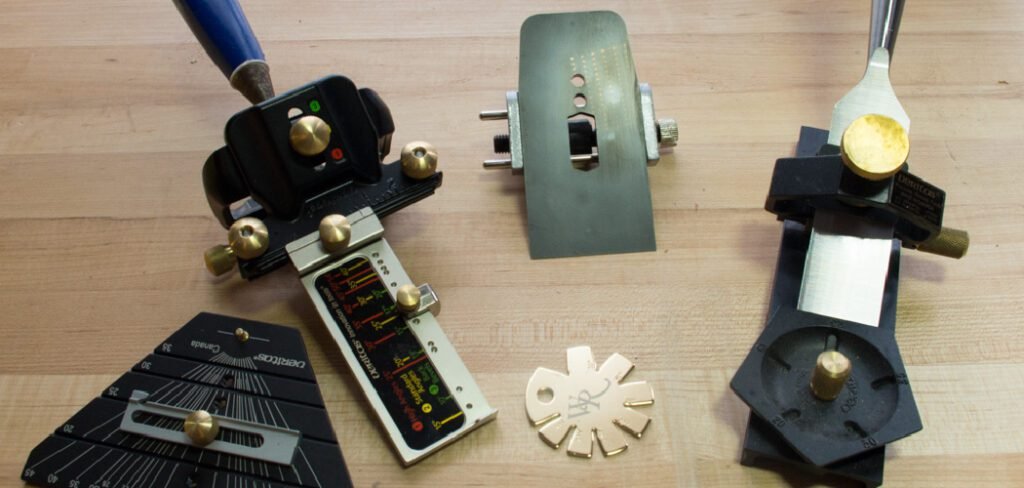
Before you begin, gather all the necessary materials. You will need a good quality whetstone, also known as a sharpening stone. Whetstones come in various grits; a combination stone with a coarse side (around 1000-grit) and a fine side (around 3000-grit or higher) is ideal. You will also need a container of water for soaking the stone, some camellia oil for cleaning and rust prevention, and a few clean cloths. Having everything organized and within reach will make the process much smoother.
Step 2: Clean Your Bonsai Tools Thoroughly
Start by cleaning your tools to remove any sap, dirt, or rust. Sap can be stubborn, so a specialized sap remover or a cloth soaked in rubbing alcohol works well. For rust, you can use a rust eraser or fine-grit sandpaper. It is crucial to start with a clean surface, as debris can interfere with the sharpening process and even damage your whetstone. Once clean, wipe the tools dry. This step ensures you get the best possible contact between the blade and the stone.
Step 3: Prepare Your Whetstone
Most traditional Japanese whetstones require soaking in water before use. Submerge your stone in a container of water for about 10 to 15 minutes, or until it stops releasing air bubbles. This saturation is important because the water acts as a lubricant, floating away the metal filings (called swarf) and preventing them from clogging the stone’s surface. This keeps the stone cutting effectively. Place the soaked stone on a stable, non-slip surface, like a damp towel or a dedicated stone holder.
Step 4: Sharpen the Beveled Edge
Begin with the beveled, or angled, edge of the blade. For concave cutters and shears, this is the outside edge. Hold the tool firmly and place the beveled edge flat against the coarser side of your whetstone. The goal is to match the existing angle of the bevel. Gently slide the blade along the stone in a smooth, consistent motion, moving from the base to the tip. Apply light, even pressure and maintain the angle throughout each pass. Repeat this 10–15 times.
Step 5: Master the Angle for How to Sharpen Bonsai Tools
Maintaining the correct angle is the most critical part of this process. Most bonsai tools have a specific factory-set bevel, and your job is to follow it. Rocking the tool or changing the angle will round the edge, making it less effective. Focus on keeping your wrist and arm steady. Listen to the sound of the blade on the stone; a consistent sound often means a consistent angle. It takes practice, but mastering this skill is essential for learning how to sharpen bonsai tools correctly.

Step 6: Sharpen the Flat Side
After sharpening the beveled edge, you need to address the flat, or inside, edge of the blade. This side should be kept perfectly flat to ensure a clean shearing action. Turn the blade over and lay it completely flat on the whetstone. With gentle pressure, make two or three light passes across the stone. This action removes the small burr—a tiny ridge of metal—that formed on the edge during the previous step. Do not overdo this part; the goal is just to flatten the edge.
Step 7: Refine the Edge on the Fine-Grit Stone
Now, switch to the finer grit side of your whetstone. A finer grit polishes the blade, honing it to a razor-sharp edge. Repeat the process from Step 4, placing the beveled edge on the fine stone and making another 10–15 smooth passes. Remember to maintain that same consistent angle. Afterward, give the flat side one or two final, gentle passes on the fine stone to remove any remaining burr. The blade should now have a polished, almost mirror-like finish.
Step 8: An Effective Method for How to Sharpen Bonsai Tools with Curved Blades
Sharpening curved blades, like those on concave cutters, requires a slight adjustment in technique. As you slide the blade across the whetstone, you must gently roll the tool to follow its natural curve. This ensures the entire length of the curved edge makes even contact with the stone. This motion might feel awkward at first, so practice slowly. This technique is a key part of how to sharpen bonsai tools and is crucial for maintaining the precise cutting ability of your most important instruments.

Step 9: Test the Sharpness
Once you believe the tool is sharp, it is time to test it. The traditional test is to see if the blade can cleanly slice a piece of paper. Hold a standard sheet of paper and try to cut it with the tool. A sharp blade will glide through the paper smoothly, leaving a clean edge with no tearing or snagging. If it catches or rips the paper, the tool needs more work. Return to the fine-grit stone for a few more passes and test again.
Step 10: Clean and Oil Your Tools
After achieving a satisfyingly sharp edge, your final step is to clean and protect your tools. Thoroughly wash the tools with water to remove any remaining metal filings or sharpening slurry. Dry them completely with a clean cloth. To prevent rust from forming on the newly exposed metal, apply a light coat of camellia oil to all metal surfaces. This protective layer will keep your tools in prime condition, ready for your next pruning session.
Frequently Asked Questions
How Often Should I Sharpen My Bonsai Tools?
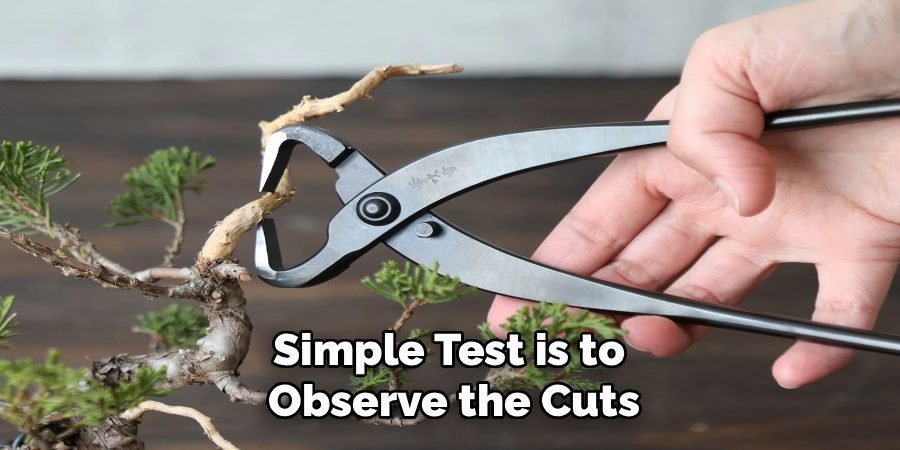
The frequency of sharpening depends on how often you use your tools and what you are cutting. As a general rule, it is good practice to sharpen them at least once per season. However, if you are doing heavy pruning on hard wood, you may need to sharpen them more frequently. A simple test is to observe the cuts; if they start to look crushed or frayed instead of clean, it is time to sharpen your tools.
Can I Use a Kitchen Knife Sharpener for My Bonsai Tools?
It is generally not recommended to use a pull-through kitchen knife sharpener for bonsai tools. These devices often have fixed sharpening angles that do not match the specific bevels of high-quality bonsai shears and cutters. Using one can damage or completely reshape the blade’s edge, ruining its precision. The best method involves using a flat whetstone, which gives you full control over the sharpening angle and pressure.
What Is the Difference Between Whetstones and Oil Stones?
The primary difference is the lubricant they require.
- Whetstones: Typically made of synthetic or natural materials, these stones are designed to be used with water. The water floats away metal particles, preventing the stone’s pores from clogging.
- Oil Stones: Usually made of natural materials like novaculite (Arkansas stone), these require a thin honing oil as a lubricant.
For bonsai tools, water-based whetstones are more common and are easier to clean.
What Is Camellia Oil and Why Is It Recommended?
Camellia oil is a light, non-toxic, and acid-free natural oil extracted from the seeds of the Camellia oleifera plant. It is the traditional choice for protecting Japanese steel tools, including bonsai tools and swords. Its light viscosity allows it to penetrate the metal’s pores, displacing moisture and forming a protective barrier against rust and corrosion. It will not damage your tree or soil, making it a safe choice for garden tools.
My Tools Are Rusted. Can They Still Be Sharpened?
Yes, in most cases, rusted tools can be restored. Before sharpening, you must remove all the rust. You can do this with a rust eraser, fine-grit sandpaper, or a wire brush. Start gently and increase pressure as needed. Once you have removed the rust and have exposed the bare metal, you can proceed with the cleaning and sharpening process as described in the guide. Heavy pitting from deep rust may affect the tool’s performance, but surface rust is usually removable.
Conclusion
Taking the time to maintain your equipment is a rewarding discipline that elevates your bonsai practice. Sharp tools lead to healthier trees, more precise styling, and a more enjoyable connection to your art. While it may seem intimidating at first, the process is straightforward with a bit of practice. By following these steps, you will master how to sharpen bonsai tools and ensure that every cut you make is one that benefits the long-term health and beauty of your trees.
About Ravuk Barg
B.Sc. Horticulture Science | Certified Master Gardener
Ravuk Barg has spent more than a decade with his hands in the soil and his head full of questions about why some gardens thrive while others struggle. What started as a single raised bed of tomatoes and basil in a modest backyard has grown into a deep, working knowledge of everything from seed germination and soil amendment to companion planting and seasonal pruning.
Over the years, Ravuk has gardened through drought summers, waterlogged springs, and pest invasions that would make most gardeners hang up their trowels for good. Those hard seasons, he’ll tell you, taught him more than any perfect growing year ever could. He writes from that earned experience—covering vegetable growing, ornamental planting, houseplant care, composting, and garden design with equal confidence and curiosity.
Philosophy & Approach
Ravuk’s approach to gardening is rooted in practicality. He favors organic methods not out of dogma, but because they work long-term—resulting in healthier soil, fewer inputs, and stronger plants. He has a particular fondness for heirloom vegetable varieties (the kind with proper flavor), unruly cottage-style flower beds, and the stubborn houseplants that everyone else gave up on.
The Mission: Give readers the honest, experience-backed advice that helps them actually succeed in their gardens—not just the ideal version, but the real one; weeds, failures, and all.
Education & Credentials
-
B.Sc. in Horticulture Science
-
Greenfield Agricultural University
-
Focus: Plant Physiology, Soil Ecology, and Sustainable Crop Production
-
-
Master Gardener Certification
-
Cooperative Extension Service
-
Focus: 200+ hours of hands-on practical training and community garden work
-
Continuing Education
-
Organic Pest Management
-
Native Plant Landscaping
-
Sustainable Crop Production