

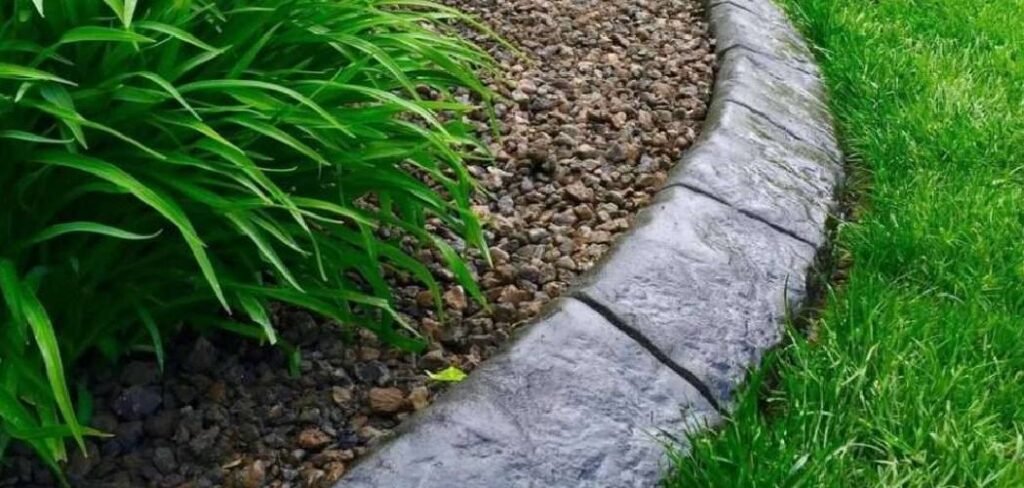
Garden stones, from small decorative pebbles to larger stepping stones, add texture, color, and structure to any landscape. They create beautiful pathways, define garden beds, and reduce weed growth. However, one common challenge for gardeners is keeping these stones exactly where they belong. Over time, foot traffic, rain, and natural soil shifting can cause them to scatter, creating a messy look and a potential tripping hazard. Learning how to keep garden stones in place is essential for maintaining a tidy, functional, and safe garden. This guide will walk you through the essential steps to secure your stones, ensuring your hard work lasts for years to come.
Why Keeping Stones in Place Matters
Maintaining the placement of your garden stones goes beyond simple aesthetics. When stones migrate from their intended area, they can end up in your lawn, creating a nightmare for your lawnmower blades. They can also spill onto patios or driveways, making the surfaces uneven and unsafe. For garden beds, contained stones act as a mulch layer, retaining soil moisture and suppressing weeds. If they scatter, this protective barrier is lost, leading to more maintenance. Properly secured stones ensure your garden’s design remains clean and defined, protecting your investment of time and money while keeping your outdoor space safe and low-maintenance.
9 Steps Method Guide on How to Keep Garden Stones in Place
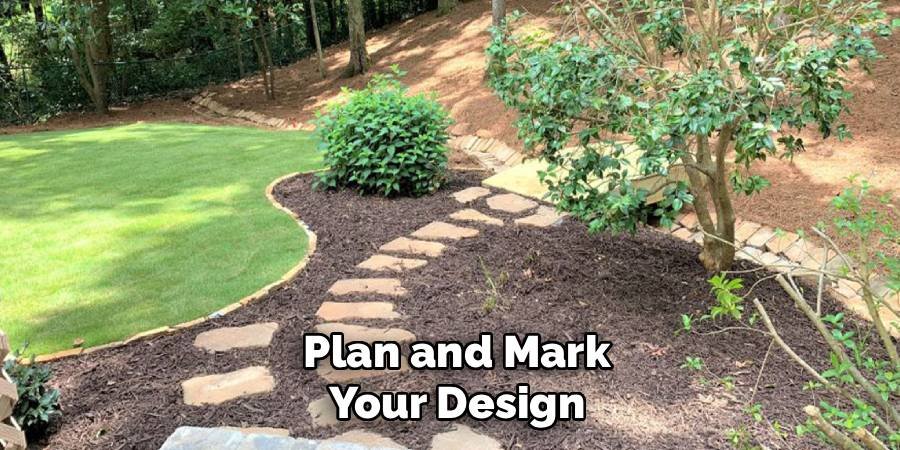
Step 1: Plan and Mark Your Design
Before you move a single stone, create a clear plan. Decide exactly where you want your stone pathway, patio, or decorative bed to be. Use a garden hose, rope, or spray paint to outline the precise shape and boundaries of the area. This visual guide is crucial for the next steps, as it helps you calculate the amount of materials you’ll need and ensures a professional-looking result. Walk the marked path and check the flow and dimensions. Making adjustments at this stage is much easier than after you’ve started digging.
Step 2: Excavate the Area
Once your design is marked, it’s time to excavate the soil. Using a flat-edged spade or shovel, dig out the entire area within your markings. The required depth depends on the size of your stones and the type of base you plan to use. For small pebbles or gravel, a depth of about 4 inches is usually sufficient. For larger stepping stones or flagstones, you may need to dig 5-6 inches to accommodate a sturdy base layer and the thickness of the stones themselves. Ensure the bottom of the excavated area is as level and firm as possible.
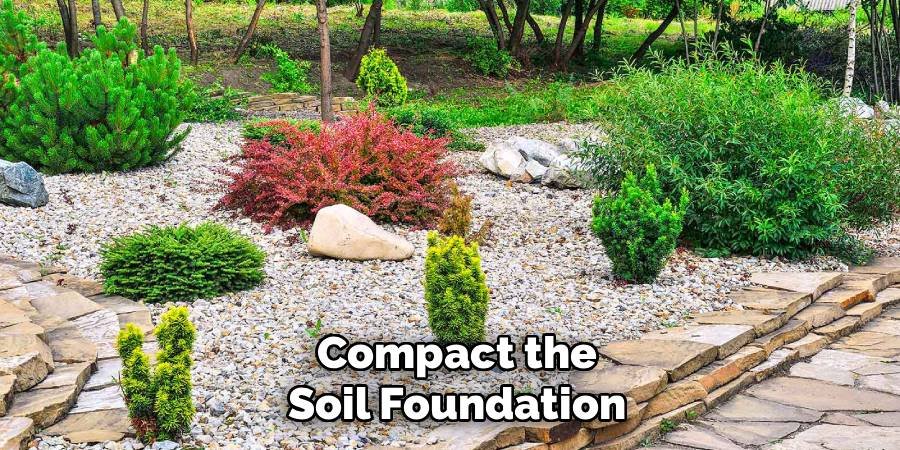
Step 3: Compact the Soil Foundation
After excavating, you are left with a base of exposed soil. This foundation needs to be solid to prevent future sinking and shifting. Use a hand tamper or a plate compactor to firmly press down the soil across the entire excavated area. Go over the surface multiple times until it feels solid underfoot. A compacted base is one of the most important factors in preventing your stones from moving over time. This step creates a stable platform that will support the subsequent layers and the weight of the stones, minimizing movement caused by weather or foot traffic.
Step 4: Install a Geotextile Fabric Liner
With the soil compacted, the next layer is a geotextile landscape fabric. This heavy-duty fabric serves two main purposes: it prevents weeds from growing up through your stones and stops the stones from sinking into the soil below. Roll the fabric out to cover the entire excavated area, overlapping any seams by at least six inches. Use landscape staples or pins to secure the fabric to the ground, especially around the edges and along the seams. This barrier is a critical component for long-term stability and reduced maintenance.
Step 5: Install Durable Edging
Edging is the secret weapon for keeping stones contained. It creates a physical barrier that stops them from scattering onto your lawn or other garden areas. There are many options, including metal, plastic, brick, or natural stone edging. Install your chosen material along the entire perimeter of your design, securing it firmly into the ground according to the manufacturer’s instructions. For a seamless look, ensure the top of the edging is either flush with or slightly above the final level of your stones. This step provides the structure needed for a clean, lasting finish.
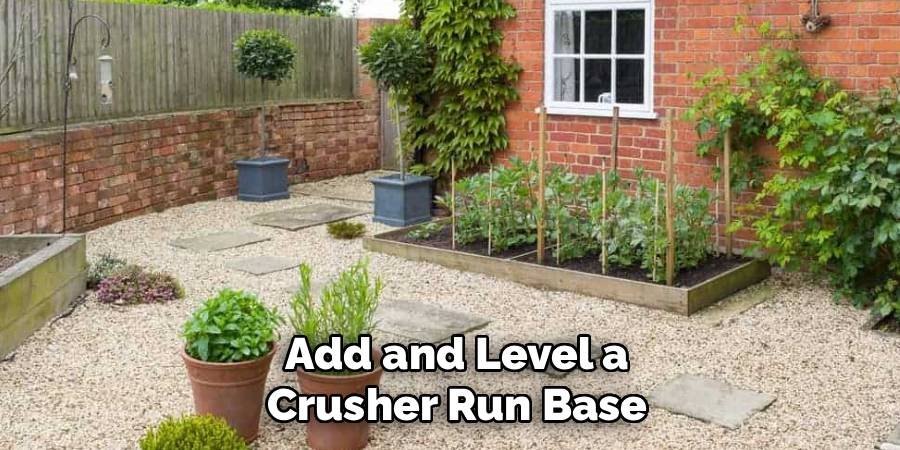
Step 6: Add and Level a Crusher Run Base
On top of the landscape fabric, you will add a base layer of crusher run, also known as paver base or crushed stone aggregate. This material consists of small, angular stones that lock together when compacted. Spread a 2-3 inch layer of crusher run evenly across the fabric-lined area. Use a garden rake to level it out. This layer provides excellent drainage, preventing water from pooling beneath your stones and causing them to shift during freeze-thaw cycles. A solid base is a key element in understanding how to keep garden stones in place effectively.
Step 7: Compact the Base Layer
Just as you compacted the soil, you must compact the crusher run base. Use your hand tamper or plate compactor to go over the entire surface until it is firm and level. This step is crucial for creating an interlocking, unyielding foundation for your stones. A well-compacted base will distribute weight evenly and prevent individual stones from sinking or becoming uneven over time. Lightly mist the crusher run with water before tamping to help the fine particles settle and create an even stronger bond.
Step 8: Lay Your Garden Stones
Now it’s time for the main event. If you are using larger stepping stones or flagstones, place them carefully on the compacted base, leaving consistent gaps between them. Use a rubber mallet to gently tap them into place and ensure they are level. For smaller decorative stones, pebbles, or gravel, simply pour them over the base and use a rake to spread them evenly until they reach your desired depth. Make sure the stones fill the entire area up to the edging. This final layer completes the look of your project.
Step 9: Fill Gaps with Polymeric Sand (for Pavers)
If you have used pavers or large stepping stones with gaps between them, filling these gaps is a great way to lock everything together. Polymeric sand is a fine sand mixed with a binding agent that hardens when activated with water. Sweep the sand into the joints, making sure they are completely filled. Use a leaf blower on a low setting to blow excess sand off the stone surfaces. Lightly mist the area with water to activate the binder, which will harden and lock the stones tightly, making the entire surface a single, solid unit.

Final Tamping and Settling
For projects using small pebbles or gravel, a final tamping can help settle them into place. Gently go over the surface with a hand tamper to press the stones into the base layer. This helps interlock them and reduces the initial shifting that can occur after installation. Over the next few weeks, the stones will continue to settle naturally. You may need to add a small amount of extra stone to any low spots that appear. Following this thorough process is the best approach for anyone wanting to master how to keep garden stones in place for a beautiful, long-lasting garden feature.
Frequently Asked Questions
What Is the Best Edging to Keep Stones in Place?
The best edging depends on your budget and aesthetic. Metal edging (steel or aluminum) is durable, thin, and creates a very clean, sharp line. Plastic bender board is a cost-effective and flexible option for curved designs. For a more natural look, consider using bricks, pavers, or larger stones set in a concrete footing to create a robust, permanent border that effectively contains the smaller garden stones.
Can I Put Garden Stones Directly on Top of Dirt?
While you can, it is not recommended for long-term success. Placing stones directly on dirt will cause them to sink into the soil over time, especially in wet conditions. Weeds will also grow through them easily. Without a proper base layer of compacted soil, landscape fabric, and crushed stone, your stones will shift, become uneven, and mix with the dirt, resulting in a muddy, messy appearance that requires constant maintenance.
How Do I Stop Weeds from Growing Through My Garden Stones?
The most effective way to prevent weeds is to install a high-quality geotextile landscape fabric underneath the stones. This physical barrier blocks sunlight and prevents weed seeds in the soil from germinating. For any weeds that may sprout from seeds blown in on top of the stones, you can:
- Hand-pull them as they appear.
- Use a post-emergent herbicide.
- Apply a pre-emergent herbicide in the spring to prevent new seeds from sprouting.
Do I Need a Base for a Simple Pebble Path?
Yes, a base is highly recommended even for a simple pebble path. A properly prepared base consisting of compacted soil, landscape fabric, and a layer of crusher run will provide crucial stability. It prevents the pebbles from sinking into the ground, improves drainage, and significantly reduces weed growth. Skipping the base will lead to a path that quickly becomes uneven, muddy, and overgrown with weeds, defeating the purpose of a low-maintenance feature.
How Thick Should My Layer of Decorative Stones Be?
For most decorative stones, pebbles, or gravel, a layer that is 2 to 3 inches deep is ideal. This depth is sufficient to completely cover the base material and landscape fabric, providing a full, lush appearance. A layer thinner than 2 inches may allow the fabric underneath to show through over time. A layer much deeper than 3 inches can feel unstable underfoot and is often an unnecessary expense, as the extra depth does not add significant functional benefit.
Conclusion
Creating a beautiful and lasting garden feature with stones is an achievable goal for any gardener. The key is not just in choosing the right stones, but in the preparation that lies beneath them. By carefully planning your design, excavating and compacting the ground, and using essential materials like landscape fabric, edging, and a crushed stone base, you can build a stable foundation that stands the test of time. These steps ensure your stones remain neatly contained, creating clean lines and functional pathways that enhance your outdoor space. Now that you know how to keep garden stones in place, you have the power to transform your landscape with confidence.
About Ravuk Barg
B.Sc. Horticulture Science | Certified Master Gardener
Ravuk Barg has spent more than a decade with his hands in the soil and his head full of questions about why some gardens thrive while others struggle. What started as a single raised bed of tomatoes and basil in a modest backyard has grown into a deep, working knowledge of everything from seed germination and soil amendment to companion planting and seasonal pruning.
Over the years, Ravuk has gardened through drought summers, waterlogged springs, and pest invasions that would make most gardeners hang up their trowels for good. Those hard seasons, he’ll tell you, taught him more than any perfect growing year ever could. He writes from that earned experience—covering vegetable growing, ornamental planting, houseplant care, composting, and garden design with equal confidence and curiosity.
Philosophy & Approach
Ravuk’s approach to gardening is rooted in practicality. He favors organic methods not out of dogma, but because they work long-term—resulting in healthier soil, fewer inputs, and stronger plants. He has a particular fondness for heirloom vegetable varieties (the kind with proper flavor), unruly cottage-style flower beds, and the stubborn houseplants that everyone else gave up on.
The Mission: Give readers the honest, experience-backed advice that helps them actually succeed in their gardens—not just the ideal version, but the real one; weeds, failures, and all.
Education & Credentials
-
B.Sc. in Horticulture Science
-
Greenfield Agricultural University
-
Focus: Plant Physiology, Soil Ecology, and Sustainable Crop Production
-
-
Master Gardener Certification
-
Cooperative Extension Service
-
Focus: 200+ hours of hands-on practical training and community garden work
-
Continuing Education
-
Organic Pest Management
-
Native Plant Landscaping
-
Sustainable Crop Production