

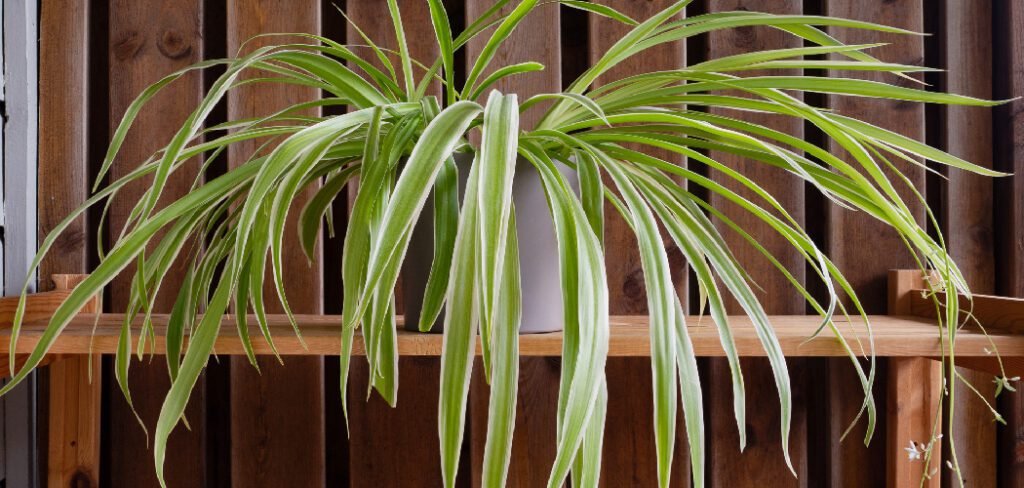
Spider plants are famous for their resilience and striking, arching leaves, making them a favorite for both new and experienced plant parents. Their rapid growth, however, means they eventually need more space to thrive. If you notice your plant’s roots pushing out of the drainage holes or its growth slowing down, it’s a clear sign that it’s time for a new home. This guide will walk you through the simple process of how to repot spider plant, ensuring it remains healthy, vibrant, and continues to produce those charming little “spiderettes.”
Why Repotting Your Spider Plant Matters
Giving your spider plant a new pot is more than just a cosmetic upgrade; it’s essential for its long-term health and vitality. Over time, a plant can become “root-bound,” meaning its roots have filled the entire container, leaving no room to expand. This crowded environment makes it difficult for the plant to absorb water and nutrients, which can lead to stunted growth, yellowing leaves, and a generally unhappy plant. Repotting provides fresh, nutrient-rich soil and gives the roots the space they need to grow, ensuring your spider plant continues to flourish for years to come.
8 Step Methods Guide on How to Repot Spider Plant
Step 1: Know When It’s Time to Repot
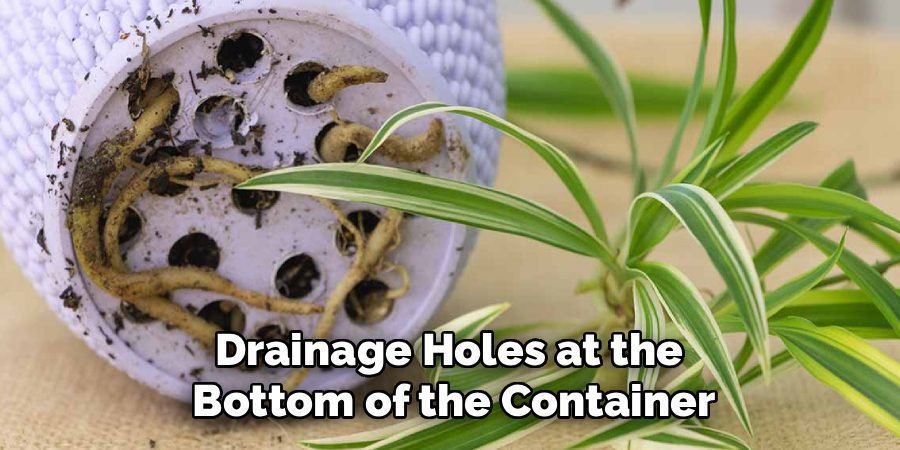
The first step is recognizing the signs that your spider plant is ready for a bigger pot. A key indicator is seeing roots emerging from the drainage holes at the bottom of the container. You might also notice the soil drying out much faster than usual, requiring more frequent watering. Another sign is when the plant’s growth seems to have stalled or the leaves look pale. If you gently slide the plant out of its pot and see a dense mass of roots with very little visible soil, it’s definitely time to repot.
Step 2: Gather Your Supplies
Before you begin, it’s helpful to have all your materials ready. You will need a new pot that is about one to two inches larger in diameter than the current one. Make sure the new pot has drainage holes. You’ll also need fresh, well-draining potting mix. A standard indoor plant mix works perfectly, but you can also add some perlite to improve drainage. Finally, have a pair of clean scissors or pruning shears handy, along with a small trowel or even just your hands to handle the soil.
Step 3: Prepare the New Pot
Get your new pot ready for its new resident. If you are reusing an old pot, make sure to clean it thoroughly with soap and water to remove any potential pests or diseases from previous plants. Once clean, cover the drainage hole at the bottom with a small piece of mesh, a coffee filter, or a few small rocks. This simple trick prevents soil from washing out during watering while still allowing excess water to escape, which is crucial for preventing root rot and keeping your spider plant healthy.
Step 4: Carefully Remove the Plant from Its Old Pot
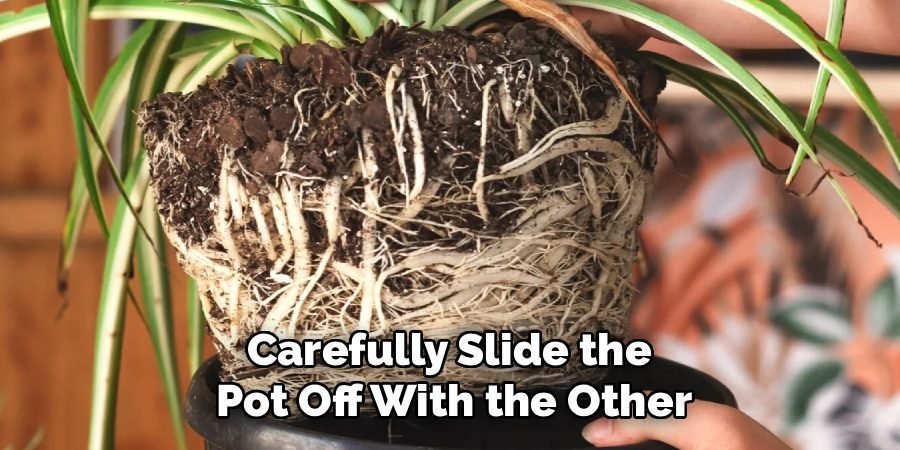
Gently remove your spider plant from its current container. To do this, turn the pot on its side and tap the bottom and sides to loosen the soil. Hold the base of the plant with one hand and carefully slide the pot off with the other. If the plant is stuck, do not pull on the leaves. Instead, you can run a butter knife or a small trowel around the inner edge of the pot to help release the root ball. Your goal is to keep the root system as intact as possible during this process.
Step 5: Inspect and Prune the Roots
Once the plant is free, take a moment to examine the root ball. Healthy spider plant roots are typically white or light tan and feel firm. If you see any roots that are dark, mushy, or have a foul odor, these are signs of root rot and should be trimmed away with your clean scissors. If the roots are tightly wound in a circle, a condition known as being root-bound, gently tease them apart with your fingers. This encourages the roots to grow outward into the new soil instead of continuing to circle.
Step 6: How to Repot Spider Plant into the New Container
Now for the main event. Add a layer of fresh potting mix to the bottom of the new pot, enough so that the top of the root ball will sit about an inch below the rim of the container. Place the spider plant in the center of the pot. Begin filling in the space around the root ball with more fresh soil. Gently press the soil down as you go to eliminate any large air pockets, which can dry out the roots. Ensure the plant is sitting at the same depth it was in its original pot.
Step 7: Settle the Soil and Water Thoroughly
After you have filled the pot with soil, give it a few gentle taps on a hard surface to help the soil settle around the roots. This ensures good contact between the roots and the new soil, which is essential for nutrient and water absorption. Once the plant is securely in place, give it a generous watering until you see water running out of the drainage holes. This initial watering helps to further settle the soil and provides the roots with the moisture they need to recover from the move.
Step 8: Provide Proper Aftercare
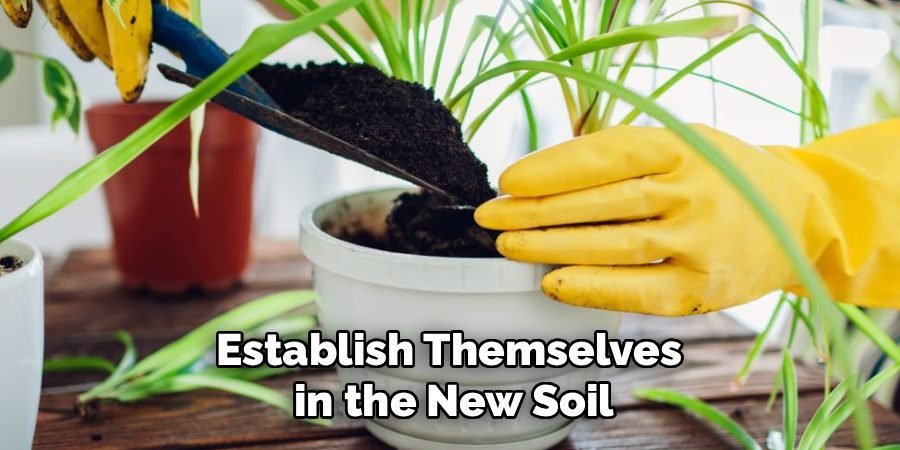
Your newly repotted spider plant will need a little time to adjust to its new environment. Place it in a location where it will receive bright, indirect sunlight. Avoid direct sun, as this can scorch the leaves, especially when the plant is in a vulnerable state post-repotting. Hold off on fertilizing for about four to six weeks to give the roots time to heal and establish themselves in the new soil. The fresh potting mix contains enough nutrients to support the plant during this initial adjustment period.
Monitor and Adjust Watering Routine
After repotting your spider plant, it’s essential to monitor its watering needs closely. Allow the top inch of soil to dry out before watering again, as overwatering can lead to root rot, especially in its recovery phase. Keep an eye on the leaves—if they start to droop or turn brown at the tips, it may indicate the plant is either under-watered or over-watered. Adjust your watering schedule based on the plant’s response and the environmental conditions in its new location. Remember, a well-drained pot and proper watering routine are key to a healthy, thriving spider plant.
Frequently Asked Questions (FAQ)
What Is the Best Time of Year to Repot a Spider Plant?
The best time to repot your spider plant is during the spring or early summer. This is the plant’s active growing season, which means it will recover from the stress of repotting much more quickly. The increased light and warmer temperatures encourage new root and foliage growth, helping the plant establish itself in its new pot. Repotting during the dormant fall or winter months is possible but can lead to a slower recovery.
What Kind of Soil Is Best for Spider Plants?
Spider plants are not particularly fussy about their soil, but they thrive in a potting mix that is light and well-draining. A standard all-purpose indoor potting mix is an excellent choice. To enhance drainage and prevent waterlogged soil, which can cause root rot, you can amend the mix by adding some perlite or sand. The ideal soil provides a balance of moisture retention and aeration, allowing the roots to breathe while staying hydrated.
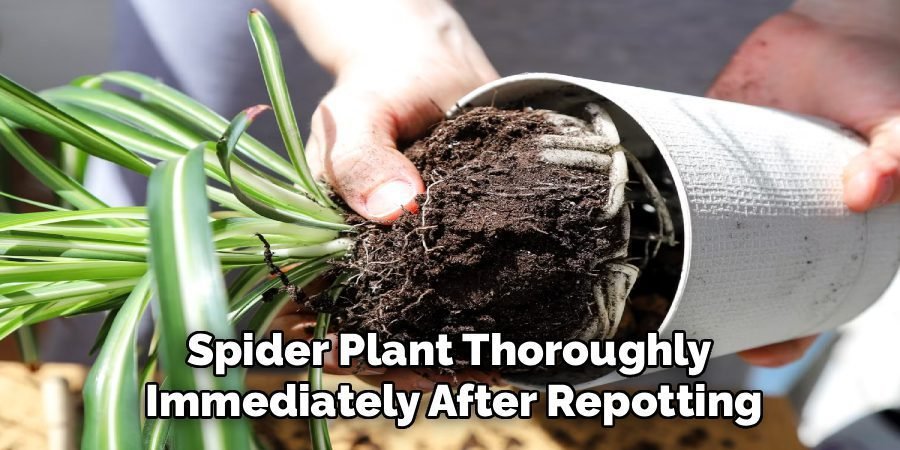
Should I Water My Spider Plant Immediately After Repotting?
Yes, you should water your spider plant thoroughly immediately after repotting. This helps to settle the new soil around the roots, eliminating any air pockets that may have formed. A good watering ensures the roots have immediate access to moisture, which reduces transplant shock and helps the plant begin to acclimate to its new home. Water until you see it flowing freely from the pot’s drainage holes, then allow the soil to dry out slightly before watering again.
How Do I Know If My Pot Is Too Big for My Spider Plant?
Choosing a pot that is too large can be as problematic as one that is too small. A pot that is excessively large holds more soil, which retains more moisture than the plant’s root system can absorb. This can lead to waterlogged conditions and root rot. A good rule of thumb is to select a new pot that is only one to two inches wider in diameter than the current one. This provides enough room for growth without overwhelming the plant.
Can I Repot the “Spiderettes” or Baby Spider Plants?
Absolutely! Repotting the baby spider plants, or “spiderettes,” is a fantastic way to propagate your plant and share it with others. Wait until the spiderettes have developed their own small roots, about an inch or two long. You can then carefully snip them off the mother plant and plant them directly into a small pot filled with fresh potting mix. Keep the soil lightly moist, and the new baby plants will quickly establish themselves and begin to grow.
Conclusion
Repotting a spider plant is a simple yet rewarding task that breathes new life into your leafy companion. By recognizing the signs that your plant needs more space and following a few easy steps, you can ensure it has a healthy foundation for continued growth. From choosing the right pot to providing proper aftercare, every part of the process contributes to a thriving plant. Now that you have a clear guide on how to repot spider plant, you can confidently give your plant the room it needs to flourish for years to come.
About Ravuk Barg
B.Sc. Horticulture Science | Certified Master Gardener
Ravuk Barg has spent more than a decade with his hands in the soil and his head full of questions about why some gardens thrive while others struggle. What started as a single raised bed of tomatoes and basil in a modest backyard has grown into a deep, working knowledge of everything from seed germination and soil amendment to companion planting and seasonal pruning.
Over the years, Ravuk has gardened through drought summers, waterlogged springs, and pest invasions that would make most gardeners hang up their trowels for good. Those hard seasons, he’ll tell you, taught him more than any perfect growing year ever could. He writes from that earned experience—covering vegetable growing, ornamental planting, houseplant care, composting, and garden design with equal confidence and curiosity.
Philosophy & Approach
Ravuk’s approach to gardening is rooted in practicality. He favors organic methods not out of dogma, but because they work long-term—resulting in healthier soil, fewer inputs, and stronger plants. He has a particular fondness for heirloom vegetable varieties (the kind with proper flavor), unruly cottage-style flower beds, and the stubborn houseplants that everyone else gave up on.
The Mission: Give readers the honest, experience-backed advice that helps them actually succeed in their gardens—not just the ideal version, but the real one; weeds, failures, and all.
Education & Credentials
-
B.Sc. in Horticulture Science
-
Greenfield Agricultural University
-
Focus: Plant Physiology, Soil Ecology, and Sustainable Crop Production
-
-
Master Gardener Certification
-
Cooperative Extension Service
-
Focus: 200+ hours of hands-on practical training and community garden work
-
Continuing Education
-
Organic Pest Management
-
Native Plant Landscaping
-
Sustainable Crop Production