

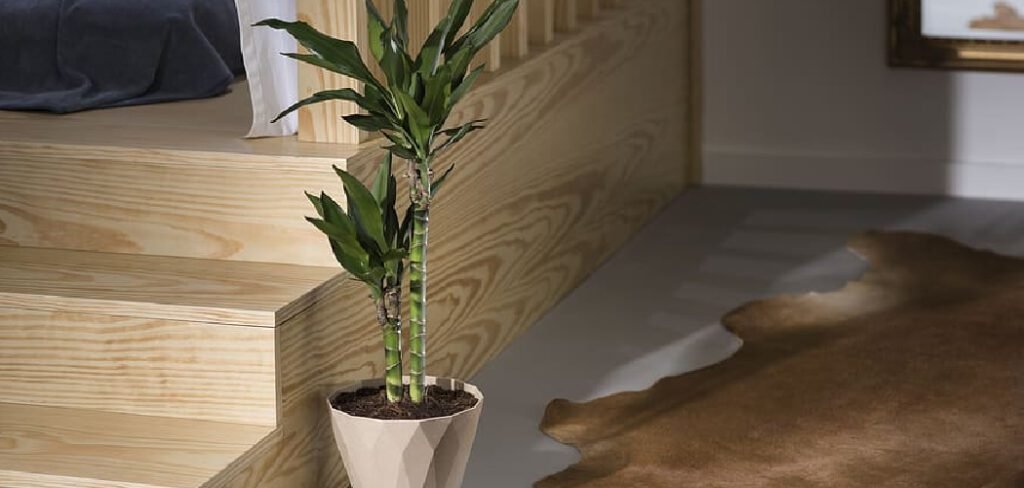
Lucky bamboo, despite its name, isn’t true bamboo but a type of Dracaena. It’s a popular houseplant known for its resilience and ability to thrive in water with rocks for support. Over time, you may notice it outgrowing its container or the water becoming murky, signaling it’s time for a change. Learning how to repot bamboo plant in rocks is a simple yet crucial skill to ensure your plant remains healthy and vibrant. This process refreshes its environment, prevents root rot, and gives it a clean new home to continue growing. This guide will walk you through every step, making the process easy even for complete beginners.
Why Repotting Your Bamboo is Essential
Repotting your lucky bamboo is more than just a cosmetic upgrade; it’s a vital part of its long-term care. As the plant grows, its root system expands and can become crowded in a small container. This “root-bound” condition restricts the plant’s ability to absorb water and nutrients, leading to yellowing leaves and stunted growth. Furthermore, the water in the container can accumulate algae, bacteria, and mineral deposits over time.
This buildup creates an unhealthy environment that can cause root rot and other diseases. Transferring your bamboo to a new container with fresh rocks and water removes these harmful elements and gives the roots more room to flourish, promoting a healthier, more robust plant.
7 Step-by-Step Guide on How to Repot Bamboo Plant in Rocks
Step 1: Gather Your Supplies
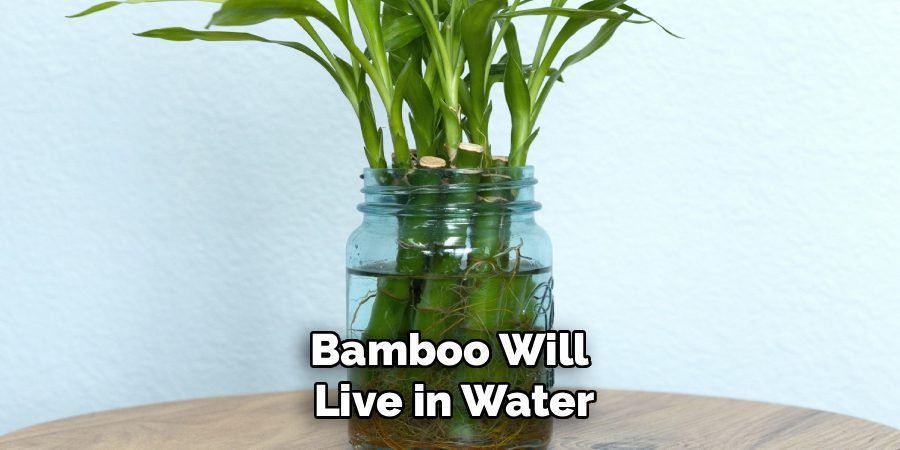
Before you begin, gather all the necessary materials to make the process smooth and efficient. You will need a new container that is slightly larger than the current one, providing enough room for root growth. Select a vase or pot without drainage holes, as the bamboo will live in water. You will also need new rocks or pebbles, which should be thoroughly washed to remove any dirt or debris. Have distilled or filtered water ready, as tap water can contain chemicals like chlorine and fluoride that are harmful to lucky bamboo. Finally, have a pair of clean, sharp scissors or pruning shears on hand in case you need to trim any roots.
Step 2: Prepare the New Container and Rocks
Proper preparation is key to creating a healthy environment for your plant. Start by washing your new container with warm, soapy water and rinsing it completely to remove any residue. This step eliminates any potential contaminants that could harm the bamboo. Next, take your chosen rocks, pebbles, or marbles and place them in a colander. Rinse them thoroughly under running water until the water runs clear. This ensures you are not introducing any dust or impurities into the plant’s new home. Once clean, you can place a layer of rocks, about one to two inches deep, at the bottom of your new pot.
Step 3: Carefully Remove the Bamboo from Its Old Pot
Gently remove the bamboo stalks from their current container. If the plant is snug, don’t pull on the stalks, as this can cause damage. Instead, carefully tip the container on its side and try to loosen the rocks around the base. You might need to gently pour out some rocks to free the root ball. Be patient during this step to avoid breaking the delicate roots. Once the plant is out, carefully shake off any old rocks that are clinging to the root system. Work over a sink or a towel to contain any mess from the water and displaced pebbles.
Step 4: Inspect and Trim the Roots
With the bamboo free from its old pot, take a moment to inspect the root system. Healthy roots should be a reddish or orange color and feel firm. If you see any roots that are black, mushy, or have a foul odor, these are signs of root rot and must be removed. Using your clean, sharp scissors or pruning shears, carefully trim away any unhealthy parts. Be conservative with your trimming; only remove what is clearly dead or decaying. Pruning the roots encourages new, healthy growth and prevents the spread of rot, which is a critical part of knowing how to repot bamboo plant in rocks successfully.
Step 5: Place the Bamboo in the New Container
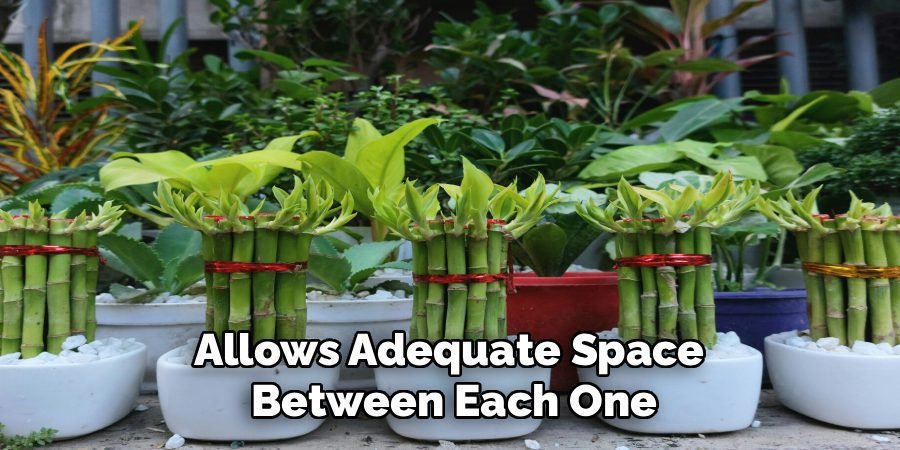
Now it’s time to position your lucky bamboo in its new home. Hold the stalks upright in the center of the new container, resting the base of the roots on the bottom layer of rocks you previously added. Make sure the plant is standing straight and at a desirable height. If you have multiple stalks, arrange them in a way that is visually appealing and allows adequate space between each one. This positioning ensures that water and air can circulate freely around the base of each stalk, which is essential for preventing future health issues and promoting even growth.
Step 6: Add More Rocks for Support
Once you are happy with the placement of your bamboo, you can begin adding the remaining clean rocks to the container. Gently pour or place the rocks around the base of the stalks, filling in the gaps to secure the plant. The primary purpose of the rocks is to provide stability and hold the bamboo upright. Continue adding rocks until they reach a level that provides firm support, typically covering the first few inches of the stalks. Be careful not to pack the rocks too tightly, as the roots still need space to breathe and grow within their new environment.
Step 7: Add Fresh Water to the Container
After securing the plant with rocks, it’s time to add water. It is highly recommended to use distilled, filtered, or rainwater, as these options are free from chemicals found in most tap water that can harm lucky bamboo. Pour the water into the container until the level is high enough to completely submerge the roots. A good rule of thumb is to have the water level about one to two inches above the top of the roots. This ensures the plant has constant access to moisture without waterlogging the stalks, which can lead to rot.
Find the Perfect Spot for Your Repotted Bamboo
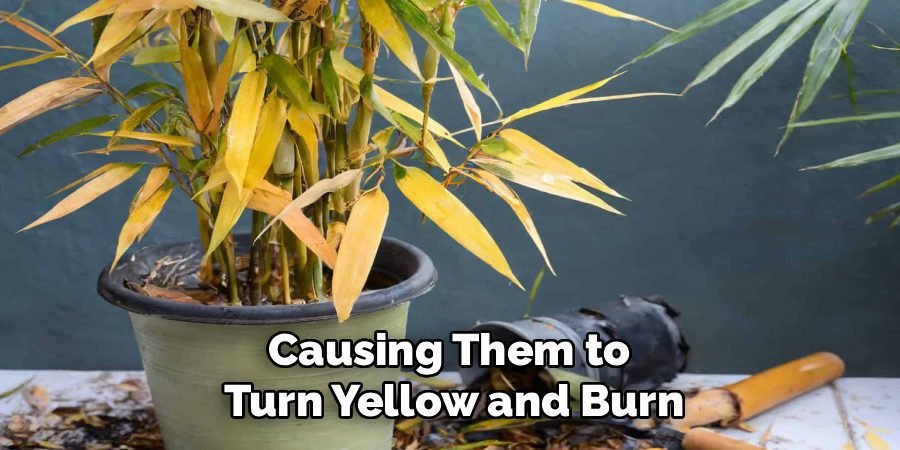
The final step is to place your newly repotted bamboo in an appropriate location. Lucky bamboo thrives in bright, indirect light. Direct sunlight can scorch the leaves, causing them to turn yellow and burn. An ideal spot would be near a window that receives filtered light or in a well-lit room away from the direct sun. Avoid placing it near drafts from vents or open windows. Now that you have completed the repotting process, remember to change the water every one to two weeks to keep it fresh and clear, ensuring your plant stays healthy for years to come.
Frequently Asked Questions (FAQ)
What Kind of Rocks Are Best for Lucky Bamboo?
The best rocks for lucky bamboo are ones that are smooth and non-porous. Polished river rocks, pebbles, glass marbles, or aquarium gravel are all excellent choices. These materials provide stable support without altering the water’s pH or leaching any harmful minerals. It’s important to avoid using sharp or jagged rocks that could damage the delicate roots. Before use, always wash the rocks thoroughly to remove any dust or debris that could contaminate the water and harm your plant.
How Often Should I Repot My Lucky Bamboo?
You generally only need to repot your lucky bamboo every one to two years, or when you notice it has become root-bound in its container. Signs that it’s time to repot include roots circling the pot, slow or stunted growth, or the plant becoming top-heavy and unstable. Repotting too frequently can stress the plant. The main goal is to provide more space for root growth and to refresh the growing environment, so observe your plant’s needs as the primary guide.
Can I Use Tap Water for My Lucky Bamboo?
It is best to avoid using tap water for lucky bamboo. Tap water often contains chlorine, fluoride, and other minerals that can build up in the plant and cause its leaf tips to turn brown or yellow. For the healthiest plant, use distilled water, filtered water, or rainwater. If tap water is your only option, let it sit out for 24 hours before using it. This allows some of the chlorine to evaporate, making it safer for your plant.
Why Are the Leaves on My Bamboo Turning Yellow?
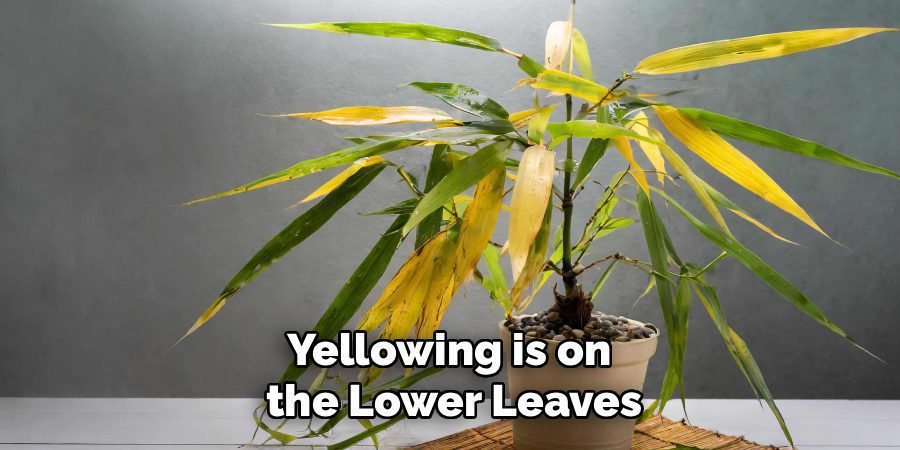
Yellowing leaves on a lucky bamboo plant can be caused by several factors. The most common culprits are too much direct sunlight, which scorches the leaves, or chemicals in the water. Over-fertilizing can also cause yellowing. Assess the plant’s location to ensure it is not in direct sun. If you are using tap water, switch to distilled or filtered water. If the yellowing is on the lower leaves, it might just be natural aging, and you can simply trim them off.
Do I Need to Fertilize My Lucky Bamboo?
Lucky bamboo does not require much fertilizer. It can thrive for a long time in just plain water. If you choose to fertilize, do so very sparingly. Use a liquid fertilizer specifically designed for lucky bamboo or a very diluted general houseplant fertilizer. Add a single drop to the water once every two to three months. Over-fertilizing is a common mistake and can lead to yellow leaves and root burn, so it’s always better to under-fertilize than to overdo it.
Conclusion
Repotting your lucky bamboo is a rewarding task that breathes new life into your plant. By following these straightforward steps, you can provide a clean, stable, and healthy environment that encourages robust growth. From selecting the right container to carefully trimming the roots and adding fresh water, each part of the process contributes to the long-term vitality of your plant. Now that you understand how to repot bamboo plant in rocks, you can confidently give your leafy friend the care it deserves, ensuring it remains a beautiful and positive presence in your home for years to come.

About Ravuk Barg
B.Sc. Horticulture Science | Certified Master Gardener
Ravuk Barg has spent more than a decade with his hands in the soil and his head full of questions about why some gardens thrive while others struggle. What started as a single raised bed of tomatoes and basil in a modest backyard has grown into a deep, working knowledge of everything from seed germination and soil amendment to companion planting and seasonal pruning.
Over the years, Ravuk has gardened through drought summers, waterlogged springs, and pest invasions that would make most gardeners hang up their trowels for good. Those hard seasons, he’ll tell you, taught him more than any perfect growing year ever could. He writes from that earned experience—covering vegetable growing, ornamental planting, houseplant care, composting, and garden design with equal confidence and curiosity.
Philosophy & Approach
Ravuk’s approach to gardening is rooted in practicality. He favors organic methods not out of dogma, but because they work long-term—resulting in healthier soil, fewer inputs, and stronger plants. He has a particular fondness for heirloom vegetable varieties (the kind with proper flavor), unruly cottage-style flower beds, and the stubborn houseplants that everyone else gave up on.
The Mission: Give readers the honest, experience-backed advice that helps them actually succeed in their gardens—not just the ideal version, but the real one; weeds, failures, and all.
Education & Credentials
-
B.Sc. in Horticulture Science
-
Greenfield Agricultural University
-
Focus: Plant Physiology, Soil Ecology, and Sustainable Crop Production
-
-
Master Gardener Certification
-
Cooperative Extension Service
-
Focus: 200+ hours of hands-on practical training and community garden work
-
Continuing Education
-
Organic Pest Management
-
Native Plant Landscaping
-
Sustainable Crop Production