

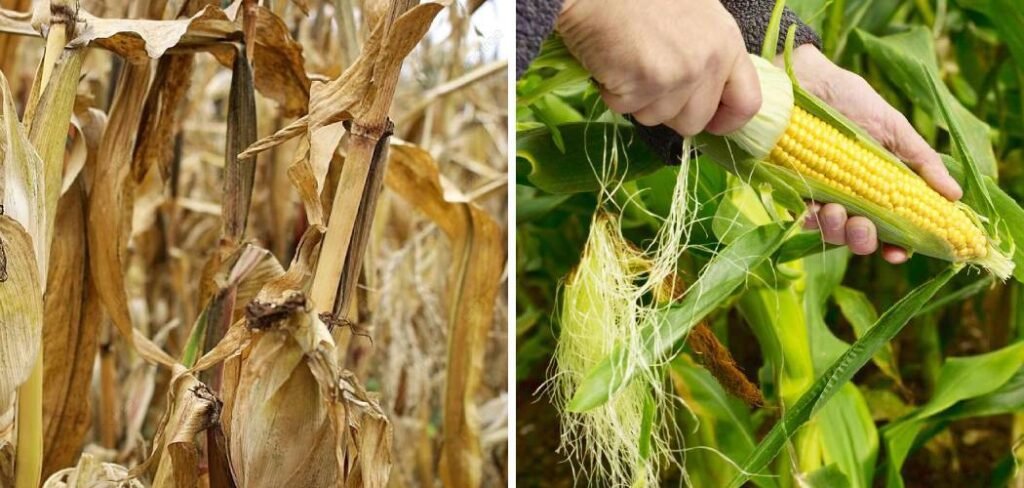
After enjoying a delicious harvest of homegrown sweet corn, you’re left with a garden full of tough, fibrous stalks. These remnants can be a real chore to deal with, leaving many gardeners wondering what to do next. Letting them sit can attract pests and diseases, and their woody texture makes them slow to break down.
Fortunately, learning how to remove corn stalks from garden plots is a straightforward process that clears space for your next planting season and enriches your soil. This guide will walk you through the entire process, from cutting down the stalks to using them for mulch or compost. You’ll find simple, effective methods that make this end-of-season task manageable for any home gardener, setting you up for a healthy, productive garden next year.
Why Clearing Corn Stalks Matters for Your Garden
Leaving old corn stalks in your garden over winter might seem harmless, but it can create problems for future plantings. These stalks can host pests like the European corn borer, which lays eggs that overwinter in the plant debris. When spring arrives, these pests emerge ready to damage your new crops. Fungal diseases such as corn smut and rust can also survive on the leftover stalks, creating a source of infection for the following season.
Clearing the stalks breaks this cycle, reducing the risk of pest and disease outbreaks. Furthermore, the thick, woody nature of corn stalks means they decompose very slowly. If you try to till them directly into the soil without breaking them down first, they can interfere with seedbed preparation and rob the soil of nitrogen as they slowly decompose, hindering the growth of new plants.
8 Methods Guide on How to Remove Corn Stalks From Garden Beds
Step 1: Gather the Right Tools
Before you begin, gathering the necessary tools will make the job much faster and easier. You don’t need expensive equipment, just a few garden essentials. A sturdy pair of loppers or pruning shears is perfect for cutting the thick stalks close to the ground. You will also need thick gardening gloves to protect your hands from sharp leaf edges and potential blisters.
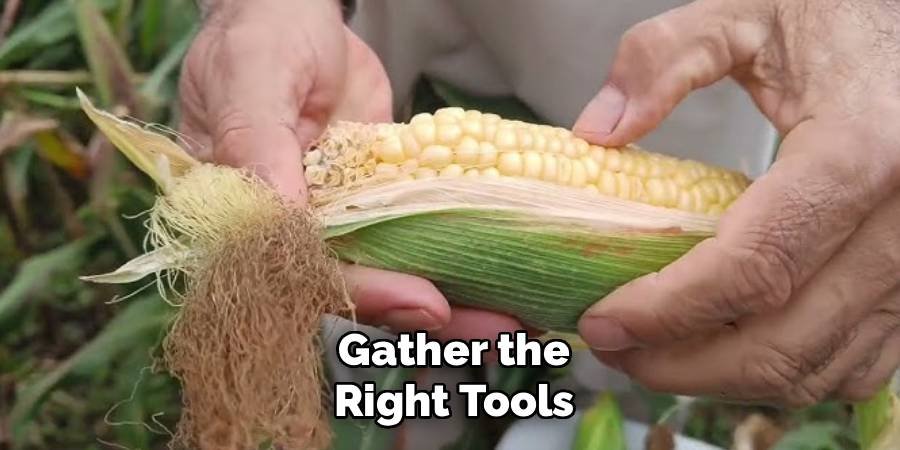
A wheelbarrow or a large garden tarp will be invaluable for transporting the cut stalks to your compost pile or another processing area. If you plan to chop the stalks into smaller pieces, a wood chipper, shredder, or even a lawn mower can be extremely useful. Having everything ready ensures you can work efficiently without interruption.
Step 2: Cut the Stalks at the Base
Once your tools are assembled, it’s time to start cutting. The most effective way to begin is by cutting each corn stalk at its base, leaving about one to two inches of the stalk above the soil line. Using a sharp pair of loppers or heavy-duty pruning shears will provide a clean cut.
Bending the stalk slightly can make it easier to position your tool for a swift cut. This method is much simpler than trying to pull the entire plant, root and all, from the ground. Corn plants have extensive, fibrous root systems that can be difficult to dislodge, and pulling them can disturb the soil structure unnecessarily. Cutting them at the base is a key part of how to remove corn stalks from garden areas with minimal effort.
Step 3: Uproot the Remaining Stubble and Roots
After cutting down all the stalks, you are left with the short stubs and root balls. While some gardeners prefer to leave the roots in the ground to decompose and add organic matter, removing them can be beneficial. Leaving them might interfere with planting in the same spot next season.
To remove the roots, use a garden fork or a sturdy spade to loosen the soil around the stub. Once the soil is loose, you can often pull the root ball out by hand. For particularly stubborn roots, rocking the garden fork back and forth can provide the leverage needed to pry them from the ground. Shaking off excess soil from the root ball before adding it to your compost pile is a good practice.
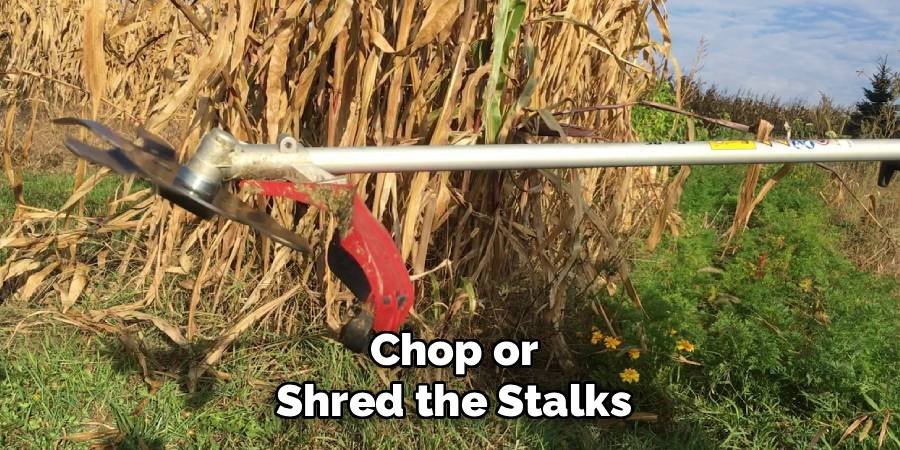
Step 4: Chop or Shred the Stalks
Corn stalks are large and woody, meaning they will take a very long time to break down in a compost pile if left whole. To speed up decomposition, it is essential to chop them into smaller pieces. A wood chipper or leaf shredder is the most efficient tool for this job, quickly turning a large pile of stalks into a manageable mound of shredded material.
If you don’t own a shredder, you can lay the stalks on your lawn and run them over with a lawn mower a few times. Alternatively, you can chop them manually with your loppers or a machete, aiming for pieces that are six inches or shorter. This step is crucial for composting and mulching effectively.
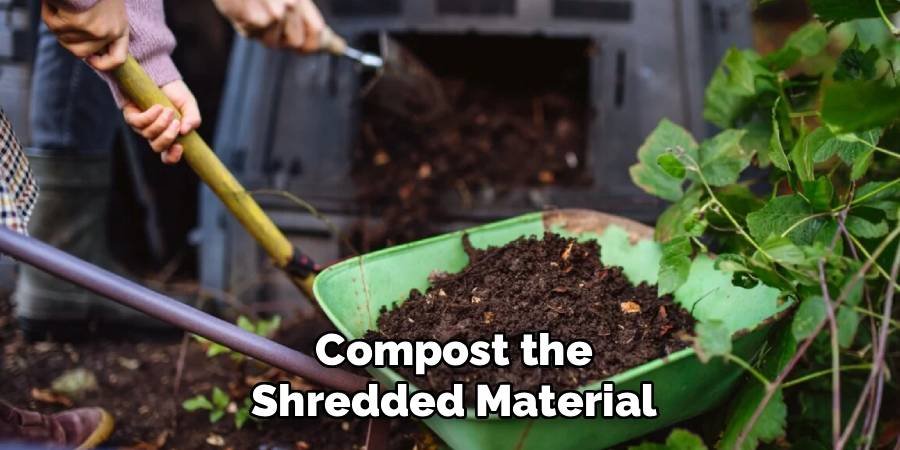
Step 5: Compost the Shredded Material
Shredded corn stalks are a fantastic “brown” material for your compost pile. They are rich in carbon, which is necessary to balance the nitrogen-rich “green” materials like grass clippings and kitchen scraps. To create a healthy compost pile, layer the shredded corn stalks with green materials, aiming for a ratio of about two parts brown to one part green.
Ensure the pile remains moist, like a wrung-out sponge, to encourage microbial activity. Turning the pile every week or two with a garden fork will aerate it, speeding up the decomposition process. In a few months, you will have nutrient-rich compost to amend your garden soil, improving its structure and fertility.
Step 6: Use Stalks as Garden Mulch
If you don’t have a compost pile, the shredded corn stalks can be used directly in the garden as mulch. Applying a two-to-three-inch layer of this organic material around perennial plants, shrubs, or over empty garden beds can offer numerous benefits.
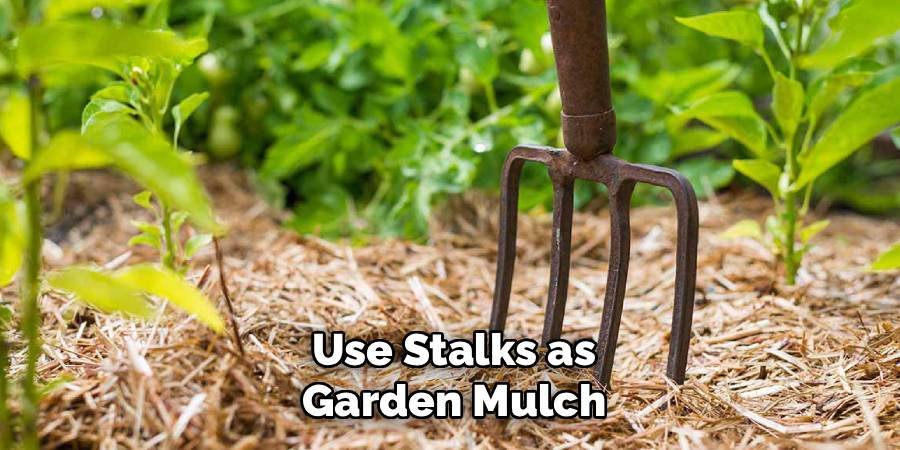
Mulch helps to suppress weeds, retain soil moisture, and regulate soil temperature, protecting plant roots from extreme heat or cold. As the shredded stalks slowly decompose over the winter and spring, they will release valuable organic matter into the soil, gradually improving its health. This is a great way to recycle the plant material directly back into the garden ecosystem where it grew.
Step 7: The “Chop and Drop” Method
For gardeners seeking a low-effort approach, the “chop and drop” method is an excellent option. This technique involves cutting the corn stalks into smaller pieces and leaving them directly on the soil surface of the garden bed. As with traditional mulching, these pieces will act as a natural ground cover over the winter.
Earthworms and other soil organisms will slowly pull the material down into the soil, incorporating the organic matter for you. This method mimics natural forest floor processes and is a cornerstone of no-till gardening. It helps build healthy soil structure, feeds soil life, and reduces the work of hauling materials to a compost pile.
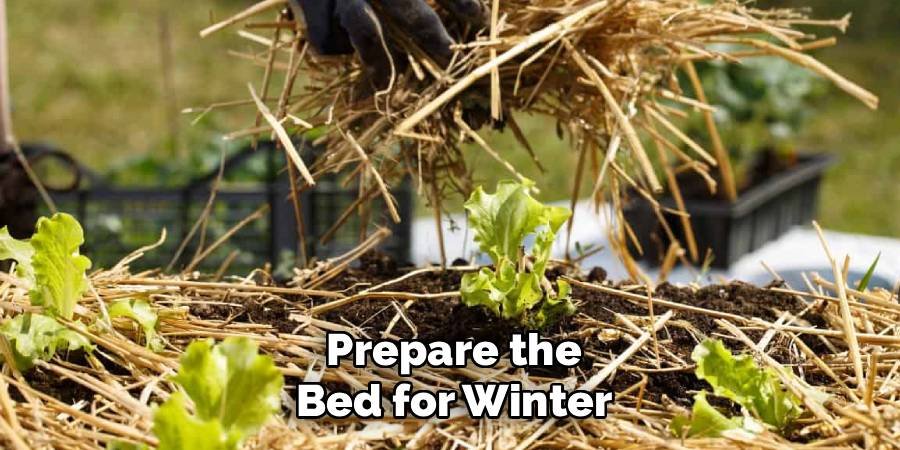
Step 8: Prepare the Bed for Winter
After you have addressed the stalks and roots, the final step is to prepare the bed for winter. If you removed the roots, you can lightly till the area or simply rake it smooth. This is an excellent time to amend the soil with compost or other organic matter to replenish nutrients used during the growing season. Spreading a thick layer of finished compost or well-rotted manure will give it time to integrate into the soil over the winter. You might also consider planting a winter cover crop, such as winter rye or hairy vetch, which will protect the soil from erosion, suppress weeds, and add valuable nutrients when tilled in the spring.
Frequently Asked Questions (FAQ)
Can I Till Corn Stalks Directly Into the Garden?
Tilling whole corn stalks into the garden is generally not recommended. Their tough, woody composition means they break down very slowly. During decomposition, microorganisms use a lot of soil nitrogen, temporarily making it unavailable for your plants. This can lead to nitrogen deficiency in your next crop. If you plan to till, it’s crucial to first shred the stalks into very small pieces to speed up decomposition and minimize nitrogen depletion.
How Long Does It Take for Corn Stalks to Decompose?
The decomposition time for corn stalks depends heavily on their size and environment. Whole stalks can take over a year to break down. However, if you shred them into small pieces and add them to a well-managed, moist compost pile that is turned regularly, they can decompose in as little as three to six months. When used as mulch, shredded stalks will typically break down over the course of a winter and spring season.
Is It Okay to Burn Corn Stalks?
While burning is a fast way to get rid of corn stalks, it is often not the best choice. Burning releases the carbon stored in the stalks into the atmosphere as carbon dioxide. Furthermore, you lose the valuable organic matter that could have enriched your garden soil. Many municipalities also have regulations or bans on open burning. It’s more beneficial for your garden’s health to compost or mulch the stalks, recycling their nutrients back into the soil.
What Pests and Diseases Can Hide in Old Corn Stalks?
Old corn stalks can harbor several problematic pests and diseases. The European corn borer is a major concern, as its larvae overwinter in the stalks and emerge in the spring. Other pests like stalk borers and flea beetles can also find refuge in the debris. Fungal diseases are also a significant issue; pathogens causing gray leaf spot, northern corn leaf blight, and anthracnose stalk rot can all survive on leftover plant material, ready to infect next year’s crop.
Can I Leave Corn Roots in the Ground Over Winter?
Yes, you can leave corn roots in the ground. The roots will decompose over the winter, adding valuable organic matter and creating channels in the soil that can improve aeration and water penetration. This practice is common in no-till gardening systems. However, if the roots are large and dense, they might interfere with seeding or transplanting in the same spot next spring. Whether to remove them depends on your gardening style and what you plan to plant next.
Conclusion
Clearing your garden of old corn stalks is a rewarding task that bridges the end of one season with the beginning of the next. By following these steps, you can efficiently handle this chore, prevent future pest and disease problems, and turn the plant debris into a valuable resource for your soil.
Whether you choose to compost, mulch, or use a chop-and-drop method, you are actively improving your garden’s health and sustainability. Now that you understand how to remove corn stalks from garden beds, you can tackle this project with confidence, ensuring your plot is clean, healthy, and ready for another successful year of planting.
About Ravuk Barg
B.Sc. Horticulture Science | Certified Master Gardener
Ravuk Barg has spent more than a decade with his hands in the soil and his head full of questions about why some gardens thrive while others struggle. What started as a single raised bed of tomatoes and basil in a modest backyard has grown into a deep, working knowledge of everything from seed germination and soil amendment to companion planting and seasonal pruning.
Over the years, Ravuk has gardened through drought summers, waterlogged springs, and pest invasions that would make most gardeners hang up their trowels for good. Those hard seasons, he’ll tell you, taught him more than any perfect growing year ever could. He writes from that earned experience—covering vegetable growing, ornamental planting, houseplant care, composting, and garden design with equal confidence and curiosity.
Philosophy & Approach
Ravuk’s approach to gardening is rooted in practicality. He favors organic methods not out of dogma, but because they work long-term—resulting in healthier soil, fewer inputs, and stronger plants. He has a particular fondness for heirloom vegetable varieties (the kind with proper flavor), unruly cottage-style flower beds, and the stubborn houseplants that everyone else gave up on.
The Mission: Give readers the honest, experience-backed advice that helps them actually succeed in their gardens—not just the ideal version, but the real one; weeds, failures, and all.
Education & Credentials
-
B.Sc. in Horticulture Science
-
Greenfield Agricultural University
-
Focus: Plant Physiology, Soil Ecology, and Sustainable Crop Production
-
-
Master Gardener Certification
-
Cooperative Extension Service
-
Focus: 200+ hours of hands-on practical training and community garden work
-
Continuing Education
-
Organic Pest Management
-
Native Plant Landscaping
-
Sustainable Crop Production