

Plastic lawn netting, often used to stabilize new sod or seed, can become a real headache for homeowners once it has served its purpose. While it’s great for preventing soil erosion and protecting young grass, it can later get tangled in lawnmowers, become a trip hazard, and harm local wildlife.
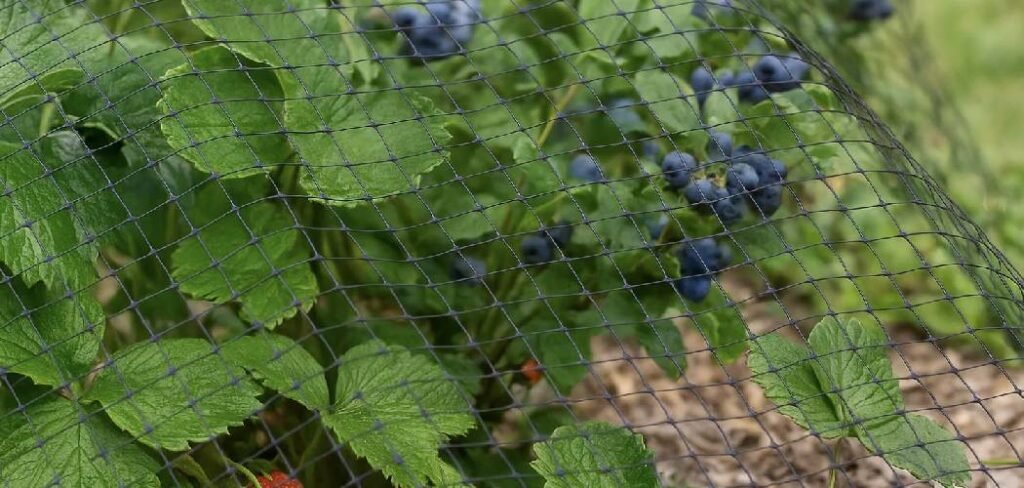
Learning how to remove plastic lawn netting is an important step in maintaining a healthy, safe, and beautiful lawn. This guide will walk you through the process, making it simple and straightforward for any home gardener. With the right tools and a bit of patience, you can free your lawn from this plastic mesh and ensure your grass continues to thrive unencumbered. This task might seem daunting, but we’ll break it down into easy-to-follow steps to help you succeed.
Why Removing Lawn Netting Matters
You might wonder if removing the plastic netting is truly necessary, especially if the grass has grown through it. While some netting is biodegradable, many common types are made from photodegradable or non-degradable plastic. Photodegradable materials break down into smaller plastic pieces when exposed to sunlight, but they don’t disappear completely.
These microplastics can contaminate your soil and water. Non-degradable netting remains intact for years, posing several risks. It can entangle lawnmower blades, causing expensive damage to your equipment. It’s also a significant hazard for small animals and birds, which can get trapped in the mesh. By taking the time to remove it, you create a safer environment for both your family and local wildlife, while also ensuring the long-term health of your lawn and soil.
7 Step Methods Guide on How to Remove Plastic Lawn Netting
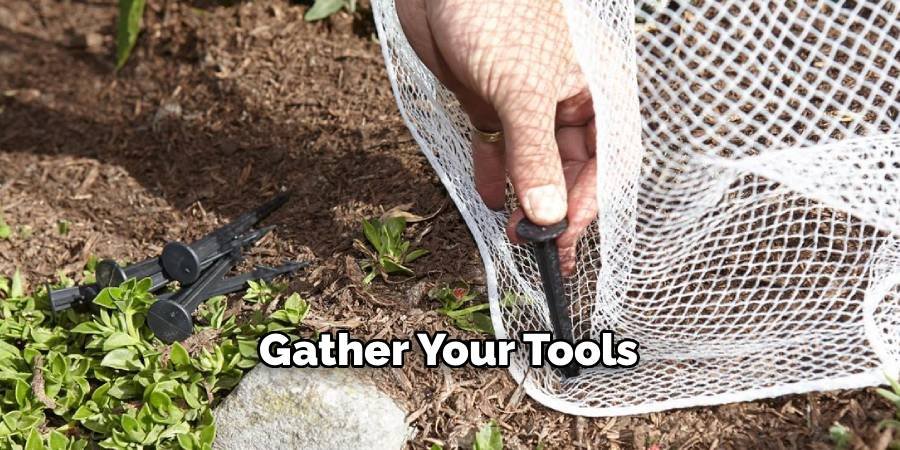
Step 1: Gather Your Tools
Before you begin, gather all the necessary tools to make the job as efficient as possible. You will need a sturdy pair of gardening gloves to protect your hands from blisters and sharp edges. A pair of sharp utility scissors or a utility knife is essential for cutting through the plastic mesh. A flat-head screwdriver or a small garden trowel will be helpful for prying up stubborn staples or pins holding the netting in place. Finally, have a large trash bag or wheelbarrow ready to collect the removed netting and staples, ensuring a clean and safe work area. Having everything within reach will prevent interruptions and help you maintain a steady workflow.
Step 2: Mow the Lawn Short
To get a clear view of the netting and the staples securing it, you should first mow your lawn. Set your lawnmower to a lower-than-usual cutting height, but be careful not to scalp the turf completely. A shorter grass height exposes the plastic mesh, making it much easier to see and access. This step is crucial because it reduces the amount of grass tangled with the netting, which simplifies the removal process. Mowing short also helps you locate the metal or plastic staples more easily, preventing you from accidentally leaving any behind in the soil where they could become a future hazard.
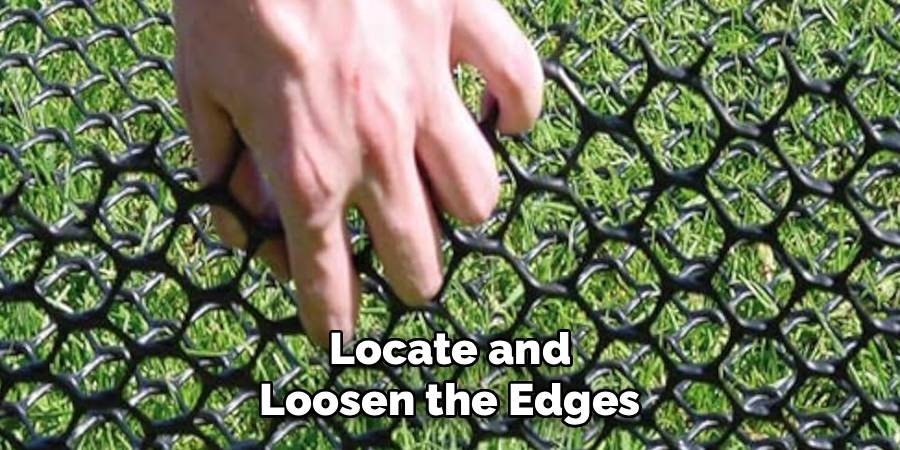
Step 3: Locate and Loosen the Edges
Walk the perimeter of the netted area to find the edges of the plastic mesh. The netting is typically secured along its borders with staples driven deep into the soil. Start at one corner and gently pull on the grass to feel for the tension of the netting underneath. Once you’ve found an edge, use your flat-head screwdriver or garden trowel to carefully pry up the first few staples. Be gentle to avoid tearing the netting, as keeping it in one large piece will make removal much cleaner. Loosening the entire perimeter first provides a clear starting point for the rest of the removal process.
Step 4: Cut the Netting into Manageable Sections
Once the edges are loose, you’ll find that trying to pull up the entire sheet of netting at once is difficult, as the grass has grown through it. To make the task manageable, use your utility knife or scissors to cut the netting into smaller, workable strips. Aim for sections that are about three to four feet wide. Cutting the netting into parallel strips across your lawn allows you to work on one small area at a time. This methodical approach prevents you from becoming overwhelmed and reduces the risk of damaging large patches of your lawn as you pull.
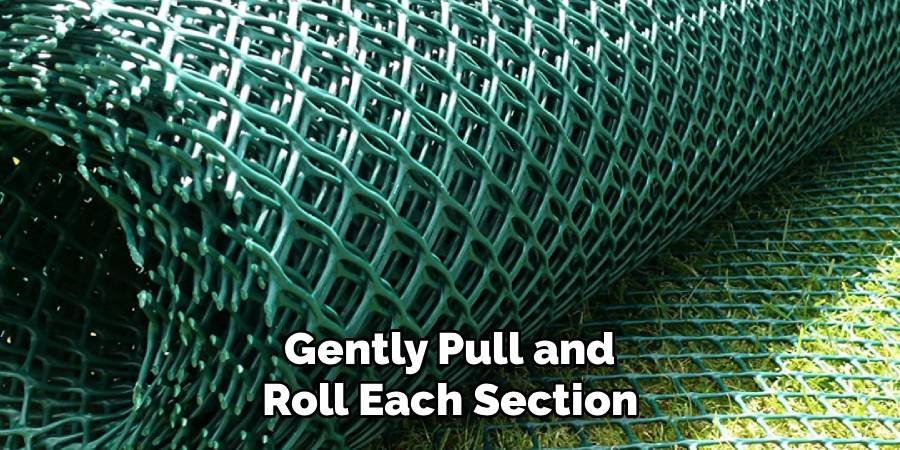
Step 5: Gently Pull and Roll Each Section
Starting with one of the strips you’ve cut, begin to gently pull the netting up from the soil. Pull slowly and at a low angle to minimize resistance and avoid ripping out large chunks of grass. As you lift the netting, the grass roots will resist. You may need to wiggle the mesh back and forth to gently dislodge it. As you free a portion of the strip, roll it up tightly. This keeps the removed netting contained and prevents it from getting tangled again. Continue this pull-and-roll technique until the entire strip is removed from the ground.
Step 6: How to Remove Plastic Lawn Netting from Matted Grass
In some areas, the grass may be so densely matted with the netting that pulling is not an option without causing significant damage. For these stubborn spots, you will need to use your utility knife more surgically. Carefully slide the blade under the netting and cut away at the plastic, freeing the grass one small section at a time. This is the most time-consuming part of the job, but it is the best method for preserving your lawn’s integrity. Patience is key here. Work slowly, cutting only the plastic and avoiding the grass roots as much as possible.
Step 7: Clear Away Debris and Staples
After all the netting sections have been rolled up and removed, walk over the entire area one more time. Your primary goal is to find and remove any remaining staples or small pieces of plastic mesh. Use your garden trowel to sift through the top layer of soil in any areas where you had to pry up staples. Running a metal rake lightly over the surface can also help unearth any missed metal pieces. Ensuring all debris is removed is vital for the safety of your lawnmower and anyone who walks on the grass barefoot.
Water and Repair Your Lawn
The removal process can be stressful for your lawn. After you’ve cleared away all the plastic and staples, give your lawn a deep watering to help the soil and grass roots settle. Inspect the area for any bare or thin patches that may have been created during the removal. You can repair these spots by overseeding and applying a thin layer of topsoil or compost. Consistent watering over the next few weeks will help the new seed germinate and allow the existing grass to recover, leaving you with a healthy, uniform, and net-free lawn.
Frequently Asked Questions (FAQ)
Can I Just Leave the Plastic Netting in My Lawn?
While it may be tempting, leaving plastic netting in your lawn is not recommended. Most netting is not fully biodegradable and breaks down into microplastics that harm the soil. It can also create a safety hazard by entangling lawn equipment, pets, and local wildlife. Over time, it can inhibit healthy root growth and make lawn maintenance more difficult.
What Is the Best Time of Year to Remove Lawn Netting?
The best time to remove lawn netting is during the active growing season, either in the spring or early fall. During these periods, your grass is resilient and will recover more quickly from the stress of the removal process. Avoid doing this during the peak heat of summer or when the ground is frozen in winter, as the lawn will be more vulnerable to damage.
Will Removing the Netting Damage My Grass?
Some minor damage is almost unavoidable, but you can minimize it by being patient and gentle. Pulling the netting slowly and cutting it into manageable sections will help reduce stress on the grass roots. Any thin or bare patches that appear can be easily repaired by overseeding and watering properly. Your lawn should recover fully within a few weeks.
Is There an Easier Way to Get Rid of It?
Unfortunately, there isn’t a magic shortcut for removing embedded lawn netting. The manual method described in this guide is the most effective and safest way to do it without using harmful chemicals or causing extensive damage to your turf. While it requires time and effort, the long-term benefits for your lawn’s health and safety are well worth it.
How Do I Dispose of the Old Netting?
Plastic lawn netting is typically not recyclable through municipal curbside programs.
- Check with your local waste management facility for specific guidelines on disposing of this type of plastic.
- In most cases, you will need to place the removed netting and staples in your regular garbage bin.
- Rolling it up tightly and securing it in a durable trash bag will make disposal easier.
Conclusion
Removing plastic netting from your lawn is a task that requires patience, but it is essential for the long-term health and safety of your yard. By following these steps—gathering your tools, mowing the lawn, working in small sections, and carefully repairing any damaged spots—you can successfully free your turf from this plastic web. The effort you put in now will pay off with a healthier, safer, and more beautiful lawn that is easier to maintain for years to come. Now that you understand how to remove plastic lawn netting, you are equipped to tackle this project and help your lawn truly flourish.
About Ravuk Barg
B.Sc. Horticulture Science | Certified Master Gardener
Ravuk Barg has spent more than a decade with his hands in the soil and his head full of questions about why some gardens thrive while others struggle. What started as a single raised bed of tomatoes and basil in a modest backyard has grown into a deep, working knowledge of everything from seed germination and soil amendment to companion planting and seasonal pruning.
Over the years, Ravuk has gardened through drought summers, waterlogged springs, and pest invasions that would make most gardeners hang up their trowels for good. Those hard seasons, he’ll tell you, taught him more than any perfect growing year ever could. He writes from that earned experience—covering vegetable growing, ornamental planting, houseplant care, composting, and garden design with equal confidence and curiosity.
Philosophy & Approach
Ravuk’s approach to gardening is rooted in practicality. He favors organic methods not out of dogma, but because they work long-term—resulting in healthier soil, fewer inputs, and stronger plants. He has a particular fondness for heirloom vegetable varieties (the kind with proper flavor), unruly cottage-style flower beds, and the stubborn houseplants that everyone else gave up on.
The Mission: Give readers the honest, experience-backed advice that helps them actually succeed in their gardens—not just the ideal version, but the real one; weeds, failures, and all.
Education & Credentials
-
B.Sc. in Horticulture Science
-
Greenfield Agricultural University
-
Focus: Plant Physiology, Soil Ecology, and Sustainable Crop Production
-
-
Master Gardener Certification
-
Cooperative Extension Service
-
Focus: 200+ hours of hands-on practical training and community garden work
-
Continuing Education
-
Organic Pest Management
-
Native Plant Landscaping
-
Sustainable Crop Production