

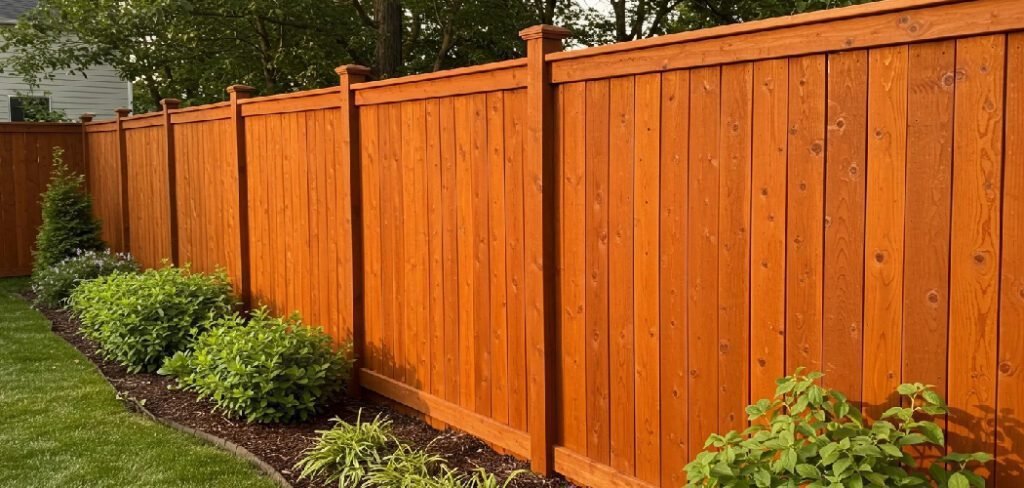
Container gardening is a wonderful way to add life and color to your outdoor living space. Planters filled with vibrant flowers, lush greenery, or even homegrown vegetables can transform a simple deck into a beautiful oasis. However, without the right precautions, these same planters can cause significant damage to your deck’s surface. Trapped moisture, soil stains, and scratches can lead to rot, discoloration, and costly repairs. This guide will walk you through the essential steps on how to protect deck from planters, ensuring your outdoor space remains both beautiful and structurally sound for years to come.
Why Deck Protection is Crucial
Your deck is a significant investment and an extension of your home. Constant exposure to the elements already poses a challenge, but placing planters directly on the surface introduces a new set of risks. When a pot sits on a deck, it traps water underneath it, creating a perpetually damp environment. This moisture is a breeding ground for mold, mildew, and wood rot, which can compromise the integrity of the wood or composite material.
Additionally, soil, fertilizer, and minerals can leach out from the drainage holes, leaving behind stubborn stains. Scratches from moving heavy ceramic or concrete pots can also mar the finish. Taking proactive steps to protect your deck is not just about aesthetics; it’s about preserving its value and safety.
8 Step Methods Guide on How to Protect Deck from Planters
Step 1: Choose the Right Planters
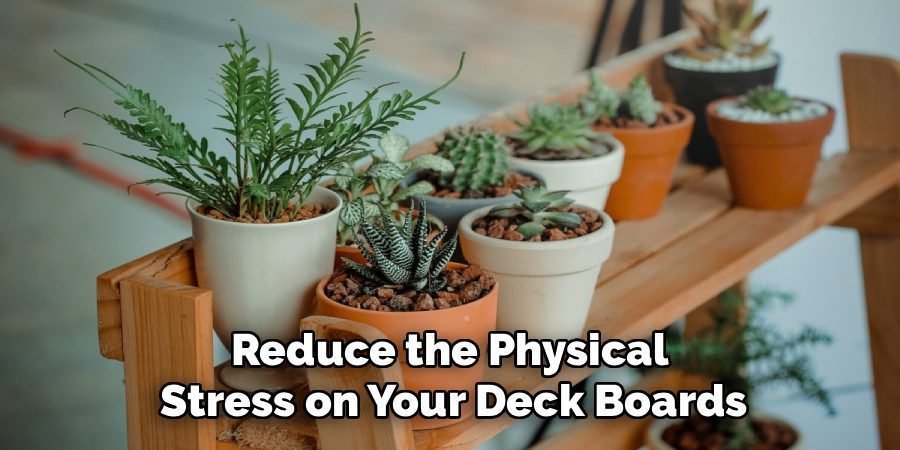
The first line of defense begins with your choice of container. Porous materials like unglazed terracotta can absorb and hold water, keeping the base constantly moist. Instead, opt for planters made from non-porous materials such as plastic, resin, fiberglass, or glazed ceramic. These materials are less likely to transfer moisture to your deck. Also, consider the weight. Lightweight pots are easier to move for cleaning and reduce the physical stress on your deck boards, minimizing the risk of indentations or structural strain over time.
Step 2: Ensure Proper Drainage
Adequate drainage is non-negotiable for both your plants and your deck. Ensure every pot has multiple drainage holes at the bottom. If a decorative pot you love lacks them, you can often drill them yourself using an appropriate drill bit. Proper drainage prevents water from pooling inside the pot, which would otherwise lead to root rot and create an overflow that saturates the deck beneath. This simple feature allows excess water to escape freely, which is the first step in preventing moisture from becoming trapped against the deck surface.
Step 3: Elevate Your Planters with Pot Feet
One of the most effective methods for protecting your deck is to elevate your planters. Using “pot feet” or small risers creates an air gap between the bottom of the pot and the deck surface. This space allows air to circulate freely, drying out any moisture that collects after watering or rainfall. It also prevents water from being trapped, which is the leading cause of wood rot and mildew. You can find pot feet in various materials, including rubber, plastic, or decorative ceramic, at any garden center. For a simple solution, even bricks or small blocks of treated wood will work.
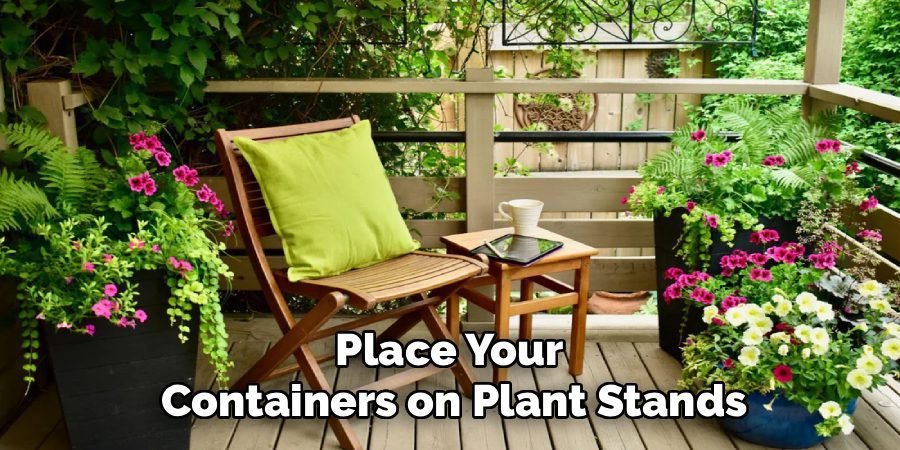
Step 4: Use Plant Stands for Better Airflow
For a more decorative and functional solution, place your containers on plant stands. Stands lift the planters significantly higher off the deck than pot feet, maximizing airflow and sun exposure underneath. This elevation makes it nearly impossible for moisture to remain trapped for long. Plant stands come in countless styles and materials, from simple metal rings to multi-tiered wooden structures, allowing you to add a stylistic element to your deck design. Using stands also makes it easier to sweep or rinse debris from under the pots without having to move them.
Step 5: Place Saucers and Trays Correctly
Plant saucers are designed to catch excess water, but they can be a primary cause of deck damage if used incorrectly. Never place a pot directly in a saucer that sits flat on the deck. This setup traps a thin layer of water between the saucer and the deck, creating the perfect conditions for rot. Instead, place the saucer on top of pot feet. This elevates the entire system, allowing air to circulate underneath the saucer. Remember to empty the saucers regularly after watering so they don’t overflow or become stagnant pools.
Step 6: Consider Self-Watering Planters
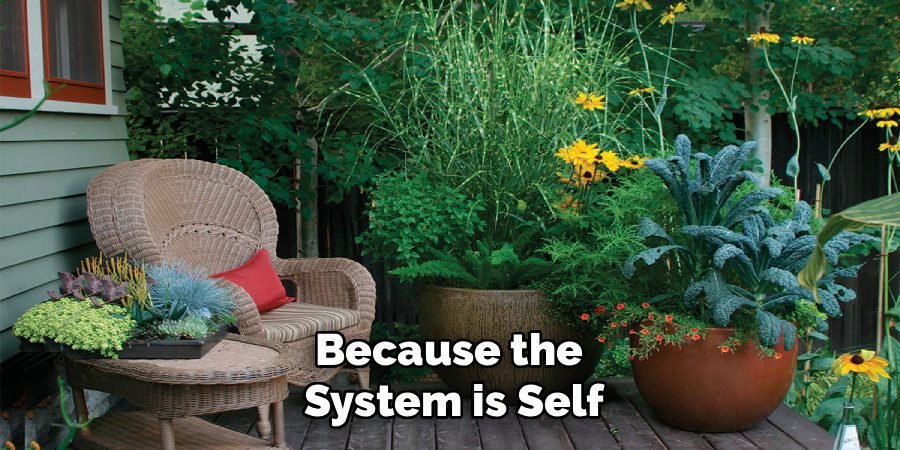
Self-watering planters are an excellent option for deck protection. These containers are designed with a built-in reservoir at the bottom that holds water, which is then wicked up into the soil as needed. This design means there are no drainage holes at the very bottom of the pot, so water never leaks directly onto your deck. Since the watering system is self-contained, you eliminate the risk of spills and drainage stains entirely. This is a clean, efficient way to keep plants hydrated while offering maximum protection for the surface below.
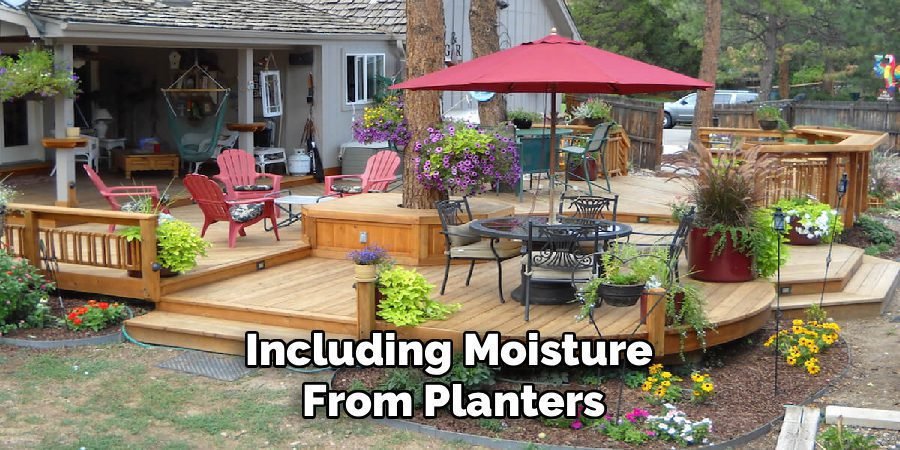
Step 7: Apply a Deck Sealant or Stain
A high-quality sealant is your deck’s best defense against the elements, including moisture from planters. Applying a water-repellent sealer or stain creates a protective barrier on the wood. This coating prevents water from penetrating the wood fibers, causing it to bead up and evaporate instead. Even if a little moisture gets trapped under a pot, the sealant will provide a crucial layer of protection against rot and discoloration. Be sure to reapply the sealant every one to three years, depending on your climate and the product’s instructions, to maintain its effectiveness.
Step 8: How to Protect Deck from Planters with Deck Mats
For areas with a high concentration of planters, consider using a deck mat or rug designed for outdoor use. These mats provide a physical barrier between the pots and the deck. Look for mats made from breathable materials like polypropylene that allow moisture to evaporate rather than trapping it. Avoid rugs with solid rubber or vinyl backings, as these can trap water and cause more harm than good. A breathable mat can protect the deck from scratches, stains, and moisture while adding a touch of color and comfort to your space.
Rotate and Clean Regularly
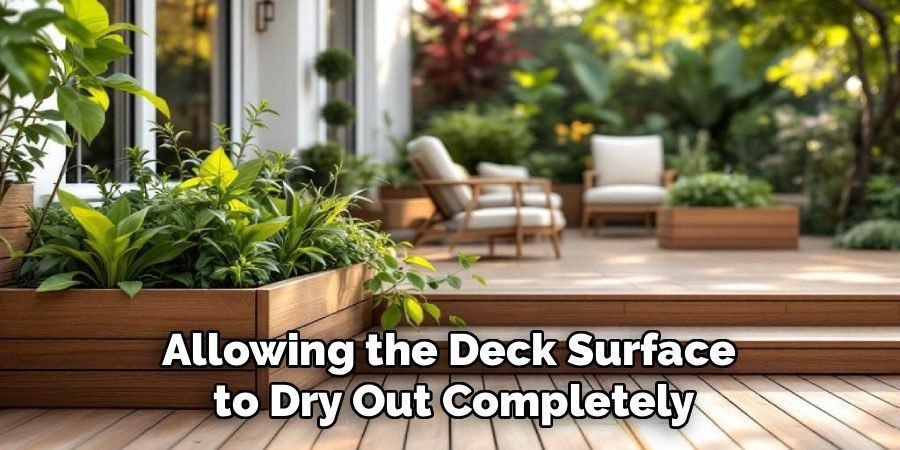
Finally, make it a habit to move your planters periodically. Even with all the precautions, it’s wise to check the area underneath every few weeks. This gives you a chance to sweep away any accumulated leaves, soil, or other debris that can hold moisture and attract pests. Rotating the pots ensures that no single spot is continuously covered, allowing the deck surface to dry out completely. This simple maintenance task lets you catch any potential issues, like mildew or staining, before they become serious problems.
Frequently Asked Questions (FAQ)
What Can I Put Under My Deck Planters to Protect the Wood?
The best items to place under your planters are pot feet, risers, or plant stands. These elevate the pot to create an air gap, which allows for crucial airflow and helps moisture evaporate quickly. This prevents water from being trapped against the wood, which is the main cause of rot and mildew. You can also use caddies with wheels, which make it easy to move heavy pots for cleaning and allow you to inspect the deck surface regularly.
Do Self-Watering Planters Ruin Decks?
No, self-watering planters are actually one of the safest options for a deck. They are designed with an internal water reservoir, so there are no drainage holes at the bottom that would leak onto the deck surface. Because the system is self-contained, they prevent water stains, soil runoff, and moisture damage. This makes them an excellent choice for protecting wood and composite decking while keeping your plants consistently hydrated.
Is It Okay to Put Pots Directly on a Composite Deck?
While composite decking is more resistant to rot and moisture than wood, it is still not a good idea to place pots directly on it. Trapped moisture can lead to mold and mildew growth on the surface of the composite boards, causing stubborn stains. Additionally, planters can leave “ghost rings” or discoloration due to a lack of sun exposure in that spot. Heavy pots can also scratch or scuff the surface. It is always best to elevate planters on any type of decking.
How Do I Remove Water Stains from My Wood Deck?
For mild water stains on a wood deck, start by cleaning the area with a stiff brush and a solution of equal parts water and vinegar. For more stubborn stains, you may need to use a commercial deck cleaner containing oxalic acid, which is effective at removing water and tannin stains. After treating the stain, be sure to rinse the area thoroughly and allow it to dry completely. Applying a new coat of sealant can help prevent future staining.
Can I Use an Outdoor Rug Under My Planters?
Yes, you can use an outdoor rug, but you must choose the right kind. Select a rug made from a breathable, quick-drying material like polypropylene. These are often advertised as “deck rugs” and are designed to allow air and water to pass through them. Avoid any rug with a solid rubber or vinyl backing, as it will trap moisture against the deck surface and accelerate the growth of mold, mildew, and rot, causing the very damage you are trying to prevent.
Conclusion
A deck adorned with beautiful planters is a joy, but it requires a little forethought to prevent unintended damage. By taking a few proactive measures, you can enjoy the best of both worlds: a vibrant container garden and a healthy, long-lasting deck. Elevating your pots, ensuring proper drainage, and keeping the area clean are simple yet powerful strategies. Implementing these tips on how to protect deck from planters will safeguard your investment, prevent costly repairs, and ensure your outdoor sanctuary remains a source of pride and relaxation for years to come.
About Ravuk Barg
B.Sc. Horticulture Science | Certified Master Gardener
Ravuk Barg has spent more than a decade with his hands in the soil and his head full of questions about why some gardens thrive while others struggle. What started as a single raised bed of tomatoes and basil in a modest backyard has grown into a deep, working knowledge of everything from seed germination and soil amendment to companion planting and seasonal pruning.
Over the years, Ravuk has gardened through drought summers, waterlogged springs, and pest invasions that would make most gardeners hang up their trowels for good. Those hard seasons, he’ll tell you, taught him more than any perfect growing year ever could. He writes from that earned experience—covering vegetable growing, ornamental planting, houseplant care, composting, and garden design with equal confidence and curiosity.
Philosophy & Approach
Ravuk’s approach to gardening is rooted in practicality. He favors organic methods not out of dogma, but because they work long-term—resulting in healthier soil, fewer inputs, and stronger plants. He has a particular fondness for heirloom vegetable varieties (the kind with proper flavor), unruly cottage-style flower beds, and the stubborn houseplants that everyone else gave up on.
The Mission: Give readers the honest, experience-backed advice that helps them actually succeed in their gardens—not just the ideal version, but the real one; weeds, failures, and all.
Education & Credentials
-
B.Sc. in Horticulture Science
-
Greenfield Agricultural University
-
Focus: Plant Physiology, Soil Ecology, and Sustainable Crop Production
-
-
Master Gardener Certification
-
Cooperative Extension Service
-
Focus: 200+ hours of hands-on practical training and community garden work
-
Continuing Education
-
Organic Pest Management
-
Native Plant Landscaping
-
Sustainable Crop Production