

Transforming a patch of lawn into a thriving garden is a rewarding project for any homeowner. The first crucial step in this process is properly preparing the soil. Plowing breaks up compacted earth, aerates the soil, and mixes in organic matter, creating an ideal environment for plant roots to grow strong and healthy.
For beginners, this task might seem daunting, but it’s entirely achievable with the right tools and knowledge. This guide will walk you through everything you need to know about how to plow a garden soil, ensuring you start your gardening journey on the right foot and set the stage for a bountiful harvest.
Why Plowing is Essential for a Healthy Garden
Plowing is a fundamental practice in agriculture and gardening for good reason. It is the most effective way to “reset” a plot of land for planting. When soil becomes compacted over time from rain, foot traffic, or neglect, it prevents water, air, and nutrients from reaching plant roots. Plowing physically breaks apart this dense soil, creating a light, fluffy texture. This process, known as tillage, improves soil structure and drainage. It also helps to incorporate amendments like compost or manure evenly throughout the topsoil, enriching it with vital nutrients. Furthermore, plowing helps manage weeds by burying them deep in the soil, where they will decompose and add to the organic matter.
8 Step Methods Guide on How to Plow a Garden Soil
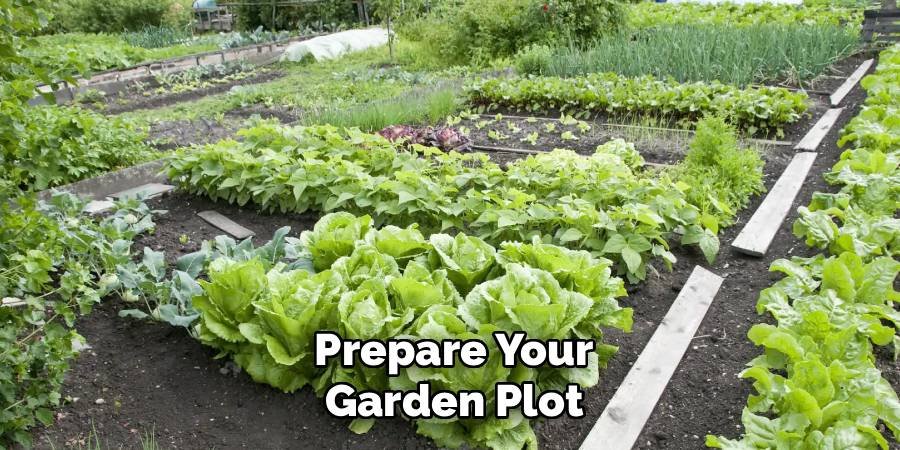
Step 1: Prepare Your Garden Plot
Before you begin plowing, you need to prepare the area. Start by clearing the plot of any debris, such as rocks, large sticks, or trash. If you are converting a section of your lawn, mow the grass as short as possible. This makes the turf easier to turn over and helps it decompose more quickly once it’s buried in the soil. Mark the boundaries of your future garden with stakes and string. This visual guide will help you keep your plowing lines straight and contained within the designated area, preventing you from accidentally digging up other parts of your yard.
Step 2: Choose the Right Plowing Tool
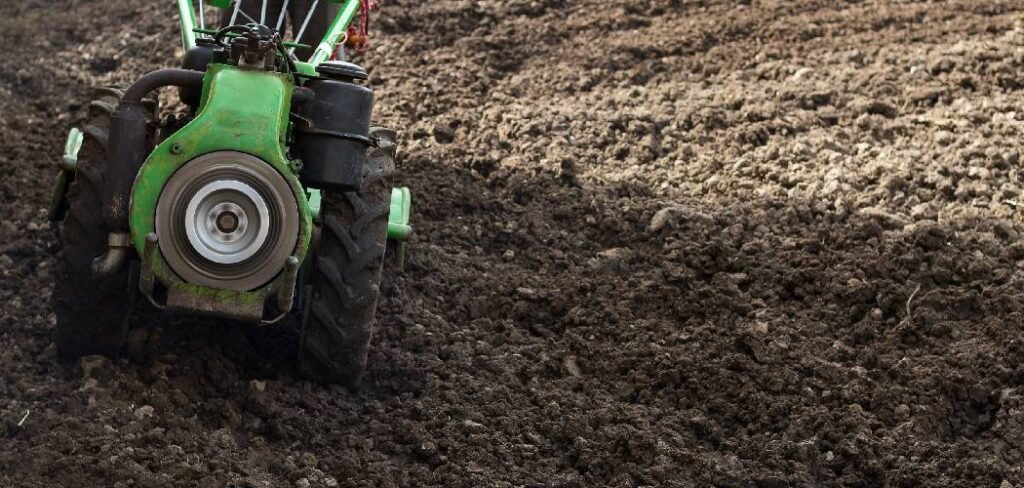
Your choice of tool will depend on the size of your garden and your physical ability. For small plots, a sturdy garden fork or a broadfork is an excellent manual option. These tools allow you to break up and turn the soil with human power. For medium-sized gardens, a walk-behind rototiller or cultivator is a more efficient choice. These machines have rotating tines that do the heavy work of churning the soil. For large gardens, you might consider using a tractor with a plow attachment, which can cover a significant amount of ground quickly and with minimal physical strain.
Step 3: Test Your Soil Moisture
Plowing at the right time is critical for success. The soil should be moist but not waterlogged. To test it, grab a handful of soil and squeeze it. If it forms a tight, muddy ball and water drips out, it’s too wet. Plowing wet soil can create large, hard clods and damage the soil structure. If the soil crumbles into a dry, dusty powder, it’s too dry. Plowing dry soil is difficult and can create excessive dust. The ideal consistency is when the soil forms a loose ball that crumbles easily when you poke it. Wait a day or two after a good rain for optimal conditions.
Step 4: Begin the First Pass
Start plowing along one of the long edges of your garden plot. If using a manual tool like a garden fork, insert it deep into the ground, press down on the handle to leverage a chunk of soil up, and then flip it over. If using a rototiller, set it to a shallow depth for the first pass. Move the tiller forward in a straight line at a slow, steady pace. The goal of this initial pass is to break through the top layer of turf and soil. Don’t worry about getting too deep at this stage; you are simply starting the process of breaking up the ground.
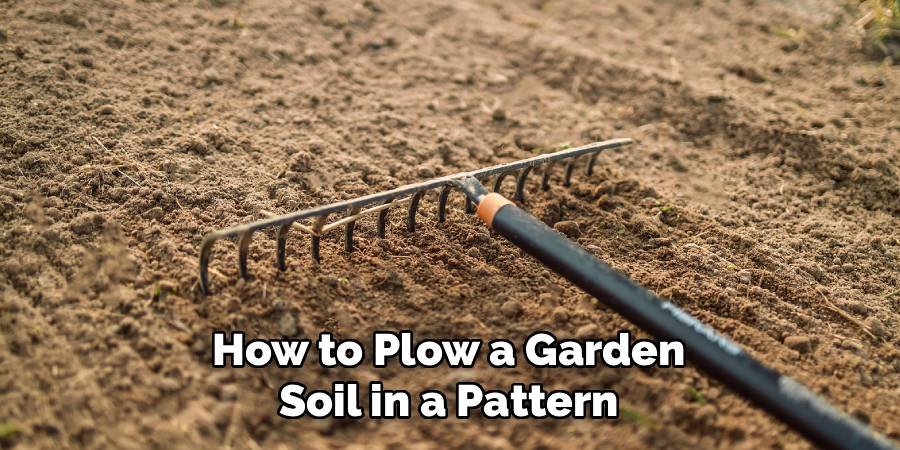
Step 5: How to Plow a Garden Soil in a Pattern
After completing your first pass along the edge, turn around and make a second pass right next to the first one. Overlap your rows slightly to ensure you don’t miss any spots. Continue this back-and-forth pattern until you have covered the entire garden plot. This methodical approach ensures even tillage across the whole area. This step is a key part of learning how to plow a garden soil effectively, as a consistent pattern leads to a uniformly prepared bed. Taking your time here will result in a much better final texture and a more professional-looking result.
Step 6: Add Soil Amendments
Once the initial plowing is complete, it’s time to enrich your soil. Spread a generous layer of organic matter, such as compost, well-rotted manure, or peat moss, over the entire surface of the plowed area. A two- to three-inch layer is a good starting point for most soils. These amendments will improve the soil’s fertility, structure, and water-retention capacity. Spreading the amendments evenly is important, as this will ensure all parts of your garden receive the same nutritional benefits. This step feeds your soil, which in turn will feed your future plants.
Step 7: Make the Second Plowing Pass
Now you will repeat the plowing process to mix the amendments deep into the soil. If you are using a rototiller, set it to a deeper tilling depth for this second pass. Go over the entire garden plot again, using the same back-and-forth pattern. This pass will further break up any remaining clumps and thoroughly integrate the compost or manure into the topsoil. The goal is to create a loose, well-mixed soil bed that is about 8 to 12 inches deep. This depth provides ample room for the roots of most vegetables and flowers to establish themselves.
Step 8: Rake the Soil Smooth
After the final plowing pass, the soil surface will likely be uneven. Use a sturdy garden rake to level the entire plot. Break up any small remaining clods of earth and remove any rocks or roots that the plow brought to the surface. Raking creates a smooth, fine-textured seedbed that is perfect for planting. A level surface also ensures even water distribution across the garden, preventing puddles from forming in low spots. Take your time with this step, as it’s the final touch that prepares your garden for planting seeds or seedlings.

Maintenance
Proper maintenance is essential to ensure the continued success of your garden. Start by watering your plants consistently, but be careful not to overdo it, as excessive water can lead to root rot and other issues. Regularly inspect the garden for signs of pests or diseases, and address any problems promptly to prevent them from spreading. Weeding is equally important—remove weeds as they appear to reduce competition for nutrients and sunlight. Additionally, consider mulching to retain soil moisture and regulate temperature. With consistent care and attention, your garden will thrive and remain a source of beauty and productivity.
Common Mistakes to Avoid
When preparing your garden, there are a few common mistakes that can hinder your success. One frequent error is skipping the removal of weeds or debris before tilling, which can lead to competition for nutrients and stunted plant growth. Another mistake is overworking the soil; excessive tilling can damage its structure and lead to poor drainage. Additionally, failing to test and amend the soil can result in inadequate nutrient levels, making it harder for plants to thrive. Lastly, rushing the leveling and raking process can leave uneven areas that hamper water distribution and seed germination. Avoiding these pitfalls will set your garden up for a productive growing season.
Frequently Asked Questions (FAQ)
What Is the Best Time of Year to Plow a Garden?
The best time to plow a garden is typically in the fall or early spring. Fall plowing allows the turned-over soil and any added amendments to mellow over the winter. The freeze-thaw cycles help break down heavy soil clods, resulting in a fine texture by spring. Spring plowing is also effective, but it should be done as soon as the soil is dry enough to work. Aim to plow at least two to three weeks before you plan to plant to allow the soil to settle.
Can I Plow a Garden by Hand?
Yes, you can absolutely plow a small garden by hand. The most common method is called “double digging.” This involves using a garden fork or spade to dig a trench and then turning the soil from the next row into it. While labor-intensive, it is an excellent way to deeply aerate the soil and incorporate amendments. For plots smaller than 100 square feet, manual plowing is a very practical and effective option that connects you directly with your garden soil.
How Deep Should I Plow My Garden?
For most vegetable and flower gardens, you should aim to plow to a depth of 8 to 12 inches. This depth is sufficient for the root systems of most annual plants. It breaks up the compacted topsoil and creates a soft layer for roots to penetrate easily. When using a rototiller, you may need to make multiple passes, setting the tines a little deeper each time to gradually reach the desired depth without overworking the machine.
What Should I Add to My Soil After Plowing?
After plowing, it is highly recommended to add organic matter to improve soil health. The best amendments include:
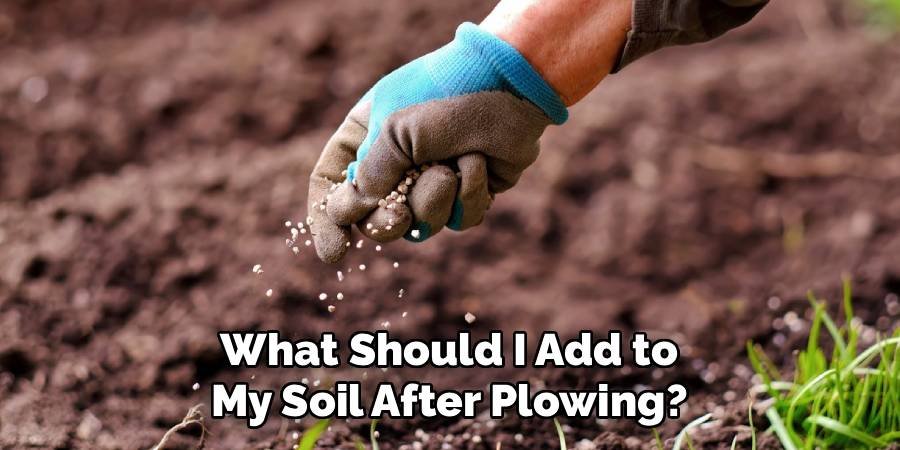
- Compost: Adds a wide range of nutrients and beneficial microbes.
- Well-Rotted Manure: Rich in nitrogen and other essential nutrients.
- Peat Moss or Coconut Coir: Improves water retention and soil structure.
- Leaf Mold: Adds nutrients and improves soil texture.
Spreading a 2-4 inch layer of these materials over the plowed soil and then tilling it in will create a fertile foundation for your plants.
Do I Need to Plow My Garden Every Year?
Whether you need to plow every year depends on your soil type and gardening methods. For new gardens or those with heavy clay soil, annual plowing is beneficial for breaking up compaction. However, in established beds with healthy soil, you might switch to a less intensive “no-till” or “low-till” method. This involves simply adding a layer of compost on top each year and letting earthworms and microbes do the work of mixing it in, which helps preserve the soil’s natural structure and ecosystem.
Conclusion
Plowing your garden is the foundational work that paves the way for a season of healthy growth. By preparing the plot, choosing the right tools, and following a methodical process, you can turn compacted earth into a loose, nutrient-rich bed that your plants will love. Remember to work the soil when the moisture is just right and to generously add organic amendments. With this guide on how to plow a garden soil, you are now equipped with the knowledge to tackle this essential task with confidence. This initial effort will pay dividends in the form of stronger plants and a more abundant harvest.
About Ravuk Barg
B.Sc. Horticulture Science | Certified Master Gardener
Ravuk Barg has spent more than a decade with his hands in the soil and his head full of questions about why some gardens thrive while others struggle. What started as a single raised bed of tomatoes and basil in a modest backyard has grown into a deep, working knowledge of everything from seed germination and soil amendment to companion planting and seasonal pruning.
Over the years, Ravuk has gardened through drought summers, waterlogged springs, and pest invasions that would make most gardeners hang up their trowels for good. Those hard seasons, he’ll tell you, taught him more than any perfect growing year ever could. He writes from that earned experience—covering vegetable growing, ornamental planting, houseplant care, composting, and garden design with equal confidence and curiosity.
Philosophy & Approach
Ravuk’s approach to gardening is rooted in practicality. He favors organic methods not out of dogma, but because they work long-term—resulting in healthier soil, fewer inputs, and stronger plants. He has a particular fondness for heirloom vegetable varieties (the kind with proper flavor), unruly cottage-style flower beds, and the stubborn houseplants that everyone else gave up on.
The Mission: Give readers the honest, experience-backed advice that helps them actually succeed in their gardens—not just the ideal version, but the real one; weeds, failures, and all.
Education & Credentials
-
B.Sc. in Horticulture Science
-
Greenfield Agricultural University
-
Focus: Plant Physiology, Soil Ecology, and Sustainable Crop Production
-
-
Master Gardener Certification
-
Cooperative Extension Service
-
Focus: 200+ hours of hands-on practical training and community garden work
-
Continuing Education
-
Organic Pest Management
-
Native Plant Landscaping
-
Sustainable Crop Production