

Has your once-vibrant metal patio set started to look a little tired, rusty, or faded? Before you consider replacing it, think about the transformative power of a fresh coat of paint. Giving your outdoor furniture a new look is a rewarding and budget-friendly weekend project that can completely revitalize your garden or patio space.
This guide will walk you through every detail of how to paint metal lawn furniture, from the initial preparation to the final, beautiful coat. With the right techniques and materials, you can protect your furniture from the elements and customize it to perfectly match your outdoor decor. It’s easier than you think, and the results are truly stunning.
Why Paint Metal Lawn Furniture?
Painting your metal lawn furniture goes far beyond a simple color change. It’s one of the most effective ways to protect your investment and extend its lifespan. Metal, especially iron and steel, is prone to rust when exposed to moisture and oxygen. A quality coat of paint acts as a protective barrier, sealing the metal surface from the elements and preventing corrosion before it starts. If rust has already appeared, a proper paint job can stop it in its tracks and restore the furniture’s structural integrity.
8 Step-by-Step Guide on How to Paint Metal Lawn Furniture
This detailed guide will take you through the entire process, ensuring a durable, professional-looking finish that will last for years.
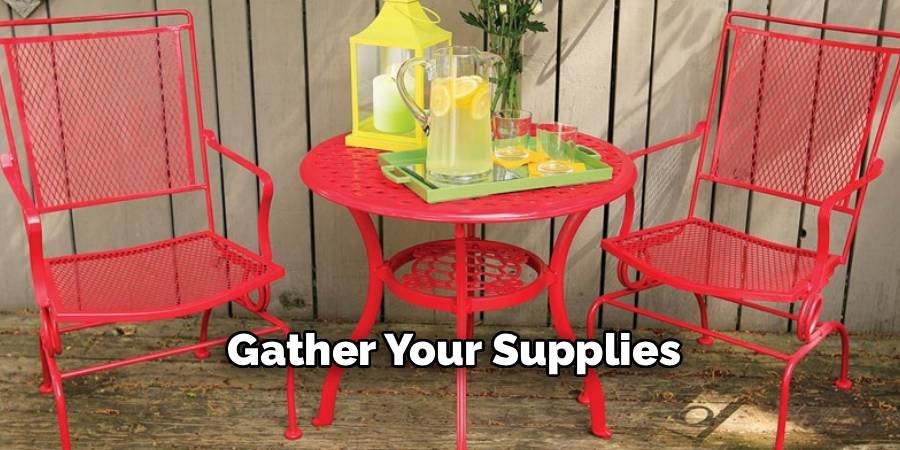
Step 1: Gather Your Supplies
Before you begin, gathering all your necessary tools and materials will make the process much smoother. You will need safety gear, including gloves, safety glasses, and a dust mask or respirator, especially for sanding and spray painting. For the preparation phase, grab a wire brush, sandpaper (in various grits like 80 and 120), and steel wool. You’ll also need cleaning supplies like a bucket, water, a degreasing cleaner or mild detergent, and several clean cloths. For the painting itself, you’ll need a drop cloth or plastic sheeting, painter’s tape, a rust-inhibiting metal primer, and your choice of exterior-grade metal paint.
Step 2: Choose the Right Location
Selecting the right workspace is crucial for a successful paint job. You need a well-ventilated area to protect yourself from paint fumes and allow the paint to cure properly. An open garage with the door up, a covered patio, or a shady spot in your yard on a calm day are all excellent choices. Avoid working in direct sunlight or on a very hot day, as this can cause the paint to dry too quickly, leading to an uneven finish and brush marks. Also, check the weather forecast to ensure you have a few clear, dry days with low humidity for the paint to cure fully without being disturbed by rain or dew.
Step 3: Clean the Furniture Thoroughly
The first real step in preparing your furniture is giving it a deep clean. Paint will not adhere properly to a dirty, greasy surface. Start by scrubbing the entire piece with a stiff brush and a solution of warm water and a degreasing cleaner or mild soap. Pay close attention to nooks, crannies, and any areas where dirt and grime have built up.
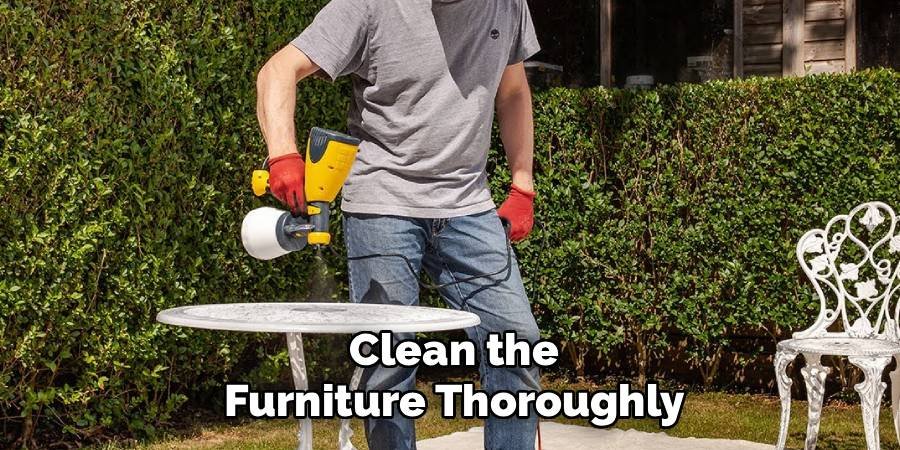
Once you’ve scrubbed everything down, rinse the furniture thoroughly with a hose to remove all soap residue. Allow the furniture to dry completely before moving on to the next step. This initial cleaning is non-negotiable for a lasting finish.
Step 4: Remove Old Paint and Rust
Now it’s time to tackle any rust and loose, flaking paint. For heavy rust or thick layers of old paint, a wire brush is your best tool. Vigorously scrub these areas to remove as much loose material as possible. For lighter rust and for scuffing up the remaining intact paint, use 80-grit sandpaper. The goal is to create a slightly rough surface that the new primer can grip onto effectively. For intricate details or curved areas, steel wool can be very helpful. Once you’re done, wipe the entire piece down with a clean, damp cloth to remove all dust and debris from sanding.
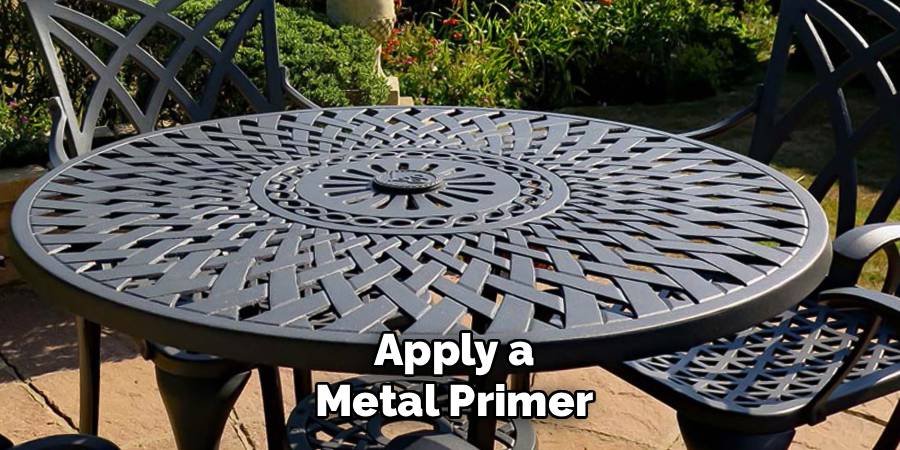
Step 5: Apply a Metal Primer
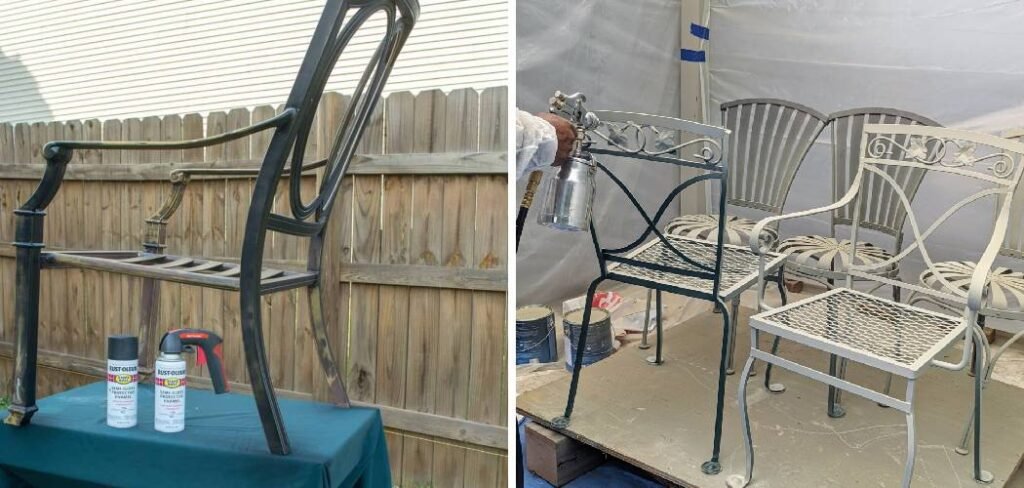
Applying a primer is a critical step you should not skip, as it ensures strong paint adhesion and provides an extra layer of rust protection. Choose a rust-inhibiting primer specifically designed for exterior metal surfaces. If you are spray painting, shake the can for at least one minute after you hear the ball rattling inside. Hold the can 8-12 inches from the surface and apply a light, even coat using steady, sweeping motions. If using a brush, apply a thin, consistent layer. It’s better to apply two light coats than one heavy one. Let the primer dry completely according to the manufacturer’s instructions, which is typically a few hours.
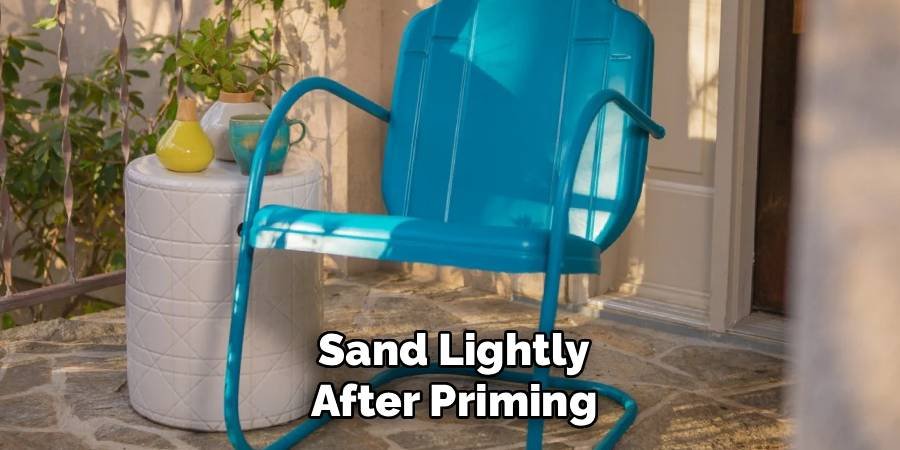
Step 6: Sand Lightly After Priming
Once the primer is fully dry, you may notice the surface feels slightly rough. To achieve a perfectly smooth final finish, it’s a good idea to lightly sand the primed surface. Use a fine-grit sandpaper, such as 220-grit, and gently go over the entire piece. The goal isn’t to remove the primer but to smooth out any drips, bumps, or imperfections. This light sanding creates an ideal texture for the topcoat of paint to adhere to. After sanding, be sure to wipe away all the dust with a clean, dry cloth or a tack cloth before you begin painting.
Step 7: How to Paint Metal Lawn Furniture with Your First Coat
With all the preparation done, it’s time for the fun part: adding color! Whether you’re using a spray can or a brush, the key is to apply thin, even coats. If spraying, maintain the same 8-12 inch distance and use smooth, overlapping passes to avoid drips. Start and stop spraying just off the edge of the piece to ensure an even application. If brushing, use a quality brush and apply the paint in the direction of the furniture’s lines. Don’t overload your brush, as this can lead to a thick, gloppy finish. Focus on covering the entire surface with a light first coat.
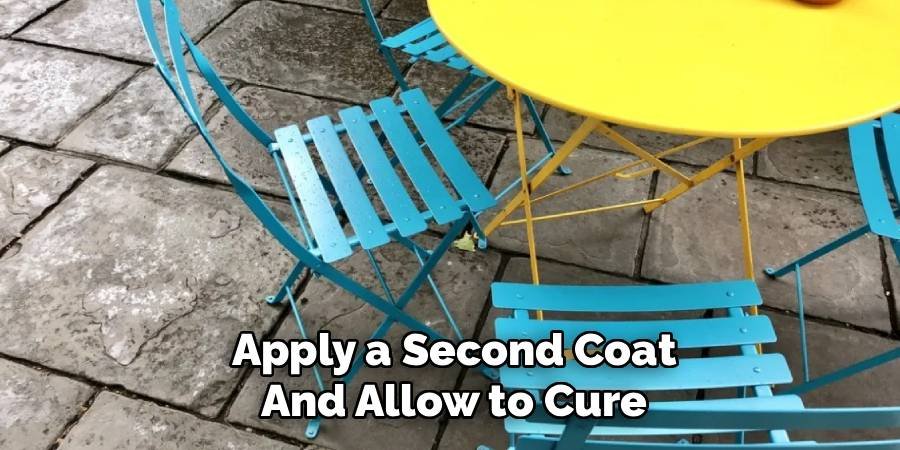
Step 8: Apply a Second Coat and Allow to Cure
After the first coat of paint is dry to the touch (check the can for recommended recoat times), it’s time to apply the second coat. This coat will deepen the color and ensure you haven’t missed any spots, providing a uniform and durable finish. Use the same technique you used for the first coat, applying another light, even layer of paint over the entire piece. Once the second coat is on, the most important part is patience. The furniture needs to cure, not just dry. Curing is the chemical process where the paint hardens into a durable, protective shell. This can take several days, so keep the furniture protected from rain and use until it’s fully cured.
Common Mistakes to Avoid
When painting furniture, there are a few common mistakes that can compromise the final result. One of the biggest errors is skipping the preparation phase. Without proper cleaning and sanding, the paint may not adhere well, leading to peeling or uneven coverage. Another mistake is applying too much paint at once. Thick coats might seem like a shortcut, but they often result in drips, streaks, and longer drying times.
Additionally, not allowing sufficient curing time can cause the paint to chip or scratch prematurely. Always follow the recommended curing period to ensure a durable finish. Finally, using the wrong type of paint or skipping the primer can undermine the durability and appearance of the piece, so be sure to choose materials that are appropriate for your furniture and its intended use.
Frequently Asked Questions
What Kind of Paint Is Best for Metal Outdoor Furniture?
The best choice is an exterior-grade paint specifically formulated for metal. Look for products labeled “direct-to-metal” (DTM) or “rust-preventive.” These paints are designed to withstand UV rays, moisture, and temperature fluctuations. For the best results, use a two-part system: a rust-inhibiting metal primer followed by an acrylic or oil-based enamel topcoat. Spray paint is often the easiest for achieving a smooth, even finish on intricate designs, while a high-quality brush-on paint offers excellent durability.
Do I Need to Remove All the Old Paint Before Repainting?
No, you do not need to strip the furniture down to bare metal. You only need to remove any paint that is loose, flaking, or bubbling. The goal is to create a stable surface for the new paint to adhere to. Use a wire brush or scraper to get rid of the loose bits. For the remaining, intact paint, you should scuff it up with medium-grit sandpaper. This process, called “scuff sanding,” dulls the old finish and creates a rough texture that helps the new primer and paint bond securely.
How Can I Prevent Paint from Dripping on Intricate Furniture?
Preventing drips, especially on ornate or detailed furniture, comes down to technique. The key is to apply multiple thin coats rather than one thick one.
- If spray painting: Keep the can moving in steady, sweeping motions and maintain a consistent distance.
- If brushing: Use a quality brush and avoid loading it with too much paint. Apply the paint lightly and evenly.
- Always check for drips as you work and smooth them out immediately with a dry brush before they start to set.
Can I Paint Over Rusted Metal Furniture?
Yes, you can paint over rust, but you must prepare the surface correctly first. You cannot simply paint directly over it. First, use a wire brush to remove all loose, flaking rust. Then, sand the area to smooth the transition between the rusted patch and the surrounding surface. Most importantly, you must apply a rust-inhibiting or rust-converting primer. This type of primer chemically reacts with the remaining rust, neutralizing it and creating a stable, paintable surface that prevents the rust from spreading further.
How Long Does Painted Metal Furniture Need to Cure?
Drying and curing are two different things. Paint may be dry to the touch in a few hours, but it needs to cure to become hard and durable. Curing time depends on the type of paint, temperature, and humidity. Most enamel paints need at least 24 to 48 hours before they can be handled lightly. However, for the paint to reach its maximum hardness and durability, it can take anywhere from 7 to 30 days. It is best to be patient and avoid putting the furniture into heavy use or placing cushions on it until it has fully cured.
Conclusion
Restoring your metal lawn furniture with a fresh coat of paint is a highly rewarding project that breathes new life into your outdoor living area. By following these steps—thorough cleaning, proper rust removal, priming, and applying thin, even coats of paint—you can achieve a durable, professional-quality finish. This process not only protects your furniture from the elements for years to come but also allows you to customize your space exactly to your liking. Now that you know how to paint metal lawn furniture, you have the skills to transform your tired patio set into a stunning centerpiece for your garden.
About Ravuk Barg
B.Sc. Horticulture Science | Certified Master Gardener
Ravuk Barg has spent more than a decade with his hands in the soil and his head full of questions about why some gardens thrive while others struggle. What started as a single raised bed of tomatoes and basil in a modest backyard has grown into a deep, working knowledge of everything from seed germination and soil amendment to companion planting and seasonal pruning.
Over the years, Ravuk has gardened through drought summers, waterlogged springs, and pest invasions that would make most gardeners hang up their trowels for good. Those hard seasons, he’ll tell you, taught him more than any perfect growing year ever could. He writes from that earned experience—covering vegetable growing, ornamental planting, houseplant care, composting, and garden design with equal confidence and curiosity.
Philosophy & Approach
Ravuk’s approach to gardening is rooted in practicality. He favors organic methods not out of dogma, but because they work long-term—resulting in healthier soil, fewer inputs, and stronger plants. He has a particular fondness for heirloom vegetable varieties (the kind with proper flavor), unruly cottage-style flower beds, and the stubborn houseplants that everyone else gave up on.
The Mission: Give readers the honest, experience-backed advice that helps them actually succeed in their gardens—not just the ideal version, but the real one; weeds, failures, and all.
Education & Credentials
-
B.Sc. in Horticulture Science
-
Greenfield Agricultural University
-
Focus: Plant Physiology, Soil Ecology, and Sustainable Crop Production
-
-
Master Gardener Certification
-
Cooperative Extension Service
-
Focus: 200+ hours of hands-on practical training and community garden work
-
Continuing Education
-
Organic Pest Management
-
Native Plant Landscaping
-
Sustainable Crop Production