

A lush, deep green lawn is the pride of many homeowners, but achieving that vibrant color isn’t always straightforward. While you might be diligent with watering and fertilizing, your grass could still look pale or sickly.
The culprit might be a lack of iron, a crucial micronutrient for grass health. Unlike major nutrients like nitrogen, iron’s role is subtle but vital for chlorophyll production, which gives grass its rich green hue. If you’ve been wondering how do you know if your lawn needs iron, you’re in the right place. This guide will walk you through the tell-tale signs of iron deficiency and the steps you can take to diagnose and correct the problem, helping you restore your lawn to its full, emerald glory. It’s a common issue, but one that is easily fixed with the right knowledge.
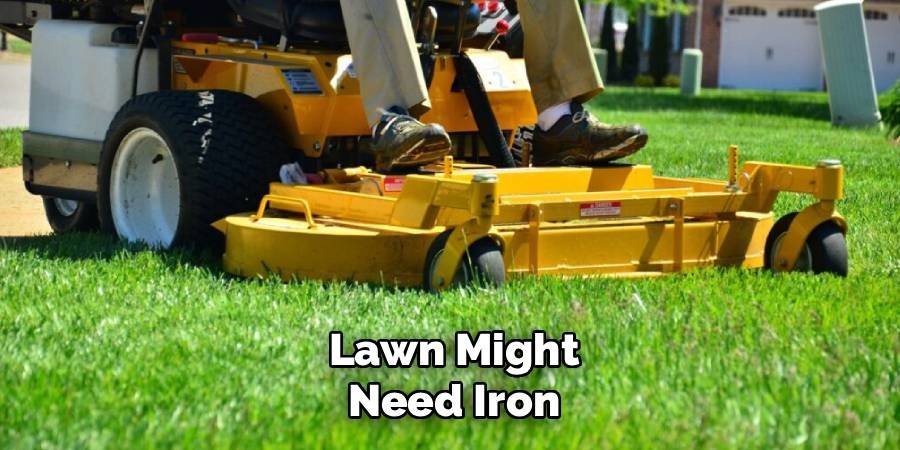
Why Your Lawn Might Need Iron
Iron is a micronutrient that plays a massive role in your lawn’s health and appearance. It’s essential for chlorophyll synthesis, the process that gives grass its green color and allows it to convert sunlight into energy. Without enough iron, your grass can’t produce sufficient chlorophyll, leading to a condition called iron chlorosis. This results in yellowing grass blades, even when other nutrients like nitrogen are present in adequate amounts.
Several factors can cause an iron deficiency. High pH soil, typically above 7.0, is a common cause. In alkaline conditions, iron becomes “locked up” and unavailable for plant roots to absorb, even if it’s present in the soil. Other contributors include overwatering, soil compaction, excessive phosphorus levels, and periods of cold, wet weather. Understanding these underlying causes is the first step toward diagnosing why your lawn might look less than its best and determining if an iron supplement is the solution.
7 Step-by-Step Guide: How Do You Know If Your Lawn Needs Iron
Diagnosing an iron deficiency involves more than just a quick glance. By following a systematic approach, you can accurately determine if a lack of iron is the cause of your lawn’s discoloration and take the right steps to fix it.
Step 1: Observe the Color of New Grass Blades
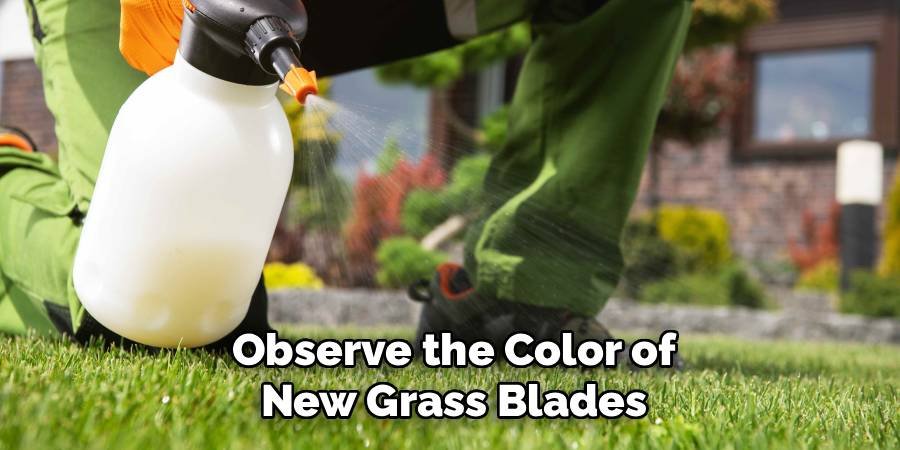
The most prominent sign of iron chlorosis is a distinct yellowing of the grass blades. Pay close attention to the newest growth, typically the top part of the blades. Unlike a nitrogen deficiency, which usually causes the entire plant, including older leaves, to turn pale yellow, an iron deficiency specifically targets the young, new blades first. The veins of the grass blades will often remain green while the tissue between them turns a pale yellow or even white in severe cases. This striping effect is a classic symptom. Walk through your lawn and carefully inspect the tips of the grass in several different areas to get a complete picture.
Step 2: Check for Uniform Yellowing Across the Lawn
Take a broader look at your entire lawn. Does the yellowing appear in large, irregular patches, or is it more widespread? Iron deficiency often presents as a general, uniform yellowing across large sections of the turf rather than in small, isolated spots. It can make the whole yard look faded or lime-green. This is different from issues like fungal diseases, which might create distinct circles or spots, or dog urine spots, which cause small, concentrated areas of dead or discolored grass. If your entire lawn has taken on a sickly, pale hue, it’s a strong indicator that an iron supplement might be needed.
Step 3: Compare Sun-Exposed and Shaded Areas
Walk your property and compare the color of the grass in full sun to the areas that receive more shade. Lawns suffering from iron chlorosis often look significantly worse in the sun-drenched parts of the yard. The intense sunlight can exacerbate the visual effects of the deficiency, making the yellowing more pronounced. Grass in shaded spots may retain a bit more of its green color, creating a noticeable contrast. If you see this pattern, where the sunniest sections are the yellowest, it’s another clue pointing toward an iron issue rather than another nutrient problem or disease.
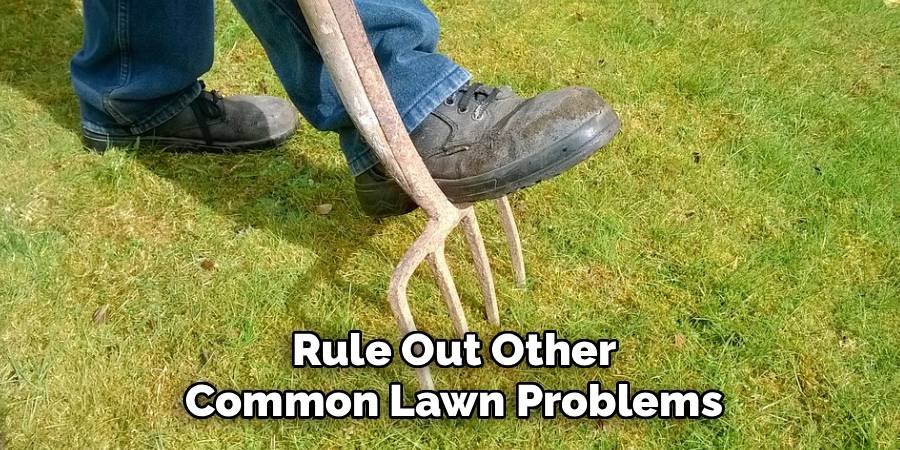
Step 4: Rule Out Other Common Lawn Problems
Before concluding that iron is the problem, it’s important to eliminate other potential causes of yellowing grass. Overwatering or underwatering can both lead to discoloration. Check the soil moisture; it should be damp but not waterlogged. Compacted soil can also restrict nutrient uptake, so see if the ground feels overly hard. Look for signs of pests like grubs or diseases like dollar spot or rust, which have their own unique symptoms. A nitrogen deficiency also causes yellowing, but it typically starts with the older, lower leaves and affects the entire blade, not just the tissue between the veins.
Step 5: How Do You Know If Your Lawn Needs Iron by Testing Soil pH
Since high soil pH is a primary cause of iron deficiency, testing your soil is a critical diagnostic step. You can purchase a simple DIY soil testing kit from any garden center or send a sample to your local cooperative extension service for a more detailed analysis. The ideal pH for most turfgrasses is between 6.0 and 7.0. If your test results show a pH above 7.0, the soil is alkaline. This condition makes it difficult for grass roots to absorb iron, even if it is abundant in the soil. Knowing your soil’s pH will not only help confirm an iron issue but also guide your treatment plan.
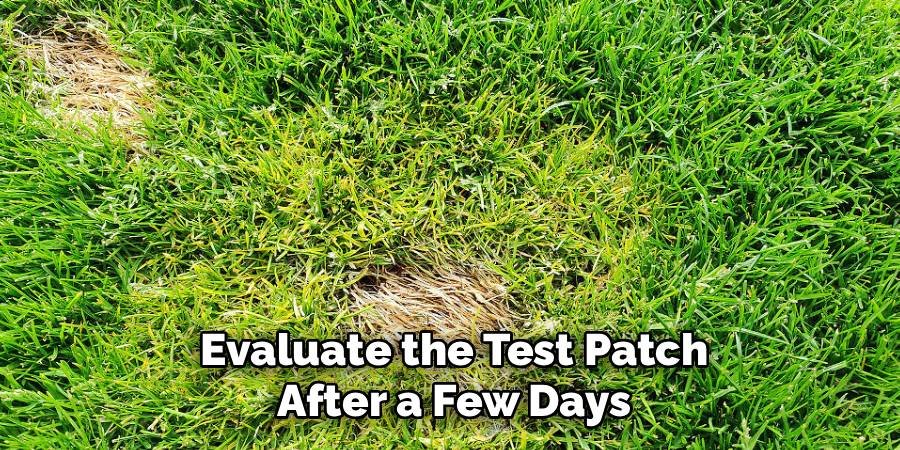
Step 6: Perform a Foliar Spray Test on a Small Area
A simple and effective way to confirm an iron deficiency is to conduct a small-scale test. Purchase a liquid iron supplement (chelated iron is best) and mix a small amount according to the product directions. Using a handheld sprayer, apply the solution to a small, inconspicuous patch of your yellowing lawn, perhaps a few square feet in size. Mark the area with a flag or stick. This direct foliar application bypasses the soil, allowing the grass blades to absorb the iron immediately. It’s a direct method for seeing how the grass responds.
Step 7: Evaluate the Test Patch After a Few Days
Now, you just need to wait and watch. Check on the test patch you sprayed every day. If the cause of the yellowing is indeed an iron deficiency, you should see a noticeable improvement within 2 to 4 days. The treated grass will begin to “green up,” turning a much deeper, richer shade of green compared to the untreated grass surrounding it. This rapid color change is a definitive confirmation that your lawn is craving iron. If there is no change in color after about a week, the problem likely lies elsewhere, and you should revisit other potential causes like nitrogen deficiency or disease.
Frequently Asked Questions
How Quickly Does Iron Green Up a Lawn?
When you apply a liquid iron supplement, especially a foliar spray, you can see results remarkably fast. Lawns often begin to show a noticeable greening effect within 24 to 48 hours. The grass will continue to deepen in color over the next several days. Granular iron products that are watered into the soil may take a bit longer, typically showing results within a week or so as the roots absorb the nutrient. The speed depends on the product type and the overall health of the grass.
Can You Put Too Much Iron on Your Lawn?
Yes, it is possible to over-apply iron, and doing so can have negative consequences. An excess of iron can cause the grass blades to turn a grayish-black color and may become brittle. More importantly, over-application can stain surfaces like concrete driveways, patios, and sidewalks, leaving behind stubborn orange or rust-colored marks. Always read and follow the application rates on the product label carefully to avoid overdoing it and causing unintended damage to your property or your turf.
Will Iron Help a Lawn Damaged by Fungus?
Iron itself does not treat or cure lawn fungus. Its primary role is to enhance the green color of the grass by aiding in chlorophyll production. However, a lawn that is healthy and not stressed by nutrient deficiencies is often more resilient and can better withstand and recover from fungal diseases. Applying iron can improve the lawn’s appearance while you address the fungal issue with an appropriate fungicide. It’s a supportive treatment, not a cure for the disease itself.
Is Iron or Nitrogen Better for Making Grass Green?
Both iron and nitrogen are essential for a green lawn, but they function differently.
- Nitrogen is a macronutrient responsible for overall growth, density, and color. A nitrogen application promotes vigorous new growth.
- Iron is a micronutrient that specifically aids in chlorophyll synthesis, providing a deep, rich, dark-green color without stimulating excessive blade growth.
If your lawn is thin and pale, it likely needs nitrogen. If it’s dense but has a yellowish hue, iron is probably the answer. Many fertilizers contain both.
When Is the Best Time of Year to Apply Iron?
The best time to apply iron to your lawn is during the active growing season, which is typically in the spring and fall for cool-season grasses (like fescue and bluegrass) and late spring through summer for warm-season grasses (like Bermuda and Zoysia). Applying iron when the turf is actively growing ensures it can be readily absorbed and utilized. Avoid applying it during periods of extreme heat or drought, as this can stress the lawn. An iron application in the fall can also help the lawn maintain its color longer into the cooler months.
Conclusion
Determining if your lawn is suffering from an iron deficiency doesn’t have to be a guessing game. By observing the specific color and pattern of the yellowing, ruling out other common issues, and performing simple soil and spray tests, you can diagnose the problem with confidence. An iron-deficient lawn, characterized by yellow new growth with green veins, is a cry for help that you can easily answer. Once you know how do you know if your lawn needs iron, you are empowered to take action. Applying the right iron supplement will not only restore that deep, satisfying green color but also contribute to the overall vitality of your turf, giving you a landscape you can be proud of.
About Ravuk Barg
B.Sc. Horticulture Science | Certified Master Gardener
Ravuk Barg has spent more than a decade with his hands in the soil and his head full of questions about why some gardens thrive while others struggle. What started as a single raised bed of tomatoes and basil in a modest backyard has grown into a deep, working knowledge of everything from seed germination and soil amendment to companion planting and seasonal pruning.
Over the years, Ravuk has gardened through drought summers, waterlogged springs, and pest invasions that would make most gardeners hang up their trowels for good. Those hard seasons, he’ll tell you, taught him more than any perfect growing year ever could. He writes from that earned experience—covering vegetable growing, ornamental planting, houseplant care, composting, and garden design with equal confidence and curiosity.
Philosophy & Approach
Ravuk’s approach to gardening is rooted in practicality. He favors organic methods not out of dogma, but because they work long-term—resulting in healthier soil, fewer inputs, and stronger plants. He has a particular fondness for heirloom vegetable varieties (the kind with proper flavor), unruly cottage-style flower beds, and the stubborn houseplants that everyone else gave up on.
The Mission: Give readers the honest, experience-backed advice that helps them actually succeed in their gardens—not just the ideal version, but the real one; weeds, failures, and all.
Education & Credentials
-
B.Sc. in Horticulture Science
-
Greenfield Agricultural University
-
Focus: Plant Physiology, Soil Ecology, and Sustainable Crop Production
-
-
Master Gardener Certification
-
Cooperative Extension Service
-
Focus: 200+ hours of hands-on practical training and community garden work
-
Continuing Education
-
Organic Pest Management
-
Native Plant Landscaping
-
Sustainable Crop Production