

Welcome to the fascinating world of mushroom cultivation! If you’re looking to expand your gardening skills beyond plants, growing your own mushrooms is a rewarding next step. A key component for many popular mushroom varieties, from shiitake to oyster, is sawdust spawn. This material acts as the carrier for the mushroom mycelium, which is the root-like network that eventually produces the mushrooms you love to eat. Understanding how to make sawdust spawn is a foundational skill that gives you more control over your cultivation process.
It’s more affordable than buying pre-made spawn and opens up a wider world of mushroom species you can grow right at home. This guide will walk you through everything you need to know, from gathering materials to the final colonization, making the process simple and accessible even for absolute beginners.
Why Sawdust Spawn is a Game-Changer for Home Cultivators
Using sawdust spawn is a popular and effective method for growing many types of gourmet and medicinal mushrooms. Unlike grain spawn, which is primarily used to inoculate bulk substrates, sawdust spawn is often used to directly inoculate logs or supplemented sawdust blocks. This makes it an incredibly versatile tool for home growers. Hardwood sawdust provides a nutrient-rich environment that wood-loving mushroom species, such as shiitake, lion’s mane, and oyster mushrooms, thrive on. Creating it yourself not only reduces costs but also deepens your understanding of the mushroom life cycle.
Mastering this technique empowers you to experiment with different wood types and nutrient supplements, tailoring your substrate for optimal growth and yield.
8 Step Methods Guide on How to Make Sawdust Spawn
Step 1: Gather Your Materials and Tools
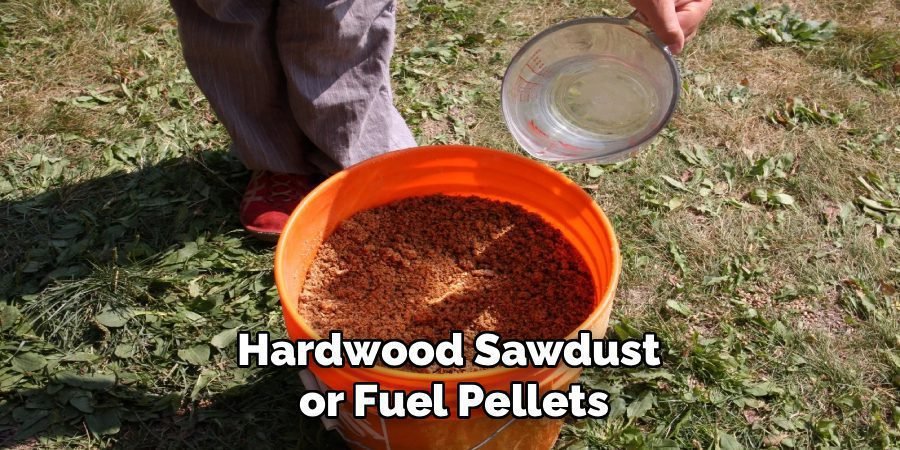
First, you need to collect all your necessary supplies. The primary ingredients are hardwood sawdust or fuel pellets, wheat bran for extra nutrients, and gypsum to balance the pH. You will also need a high-quality mushroom culture, which can be in the form of a liquid culture syringe or colonized grain spawn. For equipment, you’ll require autoclavable mushroom grow bags with filter patches, a pressure cooker or autoclave for sterilization, a scale for accurate measurements, and a mixing container. Ensure your workspace is clean to minimize contamination risks.
Step 2: Prepare the Sawdust Substrate Mixture
The ideal substrate recipe provides the perfect balance of food and moisture for your mycelium. A common and effective recipe is the “master’s mix,” which typically consists of equal parts hardwood sawdust and soy hulls. For a simpler version, you can use a ratio of five cups of hardwood pellets to one and a half cups of wheat bran and about six cups of water. The wheat bran adds essential nitrogen. Before mixing, add gypsum at about 1-2% of the dry weight of your sawdust to prevent clumping and stabilize the pH.
Step 3: Hydrate the Substrate to Field Capacity
Proper moisture content is critical for mycelial growth. You want your substrate to be at “field capacity,” which means it holds the maximum amount of water without becoming overly saturated. To achieve this, slowly add water to your dry mixture of sawdust, bran, and gypsum. Mix everything thoroughly until the substrate is evenly moist. To test it, grab a handful and squeeze it firmly. A few drops of water should come out, but not a steady stream. If too much water comes out, it’s too wet; if none does, it’s too dry.
Step 4: Bag and Prepare for Sterilization
Once your substrate is perfectly hydrated, it’s time to load it into your specialized mushroom grow bags. These bags are designed to withstand high temperatures and have a filter patch that allows for gas exchange while keeping contaminants out. Fill each bag about two-thirds full with the substrate mixture. Be careful not to pack it too tightly, as this can hinder mycelium growth. Squeeze out any excess air from the bag before folding the top down neatly, preparing it for the sterilization process.
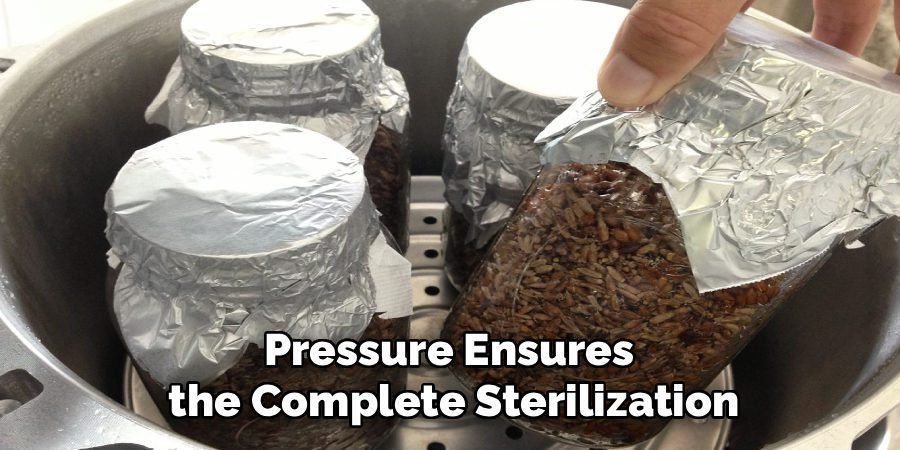
Step 5: Sterilize the Substrate Bags
Sterilization is the most crucial step to prevent contamination from competing molds and bacteria. All competing organisms must be eliminated so your chosen mushroom culture can grow without interference. Place your filled and folded grow bags inside a pressure cooker or autoclave. Add the appropriate amount of water to the bottom of the cooker and heat it to 15 PSI. Maintain this pressure for at least two and a half hours. This extended period at high temperature and pressure ensures the complete sterilization of the sawdust substrate inside the bags.
Step 6: Cool the Bags and Inoculate in a Sterile Environment
After sterilization, you must allow the bags to cool down completely to room temperature. This can take anywhere from 8 to 12 hours, so patience is key. Inoculating while the substrate is still warm will kill the delicate mycelium. Once cooled, take the bags to a sterile workspace, like in front of a laminar flow hood or inside a still air box. Wipe down the bag, your hands, and your culture syringe or grain spawn jar with 70% isopropyl alcohol to minimize contamination risks.
Step 7: The Inoculation Process
Now for the exciting part: introducing your mushroom culture to its new home. If using a liquid culture, inject about 2-5 ml of the culture through the bag’s self-healing injection port or directly into the substrate after briefly opening the bag in your sterile environment. If using grain spawn, add a handful to the sawdust substrate. After inoculation, seal the bag immediately. For bags without injection ports, use an impulse sealer or another heat-sealing method to close the top securely and ensure no contaminants can enter.
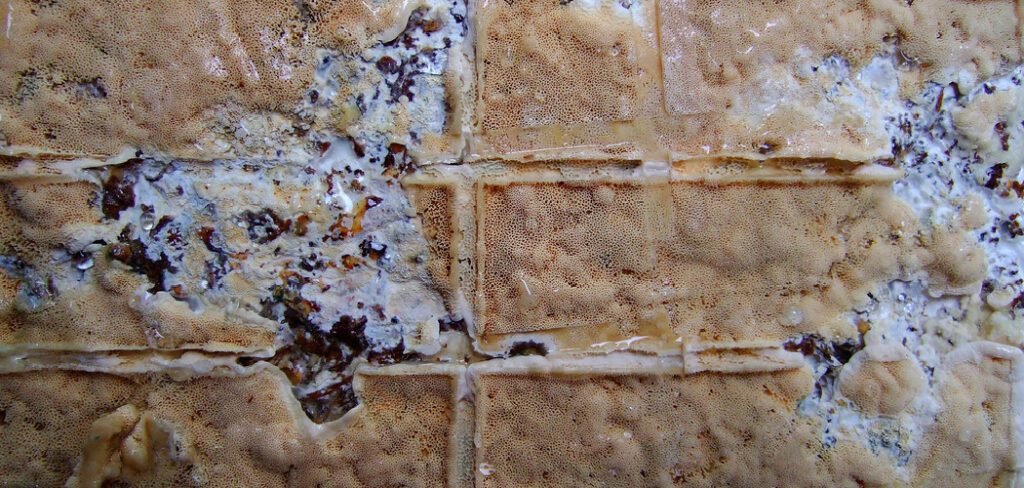
Step 8: Colonization and Incubation
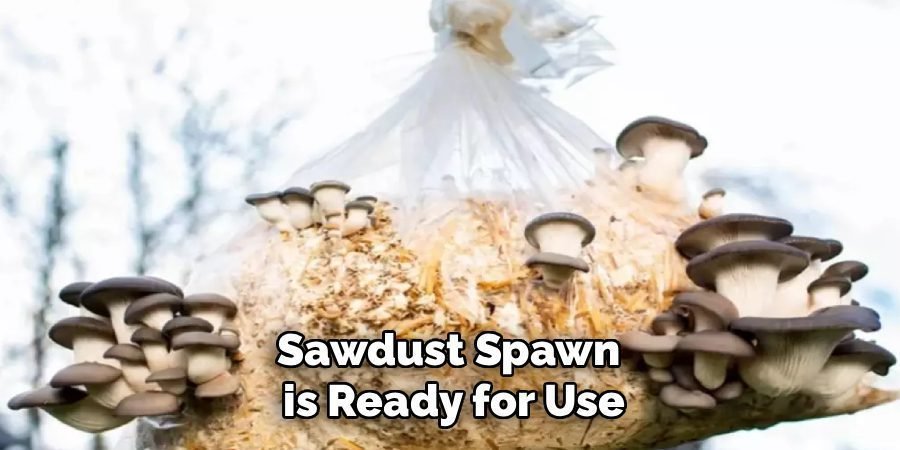
The final step is to let the mycelium work its magic. Place the sealed, inoculated bags in a dark, clean area with a stable temperature, typically between 65-75°F (18-24°C), depending on the mushroom species. The mycelium will begin to grow, spreading its white, web-like network throughout the sawdust. This colonization process can take anywhere from two to four weeks. You’ll know it’s complete when the entire block of substrate is covered in dense, white mycelium. Once fully colonized, your sawdust spawn is ready for use.
Preparing for Fruiting
Once your sawdust spawn is fully colonized, it’s time to prepare it for fruiting. Carefully remove the substrate block from its bag, ensuring not to damage the delicate mycelium. Place the block in a fruiting chamber or a clean, humid environment with proper airflow and indirect light. Maintain a high humidity level, around 85-95%, and a temperature suitable for the mushroom species you are cultivating. Mist the area gently, if needed, to keep the substrate moist but not overly wet. With the right conditions, you’ll soon begin to see tiny mushroom pins forming, signaling the start of the fruiting phase.
Frequently Asked Questions (FAQ)
What Is The Best Type of Sawdust to Use?
For most gourmet mushrooms like shiitake, oyster, and lion’s mane, hardwood sawdust is the best choice. Woods like oak, maple, and beech provide excellent nutrition for mycelial growth. You can often find hardwood fuel pellets, which are easy to source and measure. Avoid using sawdust from treated wood, as the chemicals can be toxic. Softwood, like pine, contains natural compounds that can inhibit mushroom growth and should generally be avoided unless you are growing a species specifically adapted to it.
Can I Reuse Sawdust Spawn After a Harvest?
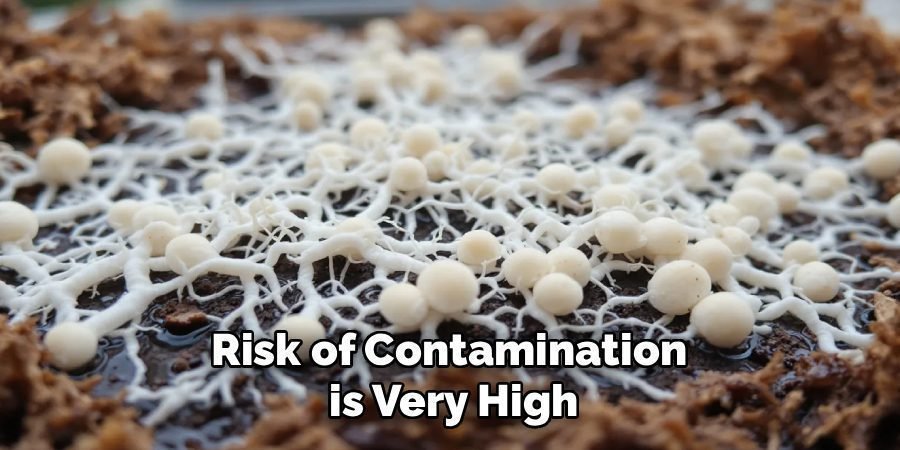
Once a block of sawdust spawn has been used to produce mushrooms (fruited), its nutrient content is largely depleted. While it might be possible to get a small second or third flush of mushrooms from it, the block cannot be effectively used as spawn to inoculate new substrates. The mycelium is no longer as vigorous, and the risk of contamination is very high. It’s best to compost the spent block and start with a fresh batch for your next project.
How Do I Know If My Sawdust Spawn Is Contaminated?
Healthy mushroom mycelium is typically white and has a uniform, slightly stringy or fluffy appearance. Signs of contamination include any colors other than white, such as green, black, blue, or orange patches. These are usually molds like Trichoderma (green mold). You might also notice slimy or wet-looking areas, which can indicate a bacterial infection. A sour or unpleasant smell is another clear sign that something has gone wrong. If you see any of these signs, it’s best to discard the bag to prevent it from spreading.
How Long Can I Store Sawdust Spawn?
Properly stored sawdust spawn can remain viable for several months. For short-term storage, keep the fully colonized bags in a cool, dark place. For longer-term storage of up to six months, you can place the colonized spawn in a refrigerator. The cold temperatures will slow down the mycelium’s metabolism, putting it into a dormant state without killing it. When you are ready to use it, allow the spawn to return to room temperature for a day or two before inoculating your logs or blocks.
Do I Have to Use a Pressure Cooker for Sterilization?
While a pressure cooker is the most reliable method for achieving complete sterilization, some cultivators use alternative methods like steam sterilization. This involves steaming the substrate bags in a large pot with a lid for a much longer period, typically 12-16 hours. However, this method only pasteurizes the substrate, which reduces contaminants but doesn’t eliminate all of them. For a beginner, using a pressure cooker is highly recommended as it significantly increases your chances of a successful, contamination-free outcome.
Conclusion
Creating your own mushroom spawn is an empowering skill that deepens your connection to the cultivation process. By following these steps, you can reliably produce high-quality substrate that will support vigorous mycelial growth for a wide variety of mushrooms. From carefully mixing your substrate to patiently waiting for colonization, each stage is a learning experience. You now have the knowledge of how to make sawdust spawn and are well-equipped to take control of your home-growing projects.
Embrace the process, don’t be afraid to experiment, and enjoy the satisfaction of cultivating your very own gourmet mushrooms from scratch.
About Ravuk Barg
B.Sc. Horticulture Science | Certified Master Gardener
Ravuk Barg has spent more than a decade with his hands in the soil and his head full of questions about why some gardens thrive while others struggle. What started as a single raised bed of tomatoes and basil in a modest backyard has grown into a deep, working knowledge of everything from seed germination and soil amendment to companion planting and seasonal pruning.
Over the years, Ravuk has gardened through drought summers, waterlogged springs, and pest invasions that would make most gardeners hang up their trowels for good. Those hard seasons, he’ll tell you, taught him more than any perfect growing year ever could. He writes from that earned experience—covering vegetable growing, ornamental planting, houseplant care, composting, and garden design with equal confidence and curiosity.
Philosophy & Approach
Ravuk’s approach to gardening is rooted in practicality. He favors organic methods not out of dogma, but because they work long-term—resulting in healthier soil, fewer inputs, and stronger plants. He has a particular fondness for heirloom vegetable varieties (the kind with proper flavor), unruly cottage-style flower beds, and the stubborn houseplants that everyone else gave up on.
The Mission: Give readers the honest, experience-backed advice that helps them actually succeed in their gardens—not just the ideal version, but the real one; weeds, failures, and all.
Education & Credentials
-
B.Sc. in Horticulture Science
-
Greenfield Agricultural University
-
Focus: Plant Physiology, Soil Ecology, and Sustainable Crop Production
-
-
Master Gardener Certification
-
Cooperative Extension Service
-
Focus: 200+ hours of hands-on practical training and community garden work
-
Continuing Education
-
Organic Pest Management
-
Native Plant Landscaping
-
Sustainable Crop Production