

Creating perfect garden rows is the foundation of a successful vegetable garden. Learning how to make garden rows with a hoe transforms your gardening experience from chaotic to organized, making planting, weeding, and harvesting much more efficient.
A well-structured garden with straight, properly spaced rows not only looks professional but also maximizes your growing space. When you create defined pathways between rows, you protect your plants from foot traffic damage while ensuring each plant receives adequate sunlight and air circulation.
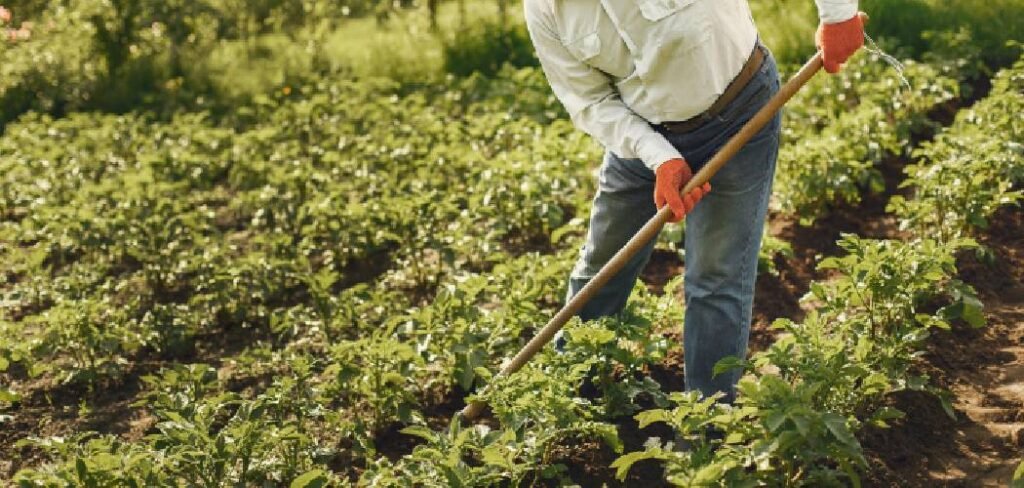
The humble hoe becomes your best friend in this process. This simple tool, used correctly, can help you create uniform rows that make maintenance tasks significantly easier throughout the growing season. Whether you’re a beginner gardener or looking to refine your technique, mastering this fundamental skill will pay dividends in your harvest.
Why You Need to Create Proper Garden Rows
Garden rows serve multiple essential purposes beyond just organization. They create natural walkways that prevent soil compaction around your plants’ root systems. Compacted soil restricts root growth and reduces water infiltration, directly impacting plant health and productivity.
Proper row spacing also improves air circulation between plants. This increased airflow reduces humidity around foliage, which significantly decreases the likelihood of fungal diseases that thrive in stagnant, moist conditions.
Additionally, well-defined rows make irrigation more efficient. You can direct water precisely where plants need it most, reducing waste and preventing water from pooling in unwanted areas. This targeted approach also helps control weed growth between rows, saving you countless hours of maintenance work.
7 Step-by-Step Guide: How to Make Garden Rows with a Hoe
Step 1: Choose the Right Hoe for Your Garden
Select a hoe that matches your garden’s specific needs and your physical capabilities. A standard garden hoe with a 6-8 inch blade works well for most row-making tasks. The blade should feel comfortable in your hands and not cause excessive strain during extended use.
Consider the soil type when choosing your tool. Heavy clay soils require a more robust hoe with a sharper edge, while sandy soils work well with lighter tools. A stirrup hoe or wheel hoe can be excellent alternatives for larger gardens, as they require less physical effort while maintaining precision.
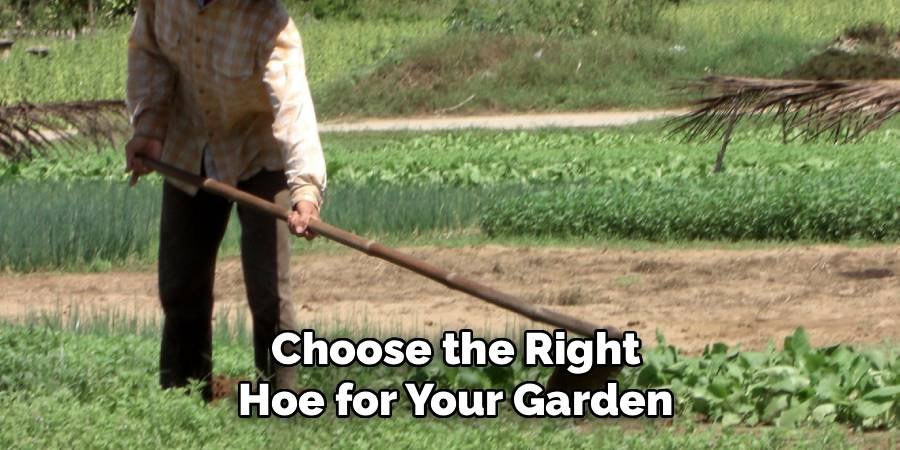
The handle length matters significantly for your comfort and efficiency. Taller gardeners benefit from longer handles, while shorter gardeners may prefer more compact tools for better control. Test different options before committing to ensure the tool feels natural in your hands.
Step 2: Prepare Your Garden Plot
Clear the designated area of all debris, including rocks, sticks, and existing vegetation. Remove any weeds completely, including their root systems, to prevent competition with your future crops. This initial cleanup saves considerable effort later in the season.
Level the ground as much as possible using a rake or the back of your hoe. Remove high spots and fill in low areas to create a uniform surface. This preparation ensures consistent soil depth across all rows and prevents water from pooling in uneven areas.
Test the soil moisture before beginning. The ideal soil consistency feels like a wrung-out sponge – moist but not muddy. Working soil that’s too wet creates clumps and compaction, while overly dry soil becomes dusty and difficult to shape into defined rows.
Step 3: Mark Your Row Layout
Use stakes and string to mark straight, parallel lines where each row will be located. This planning step prevents crooked rows and ensures optimal spacing for your specific crops. Different vegetables require different spacing, so consult seed packets or gardening references for guidance.
Measure the distance between row centers, not the edges of the rows themselves. Typical spacing ranges from 12 inches for small crops like lettuce to 36 inches for sprawling plants like squash. Mark these measurements clearly before you start digging.
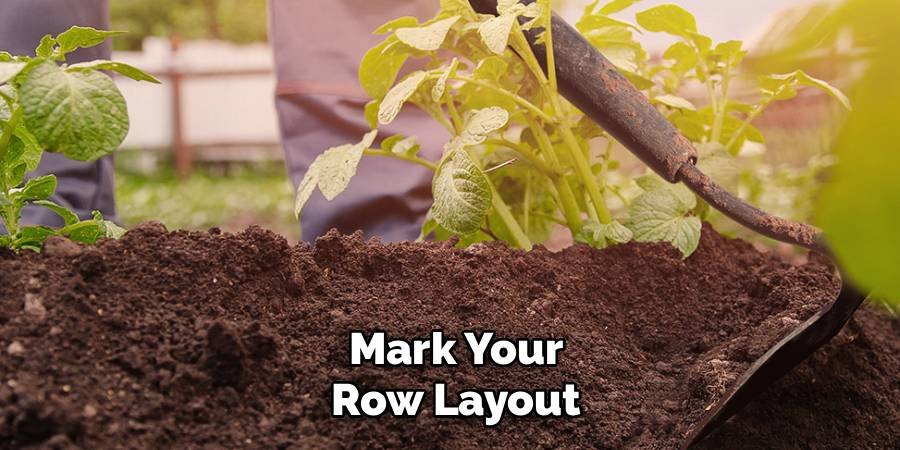
Consider the mature size of your plants when planning row spacing. Plants that spread widely need more room between rows, while compact varieties can be planted closer together. This forward thinking maximizes your garden’s productivity while ensuring plants don’t compete for resources.
Step 4: Create the First Row
Begin at one end of your marked line and position the hoe blade perpendicular to the ground. Pull the soil toward you in smooth, consistent strokes, creating a shallow furrow approximately 2-4 inches deep. The exact depth depends on your intended crops and local growing conditions.
Work systematically along the entire length of the planned row. Maintain consistent depth by keeping the hoe blade at the same angle throughout the process. This uniformity ensures seeds planted at the correct depth and promotes even germination rates.
Pull the displaced soil to both sides of the furrow, creating raised beds on either side. This displaced soil will eventually form the walking paths between rows, improving drainage and preventing soil compaction in growing areas.
Step 5: Shape and Refine the Row
Use the hoe blade to smooth the bottom of the furrow, removing any rocks or debris that could interfere with seed placement. The furrow bottom should be relatively flat and uniform to ensure consistent seed-to-soil contact during planting.
Shape the sides of the row so they slope gently rather than dropping off sharply. This gradual slope prevents soil from crumbling back into the furrow and makes it easier to cover seeds after planting. The row should resemble a wide, shallow valley rather than a narrow trench.
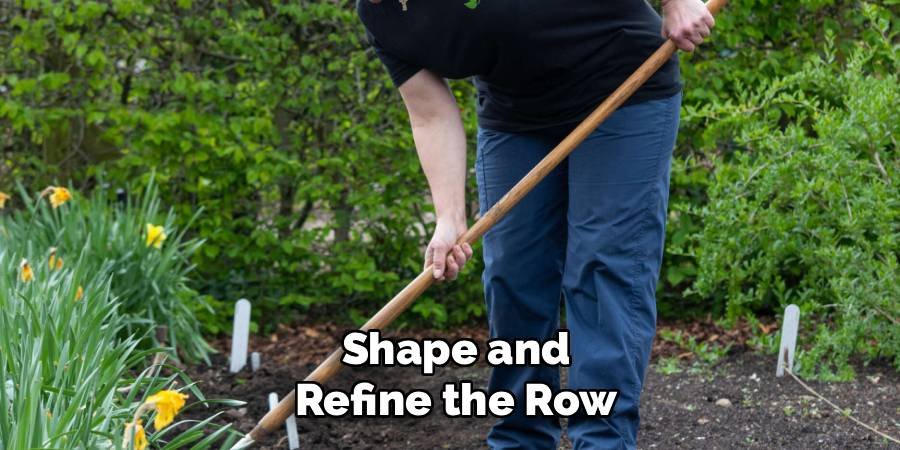
Check the row’s straightness and depth consistency. Make adjustments as needed by adding or removing soil along the length of the row. Taking time for these refinements now saves considerable effort during planting and maintenance phases.
Step 6: Create Subsequent Rows
Use your first row as a reference point for creating parallel rows. Measure the desired spacing from the center of the first row to mark the location of the second row. This systematic approach ensures consistent spacing throughout your garden.
Follow the same technique used for the first row, maintaining consistent depth and width. Work methodically to avoid fatigue, taking breaks as needed to maintain quality workmanship. Rushing this process often leads to uneven rows that cause problems later.
Continue this process for all planned rows, checking measurements frequently to prevent spacing errors from compounding. Each row should be parallel to the others and maintain the same depth and width characteristics for optimal growing conditions.
Step 7: Create Walking Paths
Use the displaced soil from row creation to build up the pathways between rows. These elevated paths provide stable walking surfaces that don’t compact the growing areas. The paths should be slightly higher than the surrounding growing beds to promote proper drainage.
Tamp down the pathway soil gently using the flat side of the hoe blade. This compaction is intentional in the pathway areas and creates a firm surface that won’t become muddy during watering or rain events.
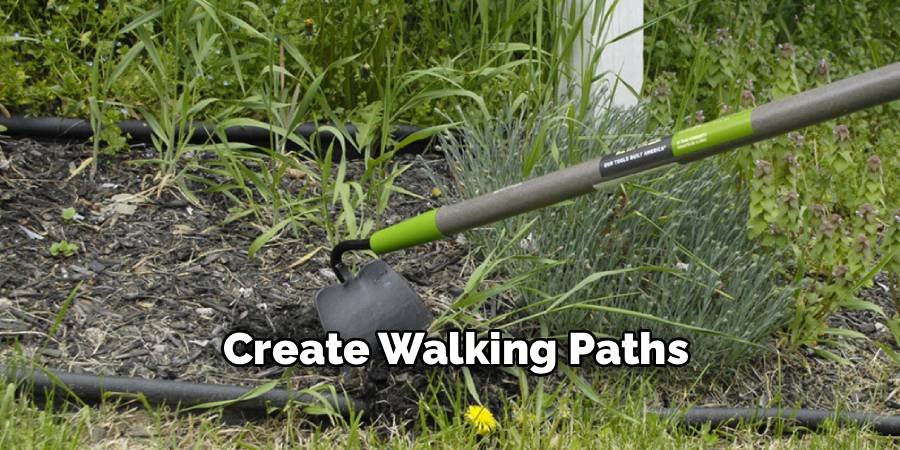
Ensure pathways are wide enough for comfortable walking and maintenance tasks. Most gardeners need at least 12-18 inches of pathway width, though wider paths may be necessary for wheelbarrows or garden carts.
Maintaining Your Garden Rows
Regular maintenance keeps your garden rows in optimal condition throughout the growing season. Use your hoe weekly to cultivate the soil surface, breaking up any crust that forms after watering or rain. This cultivation improves water infiltration and prevents weeds from establishing.
Monitor the pathways between rows and add additional soil as needed to maintain proper height and drainage. Heavy rain or frequent foot traffic can gradually compress these areas, reducing their effectiveness.
Refresh row edges periodically to maintain clean boundaries between growing areas and pathways. Well-maintained edges make your garden look professional and prevent gradual erosion of your careful layout work.
Common Mistakes to Avoid
Many gardeners make rows too shallow, which leads to uneven seed coverage and poor germination rates. Ensure adequate depth based on your specific crop requirements rather than guessing or using a one-size-fits-all approach.
Spacing mistakes compound throughout the garden, leaving some areas overcrowded while others are underutilized. Always measure spacing from row center to row center, and double-check your measurements before creating each new row.
Working wet soil creates compaction problems that can persist throughout the growing season. Wait for proper soil moisture conditions even if it delays your planting schedule. Patient preparation always produces better results than rushed work.
Frequently Asked Questions
What’s the Best Time to Make Garden Rows?
The ideal time is when soil moisture is at the “perfect workability” stage – damp but not muddy. Test by squeezing a handful; it should crumble rather than form a ball.
How Deep Should Garden Rows Be?
Row depth varies by crop, typically ranging from 1-4 inches. Small seeds like lettuce need shallow rows, while larger seeds like beans require deeper furrows for proper coverage.
Can I Make Rows Without a Hoe?
Yes, alternative tools include rakes, shovels, or even sticks for small gardens. However, hoes provide the most efficient and consistent results for row creation in most situations.
How Wide Should the Pathways Be?
Pathways should be 12-18 inches wide for comfortable walking and maintenance. Wider paths may be necessary if you plan to use wheelbarrows or other garden equipment regularly.
Should I Add Compost to New Rows?
Adding compost improves soil structure and fertility, making it an excellent addition during row preparation. Work compost into the row bottom before planting for best results.
Conclusion
Learning how to make garden rows with a hoe transforms your gardening experience from chaotic to organized, setting the foundation for a productive and manageable vegetable garden. The systematic approach outlined in these ten steps ensures professional-looking results that make every subsequent gardening task easier and more enjoyable.
Proper row preparation pays dividends throughout the entire growing season. Your plants will develop stronger root systems in well-prepared soil, while the organized layout makes weeding, watering, and harvesting significantly more efficient. The time invested in creating quality rows saves countless hours of maintenance work later.
Remember that gardening skills improve with practice. Don’t expect perfection on your first attempt, but focus on applying these techniques consistently. Each season brings opportunities to refine your row-making skills and adapt them to your specific garden conditions and crop preferences. Your garden and future self will thank you for this foundational investment in proper preparation.
About Ravuk Barg
B.Sc. Horticulture Science | Certified Master Gardener
Ravuk Barg has spent more than a decade with his hands in the soil and his head full of questions about why some gardens thrive while others struggle. What started as a single raised bed of tomatoes and basil in a modest backyard has grown into a deep, working knowledge of everything from seed germination and soil amendment to companion planting and seasonal pruning.
Over the years, Ravuk has gardened through drought summers, waterlogged springs, and pest invasions that would make most gardeners hang up their trowels for good. Those hard seasons, he’ll tell you, taught him more than any perfect growing year ever could. He writes from that earned experience—covering vegetable growing, ornamental planting, houseplant care, composting, and garden design with equal confidence and curiosity.
Philosophy & Approach
Ravuk’s approach to gardening is rooted in practicality. He favors organic methods not out of dogma, but because they work long-term—resulting in healthier soil, fewer inputs, and stronger plants. He has a particular fondness for heirloom vegetable varieties (the kind with proper flavor), unruly cottage-style flower beds, and the stubborn houseplants that everyone else gave up on.
The Mission: Give readers the honest, experience-backed advice that helps them actually succeed in their gardens—not just the ideal version, but the real one; weeds, failures, and all.
Education & Credentials
-
B.Sc. in Horticulture Science
-
Greenfield Agricultural University
-
Focus: Plant Physiology, Soil Ecology, and Sustainable Crop Production
-
-
Master Gardener Certification
-
Cooperative Extension Service
-
Focus: 200+ hours of hands-on practical training and community garden work
-
Continuing Education
-
Organic Pest Management
-
Native Plant Landscaping
-
Sustainable Crop Production