

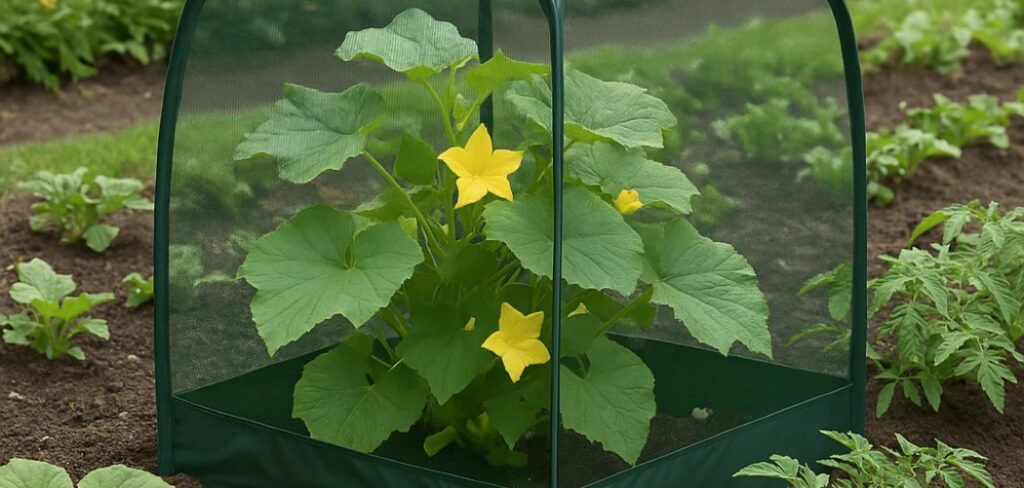
Protecting your precious plants from curious critters is a common challenge for every gardener. From hungry rabbits to mischievous deer, many animals see your garden as an open buffet. Fortunately, there is a simple, effective, and budget-friendly solution you can create yourself. Learning how to make chicken wire plant protectors, often called cloches, is a fantastic DIY project that empowers you to safeguard your seedlings, vegetables, and flowers. This guide will walk you through the entire process, providing clear, step-by-step instructions that are perfect for beginners.
Get ready to build sturdy, reliable guards for your garden treasures.
Why Protect Your Plants with Chicken Wire?
Every gardener knows the disappointment of finding their carefully tended plants nibbled down to the stem overnight. Young seedlings and tender new growth are particularly vulnerable to a wide range of garden visitors, including rabbits, squirrels, deer, and even neighborhood pets. Leaving them unprotected is a gamble that often ends in loss. Chicken wire protectors, or cloches, act as a physical barrier that effectively keeps these pests at bay without resorting to chemical deterrents. They allow sunlight, water, and air to reach your plants while forming a durable shield.
This method is not only humane but also highly economical and customizable for any plant size.
7 Step-by-Step Guide on How to Make Chicken Wire Plant Protectors
Step 1: Gather Your Materials and Tools
Before you begin, gather everything you need to ensure a smooth workflow. You will require a roll of galvanized chicken wire, also known as poultry netting, which is resistant to rust. A 24-inch height is a versatile choice for most garden plants. You will also need a sturdy pair of wire cutters or tin snips, thick work gloves to protect your hands from sharp edges, and a measuring tape. Having all your tools and materials ready will make the construction process much more efficient and safe.

Step 2: Measure and Cut the Chicken Wire
Decide on the diameter you want for your plant protectors. A good starting point for a small to medium-sized plant is a cloche with a 12-inch diameter. To achieve this, you will need a piece of chicken wire about 38 inches long (Diameter x π = Circumference). Use your measuring tape to measure the desired length along the edge of the chicken wire roll. Carefully use your wire cutters to snip through each hexagonal link, creating a straight cut across the roll. Always wear your gloves during this step to prevent scratches.
Step 3: Shape the Wire into a Cylinder
Lay your cut piece of chicken wire on a flat surface. Gently roll it to form a cylinder, bringing the two cut ends together. You will want the ends to overlap by about two to three inches to create a strong seam. This overlap provides the necessary surface area to securely fasten the cylinder. Take your time to align the edges evenly, ensuring the top and bottom of your cylinder are level. This initial shaping sets the foundation for a stable and uniform plant protector that will stand securely in the garden.
Step 4: Secure the Seam of the Cylinder
With the cylinder formed and the edges overlapping, it is time to secure the seam. You can do this by using the cut wire ends along one edge. Bend these small wire pieces around the corresponding wire on the opposite edge, much like twisting a bread tie. Work your way down the entire length of the seam, fastening the wires every few inches. Use your pliers to crimp each twist tightly for a secure hold. A well-fastened seam ensures your protector maintains its shape and won’t come apart under pressure.
Step 5: How to Make Chicken Wire Plant Protectors with a Secure Top
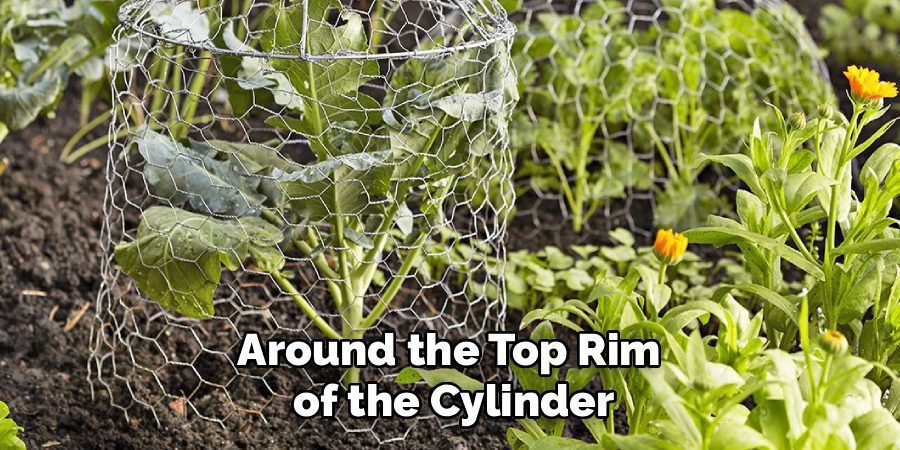
To prevent animals from reaching in from above, you need to create a top for your cloche. One simple method is to cut a square piece of chicken wire that is slightly larger than the diameter of your cylinder. Place this square piece over the top opening. Bend the overhanging edges of the square down and around the top rim of the cylinder. Use the same twisting method with the wire ends to attach the lid securely. Make sure there are no large gaps for pests to squeeze through.
Step 6: An Alternative Method for the Top
Another effective way to close the top is by using the cylinder itself. Stand the cylinder upright. Starting at the top, begin pushing the sides of the wire inward toward the center. As you work your way around the cylinder, the opening will gradually close, forming a domed top. Use your pliers to pinch and twist the wires together at the center where they meet. This method creates a built-in, seamless top, which can be quicker than cutting and attaching a separate piece of wire for the lid.
Step 7: How to Make Chicken Wire Plant Protectors with Ground Stakes
To keep your protectors from being knocked over by larger animals or strong winds, you can add built-in stakes. To do this, simply use your wire cutters to snip the bottom ring of horizontal wire off the cloche. This will leave you with a row of vertical wire spikes at the base. These spikes can be pushed directly into the soil to anchor the protector firmly in place around your plant. Aim for spikes that are two to three inches long for adequate stability in most garden soils.
Finishing and Customizing Your Protectors
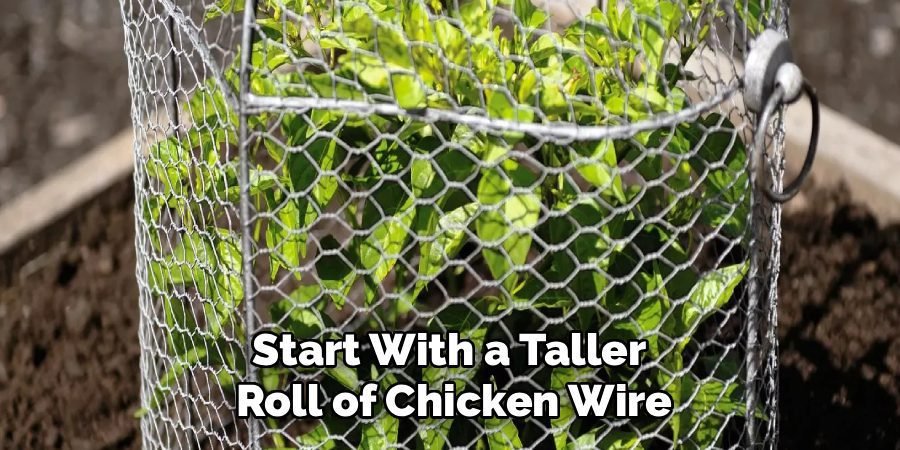
Inspect your finished plant protector for any sharp wire ends that could pose a risk to you or the plants. Use your pliers to bend any sharp points inward or trim them off completely. You can customize the size and height of your cloches based on the plants you need to protect. For taller plants, simply start with a taller roll of chicken wire. For wider bushes, cut a longer piece to create a larger diameter. Creating a variety of sizes ensures you have the right protector for every plant.
Frequently Asked Questions
What Gauge of Chicken Wire Is Best for Plant Protectors?
The best gauge depends on the type of pests you have. For smaller animals like rabbits and squirrels, a standard 20-gauge chicken wire with 1-inch hexagonal openings is perfectly suitable. If you are dealing with larger or more determined animals like deer or raccoons, you may want to opt for a heavier and more rigid 18-gauge wire. The smaller gauge number indicates a thicker, stronger wire that is more difficult for animals to bend or push through, offering a higher level of protection for your valuable plants.
Will Chicken Wire Rust in the Garden?
Standard chicken wire can rust over time when exposed to moisture. To prevent this, it is highly recommended to use galvanized chicken wire. Galvanization is a process where the steel wire is coated with a layer of zinc, which acts as a protective barrier against rust and corrosion. Galvanized chicken wire will last for many seasons in the garden, making it a cost-effective and durable choice for your DIY plant protectors. You can also find vinyl-coated chicken wire, which offers even more protection.
How Tall Should I Make My Plant Protectors?
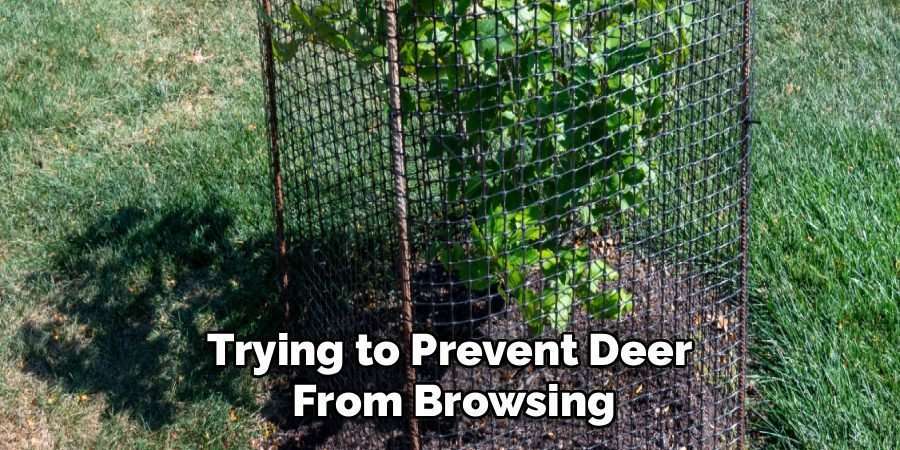
The ideal height for your plant protectors depends on two factors: the type of animal you want to deter and the mature height of your plant. For protection against ground-level pests like rabbits, a cloche that is 18 to 24 inches tall is usually sufficient. If you are trying to prevent deer from browsing, you will need much taller protection, often in the form of individual cages or a larger fence. Always make the protector slightly taller than the plant to ensure it remains covered as it grows.
Can I Use These Protectors for Climbing Plants?
While these cylindrical cloches are excellent for protecting bush-like plants and seedlings, they are not ideal structures for climbing plants like peas or beans. Climbing plants require a trellis, stake, or other vertical support to grow properly. You could, however, use a chicken wire protector at the base of a young climbing plant to shield it from pests during its vulnerable early stages. Once the plant is established and begins to climb, the protector can be removed.
Is Chicken Wire Safe for Organic Gardening?
Yes, using galvanized chicken wire is completely safe for organic gardening. The zinc coating used in the galvanization process is stable and will not leach harmful chemicals into your soil or plants. It serves purely as a physical barrier to keep pests away, which aligns perfectly with organic principles that avoid synthetic pesticides and chemicals. It is a humane and environmentally friendly way to protect your garden harvest without compromising your commitment to organic practices.
Conclusion
You now have all the information you need to create durable and effective guards for your garden. Building these cloches is a simple, affordable, and satisfying project that yields immediate results by keeping your plants safe from pests. The process is highly adaptable, allowing you to create protectors of any size to suit the specific needs of your garden. By taking a little time for this DIY task, you invest in the health and success of your plants for the entire season. We hope this guide has inspired you to try this project and see for yourself how to make chicken wire plant protectors with confidence.
About Ravuk Barg
B.Sc. Horticulture Science | Certified Master Gardener
Ravuk Barg has spent more than a decade with his hands in the soil and his head full of questions about why some gardens thrive while others struggle. What started as a single raised bed of tomatoes and basil in a modest backyard has grown into a deep, working knowledge of everything from seed germination and soil amendment to companion planting and seasonal pruning.
Over the years, Ravuk has gardened through drought summers, waterlogged springs, and pest invasions that would make most gardeners hang up their trowels for good. Those hard seasons, he’ll tell you, taught him more than any perfect growing year ever could. He writes from that earned experience—covering vegetable growing, ornamental planting, houseplant care, composting, and garden design with equal confidence and curiosity.
Philosophy & Approach
Ravuk’s approach to gardening is rooted in practicality. He favors organic methods not out of dogma, but because they work long-term—resulting in healthier soil, fewer inputs, and stronger plants. He has a particular fondness for heirloom vegetable varieties (the kind with proper flavor), unruly cottage-style flower beds, and the stubborn houseplants that everyone else gave up on.
The Mission: Give readers the honest, experience-backed advice that helps them actually succeed in their gardens—not just the ideal version, but the real one; weeds, failures, and all.
Education & Credentials
-
B.Sc. in Horticulture Science
-
Greenfield Agricultural University
-
Focus: Plant Physiology, Soil Ecology, and Sustainable Crop Production
-
-
Master Gardener Certification
-
Cooperative Extension Service
-
Focus: 200+ hours of hands-on practical training and community garden work
-
Continuing Education
-
Organic Pest Management
-
Native Plant Landscaping
-
Sustainable Crop Production