

Creating a sturdy, level foundation is a critical step when building your greenhouse. A concrete base provides long-lasting support and ensures your structure remains stable, no matter the weather. Without a proper foundation, your greenhouse could shift, tilt, or suffer from long-term damage due to uneven ground.

This detailed guide will walk you through how to make a concrete base for a greenhouse, ensuring it’s both durable and correctly sized for your setup. Whether you’re a novice or a seasoned DIYer, you’ll find this process straightforward and manageable with the right tools and preparation.
By starting with a strong foundation, you set the stage for a successful greenhouse that will stand for years to come, offering a perfect environment for growing your plants all year round.
Why You Need to Build a Concrete Base
A concrete base gives your greenhouse the essential support it needs. It helps maintain structural integrity, especially during heavy winds or rain. Without it, your greenhouse might settle unevenly, causing door misalignments or cracked panels. Furthermore, a concrete base seals the greenhouse from below, preventing weeds, pests, and cold drafts from sneaking in.
The strong and level surface also ensures a longer lifespan for your greenhouse frame. While other base options like wooden or brick might suffice temporarily, concrete’s durability makes it unbeatable for long-term use.
10 Step-by-Step Guide on How to Make a Concrete Base for a Greenhouse
Follow this 12-step guide to learn how to make a concrete base for a greenhouse. With careful preparation and the proper materials, you’ll ensure your foundation is stable, level, and perfectly suited for your greenhouse.
1. Gather Your Tools and Materials
Before beginning, collect all the necessary tools and materials. For this project, you’ll need concrete mix, a spade for mixing, a level, measuring tape, timber for framing, gravel, and rebar if additional reinforcement is required. Having everything on hand prevents delays as you work through the steps.
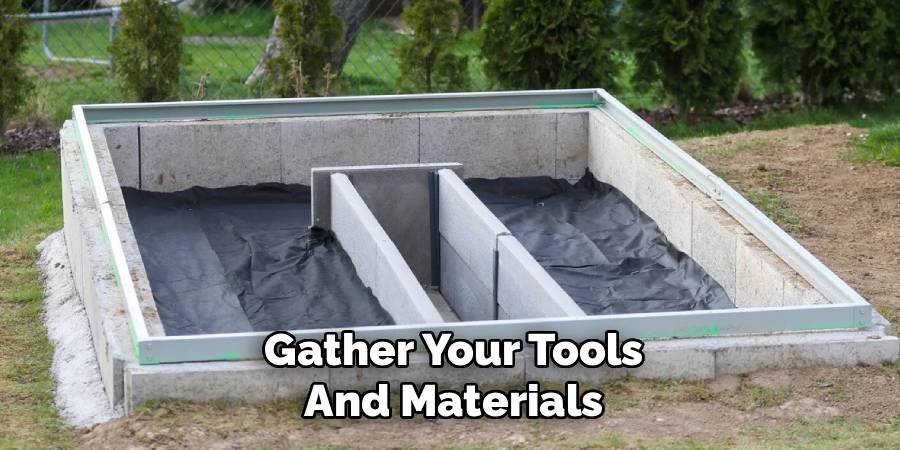
Additionally, wear protective gear like gloves and safety boots, as you’ll be handling heavy materials. Planning ahead makes the rest of the process much smoother.
2. Choose and Mark Your Site
Select a location that receives optimal sunlight and has good drainage properties. Mark the footprint of your greenhouse using wooden stakes and string. Accurate measurements are vital, as these markings will outline your base and ensure it matches the greenhouse dimensions.
Double-check the alignment by measuring diagonally from corner to corner—both diagonals should be equal. This ensures your base will be square.
3. Excavate the Ground
Excavation is the next step to prepare the ground for the concrete foundation. Dig out the marked area to a depth of 6–8 inches, accounting for the concrete slab and any gravel bedding beneath it. Remove any roots, rocks, or debris that could compromise the pad’s stability.
Aim for uniform depth across the whole space. Uneven excavation leads to poor leveling, weakening the foundation over time.
4. Add a Gravel Layer
Spread a 2–3 inch layer of gravel across the excavated area. This gravel bed improves drainage and provides a stable base for the concrete. Without proper drainage, water can accumulate beneath the slab, causing erosion or cracking over time.
Level out the gravel using a rake, then compact it with a tamper to ensure it’s tightly packed and smooth.
5. Build the Frame
Next, construct a timber frame to outline your concrete base. Cut wooden boards to match the measurements of your greenhouse, then secure the corners with nails or screws. This frame will act as a mold for the concrete and must be level to ensure an even foundation.
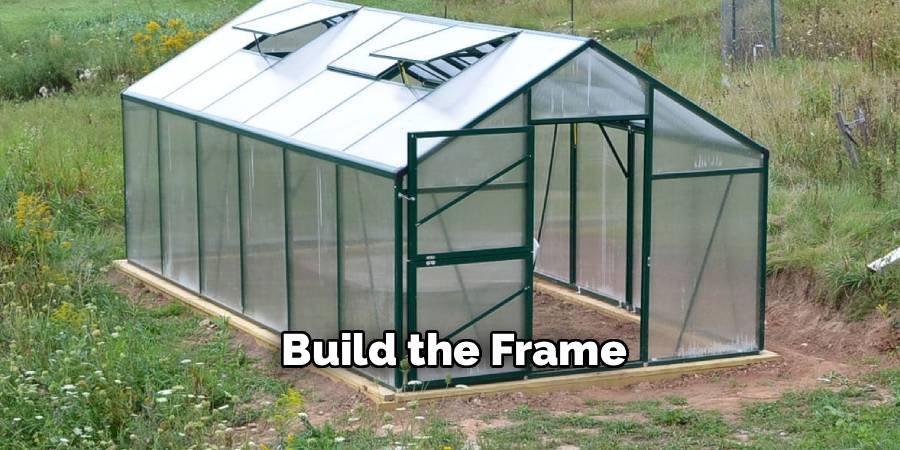
Use your level to check both the horizontal and vertical alignment. Stakes driven into the ground at regular intervals can reinforce the frame, preventing it from shifting while the concrete is poured.
6. Reinforce with Rebar (if necessary)
For larger greenhouses or those in areas with extreme weather, reinforcing the slab with rebar increases its strength and crack resistance. Lay the rebar across the frame, keeping it evenly spaced.
If required, tie intersections loosely with wire to hold them in place during the pour. This reinforcement ensures your greenhouse base can withstand additional pressure from the structure above.
7. Mix the Concrete
Follow the manufacturer’s instructions to mix your concrete. Most DIYers opt for pre-mixed concrete bags, which only require water to activate. Mix small batches in a wheelbarrow or using a concrete mixer to maintain consistency.
Concrete should have a thick, pourable consistency—neither too wet nor too dry. Mixing it properly at this stage is crucial for achieving a strong, even finish later.
8. Pour the Concrete
Begin pouring the mixed concrete into your frame, starting in one corner and working your way across the area. Pouring steadily reduces the risk of air bubbles forming within the slab.
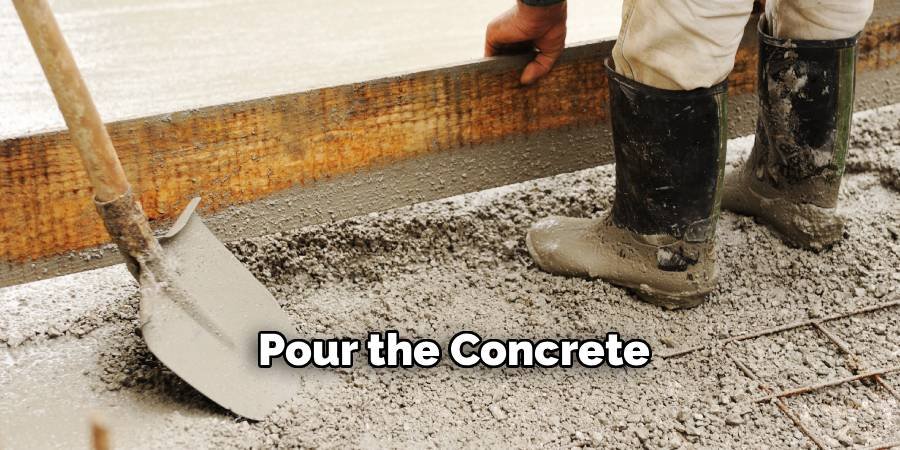
After filling the frame, use a shovel or hoe to spread and level the concrete evenly. Tap the edges of the timber frame lightly to dislodge air pockets.
9. Level the Surface
Using a long wooden plank, smooth the top surface of the poured concrete by pulling it across the frame. This technique, called screeding, removes excess material and ensures the top is level. Check periodically with your level, making adjustments as needed before the concrete starts to set. Leveling is crucial for a clean installation of the greenhouse structure.
10. Smooth the Edges and Surface
Once leveled, smooth the surface with a trowel for a polished finish. Pay special attention to the edges near the frame, as these areas will be visible once the frame is removed. A smooth surface prevents water pooling and gives your base a professional look. For a slip-resistant finish, consider lightly brushing the surface with a stiff-bristled broom before it fully sets.
Cure the Concrete
Curing is the process of allowing concrete to harden slowly, which enhances its strength and durability. Cover the surface with a plastic sheet to retain moisture and protect it from rapid drying caused by the sun or wind. Curing typically takes about 7 days, though the slab may reach full strength after 28 days. During this time, avoid placing heavy loads on the base.
Remove the Frame
Once the concrete has cured sufficiently, gently remove the timber frame. Use a chisel or sandpaper to smooth any rough edges left behind. Your concrete base is now complete and ready for the greenhouse installation. Congratulations on successfully laying a durable, level foundation for your greenhouse!
Maintaining Your Concrete Base
Once the concrete base is in use, regular upkeep ensures it remains in good condition. Keep the surface clean by sweeping away debris and preventing water pooling. Inspect for small cracks periodically and seal any you find with a concrete filler. These minor efforts will extend the life of your foundation and maintain the stability of your greenhouse.
Common Mistakes to Avoid
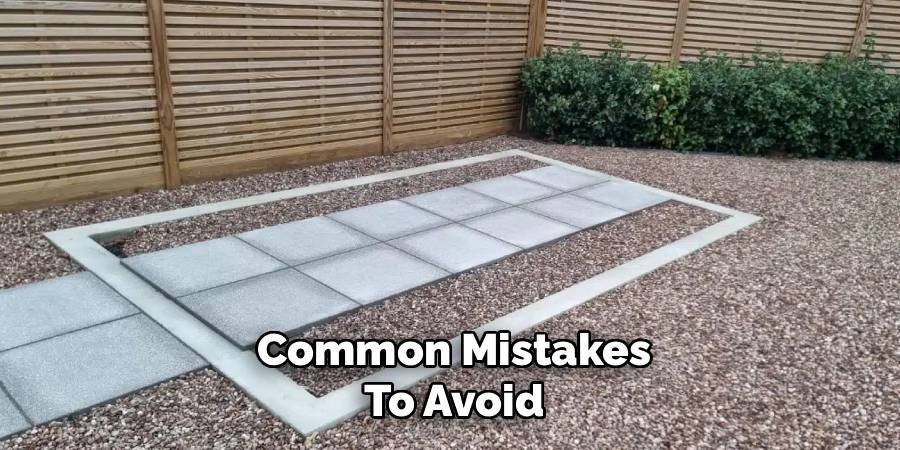
When constructing and maintaining a concrete base, certain pitfalls can compromise its durability and functionality. One common mistake is neglecting proper site preparation before pouring the concrete, which can lead to uneven surfaces and instability. Another frequent error is using the wrong concrete mix or insufficient reinforcement, resulting in a weaker foundation prone to cracking. Additionally, failing to allow adequate curing time can weaken the base and shorten its lifespan. Finally, overlooking regular inspections and minor repairs can escalate small issues into major problems over time. By avoiding these mistakes, you can ensure a solid and reliable foundation for your greenhouse.
FAQ
How thick should a concrete base for a greenhouse be?
The base should typically be 4–6 inches thick. Larger greenhouses may require additional depth or reinforcing materials for extra stability.
Can I build a greenhouse base directly on soil?
While possible, soil lacks the durability of concrete and can shift over time, causing structural issues. A concrete base is more reliable for long-term use.
Do you need gravel under a concrete base?
Yes, gravel helps with drainage and creates a stable foundation. Skipping this step can lead to water pooling and eventual damage.
How long does concrete take to set?
Concrete sets within 24–48 hours but takes about 7 days to cure partially and 28 days to reach full strength. Protect the surface during this period.
Can I install a greenhouse on an uneven base?
No, an uneven base will disrupt the balance of the greenhouse and can lead to structural damage over time. Leveling is essential for longevity.
Conclusion
Learning how to make a concrete base for a greenhouse is a rewarding process that guarantees a strong start for your gardening space. By following these steps, you’ll create a durable, level foundation that supports your greenhouse for years.
Taking the time to prioritize this crucial step ensures your greenhouse remains sturdy, functional, and resistant to harsh weather conditions.
Additionally, maintaining the concrete base over time is just as important as its initial construction. Regular inspections can help identify cracks, uneven areas, or signs of wear that may compromise the integrity of the foundation. Addressing these issues promptly, such as sealing cracks or leveling uneven surfaces, ensures the base remains supportive and extends the lifespan of your greenhouse. Proper care not only protects your investment but also enhances the efficiency and stability of your gardening operations.
About Ravuk Barg
B.Sc. Horticulture Science | Certified Master Gardener
Ravuk Barg has spent more than a decade with his hands in the soil and his head full of questions about why some gardens thrive while others struggle. What started as a single raised bed of tomatoes and basil in a modest backyard has grown into a deep, working knowledge of everything from seed germination and soil amendment to companion planting and seasonal pruning.
Over the years, Ravuk has gardened through drought summers, waterlogged springs, and pest invasions that would make most gardeners hang up their trowels for good. Those hard seasons, he’ll tell you, taught him more than any perfect growing year ever could. He writes from that earned experience—covering vegetable growing, ornamental planting, houseplant care, composting, and garden design with equal confidence and curiosity.
Philosophy & Approach
Ravuk’s approach to gardening is rooted in practicality. He favors organic methods not out of dogma, but because they work long-term—resulting in healthier soil, fewer inputs, and stronger plants. He has a particular fondness for heirloom vegetable varieties (the kind with proper flavor), unruly cottage-style flower beds, and the stubborn houseplants that everyone else gave up on.
The Mission: Give readers the honest, experience-backed advice that helps them actually succeed in their gardens—not just the ideal version, but the real one; weeds, failures, and all.
Education & Credentials
-
B.Sc. in Horticulture Science
-
Greenfield Agricultural University
-
Focus: Plant Physiology, Soil Ecology, and Sustainable Crop Production
-
-
Master Gardener Certification
-
Cooperative Extension Service
-
Focus: 200+ hours of hands-on practical training and community garden work
-
Continuing Education
-
Organic Pest Management
-
Native Plant Landscaping
-
Sustainable Crop Production