

Creating a raised garden bed is an exciting step toward growing your own vegetables, herbs, or flowers. It offers better drainage, prevents soil compaction, and can save your back from excessive bending. But one question often comes up for new and experienced gardeners alike: should you line the bottom of your raised bed? The answer depends on your specific goals and challenges.
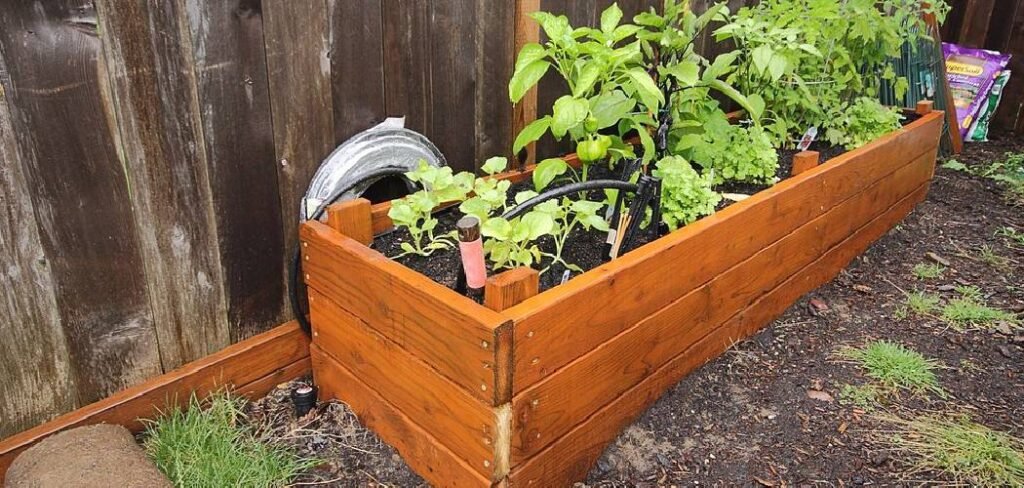
Learning how to line a raised garden bed structures properly can protect your plants, deter pests, and even extend the life of your garden bed frame. This guide will walk you through the entire process, explaining why lining is beneficial and how to choose the right material for a thriving garden. We’ll cover everything from weed control to moisture management, ensuring your gardening efforts lead to a successful and bountiful harvest.
Why You Need to Line a Raised Garden Bed
Lining a raised garden bed is crucial for creating an optimal environment for your plants to thrive. One of the main benefits is improved soil retention, as the liner helps keep the soil contained and prevents it from washing away during heavy rains. Additionally, it acts as a barrier against weeds, minimizing their intrusion and competition for nutrients. A liner also protects the wooden or metal frame of your raised bed from moisture, prolonging its life by preventing decay or rust over time.
For gardeners dealing with pests, lining the bed can deter burrowing creatures like moles or voles from disturbing the roots. By addressing these key challenges, lining your raised garden bed becomes an essential step toward ensuring healthy plants and a flourishing garden.
10 Step Methods Guide on How to Line a Raised Garden Bed
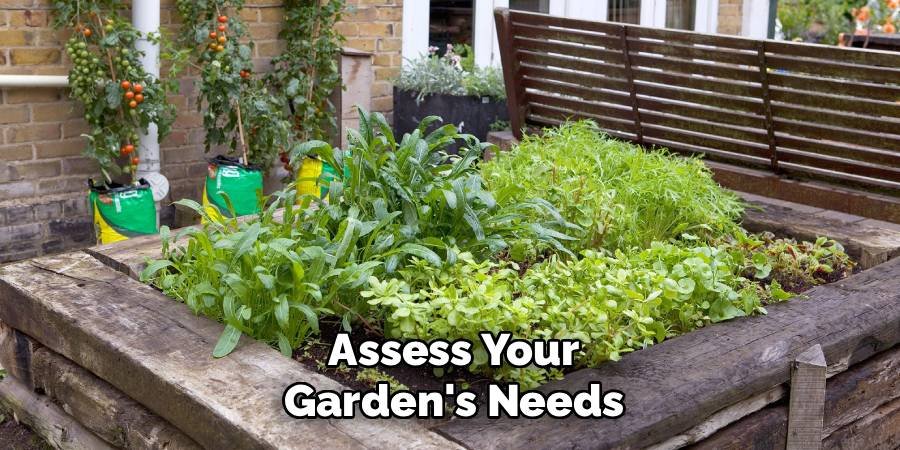
Step 1: Assess Your Garden’s Needs
Before you begin, determine your primary reason for lining the bed. Are you trying to block aggressive weeds? Do you need to improve water retention in sandy soil? Are you concerned about pests like gophers or moles? Or is your main goal to protect the soil from a treated wood frame? Your specific objective will dictate the best lining material to use. For instance, hardware cloth is ideal for burrowing animals, while landscape fabric excels at weed control. Understanding your “why” ensures you select the most effective solution for your garden.
Step 2: Choose the Right Lining Material
Based on your assessment, select an appropriate liner. Cardboard is a popular, biodegradable option that suppresses weeds and improves soil structure as it decomposes. For more persistent weeds or long-term control, commercial landscape fabric is an excellent choice. If burrowing pests are a problem, a durable metal mesh like hardware cloth is essential.
For moisture retention, plastic sheeting can be used, but it must be perforated to allow for proper drainage and prevent waterlogging the plant roots. Avoid using materials like old carpet or non-porous plastics that can introduce harmful chemicals or suffocate the soil.
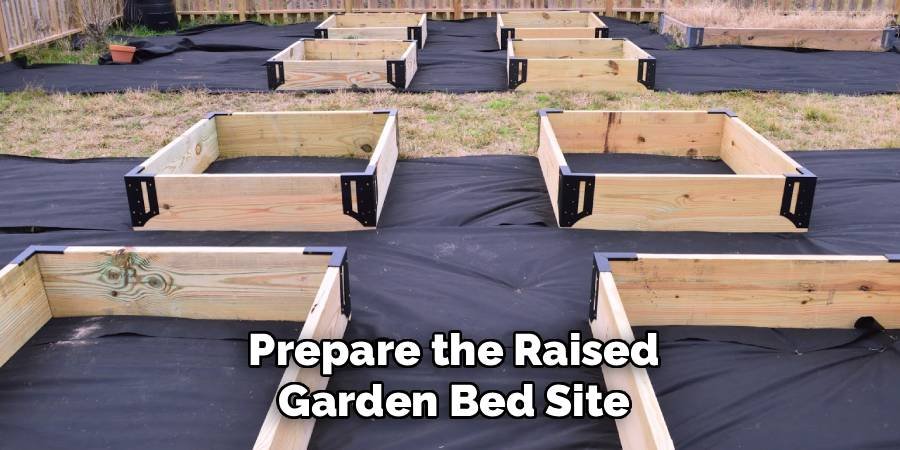
Step 3: Prepare the Raised Garden Bed Site
Clear the area where your raised garden bed will be placed. Remove any large rocks, sticks, weeds, or debris. For the most effective weed suppression, it’s a good idea to mow the grass as short as possible or even remove the top layer of sod. Level the ground to ensure the raised bed frame sits flat and stable. A level base prevents the frame from warping over time and ensures even water distribution throughout the garden soil. This foundational step is critical for the long-term health and stability of your garden bed.
Step 4: Assemble and Position the Frame
Construct your raised garden bed frame according to the manufacturer’s instructions or your own design. Once assembled, move it into its final position on the cleared and leveled ground. Check again to make sure it sits securely without rocking. This is the last chance to make adjustments to the ground underneath before you add the liner and soil. A stable frame is essential for safety and will better withstand the pressure of the soil, water, and growing plants for years to come.
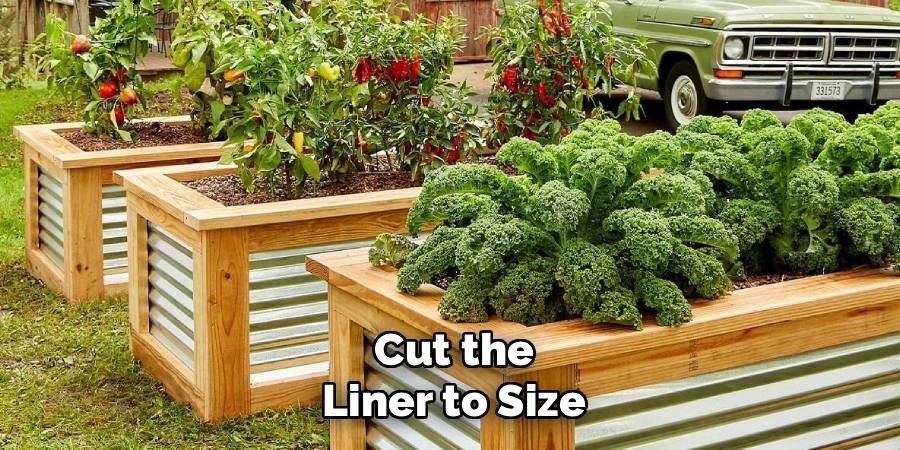
Step 5: Cut the Liner to Size
Measure the internal dimensions of your raised garden bed—both the length and the width. Roll out your chosen lining material on a flat surface and transfer these measurements, adding a few extra inches on all sides. This overlap ensures you have enough material to run up the interior sides of the frame by at least a few inches. Using a sharp utility knife or heavy-duty scissors, carefully cut the material to the required size. For hardware cloth, you will need tin snips and should wear protective gloves to avoid sharp edges.
Step 6: Install the Lining Material
Lay your pre-cut liner inside the empty raised garden bed frame. Start by pressing it firmly into the bottom corners and along the base. Smooth out any large wrinkles or folds to create a neat, flat surface across the bottom. If you are using cardboard, overlapping the pieces by several inches will prevent any gaps where weeds could push through. For fabric or hardware cloth, ensure the material is taut but not stretched so tight that it might tear under the weight of the soil.
Step 7: Secure the Liner to the Frame
Once the liner is positioned correctly, secure the edges to the interior walls of the raised bed. The easiest way to do this is with a heavy-duty staple gun. Place staples every 6 to 12 inches along the top edge of the liner, fastening it securely to the inside of the frame. This prevents the liner from slumping or shifting downwards when you add the soil. For metal hardware cloth, you may need to use screws with washers to hold it firmly in place against the wooden or metal frame.
Step 8: Add Drainage Holes if Necessary
If you’ve chosen a non-porous material like plastic sheeting for moisture retention, it is absolutely essential to add drainage holes. Without proper drainage, your plant roots will become waterlogged and rot. Use a utility knife or a drill to create several small holes or slits across the bottom of the plastic liner. This allows excess water to escape while still helping the soil retain more moisture than it would without a liner. For porous materials like landscape fabric or cardboard, this step is not necessary as they allow water to drain naturally.
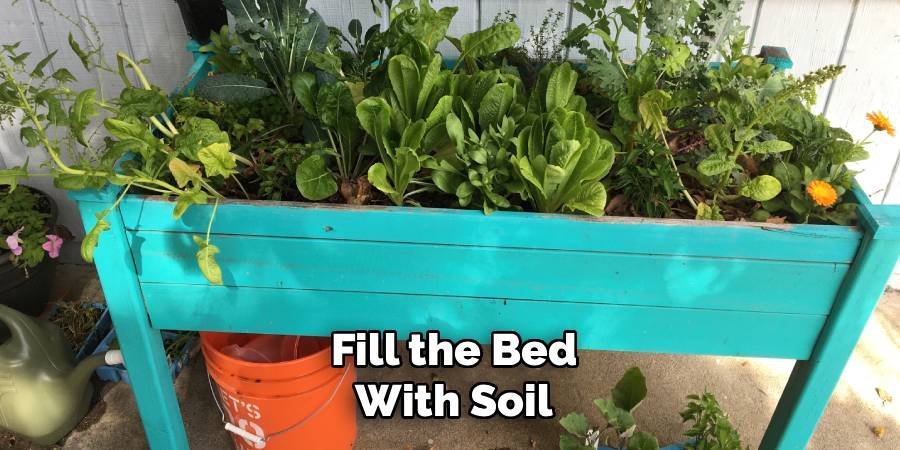
Step 9: Fill the Bed with Soil
Now you are ready to add your soil. It’s best to add the soil in layers, gently pressing it down as you go to eliminate large air pockets. You can use a mix of topsoil, compost, and other organic matter like peat moss or coconut coir to create a rich growing medium. Fill the bed to within a few inches of the top of the frame. This space allows for watering without soil overflowing and gives you room to add mulch later on. Be careful not to puncture the liner with sharp shovels or tools during this process.
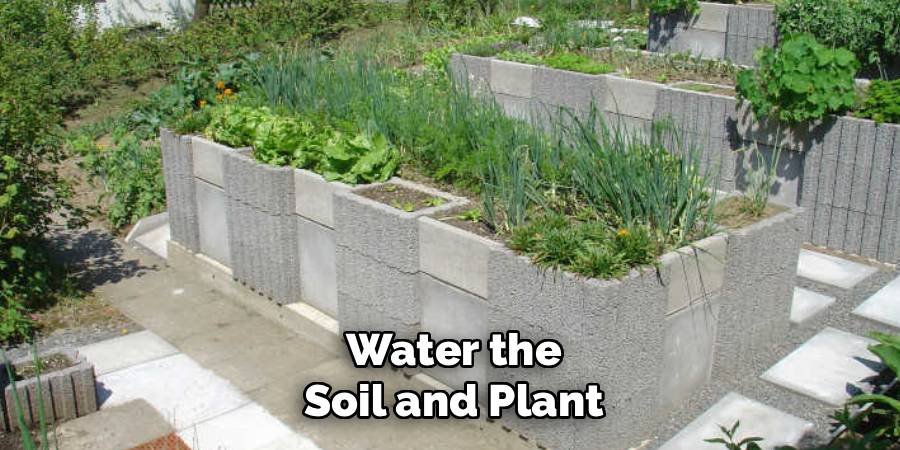
Step 10: Water the Soil and Plant
After filling the bed, give the soil a thorough watering. This helps the soil settle and ensures it is evenly moist before you introduce your plants. Let the water soak in completely. Once the soil is settled and damp, you can begin planting your vegetables, herbs, or flowers according to their specific spacing and depth requirements. Your newly lined raised garden bed is now ready to support a healthy and productive garden, protected from weeds and pests from below.
Maintaining Your Lined Raised Garden Bed
Maintaining a lined raised bed is straightforward. The primary task is to monitor soil moisture, as some liners can alter drainage patterns. Check the soil regularly and adjust your watering schedule as needed. Each year, you will need to top off the bed with fresh compost and organic matter to replenish nutrients and account for soil settling.
If you used a biodegradable liner like cardboard, it will break down over a season or two, enriching the soil. You may need to reline the bed every few years if weed pressure is high. Finally, keep an eye on the liner’s edges to ensure they remain secured to the frame.
Common Mistakes to Avoid
A few common mistakes can undermine the benefits of a liner. The most significant is using a non-permeable material like solid plastic sheeting without adding drainage holes, which will drown your plants. Another error is not overlapping cardboard pieces sufficiently, leaving gaps for determined weeds to find their way through. Also, avoid using materials that can contaminate your soil, such as treated plywood, old carpets, or plastics not rated for garden use. Finally, make sure to secure the liner properly; a loose liner can sag and become ineffective over time.
FAQ Frequently Asked Questions
What Is the Best Material to Put In the Bottom of a Raised Garden Bed?
Cardboard is an excellent, cost-effective choice. It suppresses weeds, is biodegradable, and improves soil health as it decomposes. For pests, hardware cloth is best.
Should I Put Plastic Down in My Raised Garden Bed?
You can use plastic for moisture retention, but only if you poke many drainage holes in it. A non-draining liner will lead to root rot.
Can I Just Put Cardboard in the Bottom of My Raised Garden Bed?
Yes, layering cardboard at the bottom is a very popular and effective method. It smothers grass and weeds while adding organic matter to your soil.
How Do You Keep Weeds From Growing in a Raised Garden Bed?
Lining the bottom with landscape fabric or cardboard is the best first step. Additionally, applying a thick layer of mulch on top of the soil helps prevent airborne weed seeds from sprouting.
Do I Need to Remove Grass Under a Raised Garden Bed?
While not strictly necessary if you use a thick liner like cardboard, removing the top layer of sod or mowing it very short gives you the best results.
Conclusion
Learning how to line a raised garden bed structures is a simple yet powerful technique to set your garden up for success. By choosing the right material for your specific needs—whether it’s weed suppression, pest control, or moisture management—you create a more controlled and nurturing environment for your plants to thrive.
The process is straightforward, from preparing the site and cutting the material to securing the liner and filling the bed with nutrient-rich soil. Taking this extra step not only saves you time and effort on weeding later but also contributes to the overall health and productivity of your garden. A well-lined raised bed is a solid foundation for a bountiful harvest season after season. Your garden (and your back!) will thank you.
About Ravuk Barg
B.Sc. Horticulture Science | Certified Master Gardener
Ravuk Barg has spent more than a decade with his hands in the soil and his head full of questions about why some gardens thrive while others struggle. What started as a single raised bed of tomatoes and basil in a modest backyard has grown into a deep, working knowledge of everything from seed germination and soil amendment to companion planting and seasonal pruning.
Over the years, Ravuk has gardened through drought summers, waterlogged springs, and pest invasions that would make most gardeners hang up their trowels for good. Those hard seasons, he’ll tell you, taught him more than any perfect growing year ever could. He writes from that earned experience—covering vegetable growing, ornamental planting, houseplant care, composting, and garden design with equal confidence and curiosity.
Philosophy & Approach
Ravuk’s approach to gardening is rooted in practicality. He favors organic methods not out of dogma, but because they work long-term—resulting in healthier soil, fewer inputs, and stronger plants. He has a particular fondness for heirloom vegetable varieties (the kind with proper flavor), unruly cottage-style flower beds, and the stubborn houseplants that everyone else gave up on.
The Mission: Give readers the honest, experience-backed advice that helps them actually succeed in their gardens—not just the ideal version, but the real one; weeds, failures, and all.
Education & Credentials
-
B.Sc. in Horticulture Science
-
Greenfield Agricultural University
-
Focus: Plant Physiology, Soil Ecology, and Sustainable Crop Production
-
-
Master Gardener Certification
-
Cooperative Extension Service
-
Focus: 200+ hours of hands-on practical training and community garden work
-
Continuing Education
-
Organic Pest Management
-
Native Plant Landscaping
-
Sustainable Crop Production