

As winter approaches, many gardeners turn their attention indoors. For those who practice vermicomposting, the dropping temperatures bring a unique challenge: keeping your worms happy and productive. Red wigglers and other composting worms are most active in a specific temperature range, and a cold snap can slow down or even halt their composting efforts.
This guide will walk you through the essentials of how to keep worm bin warm in winter, ensuring your tiny workforce stays healthy and continues to produce valuable compost, often called “black gold,” all season long. With a few simple adjustments, you can protect your worms from the cold and maintain a thriving worm farm year-round.
Why a Warm Worm Bin Matters in Winter
Your worm bin is a living ecosystem, and like any ecosystem, it thrives under specific conditions. Composting worms, such as Red Wigglers, are most efficient at breaking down food scraps when their environment is between 55-77°F (13-25°C). When temperatures drop below this range, their metabolism slows significantly. They eat less, reproduce less, and produce compost at a snail’s pace. If the bin gets too cold, particularly near freezing, the worms can perish.

Keeping your worm bin warm ensures continuity in your composting efforts, providing a steady supply of nutrient-rich castings for your houseplants or early spring seedlings. It also prevents the loss of your valuable worm population, which you’ve worked hard to cultivate.
8 Step Methods Guide How to Keep Worm Bin Warm in Winter
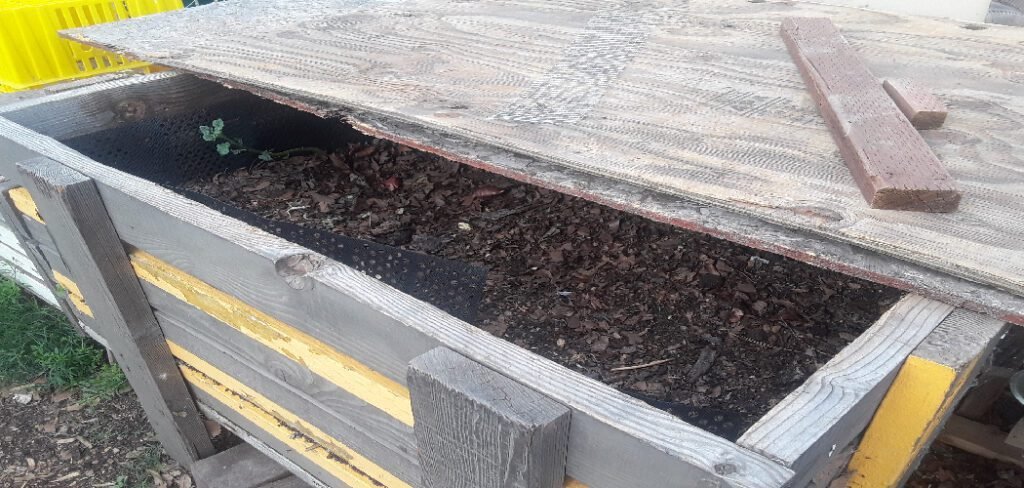
Step 1: Choose the Right Location
The first and most crucial step is moving your worm bin to a sheltered location. If your bin is currently outdoors, it is highly vulnerable to freezing temperatures. An unheated garage, a basement, a laundry room, or even a kitchen closet can provide the necessary protection from harsh winds and extreme cold. These indoor spaces typically maintain a more stable and warmer ambient temperature than the outdoors. When selecting a spot, ensure it is away from direct drafts. This simple relocation is often the most effective method for maintaining a baseline temperature that keeps your worms alive and reasonably active through the winter months.
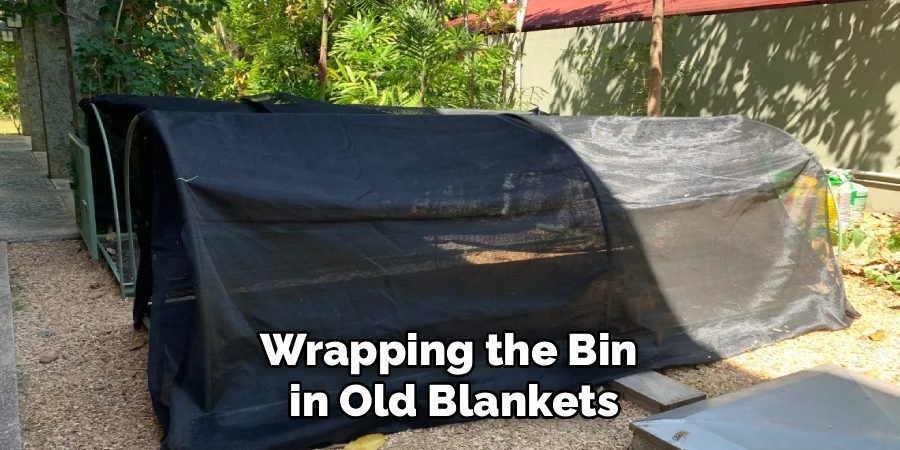
Step 2: Insulate the Outside of the Bin
Adding a layer of insulation around your worm bin acts like a winter coat, trapping heat generated by the composting process and buffering the worms from external temperature swings. You can use various materials for this purpose. Wrapping the bin in old blankets, bubble wrap, or styrofoam sheets works wonderfully. Secure the insulation with tape or bungee cords to keep it snug against the bin’s sides and top. For a more permanent solution, you can build a simple wooden box slightly larger than your bin and fill the gap with insulating materials like straw or shredded leaves.
Step 3: Add More Bedding
Your worms’ bedding is not just their home; it’s also a source of insulation. Increasing the volume of bedding material provides a deeper space for the worms to burrow into, allowing them to escape the colder surface layers. Add a generous amount of fresh bedding, such as shredded newspaper, cardboard, coco coir, or aged leaves. A thick, fluffy layer of bedding—aim for at least 6-8 inches—traps air and helps retain the natural heat produced by the decomposition of organic matter within the bin. Make sure the new bedding is moist but not waterlogged to maintain a healthy environment.
Step 4: Feed Them Heat-Generating Foods
The process of decomposition generates a small amount of heat. You can leverage this natural phenomenon by adjusting your worms’ diet. Certain “hotter” food scraps, when decomposing, create more thermal energy. While you should continue to provide a balanced diet, incorporating more nitrogen-rich materials can help raise the core temperature of the bin. Adding things like coffee grounds or vegetable scraps that break down quickly can create small pockets of warmth. Be careful not to overdo it, as adding too many nitrogen-rich items at once can lead to an overly acidic or anaerobic environment.
Step 5: How to Keep Your Worm Bin Warm with a Heating Mat
For those living in particularly cold climates, passive methods might not be enough. A seedling heat mat, designed for starting seeds indoors, is an excellent tool for providing consistent, gentle warmth. Place the mat underneath one half of the worm bin. This creates a temperature gradient, allowing the worms to move toward the warmth if they are cold or away from it if it becomes too hot. This control is vital for preventing the bin from overheating. Always use a thermostat-controlled mat to ensure the temperature remains within the safe zone for your worms, preventing any risk of cooking them.
Step 6: Use a Small Light Source
A small, low-wattage incandescent bulb can also be used as a gentle heat source. Position a lamp with a 25- or 40-watt bulb several inches above the surface of the bedding. The radiant heat will help keep the top layer of the bin from getting too cold. This method has the added benefit of encouraging worms to stay down in the bedding, as they naturally avoid light. Ensure the lamp is securely positioned and at a safe distance to prevent any fire hazard or the risk of drying out the bedding too quickly.
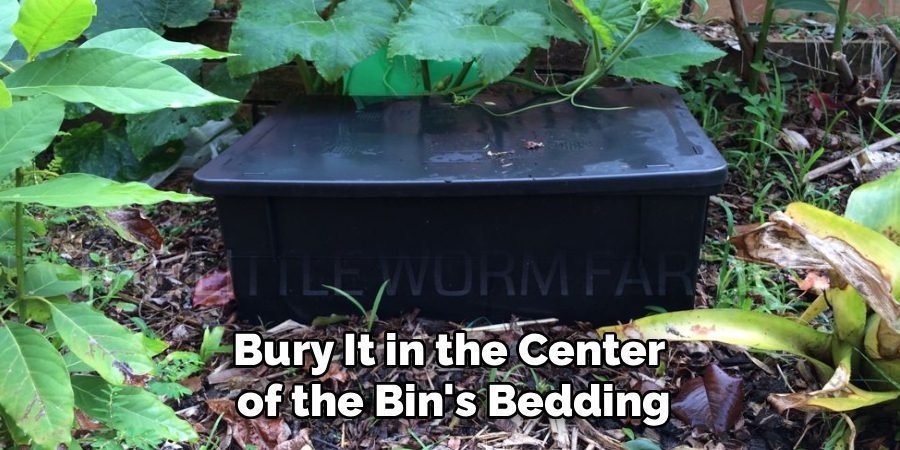
Step 7: Bury a Bottle of Warm Water
For a low-tech and temporary heat boost during a particularly cold spell, a bottle of warm water can work wonders. Fill a plastic bottle with warm (not boiling) tap water, seal it tightly, and bury it in the center of the bin’s bedding. The bottle will slowly release its heat into the surrounding material, creating a cozy pocket for the worms to gather around. This method requires regular attention, as you will need to replace the water once it cools, but it’s a great emergency solution to help your worms get through a sudden dip in temperature.
Step 8: Monitor Temperature and Moisture
Winterizing your worm bin isn’t a “set it and forget it” task. It’s important to regularly check the conditions inside. Use a compost thermometer to monitor the temperature in different parts of the bin, ensuring it stays within the optimal 55-77°F range. Cold air is often dry, which can cause the bedding to lose moisture more quickly. Check the moisture level weekly by squeezing a handful of bedding; it should feel like a damp sponge. If it’s too dry, use a spray bottle to add a little water at a time until the right consistency is achieved.
Frequently Asked Questions (FAQ)
How Can I Tell If My Worm Bin Is Too Cold?
You can tell your worm bin is too cold if the worms become sluggish and stop processing food scraps efficiently. You will notice a slowdown in decomposition, and the worms will likely be clustered together in a tight ball in the center or warmest part of the bin. If you use a compost thermometer, any reading below 50°F (10°C) is a clear sign that the environment is too cold for them to be productive and healthy. Immediate action should be taken to warm the bin.
Can Worms Survive in a Garage During Winter?
Yes, worms can absolutely survive in a garage during the winter, as it typically provides enough shelter to prevent the bin from freezing. An unheated garage in most climates will stay above freezing. However, it may still get cold enough to make your worms dormant. To keep them active, it is best to supplement this protection with insulation around the bin, plenty of deep bedding, and possibly a gentle heat source like a seedling mat if temperatures in the garage consistently drop below 40°F (4°C).
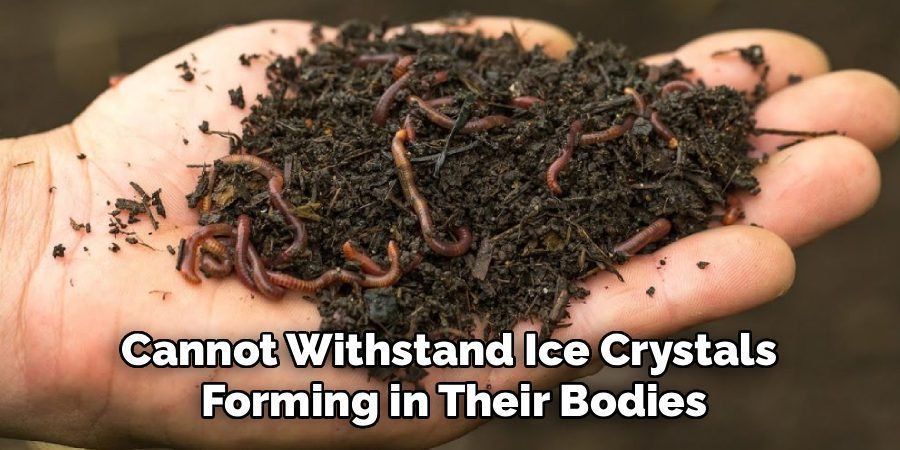
Will My Worms Freeze if I Leave the Bin Outside?
Leaving a standard worm bin outside in a climate with freezing winter temperatures is very risky. If the material inside the bin freezes solid, the worms will not survive. Worms are composed mostly of water and cannot withstand ice crystals forming in their bodies. In milder climates where freezes are rare and brief, a well-insulated bin might manage. However, for guaranteed survival and continued composting activity, it is always recommended to move the bin to a sheltered location like a garage, basement, or shed.
Should I Feed My Worms Less in the Winter?
If your worm bin is kept in a colder environment where the worms are less active, you should reduce the amount of food you give them. Sluggish worms eat less, and adding too much food can lead to it rotting before they can consume it. This can cause foul odors, attract pests, and create an unhealthy anaerobic environment. Feed them smaller amounts more frequently, and only add more food once you see that they have processed the previous batch.
What Is the Ideal Temperature for a Worm Bin?
The ideal temperature range for a worm bin, particularly for Red Wigglers, is between 55°F and 77°F (13°C and 25°C). Within this range, worms are at their most active—eating, breeding, and producing compost efficiently. They can tolerate temperatures down to about 40°F (4°C), but their activity will slow dramatically. Temperatures above 85°F (30°C) can also be harmful or fatal. Maintaining the bin within that ideal sweet spot ensures a healthy and productive vermicomposting system.
Conclusion
Winter doesn’t have to mean the end of your composting efforts. By taking a few proactive steps, you can create a safe and comfortable haven for your worms, even when the temperature plummets. From insulating your bin and moving it to a sheltered spot to providing supplemental heat sources, each action contributes to the health and productivity of your worm farm. With this guide on how to keep worm bin warm in winter, you are well-equipped to protect your composting crew and continue harvesting rich, dark compost throughout the colder months. Your garden will thank you for it come springtime.
About Ravuk Barg
B.Sc. Horticulture Science | Certified Master Gardener
Ravuk Barg has spent more than a decade with his hands in the soil and his head full of questions about why some gardens thrive while others struggle. What started as a single raised bed of tomatoes and basil in a modest backyard has grown into a deep, working knowledge of everything from seed germination and soil amendment to companion planting and seasonal pruning.
Over the years, Ravuk has gardened through drought summers, waterlogged springs, and pest invasions that would make most gardeners hang up their trowels for good. Those hard seasons, he’ll tell you, taught him more than any perfect growing year ever could. He writes from that earned experience—covering vegetable growing, ornamental planting, houseplant care, composting, and garden design with equal confidence and curiosity.
Philosophy & Approach
Ravuk’s approach to gardening is rooted in practicality. He favors organic methods not out of dogma, but because they work long-term—resulting in healthier soil, fewer inputs, and stronger plants. He has a particular fondness for heirloom vegetable varieties (the kind with proper flavor), unruly cottage-style flower beds, and the stubborn houseplants that everyone else gave up on.
The Mission: Give readers the honest, experience-backed advice that helps them actually succeed in their gardens—not just the ideal version, but the real one; weeds, failures, and all.
Education & Credentials
-
B.Sc. in Horticulture Science
-
Greenfield Agricultural University
-
Focus: Plant Physiology, Soil Ecology, and Sustainable Crop Production
-
-
Master Gardener Certification
-
Cooperative Extension Service
-
Focus: 200+ hours of hands-on practical training and community garden work
-
Continuing Education
-
Organic Pest Management
-
Native Plant Landscaping
-
Sustainable Crop Production