

A stone planter box can transform any garden, patio, or yard into a stunning landscape feature. These structures not only add a touch of timeless elegance but also provide a durable and practical home for your favorite plants.

While it might seem like a project reserved for professional landscapers, learning how to build a stone planter box is a completely achievable DIY project for beginners. With the right materials and a clear plan, you can create a beautiful, long-lasting addition to your outdoor space that you’ll be proud of for years to come.
Why Build a Stone Planter Box?
Choosing to build with stone offers numerous advantages over other materials like wood or plastic. Stone is exceptionally durable, capable of withstanding harsh weather conditions, from intense summer heat to freezing winter temperatures, without rotting, cracking, or fading. This longevity means you are making a long-term investment in your garden’s beauty.
Aesthetically, stone planters bring a natural, rustic charm that complements any style of home and garden. The variety of stone types, from flagstone to fieldstone, allows for complete customization in color, texture, and shape. Furthermore, stone provides excellent insulation for plant roots, protecting them from extreme temperature fluctuations. This stable environment helps promote healthier root growth and more robust plants. Building your own planter also offers a deeply satisfying sense of accomplishment, resulting in a unique feature that is both functional and beautiful.
9 Step-by-Step Guide on How to Build a Stone Planter Box
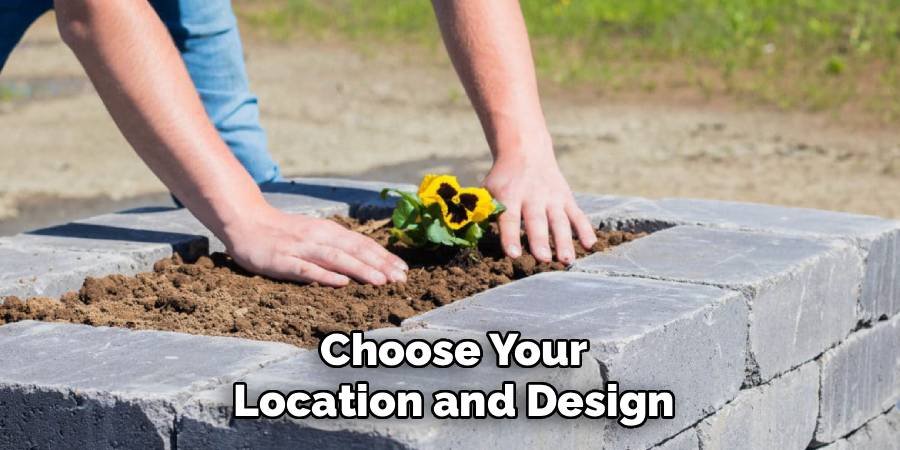
Step 1: Choose Your Location and Design
First, select the perfect spot for your planter. Consider sun exposure, drainage, and how the planter will fit into your overall landscape design. Once you have a location, sketch out a simple design. Decide on the shape—square, rectangular, or curved—and the dimensions. Mark the outline on the ground using spray paint or stakes and string. This visual guide will be crucial for laying a proper foundation and ensuring your planter is built to your exact specifications.
Step 2: Prepare the Foundation
A solid foundation is key to a stable planter. For a dry-stack planter (without mortar), start by digging a trench about 4–6 inches deep and slightly wider than your stones. Fill the trench with a 2-inch layer of paver base or gravel. Use a hand tamper to compact this layer until it is firm and level. A level foundation prevents the walls from shifting or settling over time, which is essential for the structure’s integrity and longevity.
Step 3: Select and Gather Your Stones
Choose stones that fit your desired aesthetic and are suitable for stacking. Flat, regular stones like flagstone or cut stone are easiest for beginners to work with. Irregular fieldstones can create a more rustic look but may be more challenging to fit together securely. Calculate the amount of stone you need based on your planter’s dimensions. It’s always a good idea to purchase about 10-15% more stone than you estimate to account for breakages and pieces that won’t fit.
Step 4: Lay the First Course of Stones
Begin laying the first, or base, course of stones directly on your prepared gravel foundation. Select the largest, flattest stones for this initial layer to create maximum stability. Place them side by side, fitting them together as tightly as possible. Use a rubber mallet to gently tap the stones into place and a level to ensure the first course is perfectly even. This step is critical, as any unevenness here will be magnified as you build higher.
Step 5: Stack the Subsequent Courses
Continue building the walls by adding subsequent courses of stone. As you stack, stagger the joints between the stones, similar to a brick pattern. This technique, known as offsetting, distributes weight evenly and locks the stones together, creating a much stronger wall. Avoid placing a joint directly above a joint in the course below. For added stability, slightly slope the walls inward as you build up, a technique called “battering.”

Step 6: Level and Secure as You Go
After completing each course, check that it is level both horizontally and vertically. Make minor adjustments by tapping stones with your rubber mallet or using small, flat stone shims to eliminate any wobbling. A stable wall is a safe wall. If you notice any significant gaps between stones, fill them with smaller pieces to create a tighter fit. Taking your time with this step ensures your planter will be durable and look professionally built.
Step 7: Backfill for Drainage
With the walls partially built, it’s a good time to consider drainage. Before you start filling the planter with soil, add a 4- to 6-inch layer of gravel or small rocks at the bottom. This layer prevents water from sitting at the base, which can lead to root rot and other plant health issues. The gravel allows excess water to drain away freely, keeping the soil moist but not waterlogged, which is a key element of how to build a stone planter box that supports healthy plant life.
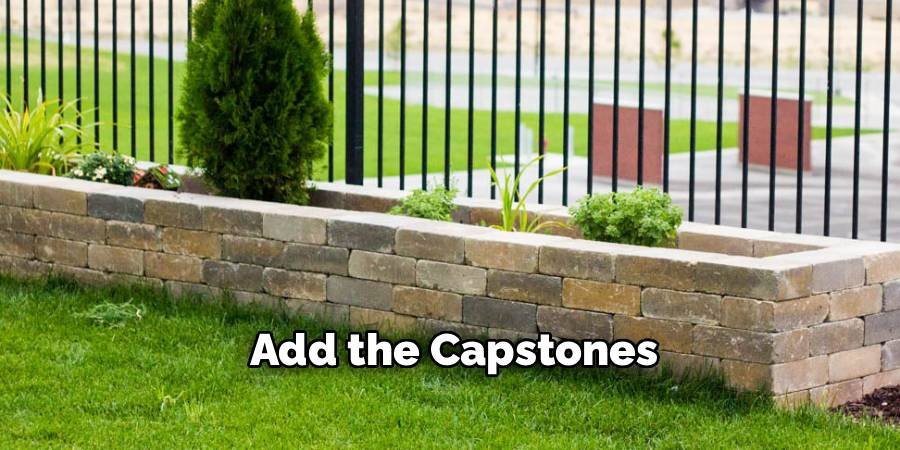
Step 8: Add the Capstones
The final course of stones, known as capstones, provides a finished look. Choose your most attractive, flattest stones for this layer. You can let them overhang the wall slightly for a classic look. If you desire extra stability, you can secure the capstones in place using a strong landscape adhesive. Apply the adhesive to the top of the wall before carefully setting the capstones in place, ensuring they are level.
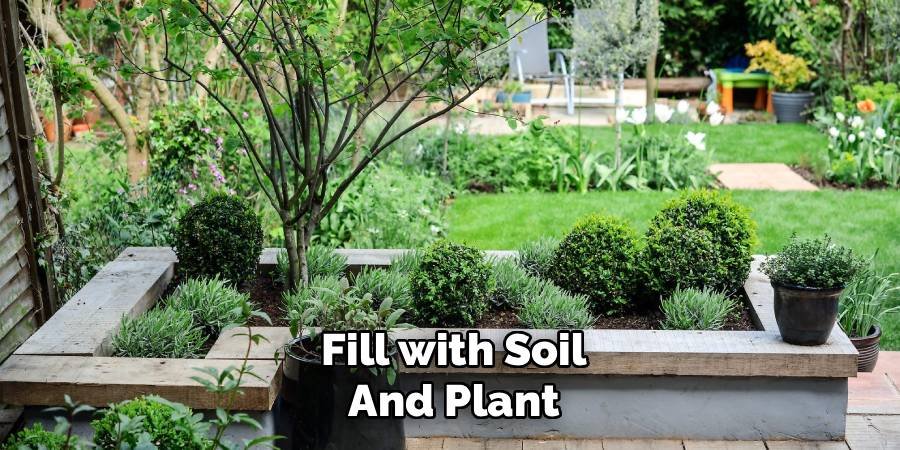
Step 9: Fill with Soil and Plant
Once your planter is complete and any adhesive has cured, fill it with a high-quality potting mix or a blend of garden soil and compost. Leave a few inches of space at the top to prevent soil from spilling over when you water. Now for the fun part: add your favorite flowers, herbs, or vegetables. Water them thoroughly to help them settle into their new home. Your beautiful, handmade stone planter is now ready to enjoy.
Make sure to place your stone planter in an area where your chosen plants will thrive, whether that’s in full sunlight, partial shade, or another suitable condition. Regular maintenance is key to keeping your plants healthy, so remember to water them according to their needs, fertilize as necessary, and remove any weeds or dead foliage. Over time, your stone planter will develop a natural patina, blending beautifully with its surroundings and adding charm to your outdoor space.
Common Mistakes to Avoid
While creating your stone planter can be a rewarding project, there are some common pitfalls to watch out for. First, avoid skipping the planning stage. Without a clear design and accurate measurements, you may end up with an uneven or unstable structure. Second, resist the temptation to use low-quality adhesive or mortar, as this can compromise the durability of your planter.
Another mistake is not allowing enough curing time for the adhesive or mortar before filling the planter with soil, which can cause the structure to weaken or fail. Lastly, overpacking the planter with heavy soil or neglecting proper drainage can lead to waterlogging and stress for the plants. By staying mindful of these common mistakes, you can ensure your stone planter becomes a long-lasting and beautiful addition to your garden.
Frequently Asked Questions (FAQ)
What Is the Best Type of Stone to Use for a Planter Box?
The best stone depends on your desired look and skill level. For beginners, flat-faced stones like flagstone, slate, or cut limestone are ideal because they are easy to stack and create stable walls. For a more rustic or natural appearance, you can use rounded fieldstone or river rock, but these are more challenging to fit together securely. Always choose a durable stone that can withstand your local climate.
Do I Need to Use Mortar Between the Stones?
No, you do not need to use mortar. A “dry-stack” method, where stones are carefully fitted together without mortar, is a popular and effective technique for building planter boxes. This method allows for excellent drainage and creates a charming, rustic look. If you build a taller wall (over 3 feet) or want a more permanent structure, using landscape adhesive or mortar between the courses can add significant strength and stability.
How Do I Ensure My Stone Planter Has Good Drainage?
Good drainage is crucial for plant health. Start by building your planter on a permeable base, like a trench filled with gravel. Before adding soil, fill the bottom 4-6 inches of the planter with a layer of loose gravel or small rocks.
- This layer creates a space for excess water to collect and drain away.
- The small gaps between the stones in a dry-stacked wall also allow water to weep out.
- Using a well-draining soil mix will further prevent waterlogging.
How Tall Can I Safely Build a Dry-Stack Stone Planter?
For a DIY dry-stack planter, it is generally recommended to keep the height at or below 3 feet. Walls taller than this may require a professional’s expertise, a wider base, or reinforcement with mortar to ensure they are structurally sound and safe. For taller planters, it’s also important to batter the walls, meaning you angle them slightly inward as you build up, which adds stability against the pressure of the soil inside.
Can I Build a Stone Planter on a Slope?
Yes, you can build a planter on a slope, but it requires more site preparation. You will need to create a level foundation by cutting into the hillside, a technique known as “cut and fill.” Dig a level trench for the base course of stones, creating a flat step in the slope. The back wall of the planter will be taller than the front wall, effectively acting as a small retaining wall. Ensure the base is well-compacted and perfectly level before you start stacking.
Conclusion
Building a stone planter box is a rewarding project that adds lasting value and beauty to your garden. By following these steps—from preparing a solid foundation and carefully stacking each course to ensuring proper drainage—you can create a stunning and durable home for your plants. This guide has shown you the fundamentals, giving you the confidence to tackle the project. Now that you understand how to build a stone planter box, you are ready to get your hands dirty and create a feature that will be a source of pride for years to come.
About Ravuk Barg
B.Sc. Horticulture Science | Certified Master Gardener
Ravuk Barg has spent more than a decade with his hands in the soil and his head full of questions about why some gardens thrive while others struggle. What started as a single raised bed of tomatoes and basil in a modest backyard has grown into a deep, working knowledge of everything from seed germination and soil amendment to companion planting and seasonal pruning.
Over the years, Ravuk has gardened through drought summers, waterlogged springs, and pest invasions that would make most gardeners hang up their trowels for good. Those hard seasons, he’ll tell you, taught him more than any perfect growing year ever could. He writes from that earned experience—covering vegetable growing, ornamental planting, houseplant care, composting, and garden design with equal confidence and curiosity.
Philosophy & Approach
Ravuk’s approach to gardening is rooted in practicality. He favors organic methods not out of dogma, but because they work long-term—resulting in healthier soil, fewer inputs, and stronger plants. He has a particular fondness for heirloom vegetable varieties (the kind with proper flavor), unruly cottage-style flower beds, and the stubborn houseplants that everyone else gave up on.
The Mission: Give readers the honest, experience-backed advice that helps them actually succeed in their gardens—not just the ideal version, but the real one; weeds, failures, and all.
Education & Credentials
-
B.Sc. in Horticulture Science
-
Greenfield Agricultural University
-
Focus: Plant Physiology, Soil Ecology, and Sustainable Crop Production
-
-
Master Gardener Certification
-
Cooperative Extension Service
-
Focus: 200+ hours of hands-on practical training and community garden work
-
Continuing Education
-
Organic Pest Management
-
Native Plant Landscaping
-
Sustainable Crop Production