

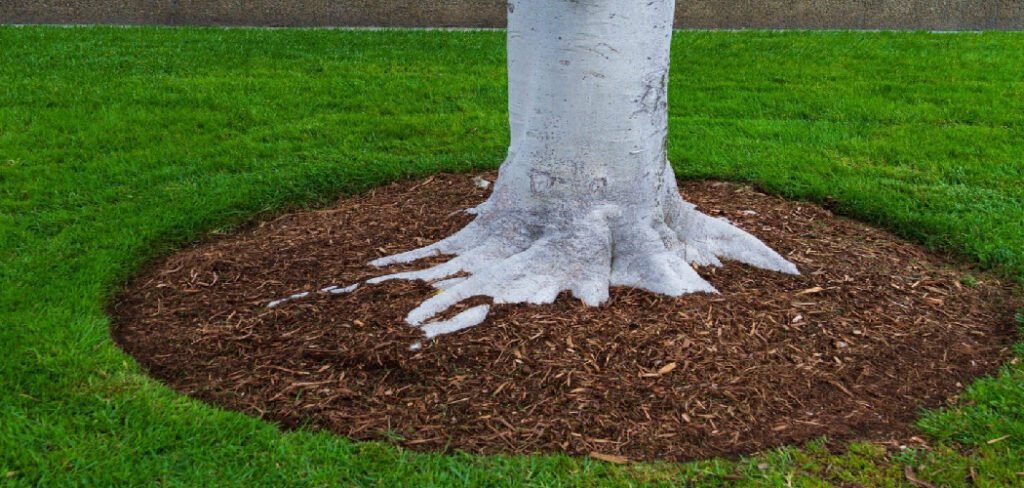
Mulch is a gardener’s best friend. It suppresses weeds, retains moisture, and regulates soil temperature, creating the perfect environment for your plants to thrive. However, all that hard work spreading it can be undone by a single windy day or a heavy downpour. Suddenly, your neat garden beds are a mess, and your precious mulch is scattered across the lawn and pathways. This common frustration leaves many gardeners wondering how to keep mulch in place.
Fortunately, with the right techniques and materials, you can ensure your mulch stays exactly where you want it, protecting your plants and keeping your landscape looking polished all season long.
Why Keeping Mulch in Place Matters
A well-contained layer of mulch is more than just aesthetically pleasing; it is fundamental to a healthy and low-maintenance garden. When mulch stays put, it effectively performs its core functions. It conserves soil moisture by reducing evaporation, which means you water less frequently. It also suppresses weed growth by blocking sunlight, saving you hours of tedious weeding.
Furthermore, a stable mulch layer protects plant roots from extreme temperature fluctuations, insulating them from summer heat and winter cold. If your mulch washes or blows away, these benefits are lost, and exposed soil can lead to erosion, nutrient loss, and a much messier-looking garden that requires constant upkeep.
8 Step-by-Step Guide on How to Keep Mulch in Place
Step 1: Choose the Right Type of Mulch
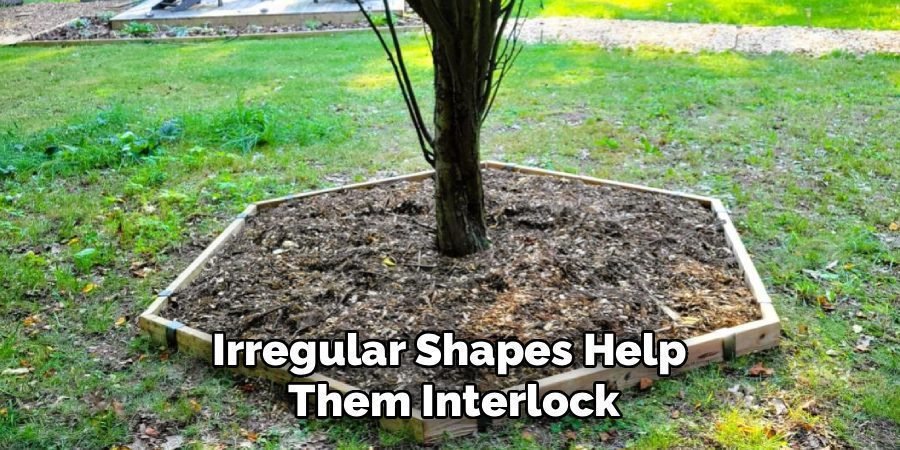
The first step is selecting a mulch that is less likely to move. Heavier, more textured materials are your best allies. Shredded hardwood bark, wood chips, and pine bark nuggets are excellent choices because their weight and irregular shapes help them interlock and form a stable mat. Lighter materials like grass clippings, straw, or cocoa hulls are more prone to blowing away in the wind. When choosing, consider both the needs of your plants and the conditions of your garden. A heavier mulch is always a better option for sloped areas or regions that experience high winds.
Step 2: Prepare the Garden Bed Properly
Before you even think about spreading mulch, proper bed preparation is key. Start by thoroughly weeding the area and removing any debris like rocks, sticks, or old, decayed mulch. Next, use a garden hoe or rake to slightly rough up the soil surface. This creates a texture that gives the new mulch something to grip onto, preventing it from sliding around. Finally, create a clean, defined edge around your garden beds using an edger or a spade. This trench-like border acts as a physical barrier that helps contain the mulch within the designated area.
Step 3: Avoid Over-Mulching
While it might seem that a thicker layer would be heavier and more stable, the opposite is often true. A layer of mulch that is too deep can create a “floating” effect, especially during heavy rain. An excessive pile is also more likely to be caught by the wind. The ideal depth for most mulches is between 2 and 3 inches. This is deep enough to suppress weeds and retain moisture without becoming unstable. For finer mulches, stick closer to 2 inches, while coarser materials can go up to 3 inches. A thinner, properly applied layer is far more effective and stable.
Step 4: Water the Mulch After Application
One of the simplest and most effective techniques is to water your mulch immediately after spreading it. A gentle but thorough soaking helps the mulch settle and compact. This process encourages the individual pieces to interlock and adhere to the soil beneath, creating a more cohesive and heavier mat. The added weight from the water makes the mulch much less susceptible to being displaced by wind. Use a hose with a gentle spray nozzle to avoid washing the mulch away as you water it. This simple action significantly improves its stability from day one.
Step 5: Install Physical Edging for a Secure Border
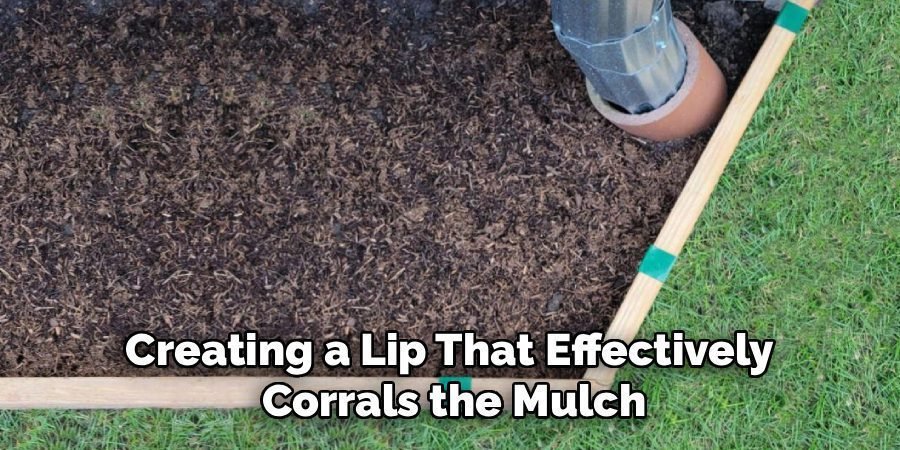
For a long-term solution, installing physical edging is one of the most reliable methods. Garden edging, which comes in materials like metal, plastic, stone, or brick, creates a solid wall that physically stops mulch from spilling onto lawns and pathways. This is especially crucial for gardens on a slope or in areas with heavy foot traffic. The edging should be installed so that it sits about an inch or two above the soil level, creating a lip that effectively corrals the mulch. This not only keeps your garden tidy but also provides a clean, professional look to your landscape.
Step 6: Use Mulch Netting on Slopes
Gardening on a slope presents a unique challenge, as gravity and water runoff are constantly working to pull your mulch downhill. In these situations, mulch netting or erosion control blankets are invaluable tools. These products are typically made from jute, coir, or other biodegradable materials. You simply lay the netting over the top of your freshly spread mulch and secure it to the ground with landscape staples or pins. The netting holds the mulch firmly in place while still allowing water and air to reach the soil. Over time, the netting will decompose, but by then the mulch will have settled and plant roots will have grown to help hold the soil.
Step 7: Apply a Mulch Binder or “Glue”
For particularly windy areas or steep inclines, a mulch binder can be a lifesaver. Often referred to as “mulch glue,” this is a liquid product that you mix with water and spray over the top of your mulch. Once it dries, it forms a transparent, water-permeable film that binds the mulch particles together and to the ground. This creates a strong but flexible crust that holds everything in place against wind and rain.
Most binders are non-toxic and safe for plants and animals, making them an excellent option for securing lightweight mulches or protecting vulnerable areas without compromising garden health. This is a key step in learning how to keep mulch in place for the long term.
Step 8: Create Terraces on Steep Slopes
If you are dealing with a very steep hill, containing mulch can feel like an impossible task. In this scenario, consider reshaping the landscape by creating terraces. Terracing involves building a series of smaller, level garden beds supported by retaining walls. This technique breaks up the long, steep slope into manageable, flat sections. Each terrace can then be mulched individually, and since the surface is level, the mulch will have no reason to slide downhill. While this is a more labor-intensive project, it is a permanent and highly effective solution for preventing both mulch and soil erosion on challenging terrain.

Frequently Asked Questions (FAQ)
What Is the Best Mulch for a Slope?
For sloped areas, the best mulches are heavy, textured, and interlocking. Shredded hardwood bark is often considered the top choice because its fibrous nature helps it mat together and grip the soil. Pine bark nuggets and wood chips are also good options due to their weight. Avoid lightweight materials like straw, grass clippings, or cocoa hulls, as they will easily wash or blow away. Combining a heavy mulch with erosion control netting can provide maximum stability on a steep incline.
How Often Should I Reapply Mulch?
The frequency of reapplication depends on the type of mulch you use. Organic mulches like wood chips or shredded bark decompose over time, enriching the soil. These generally need a fresh 1-inch top-up layer annually to maintain the ideal 2- to 3-inch depth. Lighter mulches like grass clippings may need to be replenished more frequently. A good rule of thumb is to check your mulch depth each spring and add more as needed to ensure it continues to do its job effectively.
Will Mulch Glue Harm My Plants?
Most commercially available mulch binders or “glues” are specifically formulated to be non-toxic and safe for plants, pets, and wildlife once cured. They are water-permeable, meaning they won’t prevent moisture from reaching the plant roots. However, it is always crucial to read the product label and follow the manufacturer’s instructions carefully. Avoid over-spraying directly onto the foliage or stems of your plants. When used as directed, mulch glue is a safe and effective way to secure your mulch.
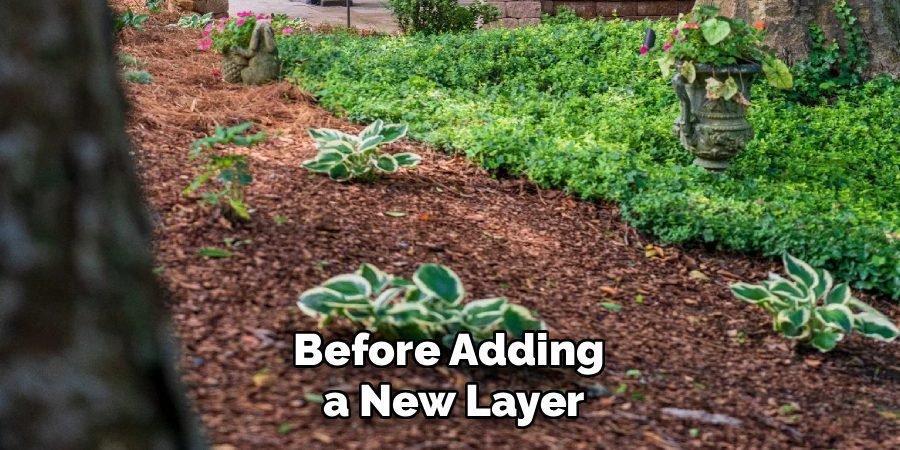
Can I Put New Mulch Over Old Mulch?
Yes, you can absolutely put new mulch over old mulch, and in most cases, it’s beneficial. As old organic mulch breaks down, it adds valuable nutrients to the soil. Before adding a new layer, check the existing depth. If it has compacted to less than 2 inches, simply loosen the old mulch with a rake to break up any matted clumps and ensure good aeration. Then, apply a fresh layer on top to bring the total depth back to the recommended 2 to 3 inches.
Does the Color of Mulch Matter?
The color of mulch is primarily an aesthetic choice, but it can have minor effects on the soil. Dark-colored mulches, such as black or dark brown, absorb more sunlight and can warm the soil more quickly in the spring, which can be beneficial for heat-loving plants. Lighter-colored mulches reflect sunlight and help keep soil cooler in hot climates. Dyed mulches are generally safe, but look for products that use vegetable-based dyes rather than chemical ones to ensure they are completely plant-friendly.
Conclusion
Keeping your mulch where it belongs is essential for a healthy, beautiful, and low-maintenance garden. By selecting the right materials, preparing your beds correctly, and using smart techniques like edging, netting, or binders, you can conquer the challenges of wind, rain, and gravity. A stable layer of mulch pays dividends by conserving water, stopping weeds, and protecting your plants. Now that you understand the best practices for how to keep mulch in place, you can confidently apply these methods and enjoy a tidy, thriving landscape all year round.
About Ravuk Barg
B.Sc. Horticulture Science | Certified Master Gardener
Ravuk Barg has spent more than a decade with his hands in the soil and his head full of questions about why some gardens thrive while others struggle. What started as a single raised bed of tomatoes and basil in a modest backyard has grown into a deep, working knowledge of everything from seed germination and soil amendment to companion planting and seasonal pruning.
Over the years, Ravuk has gardened through drought summers, waterlogged springs, and pest invasions that would make most gardeners hang up their trowels for good. Those hard seasons, he’ll tell you, taught him more than any perfect growing year ever could. He writes from that earned experience—covering vegetable growing, ornamental planting, houseplant care, composting, and garden design with equal confidence and curiosity.
Philosophy & Approach
Ravuk’s approach to gardening is rooted in practicality. He favors organic methods not out of dogma, but because they work long-term—resulting in healthier soil, fewer inputs, and stronger plants. He has a particular fondness for heirloom vegetable varieties (the kind with proper flavor), unruly cottage-style flower beds, and the stubborn houseplants that everyone else gave up on.
The Mission: Give readers the honest, experience-backed advice that helps them actually succeed in their gardens—not just the ideal version, but the real one; weeds, failures, and all.
Education & Credentials
-
B.Sc. in Horticulture Science
-
Greenfield Agricultural University
-
Focus: Plant Physiology, Soil Ecology, and Sustainable Crop Production
-
-
Master Gardener Certification
-
Cooperative Extension Service
-
Focus: 200+ hours of hands-on practical training and community garden work
-
Continuing Education
-
Organic Pest Management
-
Native Plant Landscaping
-
Sustainable Crop Production