

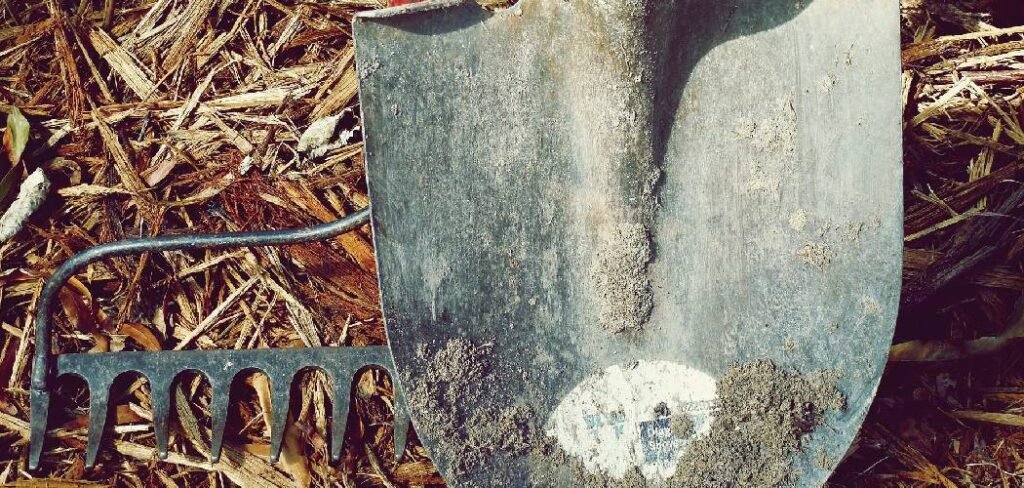
Investing in quality garden tools is a big step for any home gardener. From sturdy shovels to sharp pruners, these implements are your partners in creating a beautiful and productive outdoor space. However, the constant exposure to moisture, soil, and air can lead to a common enemy: rust. Not only does rust look unsightly, but it can also weaken the metal, dull sharp edges, and make your tools harder to use.
Fortunately, learning how to keep garden tools from rusting is a straightforward process that requires a bit of routine care. With a few simple habits, you can protect your investment, ensure your tools work effectively for years to come, and keep them ready for action whenever your garden calls.
Why Preventing Rust Matters
Proper tool maintenance goes beyond just aesthetics; it’s about safety, efficiency, and longevity. A rusty shovel is more likely to snap under pressure, and corroded pruner blades will crush stems instead of making clean cuts, potentially harming your plants. Clean, rust-free tools perform better, making your gardening tasks easier and more enjoyable. By preventing rust before it starts, you save yourself the time and effort of intensive restoration later. A well-maintained toolset is a reliable one, ensuring you can tackle any garden project with confidence. This guide will walk you through everything you need to know.
7 Step-by-Step Guide: How to Keep Garden Tools from Rusting
Protecting your tools is all about creating a barrier between the metal and the elements that cause corrosion—namely, moisture and oxygen. Following a consistent cleaning and storage routine is the most effective way to prevent rust from forming. This simple process will become second nature, ensuring your tools remain in top condition season after season. Let’s dive into the essential steps for maintaining a pristine, rust-free tool collection.
Step 1: Clean Your Tools After Every Use
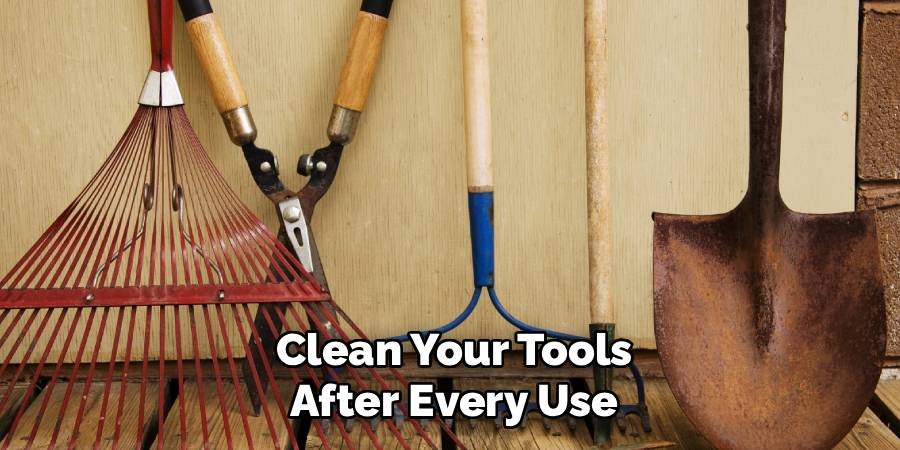
The first and most crucial step is to clean your tools immediately after you finish gardening for the day. Soil, sap, and moisture are the primary culprits behind rust formation. Use a stiff-bristled brush to scrub away any caked-on mud and debris from trowels, spades, and forks. For sticky plant resin on pruners or shears, a cloth dampened with a little rubbing alcohol or turpentine works wonders. This simple act of cleaning removes the corrosive materials from the metal surfaces before they have a chance to cause any damage, setting the stage for proper drying and storage.
Step 2: Wash and Thoroughly Dry Your Tools
After brushing off the loose dirt, give your tools a quick wash. You can use a garden hose to rinse them or a bucket of soapy water for a more thorough cleaning. An old rag or sponge will help remove any remaining grime. The most critical part of this step is drying. Leaving even a small amount of water on the metal is an invitation for rust. Use a dry, absorbent cloth, like an old towel or microfiber rag, to wipe down every part of the tool, paying close attention to joints, hinges, and crevices where water can get trapped.
Step 3: Remove Any Existing Rust Spots
If you notice small spots of rust already forming, it’s important to remove them promptly before they spread. For light surface rust, you can use steel wool, a wire brush, or even a crumpled ball of aluminum foil to scrub the affected area. For more stubborn rust, a soak in white vinegar for a few hours can help loosen it, making it easier to scrub off. Once the rust is gone, rinse the tool again to remove any vinegar residue and dry it completely. Addressing rust early prevents it from pitting and permanently damaging the metal.
Step 4: Sharpen Your Tools Regularly
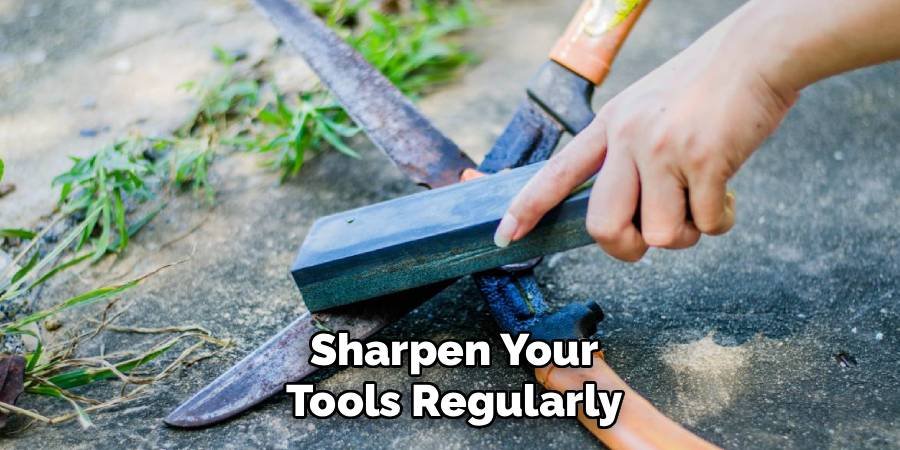
Dull tools are not only inefficient but can also be more susceptible to rust, as nicks and burrs on the metal can trap moisture. Regularly sharpening your blades, like those on shears, loppers, and shovels, creates a smooth, clean edge. Use a mill file, sharpening stone, or a specialized tool sharpener. Follow the original angle of the bevel on the blade, pushing the file in one smooth direction. A sharp edge not only makes your work easier and is better for your plants but also helps in maintaining the integrity of the metal, making it less prone to corrosion.
Step 5: How to Keep Garden Tools from Rusting by Applying a Protective Coating
Once your tools are clean, dry, and sharp, the next step is to apply a protective barrier. This coating repels moisture and prevents it from coming into contact with the metal. A light application of a lubricant like camellia oil, boiled linseed oil, or even a multi-purpose oil like WD-40 works perfectly. Pour a small amount onto a clean rag and wipe a thin, even layer over all the metal surfaces. This creates a hydrophobic shield that is essential for long-term rust prevention, especially for tools you plan to store for the winter.
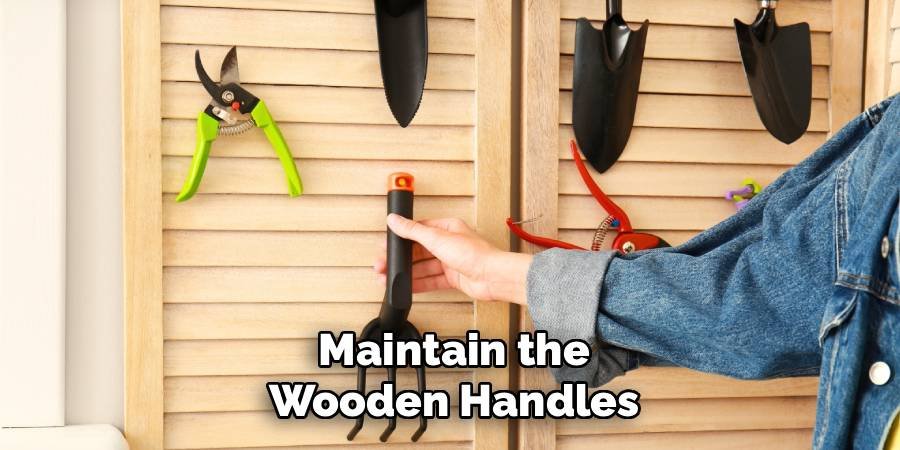
Step 6: Maintain the Wooden Handles
Don’t forget about the wooden handles on your tools. Over time, wood can dry out, splinter, and crack, making the tool uncomfortable and unsafe to use. A cracked handle can also allow moisture to seep into the area where the metal tool head is attached, promoting rust from the inside out. At least once a year, lightly sand any rough spots on the handles and apply a coat of boiled linseed oil or tung oil with a cloth. This nourishes the wood, prevents it from drying out, and gives you a better grip.
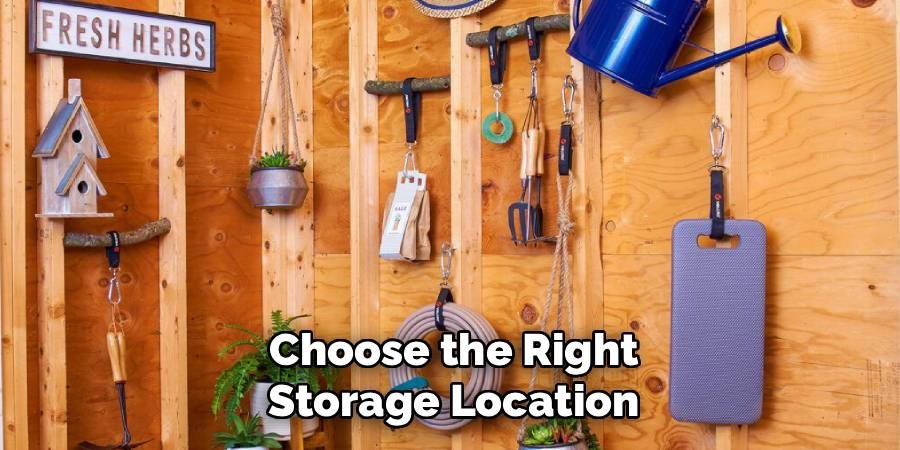
Step 7: Choose the Right Storage Location
Where you store your tools is just as important as how you prepare them for storage. The ideal location is a dry, well-ventilated space that is protected from the elements. A garage, shed, or basement is a much better choice than leaving tools outside in the garden or on the porch. Avoid areas with high humidity or places where tools might be exposed to rain or morning dew. Proper storage is a cornerstone of tool care and a key factor in preventing rust from ever taking hold.
Use a Bucket of Oiled Sand for Easy Maintenance
A fantastic and low-effort way to clean and oil your tools simultaneously is by using a bucket of sand mixed with oil. Fill a five-gallon bucket with clean, dry builder’s sand and pour in a quart of motor oil or boiled linseed oil, mixing it until the sand is lightly saturated but not soggy. After each use, simply plunge your shovels, forks, and trowels into the sand a few times. The abrasive sand scrubs off the dirt while the oil leaves behind a thin, protective film, combining two steps into one quick action.
Frequently Asked Questions
What Is the Best Oil to Prevent Rust on Garden Tools?
The best oils for rust prevention are those that create a lasting moisture barrier.
- Boiled Linseed Oil: This is a classic choice that polymerizes as it dries, creating a hard, protective finish on both metal and wood.
- Camellia Oil: A favorite among woodworkers and tool enthusiasts, this non-toxic, plant-based oil is light, odorless, and provides excellent rust protection.
- Mineral Oil: An inexpensive and readily available option that works well for coating metal parts.
- Multi-Purpose Lubricants: Products like WD-40 can displace water and provide a temporary protective film.
Can I Use Vinegar to Remove Heavy Rust?
Yes, vinegar is an effective and non-toxic solution for removing rust. Its acetic acid reacts with iron oxide (rust) to dissolve it. For heavy rust, submerge the tool in a container of white vinegar for up to 24 hours. After soaking, the rust should be soft enough to scrub off with a stiff brush or steel wool. Be sure to neutralize the acid afterward by rinsing the tool with a baking soda and water solution, then rinse with plain water and dry it completely before oiling.
How Often Should I Oil My Garden Tools?
The frequency of oiling depends on your climate and how often you use your tools. In humid environments, it’s wise to apply a light coat of oil after every use. In drier climates, you may only need to do it every few uses or as part of a weekly maintenance routine. For long-term storage, such as over the winter, it is essential to give all your metal tools a thorough cleaning and a generous coat of oil before putting them away.
Is It Better to Hang Tools or Store Them in a Bin?
Hanging tools is generally the superior storage method. When tools are hung on a wall rack or pegboard, it allows for better air circulation around them, which helps keep them dry. It also prevents the sharp edges of blades from getting nicked or damaged by bumping against other tools. Storing tools in a pile in a bin can trap moisture and lead to scratches and rust. If you must use a bin, ensure the tools are completely dry and neatly organized.
Can a Rusty Tool Be Fully Restored?
Most rusty tools can be restored to a usable condition, but the outcome depends on the extent of the damage. Light surface rust can be scrubbed away completely, leaving the tool looking almost new. However, if the rust has been left for a long time, it may have caused deep pitting in the metal. While you can still remove the rust and sharpen the edge, the metal might be structurally weaker, and the surface will remain pitted. Early intervention is always best.
Conclusion
Your garden tools are an extension of your hands, and keeping them in excellent condition is one of the most rewarding aspects of gardening. By integrating these simple maintenance habits into your routine, you can easily win the battle against rust. Cleaning after each use, drying thoroughly, applying a protective oil, and storing your tools in a dry place are the pillars of effective tool care. Now that you have a clear plan for how to keep garden tools from rusting, you can ensure your favorite trowels, pruners, and shovels will serve you faithfully for many seasons to come, ready for whatever planting, digging, or pruning you have in mind.
About Ravuk Barg
B.Sc. Horticulture Science | Certified Master Gardener
Ravuk Barg has spent more than a decade with his hands in the soil and his head full of questions about why some gardens thrive while others struggle. What started as a single raised bed of tomatoes and basil in a modest backyard has grown into a deep, working knowledge of everything from seed germination and soil amendment to companion planting and seasonal pruning.
Over the years, Ravuk has gardened through drought summers, waterlogged springs, and pest invasions that would make most gardeners hang up their trowels for good. Those hard seasons, he’ll tell you, taught him more than any perfect growing year ever could. He writes from that earned experience—covering vegetable growing, ornamental planting, houseplant care, composting, and garden design with equal confidence and curiosity.
Philosophy & Approach
Ravuk’s approach to gardening is rooted in practicality. He favors organic methods not out of dogma, but because they work long-term—resulting in healthier soil, fewer inputs, and stronger plants. He has a particular fondness for heirloom vegetable varieties (the kind with proper flavor), unruly cottage-style flower beds, and the stubborn houseplants that everyone else gave up on.
The Mission: Give readers the honest, experience-backed advice that helps them actually succeed in their gardens—not just the ideal version, but the real one; weeds, failures, and all.
Education & Credentials
-
B.Sc. in Horticulture Science
-
Greenfield Agricultural University
-
Focus: Plant Physiology, Soil Ecology, and Sustainable Crop Production
-
-
Master Gardener Certification
-
Cooperative Extension Service
-
Focus: 200+ hours of hands-on practical training and community garden work
-
Continuing Education
-
Organic Pest Management
-
Native Plant Landscaping
-
Sustainable Crop Production