

Harvesting your first flush of homegrown mushrooms is an exciting moment. After all that careful watering and waiting, you finally have a delicious, fresh crop. But what happens next? Many people mistakenly think the journey ends after the first harvest and toss their kits away. The good news is that with a little care, you can often get several more harvests from a single block. Learning how to keep a mushroom kit going is the key to maximizing your yield and enjoying fresh fungi for weeks to come. This guide will walk you through the simple steps to rehydrate and restart your kit for continuous production.

Why Keep Your Mushroom Kit Going?
You’ve successfully grown and harvested your first batch of delicious mushrooms, which is a fantastic achievement. But the potential of your mushroom kit doesn’t end there. The mycelium—the white, root-like network in your growing block—is still very much alive and packed with nutrients. By simply discarding the kit, you’re missing out on several more potential harvests, known as “flushes.” Extending the life of your kit is not only cost-effective, saving you from buying a new one, but it’s also a sustainable practice that makes the most of the resources you already have.
It’s a rewarding process that deepens your understanding of the fungal life cycle.
8 Step-by-Step Guide on How to Keep a Mushroom Kit Going
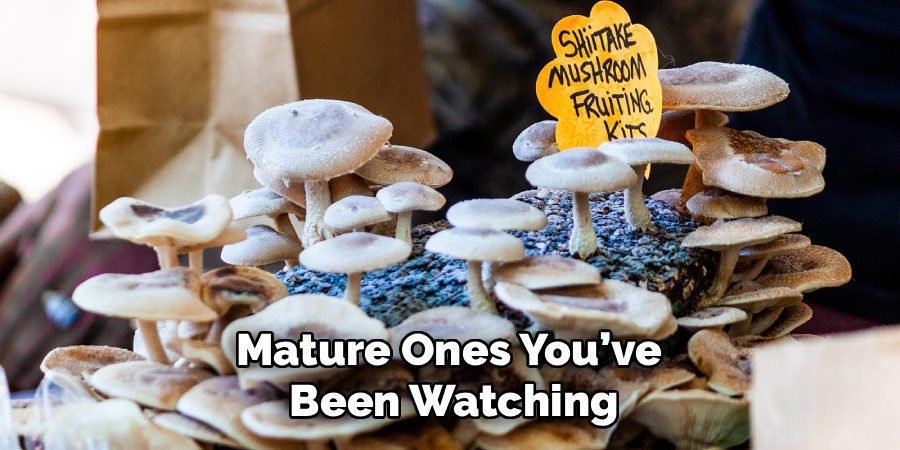
Step 1: Harvest All Remaining Mushrooms
Before you can encourage new growth, you must completely clear the old. Carefully inspect your growing block and remove any remaining mushrooms from the first flush. This includes the large, mature ones you’ve been watching, as well as any small, undeveloped pins that may have stopped growing. Leaving old mushrooms behind can invite mold or bacteria, which will compete with your mycelium for resources. Twist and pull gently at the base of each mushroom to remove it cleanly without damaging the surface of the block.
Step 2: Give the Block a Rest
Your mycelium has just expended a tremendous amount of energy to produce the first flush of mushrooms. Now, it needs a short break to recover before it can start producing again. After clearing the block, let it sit for about a week in a location with good air circulation but out of direct sunlight. You do not need to mist it during this period. This resting phase allows the mycelium to consolidate its remaining energy and prepare for the next stage of rehydration and fruiting.
Step 3: Rehydrate the Mycelium Block
After its rest, your mushroom block will be quite dry. The most critical step in encouraging a new flush is rehydration. Find a clean container, pot, or bucket large enough to fully submerge the block. Place the block inside and fill the container with cold, non-chlorinated water. Tap water is usually fine if you let it sit out for 24 hours to allow the chlorine to dissipate. The block will be buoyant, so you’ll need to place something heavy on top, like a plate or a clean jar filled with water, to keep it submerged.
Step 4: Soak for Several Hours
Let the block soak for at least 12 hours, but no more than 24. This extended bath allows the mycelium to absorb the water it needs to fuel the next round of growth. Shorter soaking times may not fully hydrate the block, resulting in a smaller subsequent flush, while soaking for too long can risk waterlogging the mycelium and encouraging contamination. For most kits, an overnight soak is the perfect duration to ensure the block is thoroughly and evenly rehydrated for its next fruiting cycle.

Step 5: Drain and Return to Fruiting Conditions
Once the soaking is complete, carefully remove the block from the water and place it on a wire rack to drain for about an hour. You want it to be damp, not dripping wet. Once it has drained, return the block to its original growing location, such as a fruiting chamber or its designated spot on your counter. Ensure it has access to indirect light and good humidity. This is an important part of how to keep a mushroom kit going successfully, as proper conditions signal the mycelium to fruit again.
Step 6: Resume Regular Misting
With the block rehydrated and back in its spot, it’s time to resume your daily care routine. Begin misting the block two to three times per day, just as you did for the first flush. The goal is to maintain a high-humidity environment around the block without directly soaking it. Consistent moisture on the surface encourages the formation of new mushroom pins. You should also ensure there is adequate fresh air exchange, as mushrooms need oxygen to grow properly.
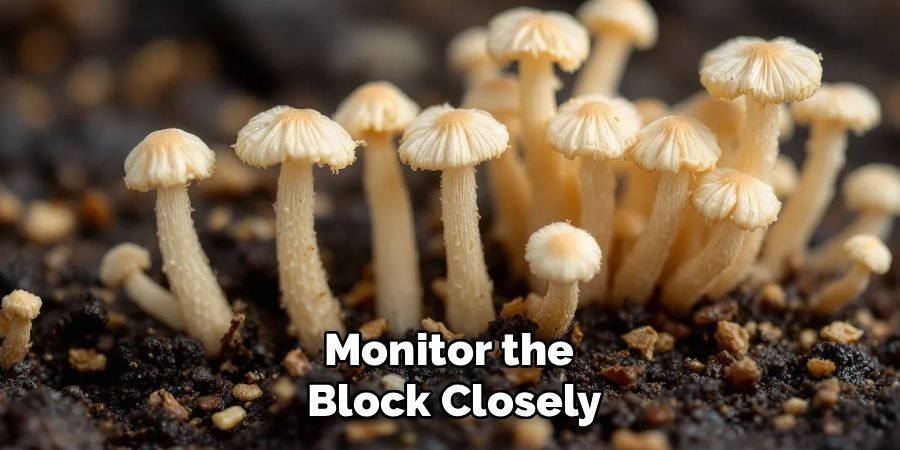
Step 7: Watch for New Pin Formation
Patience is key during this stage. It can take anywhere from one to three weeks for new mushroom pins to begin appearing. The timing depends on the mushroom species, the health of the mycelium, and the growing conditions. Continue your daily misting routine and monitor the block closely. Soon, you will start to see tiny white or brown dots emerge from the surface—these are the beginnings of your next harvest! It’s a rewarding sight that confirms your efforts have been successful.
Step 8: Harvest Your Second Flush
Once the new pins appear, they will grow quickly. Continue misting and providing fresh air as they develop. Harvest them just as you did the first time, typically when the caps have fully opened but before they start to curl upwards. This second flush may be smaller than the first, which is completely normal. After this harvest, you can repeat the entire process—rest, soak, and fruit—to attempt a third or even fourth flush, continuing until the block stops producing mushrooms.
Disposing of the Spent Substrate
Once your substrate block has stopped producing mushrooms after multiple flushes, it’s time to dispose of it responsibly. The spent substrate can be added to a compost bin or used as a rich addition to garden soil, as it still contains valuable organic material. Ensure you break it apart to allow for quicker decomposition. Alternatively, you can discard it in an environmentally friendly manner according to local waste guidelines. Remember to clean and sterilize your cultivation area and equipment thoroughly if you plan on starting a new cycle to prevent contamination.
Frequently Asked Questions
How Many Flushes Can I Get From One Mushroom Kit?
The number of flushes you can get from a single kit varies, but most growers can expect between two and four successful harvests. The first flush is almost always the largest and most vigorous. Subsequent flushes will typically be smaller as the nutrients within the growing block become depleted. The longevity of your kit depends on the mushroom species, the quality of the initial spawn, and how well you maintain the growing conditions between each cycle.

Why Are My Mushrooms Not Growing Back?
If your kit isn’t producing a second flush, the issue often comes down to three main factors: incomplete rehydration, contamination, or nutrient depletion. Ensure you are soaking the block for a sufficient amount of time (12-24 hours). Also, check for any signs of green, black, or orange mold, which indicates a contamination that can stop mushroom growth. Finally, after several flushes, the block may have simply run out of the food required to produce more mushrooms.
Can I Add Nutrients to My Old Mushroom Block?
While it might seem like a good idea, adding nutrients like coffee grounds or wood chips to an old block is generally not recommended for beginners. This practice, known as “re-casing” or “re-supplementing,” significantly increases the risk of introducing competing molds and bacteria. The mycelium in your kit is already established, and introducing new, unsterilized material will likely lead to contamination rather than another flush of mushrooms. It’s best to work with the nutrients already present in the block.
What Are the Best Mushroom Kits for Multiple Flushes?
Oyster mushrooms (in all their varieties—blue, pink, pearl, and yellow) and Shiitake mushrooms are renowned for their ability to produce multiple flushes reliably. These species are vigorous growers and tend to have enough energy stored in their substrate for several harvests. While other kits like Lion’s Mane can also produce more than one flush, Oyster and Shiitake kits are generally the most forgiving and productive for beginners looking to get the most out of their purchase.
How Do I Know When My Mushroom Kit Is Truly Finished?
You’ll know your mushroom kit is completely spent when it stops producing new pins even after you have properly rehydrated it. If you’ve gone through the soaking process and waited for three to four weeks without any signs of new growth, the mycelium has likely exhausted all the available nutrients in the substrate. At this point, you can compost the block, which will add valuable organic matter back into your garden soil.
Conclusion
Your journey with a mushroom-growing kit doesn’t have to end after the first harvest. With just a bit of effort, you can enjoy multiple rounds of fresh, homegrown mushrooms from a single block. By following the simple steps of harvesting completely, resting the block, and rehydrating it properly, you can reawaken the mycelium and stimulate new growth. This process is not only economical but also deeply satisfying, allowing you to fully appreciate the life cycle of these amazing fungi. Now that you know how to keep a mushroom kit going, you can make every kit more productive and rewarding.
About Ravuk Barg
B.Sc. Horticulture Science | Certified Master Gardener
Ravuk Barg has spent more than a decade with his hands in the soil and his head full of questions about why some gardens thrive while others struggle. What started as a single raised bed of tomatoes and basil in a modest backyard has grown into a deep, working knowledge of everything from seed germination and soil amendment to companion planting and seasonal pruning.
Over the years, Ravuk has gardened through drought summers, waterlogged springs, and pest invasions that would make most gardeners hang up their trowels for good. Those hard seasons, he’ll tell you, taught him more than any perfect growing year ever could. He writes from that earned experience—covering vegetable growing, ornamental planting, houseplant care, composting, and garden design with equal confidence and curiosity.
Philosophy & Approach
Ravuk’s approach to gardening is rooted in practicality. He favors organic methods not out of dogma, but because they work long-term—resulting in healthier soil, fewer inputs, and stronger plants. He has a particular fondness for heirloom vegetable varieties (the kind with proper flavor), unruly cottage-style flower beds, and the stubborn houseplants that everyone else gave up on.
The Mission: Give readers the honest, experience-backed advice that helps them actually succeed in their gardens—not just the ideal version, but the real one; weeds, failures, and all.
Education & Credentials
-
B.Sc. in Horticulture Science
-
Greenfield Agricultural University
-
Focus: Plant Physiology, Soil Ecology, and Sustainable Crop Production
-
-
Master Gardener Certification
-
Cooperative Extension Service
-
Focus: 200+ hours of hands-on practical training and community garden work
-
Continuing Education
-
Organic Pest Management
-
Native Plant Landscaping
-
Sustainable Crop Production