

A greenhouse is a game-changer for any gardener, offering a controlled environment to nurture plants year-round. It provides a sanctuary for delicate seedlings, a home for exotic species, and a way to extend your growing season far beyond the limits of mother nature. Building one might seem like a daunting task, but with the right guidance, it’s a manageable and rewarding project. This guide is designed to walk you through the process, breaking it down into clear, achievable steps.
By understanding the fundamentals of site selection, foundation laying, and frame assembly, you can create a durable and effective growing space. The journey of learning how to install a greenhouse is as fulfilling as the harvests you’ll enjoy. From assembling the frame to fitting the final panel, each stage brings you closer to having a personal horticultural haven. This structure will not only protect your plants from harsh weather but also give you the power to cultivate a wider variety of flowers, fruits, and vegetables, enriching your gardening experience immensely.
Why You Need to Install a Greenhouse
Installing a greenhouse unlocks a world of gardening possibilities. Its primary benefit is the ability to extend the growing season, allowing you to start planting earlier in the spring and continue harvesting late into the fall. For those in colder climates, it means you can grow crops that would otherwise not survive.
A greenhouse also offers superior protection for your plants. It shields them from pests, diseases, and unpredictable weather like heavy rain, hail, or unexpected frosts. This controlled environment ensures your plants have the stable conditions they need to thrive, resulting in healthier growth and more abundant yields. You can cultivate delicate or exotic plants that require specific temperature and humidity levels, expanding your gardening horizons.
8 Step-by-Step Guide: How to Install a Greenhouse
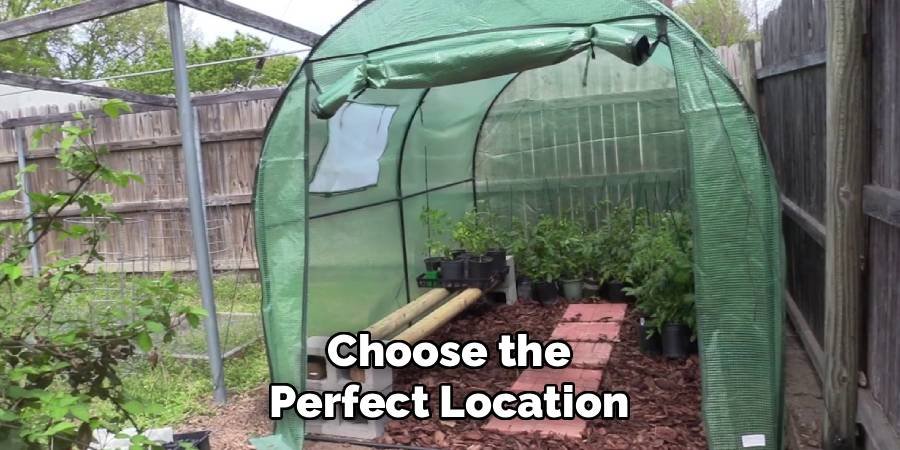
Step 1: Choose the Perfect Location
Selecting the ideal location for your greenhouse is crucial for its success. Look for a spot that receives ample sunlight throughout the day, as most plants require consistent light for optimal growth. Avoid areas with too much shade from trees or buildings, and ensure the location is on level ground to provide stability. Additionally, consider access to water and electricity, as these will be essential for irrigation and temperature control. A well-chosen location will set the foundation for a thriving greenhouse.
Step 2: Prepare the Foundation
A strong foundation is key to the stability and longevity of your greenhouse. Begin by clearing the chosen area of any debris, rocks, or vegetation to create a clean and level surface. Depending on your greenhouse’s design, you may need to lay down a foundation of gravel, concrete, or pressure-treated wood to provide solid support. This step also helps with drainage, preventing water from pooling inside your greenhouse. Take precise measurements and ensure the foundation is level to avoid structural issues later. Properly preparing the foundation will create a stable base for your greenhouse and protect it from shifting over time.
Step 3: Unpack and Organize All Parts
Carefully unpack all the components of your greenhouse from their packaging. Lay out all parts in an organized manner, grouping similar items together such as panels, frames, screws, and bolts. Refer to the instruction manual to ensure that you have all the necessary pieces and tools before starting the assembly process. Missing or misplaced parts can lead to delays, so take the time to double-check everything is accounted for. Keeping your workspace tidy and organized will make the assembly smoother and more efficient.
Step 4: Assemble the Greenhouse Frame
Begin assembling the greenhouse frame by connecting the main structural components, such as the base and vertical supports. Use the instruction manual to identify the correct placement and orientation of each part. Fasten these components securely using the bolts and screws provided, ensuring all connections are tight to maintain stability. Work systematically, starting from the base and moving upwards, double-checking alignment as you go. Take care not to overtighten screws, as this could damage the frame. Enlist help if necessary to hold sections steady while assembling, especially for larger pieces. Once the frame is complete, inspect it for balance and sturdiness before proceeding to the next step.
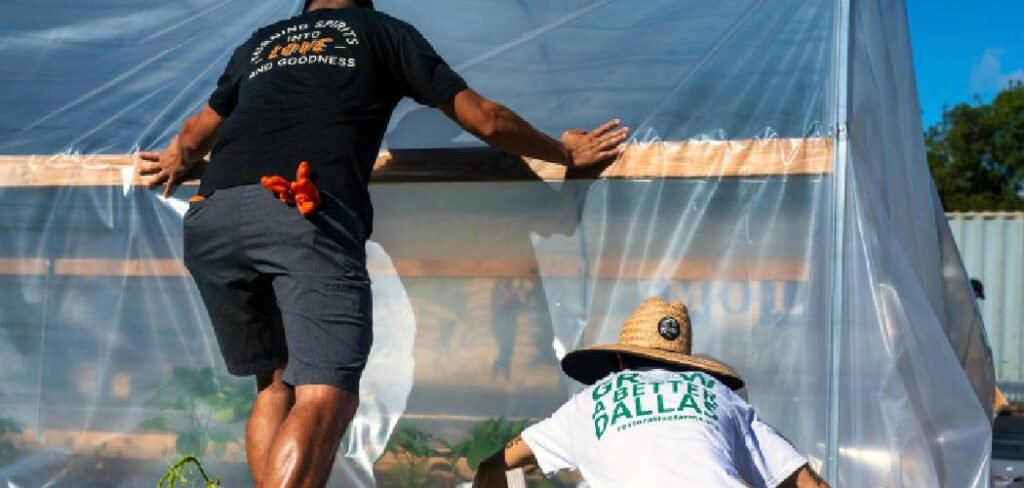
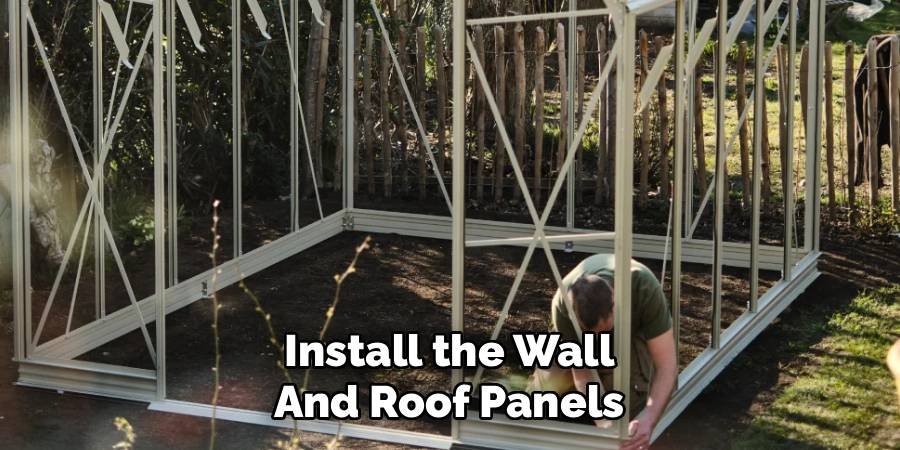
Step 5: Install the Wall and Roof Panels
Begin by attaching the wall panels to the completed frame. Position each panel carefully, ensuring it aligns with the corresponding mounting points on the frame. Secure them with the provided screws or bolts, taking care to tighten them adequately for a snug fit. Work your way around the structure systematically to ensure uniformity and alignment.
Once the wall panels are installed, proceed to the roof panels. Start with one side of the roof, positioning the panels so that they overlap slightly to ensure proper water drainage. Secure the panels firmly to the frame, double-checking that they are properly aligned and seated. Repeat this process for the opposite side until the roof is fully installed. Finally, inspect all panels to confirm they are secured and stable before moving on to the next step.
Step 6: Fit the Doors and Windows
Begin by positioning the door frames and window frames in their designated openings. Ensure they are level and properly aligned before securing them to the structure with screws or brackets as needed. For the doors, attach the hinges to the frame and the door panel, checking that they open and close smoothly without obstruction. For windows, insert the glass or panels into the frame and secure them firmly with seals or clips to prevent any movement or air leakage. Once all doors and windows are installed, inspect them for proper function and alignment, making any necessary adjustments to ensure they fit securely and operate as intended.
Step 7: Secure the Greenhouse to the Foundation
With the structure of the greenhouse fully assembled, it’s crucial to securely fasten it to the foundation to ensure stability and durability, especially in adverse weather conditions. Begin by aligning the base of the greenhouse with the foundation. Use anchor brackets or foundation bolts to attach the frame to the foundation at multiple points around the perimeter for maximum security. Double-check that all corners are firmly fixed and that the structure is level and balanced.
If using a concrete foundation, drill holes for the anchors or bolts and tighten them securely to prevent any movement. For wood foundations, use heavy-duty screws or lag bolts to secure the frame. Once completed, inspect all connections to confirm that the greenhouse is firmly secured and ready for use.
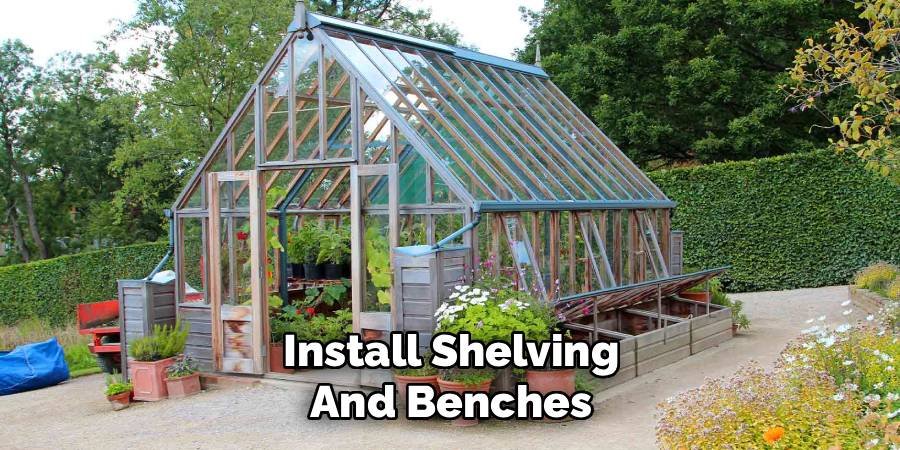
Step 8: Install Shelving and Benches
To maximize space and improve the functionality of your greenhouse, install shelving and benches. Choose materials that are durable and resistant to humidity, such as metal or treated wood, to ensure longevity within the greenhouse environment. Begin by measuring the available space and determining the placement of the shelving and benches to allow for easy access and movement.
Secure the shelves and benches to the greenhouse frame if possible, ensuring they are sturdy and level. Consider adjustable or tiered shelving to accommodate plants of various sizes and to optimize sunlight exposure for each plant. After installation, double-check for stability and make any necessary adjustments. Setting up the shelving and benches properly will provide an efficient workspace and ample room for plant growth.
Maintaining Your Greenhouse
Proper maintenance ensures your greenhouse remains a productive growing space for years. Regularly clean the panels, both inside and out, with a mild soap and water solution to maximize light penetration. Sweep the floors to prevent pests and diseases from taking hold.
Check and lubricate the moving parts of doors and vents to keep them functioning smoothly. It’s also important to monitor the temperature and humidity levels, adjusting ventilation as needed to create the ideal environment for your plants. A little upkeep goes a long way in preserving your investment.
Common Mistakes When Installing a Greenhouse
Avoiding common pitfalls during installation will save you headaches down the road. One of the biggest mistakes is poor site selection. Choosing a location without enough sunlight or on unlevel ground will compromise your success from the start.
Another frequent error is failing to build a proper foundation. A weak or unstable base can lead to structural problems and damage. Additionally, underestimating the need for ventilation is a common oversight. Without adequate airflow from vents or fans, a greenhouse can quickly overheat, harming or killing your plants. Always anchor the structure securely to prevent wind damage.
FAQ
How much sun does a greenhouse need?
A greenhouse needs a minimum of six hours of direct sunlight per day. An east-facing location is often ideal to capture morning sun without the intense afternoon heat.
What is the best foundation for a greenhouse?
The best foundation depends on the greenhouse size. A concrete slab offers the most stability for large structures, while treated lumber or gravel can work for smaller kits.
Can I build a greenhouse on uneven ground?
It is not recommended. Building on a level surface is crucial for the stability of the frame and to ensure the structure is square and secure.
What is the difference between glass and polycarbonate panels?
Polycarbonate panels are more durable, shatter-resistant, and offer better insulation than glass. Glass provides maximum light clarity but is heavier and more fragile.
Do I need a permit to build a greenhouse?
This depends on your local regulations and the size of the structure. It is always best to check with your local building authority before you begin construction.
Conclusion
Learning how to install a greenhouse is a rewarding project that empowers you to take your gardening skills to the next level. By following these steps, from choosing the perfect sun-drenched location to preparing a solid foundation and carefully assembling the frame, you create a lasting and productive structure. The process requires patience and attention to detail, but the outcome is well worth the effort.
Once the final panel is in place and the shelves are installed, you will have a personal sanctuary for your plants. This controlled environment allows you to defy the seasons, protect vulnerable seedlings, and experiment with new and exotic varieties. The satisfaction of building your own growing space is immense, and the benefits will be evident in the health and abundance of your plants. Your new greenhouse is more than just a structure; it is an investment in your passion for gardening, promising years of fruitful harvests and horticultural enjoyment.
About Ravuk Barg
B.Sc. Horticulture Science | Certified Master Gardener
Ravuk Barg has spent more than a decade with his hands in the soil and his head full of questions about why some gardens thrive while others struggle. What started as a single raised bed of tomatoes and basil in a modest backyard has grown into a deep, working knowledge of everything from seed germination and soil amendment to companion planting and seasonal pruning.
Over the years, Ravuk has gardened through drought summers, waterlogged springs, and pest invasions that would make most gardeners hang up their trowels for good. Those hard seasons, he’ll tell you, taught him more than any perfect growing year ever could. He writes from that earned experience—covering vegetable growing, ornamental planting, houseplant care, composting, and garden design with equal confidence and curiosity.
Philosophy & Approach
Ravuk’s approach to gardening is rooted in practicality. He favors organic methods not out of dogma, but because they work long-term—resulting in healthier soil, fewer inputs, and stronger plants. He has a particular fondness for heirloom vegetable varieties (the kind with proper flavor), unruly cottage-style flower beds, and the stubborn houseplants that everyone else gave up on.
The Mission: Give readers the honest, experience-backed advice that helps them actually succeed in their gardens—not just the ideal version, but the real one; weeds, failures, and all.
Education & Credentials
-
B.Sc. in Horticulture Science
-
Greenfield Agricultural University
-
Focus: Plant Physiology, Soil Ecology, and Sustainable Crop Production
-
-
Master Gardener Certification
-
Cooperative Extension Service
-
Focus: 200+ hours of hands-on practical training and community garden work
-
Continuing Education
-
Organic Pest Management
-
Native Plant Landscaping
-
Sustainable Crop Production