

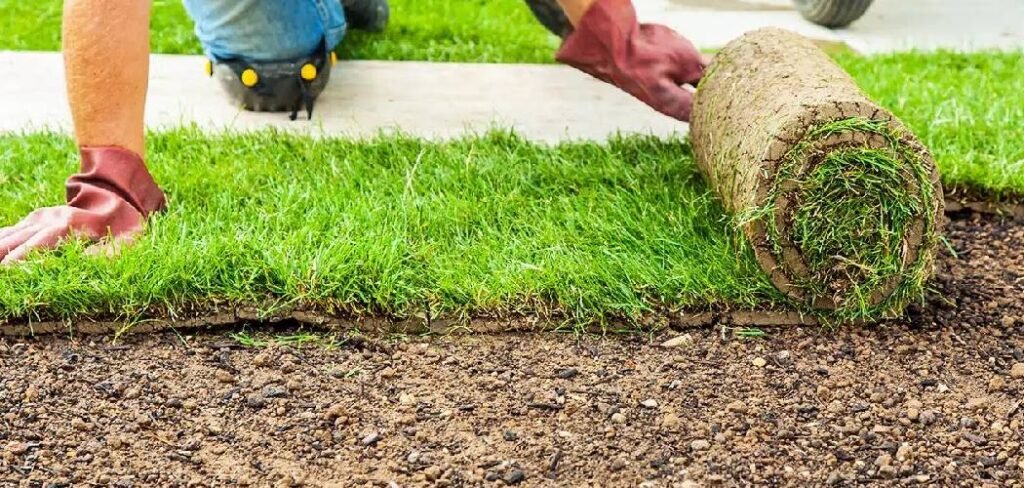
A lush, green lawn starts with healthy soil beneath your feet. Learning how to improve lawn soil quality is the foundation of creating a yard that becomes the envy of your neighborhood. Healthy soil provides essential nutrients, proper drainage, and the right environment for grass roots to thrive year-round.
Many homeowners focus on surface treatments like fertilizers and watering schedules, but neglect the soil that feeds their grass. Poor soil quality leads to patchy growth, brown spots, and lawns that struggle despite your best efforts. The good news is that improving your soil doesn’t require expensive equipment or professional expertise.
Understanding your soil’s current condition is the first step toward transformation. Factors like pH levels, nutrient content, compaction, and organic matter all play crucial roles in grass health. With the right approach, you can turn even the most challenging soil into a thriving foundation for beautiful turf.
This comprehensive guide will walk you through proven methods to enhance your lawn’s soil quality. From testing and amendments to long-term maintenance strategies, you’ll discover practical techniques that deliver lasting results. Your grass will develop stronger root systems, better drought resistance, and that vibrant green color that signals optimal health.
Why You Need to Test Your Soil First
Soil testing reveals the hidden factors affecting your lawn’s performance. Without knowing your soil’s pH, nutrient levels, and composition, you’re essentially gardening blindfolded. Most grass types thrive in slightly acidic to neutral soil with a pH between 6.0 and 7.0. If your soil is too acidic or alkaline, grass can’t absorb nutrients properly, even when fertilizers are present.
Testing also identifies nutrient deficiencies and excesses that impact growth. Nitrogen deficiency causes yellowing, while phosphorus problems affect root development. Potassium shortages make grass vulnerable to disease and weather stress.
Professional soil tests cost $15-30 and provide detailed recommendations. Home test kits offer quick results for around $10. Test in early spring or fall when soil conditions are most stable. Compaction testing is equally important. Walk across your lawn after rain – if water pools or your feet sink deeply, compaction issues need immediate attention.
8 Step-by-Step Guide on How to Improve Lawn Soil Quality
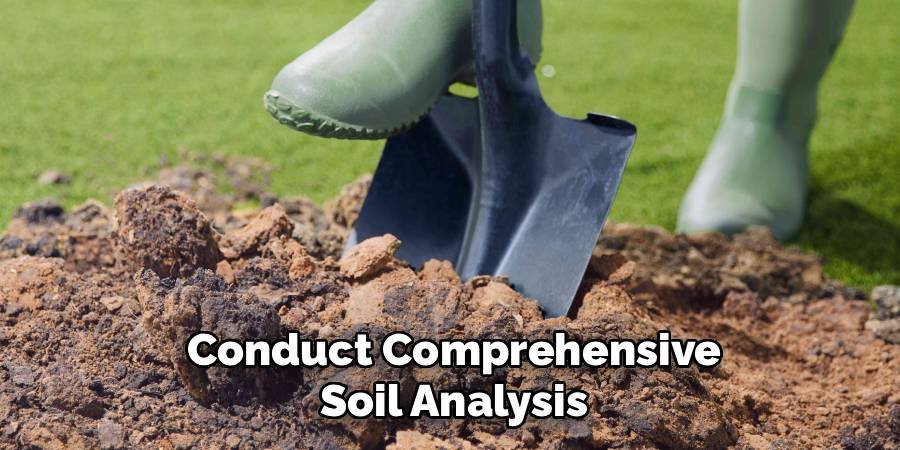
Step 1: Conduct Comprehensive Soil Analysis
The first step in transforming your soil is to perform a thorough soil analysis. Start by obtaining a professional soil test or a reliable home testing kit. A professional test will provide precise data on pH levels, nutrient deficiencies, and organic matter content, giving you a detailed roadmap for improvement. If you opt for a home testing kit, follow the instructions carefully to ensure accurate results. Collect soil samples from multiple areas of your lawn for a comprehensive picture. Understanding your soil’s current state is essential to determine the right amendments and set the stage for healthy, thriving grass and plants.
Step 2: Adjust pH Levels for Optimal Nutrient Uptake
After testing your soil, the next crucial step is to adjust its pH levels to ensure plants can absorb nutrients effectively. Most grasses and plants thrive in soil with a pH level between 6.0 and 7.0, which is slightly acidic to neutral. If your soil is too acidic (low pH), applying lime can help raise the pH. Conversely, if your soil is too alkaline (high pH), adding sulfur or organic matter like compost can help lower it. Always follow product recommendations for application rates, and retest your soil after a few weeks to monitor progress. Correcting pH levels creates the ideal environment for your lawn and plants to grow strong and vibrant.
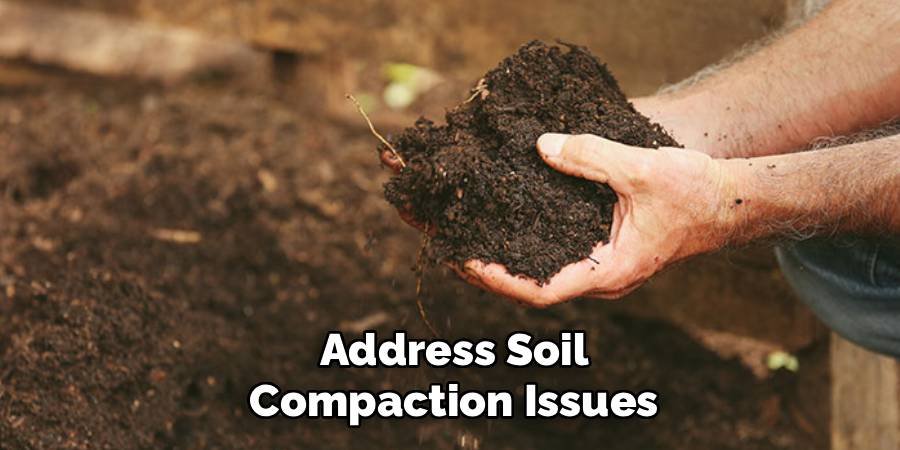
Step 3: Address Soil Compaction Issues
Compacted soil can restrict root growth, limit water and nutrient absorption, and reduce air circulation, all of which are essential for healthy plant development. To address soil compaction, consider aerating your lawn using a core aerator, which removes small plugs of soil to allow crucial elements like water, air, and nutrients to penetrate the ground more effectively. Fall or early spring is the ideal time for aeration, as your grass is in its active growth phase. Follow up with overseeding and fertilization to encourage a lush, healthy lawn. Regular aeration, especially in high-traffic areas, can significantly improve soil structure and overall plant health.
Step 4: Incorporate Organic Matter for Soil Structure
Enhancing your soil with organic matter is an excellent way to improve its structure and fertility. Materials like compost, aged manure, or shredded leaves can be spread evenly over your lawn or garden beds and lightly worked into the topsoil. Organic matter enhances soil aeration, water retention, and nutrient availability, creating an environment where roots can thrive. Additionally, it encourages the growth of beneficial microorganisms that contribute to the natural breakdown of nutrients, enriching the soil over time. Aim to incorporate organic matter annually to maintain soil health and support strong, vibrant plant growth.
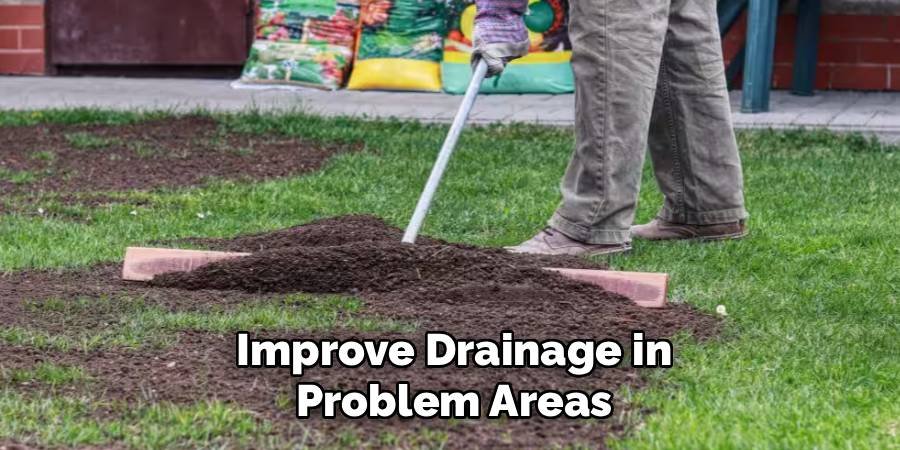
Step 5: Improve Drainage in Problem Areas
Poorly draining soil can lead to waterlogging, which harms plant roots and stunts growth. To improve drainage in problem areas, consider incorporating coarse sand, gravel, or organic matter such as compost to increase soil porosity. Raised garden beds can also offer a practical solution by elevating the soil level and allowing excess water to escape. Additionally, installing drainage systems, such as French drains or perforated pipes, can help redirect water away from saturated areas. Regularly monitor these areas to ensure that water isn’t pooling and adjust your approach as needed for optimal results.
Step 6: Add Essential Nutrients Based on Test Results
To promote healthy growth and improve soil structure, use the results of your soil test to address nutrient deficiencies. Apply fertilizers or soil amendments tailored to your specific needs, such as nitrogen, phosphorus, or potassium. Organic options like compost or aged manure also enrich the soil while improving its texture. Be sure to follow recommended application rates to avoid over-fertilizing, which can harm plants and disrupt the ecosystem. For best results, incorporate the nutrients evenly into the top few inches of soil to ensure proper absorption and availability to plant roots.
Step 7: Establish Proper Watering Practices for Soil Health
Maintaining proper watering practices is essential for preserving soil health and supporting plant growth. Overwatering can lead to waterlogged soil, reducing oxygen availability to roots and promoting harmful fungal growth, while underwatering may result in dehydration and nutrient deficiencies. To strike a balance, water deeply but infrequently, allowing the soil to dry slightly between watering sessions.
Early morning is the best time to water, as it reduces evaporation and gives plants time to absorb moisture before the heat of the day. Consider using drip irrigation or soaker hoses to deliver water directly to the root zone, minimizing waste and ensuring even distribution. Regularly monitor the moisture level in your soil to adjust your watering schedule as needed based on weather conditions and plant requirements.
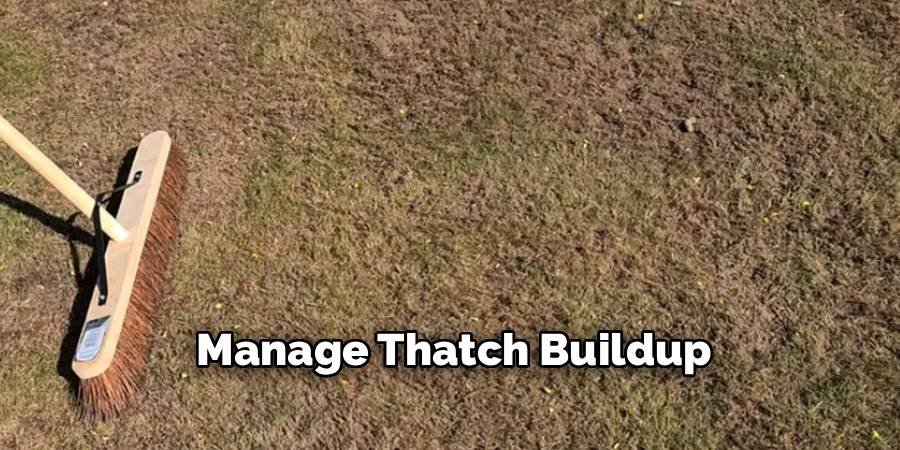
Step 8: Manage Thatch Buildup
Thatch is a layer of organic material, like dead grass stems and roots, that accumulates between the soil surface and the grass blades. While a thin layer of thatch can protect the soil and retain moisture, excessive thatch buildup can hinder water penetration, reduce nutrient absorption, and promote disease. Monitor the thickness of the thatch layer regularly and address buildup over ½ inch. Dethatching can be done using a rake, dethatching machine, or by aerating the soil, which helps break up compacted thatch and fosters better oxygen and water flow to the roots. A healthy lawn management routine, including proper mowing, watering, and fertilizing, will also help limit excessive thatch accumulation.
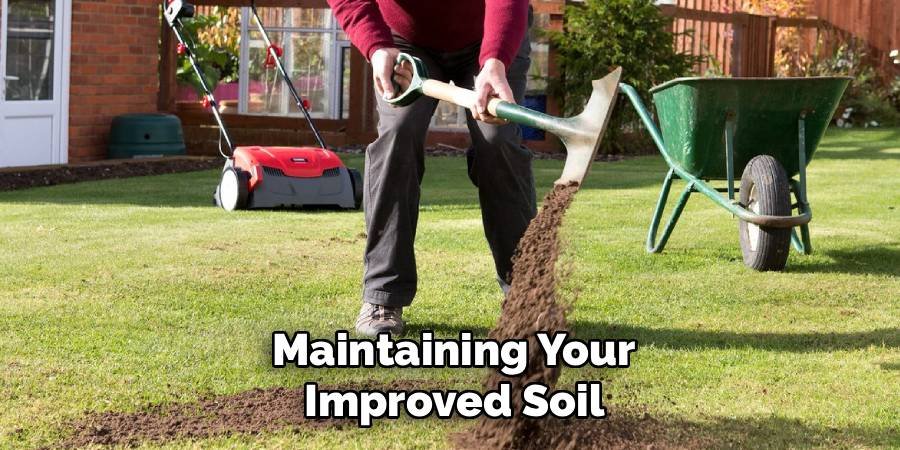
Maintaining Your Improved Soil
Protecting your soil investment requires consistent maintenance practices that preserve improvements over time. Annual soil testing monitors changes and catches problems early when solutions are simpler and less expensive. Continue adding organic matter through compost applications, grass clipping recycling, and leaf mulching. These natural amendments maintain soil structure and biology while reducing synthetic fertilizer needs.
Avoid practices that damage soil structure like mowing wet grass, heavy equipment use during soft soil conditions, or excessive foot traffic during vulnerable periods. Adjust fertilization programs as soil health improves. Healthier soil often requires less synthetic fertilizer while supporting better grass growth and resilience.
Common Mistakes to Avoid
Rushing soil improvement creates more problems than it solves. Dramatic pH changes, excessive amendments, or multiple treatments simultaneously can shock grass and damage soil biology. Over-fertilizing remains the most common lawn care mistake. Excess nutrients, especially nitrogen, create rapid soft growth that’s vulnerable to disease, drought, and cold damage.
Ignoring drainage problems while focusing on surface treatments wastes time and money. Poor drainage prevents other improvements from working effectively and creates ongoing lawn health issues. Adding sand to clay soil without proper ratios creates concrete-like conditions worse than the original problem. Professional guidance prevents costly mistakes with soil amendments.
FAQ Frequently Asked Questions
How often should I test my lawn soil?
Test soil annually for the first few years, then every 2-3 years once conditions stabilize. More frequent testing may be needed if you notice persistent grass problems or after major changes.
Can I improve soil quality without professional help?
Yes, most soil improvements can be done yourself using basic tools and amendments. However, severe drainage problems or complex soil chemistry issues may require professional consultation for best results.
What’s the best time of year to start soil improvement?
Early fall provides ideal conditions for most soil improvements. Cool temperatures reduce stress on grass while giving amendments time to work before winter dormancy and spring growth.
How long before I see results from soil improvements?
Some improvements like aeration show immediate benefits, while others like pH adjustments take 3-6 months. Complete soil transformation typically requires 1-2 growing seasons of consistent effort.
Is expensive soil amendment worth the cost?
Quality amendments provide better value than cheap alternatives. Premium compost, proper lime, and soil-specific fertilizers cost more initially but deliver superior results with fewer applications needed over time.
Conclusion
Understanding how to improve lawn soil quality transforms your approach to lawn care from reactive treatments to proactive soil stewardship. The techniques outlined in this guide create lasting improvements that benefit your grass for years to come.
Healthy soil supports stronger grass that naturally resists drought, disease, and pest problems. Your reduced maintenance needs and lower input costs make soil improvement a smart long-term investment in your property’s value and appearance.
The transformation process takes patience and consistent effort, but results speak for themselves. Dense, green grass with strong root systems becomes the foundation for outdoor enjoyment and neighborhood pride.
Start with soil testing to understand your current conditions, then implement improvements systematically rather than attempting everything simultaneously. Each step builds upon previous work, creating momentum toward your lawn goals.
About Ravuk Barg
B.Sc. Horticulture Science | Certified Master Gardener
Ravuk Barg has spent more than a decade with his hands in the soil and his head full of questions about why some gardens thrive while others struggle. What started as a single raised bed of tomatoes and basil in a modest backyard has grown into a deep, working knowledge of everything from seed germination and soil amendment to companion planting and seasonal pruning.
Over the years, Ravuk has gardened through drought summers, waterlogged springs, and pest invasions that would make most gardeners hang up their trowels for good. Those hard seasons, he’ll tell you, taught him more than any perfect growing year ever could. He writes from that earned experience—covering vegetable growing, ornamental planting, houseplant care, composting, and garden design with equal confidence and curiosity.
Philosophy & Approach
Ravuk’s approach to gardening is rooted in practicality. He favors organic methods not out of dogma, but because they work long-term—resulting in healthier soil, fewer inputs, and stronger plants. He has a particular fondness for heirloom vegetable varieties (the kind with proper flavor), unruly cottage-style flower beds, and the stubborn houseplants that everyone else gave up on.
The Mission: Give readers the honest, experience-backed advice that helps them actually succeed in their gardens—not just the ideal version, but the real one; weeds, failures, and all.
Education & Credentials
-
B.Sc. in Horticulture Science
-
Greenfield Agricultural University
-
Focus: Plant Physiology, Soil Ecology, and Sustainable Crop Production
-
-
Master Gardener Certification
-
Cooperative Extension Service
-
Focus: 200+ hours of hands-on practical training and community garden work
-
Continuing Education
-
Organic Pest Management
-
Native Plant Landscaping
-
Sustainable Crop Production