

Air plants, or Tillandsia, are fascinating plants that don’t require soil to thrive, making them perfect for creative displays. Their ability to absorb nutrients and water through their leaves opens up a world of decorating possibilities, from elegant wall mounts to whimsical hanging arrangements. If you’re wondering how to hang air plants, you’ve come to the right place. This guide will walk you through everything you need to know, from choosing the right materials to ensuring your plants get the light and care they need to flourish. Get ready to transform your living space with these unique and low-maintenance botanical wonders.
Why Displaying Air Plants is a Game-Changer for Home Decor
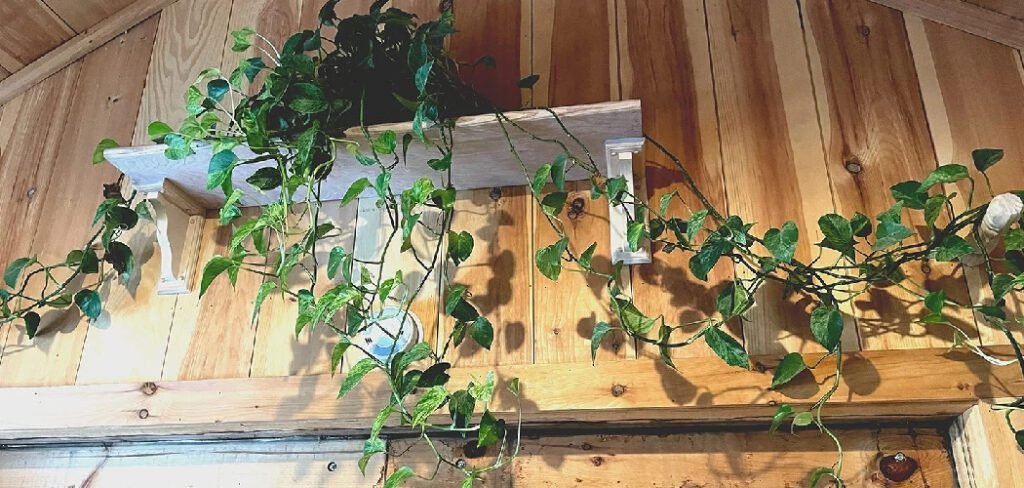
Creating a floating garden with air plants does more than just add greenery to a room; it introduces living art. Because they are not confined to traditional pots, Tillandsia can be placed almost anywhere, bringing life to vertical spaces that often go unnoticed. Hanging them allows for optimal air circulation, which is crucial for their health, as it mimics their natural environment where they cling to trees and rocks. This display method also simplifies watering—you can easily take them down for a quick soak. Ultimately, learning to hang air plants unlocks new dimensions of interior design, blending nature with your personal style in a dynamic and visually stunning way.
9 Step Methods Guide on How to Hang Air Plants
Step 1: Choose Your Air Plants
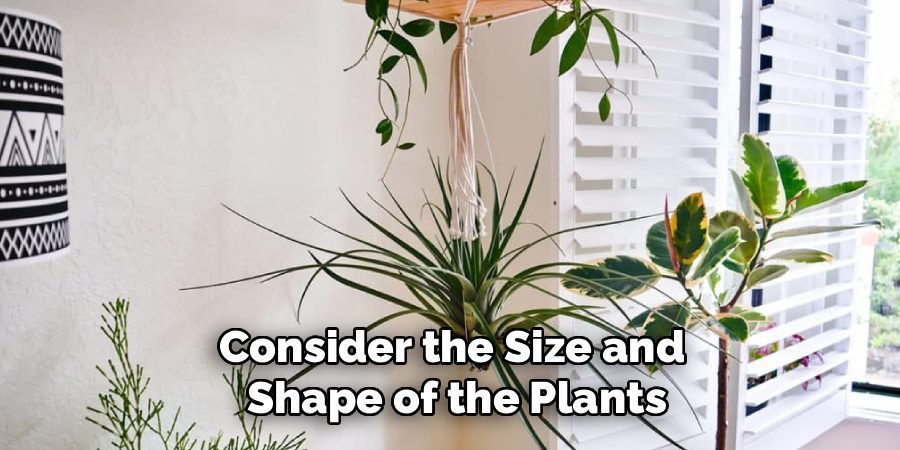
First, select the air plants you wish to display. There are hundreds of varieties, from the silvery, fuzzy leaves of Tillandsia tectorum to the vibrant green tendrils of Tillandsia butzii. Consider the size and shape of the plants, as this will influence the type of holder you use. Smaller plants like Tillandsia ionantha are perfect for delicate displays, while larger species like Tillandsia xerographica can serve as a stunning standalone centerpiece. Choose healthy plants with no brown or mushy spots to ensure they thrive in their new suspended home.
Step 2: Select the Right Location
Location is critical for your air plants’ health. They need bright, indirect sunlight to flourish. A spot near an east- or west-facing window is often ideal, as it provides gentle morning or evening light without the risk of sunburn from harsh midday sun. Avoid placing them in direct, intense sunlight, which can scorch their leaves. Also, ensure the location has good air circulation. A stagnant, humid room can lead to rot, so choose an area with some natural airflow to keep your plants happy and healthy.
Step 3: Pick a Hanging Method
There are many creative ways to hang your air plants. Popular options include clear glass globes, geometric metal (himmeli) holders, macrame hangers, and natural materials like driftwood or bark. You can also use fishing line or thin, flexible wire to create the illusion that the plants are floating in mid-air. When selecting a method, consider the aesthetic of your space and the needs of your specific plants. Ensure the holder doesn’t trap moisture, which is a key consideration in understanding how to hang air plants correctly.
Step 4: Gather Your Mounting Supplies
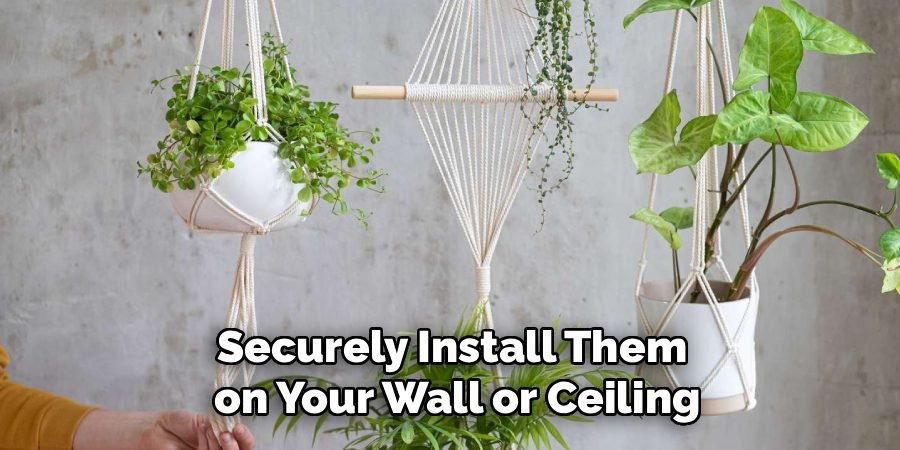
Once you’ve decided on a method, gather your supplies. For wire or fishing line displays, you’ll need the line itself and a pair of scissors. If you’re creating a driftwood or bark mount, you will require a waterproof, non-toxic adhesive like E6000 or a similar plant-safe glue. Tying the plant with wire is a glue-free alternative. For hanging planters or globes, make sure you have the necessary hooks, nails, and a hammer to securely install them on your wall or ceiling. Always prioritize your plant’s safety.
Step 5: Prepare the Plant for Hanging
Before securing your air plant, it’s a good practice to give it a thorough watering. Submerge the plant in a bowl of room-temperature rainwater or filtered tap water for about 20-30 minutes. After soaking, gently shake off any excess water. Place the plant upside down on a towel in a well-ventilated area to dry completely for a few hours. This step is crucial because mounting a wet plant can trap moisture at its base, leading to rot. A dry plant is a happy plant.
Step 6: Secure the Plant Using Fishing Line or Wire
For an invisible floating effect, fishing line is your best option. Cut a piece of line to your desired length. Gently tie one end around the base of the air plant, being careful not to cinch it too tightly, as this could damage the leaves. Loop it a couple of times to ensure it’s secure but not constricting. You can then tie the other end to a ceiling hook, a curtain rod, or another fixture. Flexible craft wire offers more rigidity and can be shaped into a cradle for a more secure hold.
Step 7: How to Hang Air Plants Using Adhesive
If you’re mounting your air plant to driftwood, cork bark, or a decorative plaque, a waterproof adhesive is a durable choice. Apply a small bead of plant-safe glue to the mounting surface. Gently press the base of the dried air plant into the glue. Be careful not to get adhesive on the leaves. You may need to hold the plant in place for a few minutes or prop it up while the glue sets, which can take up to 24 hours. This permanent method creates a beautiful, naturalistic display.
Step 8: Assemble Your Hanging Planter
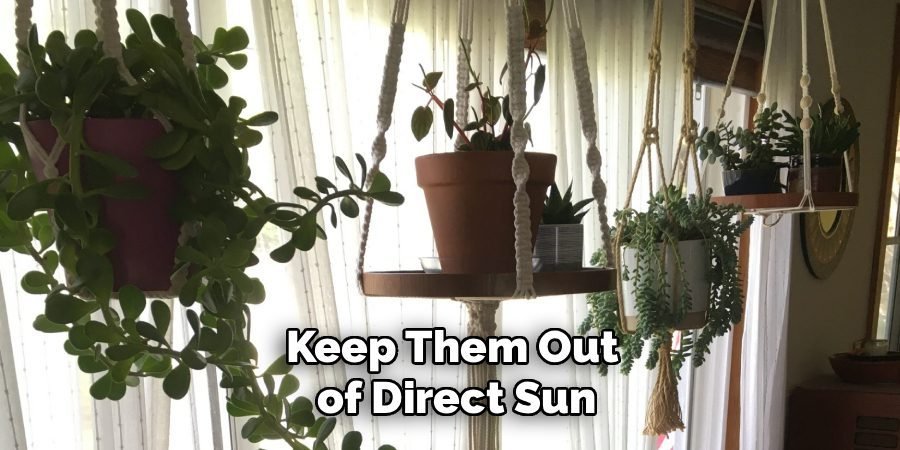
For himmeli-style holders, glass globes, or macrame hangers, the process is simple. Once your plant is completely dry, gently place it inside the holder. Ensure it is positioned in a way that allows for maximum air circulation and light exposure. For globes, be mindful that they can create a greenhouse effect, so keep them out of direct sun. For geometric holders, you can simply rest the plant within the frame. Macrame hangers offer a soft, bohemian touch and are great for holding multiple small plants.
Step 9: Install Your Hanging Display
Now it’s time to hang your creation. Decide on the final placement on your wall or from your ceiling. Use a hammer and nail or a drill to install a secure hook. If you are hanging a heavier piece, like a large driftwood arrangement, be sure to use a wall anchor to ensure it is supported properly. Once the hook is in place, hang your planter, wire, or mounted piece. Step back and admire your work, adjusting the height or angle as needed to get the perfect look.
Common Mistakes to Avoid
While creating and installing your hanging display can be a rewarding project, there are a few common mistakes to watch out for. One frequent error is failing to secure your hook or anchor properly, which can lead to instability or cause your display to fall. Another mistake is misjudging the weight of your display and using a hook that isn’t strong enough to hold it. Additionally, avoid hanging your display in an area with excessive moisture or direct sunlight, as this can damage certain materials over time. Lastly, always double-check your measurements to ensure the display is centered and at the desired height.
Taking these precautions will help ensure your project is a success.
Frequently Asked Questions (FAQ)
Can You Use Hot Glue to Hang Air Plants?
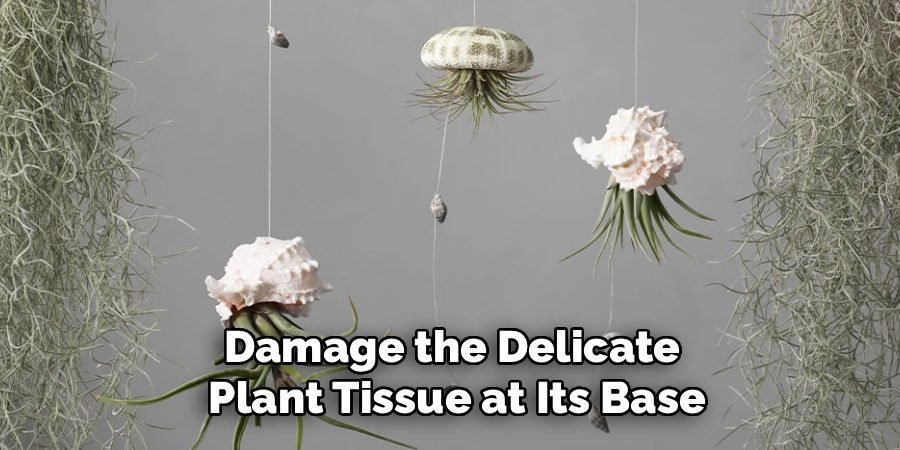
It is strongly advised not to use hot glue on air plants. The high temperature of the glue can burn and permanently damage the delicate plant tissue at its base, likely killing it. Instead, opt for a waterproof, non-toxic, and cold-curing adhesive like E6000 or a specialized floral glue. An even safer, non-permanent method is to use flexible wire, fishing line, or twine to gently tie the plant to its mount, which allows for easy removal for watering.
How Do You Water a Hanging Air Plant?
Watering depends on your hanging method. If your plant can be easily removed, take it down once a week and submerge it in room-temperature water for 20-30 minutes. If it’s permanently glued to a mount, you can either heavily mist it 2-3 times a week or carefully hold the entire display under a running faucet for a quick rinse. In either case, it’s essential to let the plant dry completely upside down to prevent water from pooling in its base, which causes rot.
Is It Better to Hang Air Plants Upside Down?
While you don’t need to display air plants upside down permanently, it is crucial to dry them upside down after watering. This allows any excess water to drain away from the base and the crevices between the leaves, which is the most effective way to prevent rot. For display, most air plants look best upright or angled, as this is how they naturally grow. However, some trailing varieties, like Spanish Moss (Tillandsia usneoides), are meant to hang downward.
What Should You Hang Air Plants From?
You can hang air plants from nearly anything, as long as the material is not toxic to the plant. Driftwood, cork bark, and stones create a natural look. Glass terrariums, geometric metal holders, and ceramic planters offer a more modern feel. Many people also get creative with macrame, wire frames, seashells, or even curtain rods. The key is to ensure the holder provides good air circulation and doesn’t hold moisture. Avoid copper wire, as copper is toxic to air plants.
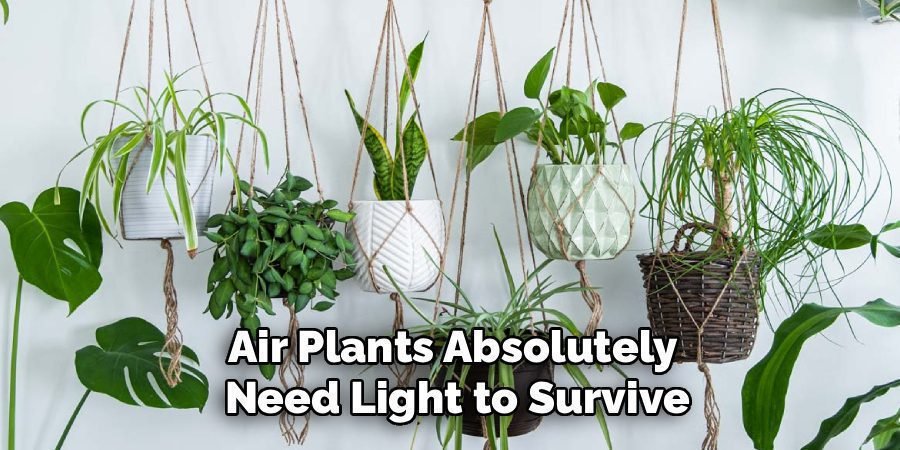
Do Air Plants Need Sun?
Yes, air plants absolutely need light to survive, but it must be the right kind. They thrive in bright, indirect sunlight. A spot a few feet away from an east- or west-facing window is perfect. Direct, scorching sun will burn their leaves, while a dark corner will cause them to slowly fade and die. If you lack sufficient natural light, you can supplement with a full-spectrum fluorescent grow light placed about 6 to 12 inches away from the plants for 12 hours a day.
Conclusion
You now have the knowledge and inspiration to create beautiful living displays. By choosing the right plants, location, and materials, you can easily elevate your home’s decor. Following these steps ensures your Tillandsia will not only look stunning but will also thrive in their new aerial homes. Don’t be afraid to experiment with different arrangements and holders to reflect your personal style. Learning how to hang air plants is a rewarding project that brings a unique touch of nature indoors, so gather your supplies and start creating your own floating garden today.
About Ravuk Barg
B.Sc. Horticulture Science | Certified Master Gardener
Ravuk Barg has spent more than a decade with his hands in the soil and his head full of questions about why some gardens thrive while others struggle. What started as a single raised bed of tomatoes and basil in a modest backyard has grown into a deep, working knowledge of everything from seed germination and soil amendment to companion planting and seasonal pruning.
Over the years, Ravuk has gardened through drought summers, waterlogged springs, and pest invasions that would make most gardeners hang up their trowels for good. Those hard seasons, he’ll tell you, taught him more than any perfect growing year ever could. He writes from that earned experience—covering vegetable growing, ornamental planting, houseplant care, composting, and garden design with equal confidence and curiosity.
Philosophy & Approach
Ravuk’s approach to gardening is rooted in practicality. He favors organic methods not out of dogma, but because they work long-term—resulting in healthier soil, fewer inputs, and stronger plants. He has a particular fondness for heirloom vegetable varieties (the kind with proper flavor), unruly cottage-style flower beds, and the stubborn houseplants that everyone else gave up on.
The Mission: Give readers the honest, experience-backed advice that helps them actually succeed in their gardens—not just the ideal version, but the real one; weeds, failures, and all.
Education & Credentials
-
B.Sc. in Horticulture Science
-
Greenfield Agricultural University
-
Focus: Plant Physiology, Soil Ecology, and Sustainable Crop Production
-
-
Master Gardener Certification
-
Cooperative Extension Service
-
Focus: 200+ hours of hands-on practical training and community garden work
-
Continuing Education
-
Organic Pest Management
-
Native Plant Landscaping
-
Sustainable Crop Production