

How to Get Rid of Yellow fungus in houseplant soil can be a frustrating and concerning problem for plant owners. This issue often arises due to improper watering, inadequate ventilation, or simply the natural decay of organic matter. While this type of fungus is usually harmless to your plants, excessive growth can signal deeper issues in your soil’s health.
Luckily, tackling yellow fungus doesn’t require harsh chemicals or advanced gardening skills. By using a combination of simple cleaning, soil management, and natural remedies, you can restore your houseplant soil to a healthy state.
This guide will walk you through everything you need to know to identify, remove, and prevent yellow fungus from colonizing your houseplant soil. By the end of this article, you’ll have the confidence to solve this problem and keep your plants thriving.
Why You Need to Address Yellow Fungus
Although yellow fungus often won’t directly harm your plant, it’s a sign of underlying issues in the soil’s condition. This type of mold thrives in damp, decomposing organic matter, meaning it flourishes in conditions that could eventually damage your plant’s roots.
If left untreated, yellow fungus can also compete with the plant for nutrients, causing suboptimal growth. Worse yet, unchecked mold may spread to other parts of your plant or even to nearby pots. Eliminating this fungus quickly helps you create a healthier environment for your houseplants.
10-Step-by-Step Guide on How to Get rid of Yellow Fungus in Houseplant Soil
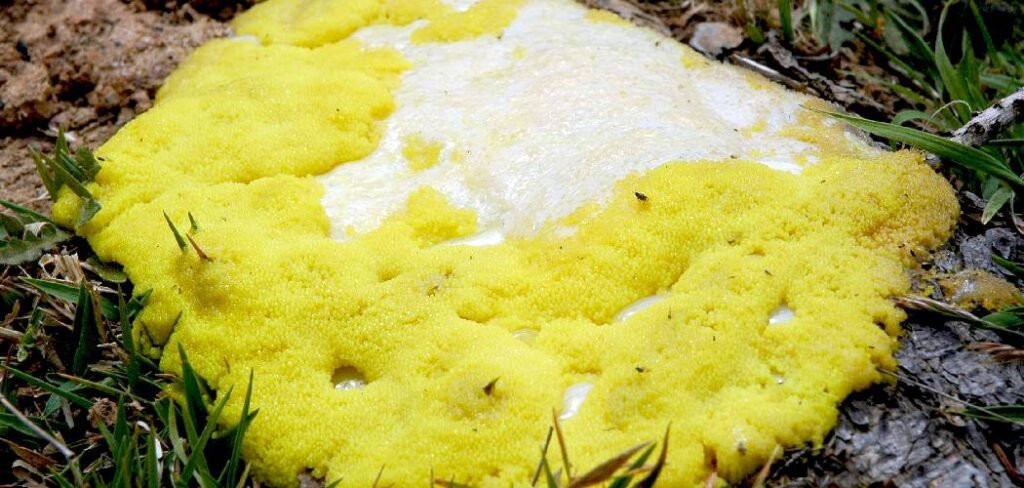
Step 1. Identify the Yellow Fungus
Yellow fungus is easy to spot—it looks like small, yellow clusters or patches on the surface of the soil. Sometimes, it may have a slimy or powdery texture. Before jumping to conclusions, carefully inspect your soil to confirm the issue. Fungus appears mostly in areas with moisture buildup, so pay extra attention to those spots.
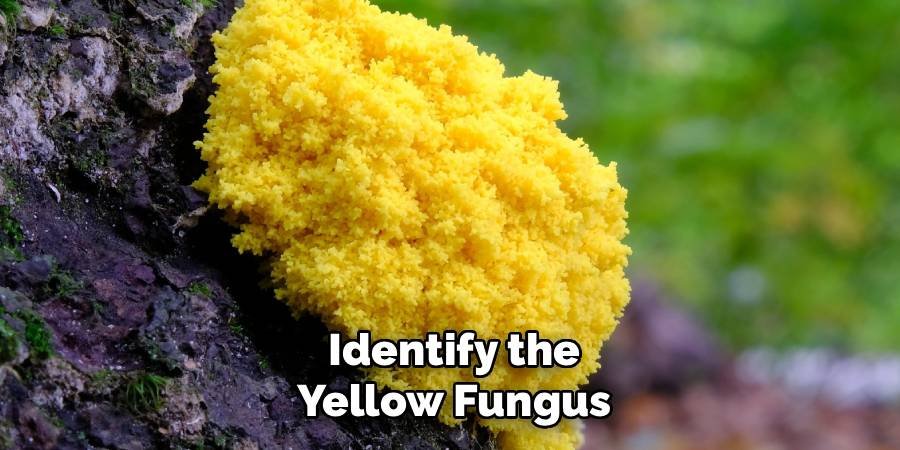
Observing closely can also help you differentiate yellow fungus from beneficial soil fungi, which often have white or grey tones. Once you’ve confirmed the issue, you’re ready to proceed with removal.
Step 2. Remove Visible Fungus
The first step in eliminating yellow fungus is to manually remove any visible clusters from the soil. Use a small trowel or spoon to scoop out the affected soil, ensuring you remove several inches around and beneath the visible fungus.
Be cautious not to damage your plant’s roots during this process. Dispose of the contaminated soil in a sealed bag to prevent fungal spores from spreading. Avoid placing it in your compost bin, as this could introduce the problem to your garden.
Step 3. Sterilize the Surface Soil
After removing the visible fungus, sterilize the remaining soil to kill off any lingering spores. You can use a natural antifungal agent like a diluted hydrogen peroxide solution (1 part hydrogen peroxide to 3 parts water) to lightly moisten the soil.
Pour the solution slowly over the affected area, being careful not to soak the soil completely, as excess moisture can encourage more fungal growth. This step helps sanitize the surface and creates an inhospitable environment for fungus.
Step 4. Check Your Drainage System
Poor drainage is one of the primary causes of fungal growth in houseplant soil. Inspect the pot to ensure it has adequate drainage holes. If necessary, consider repotting your plant into a container with better drainage.
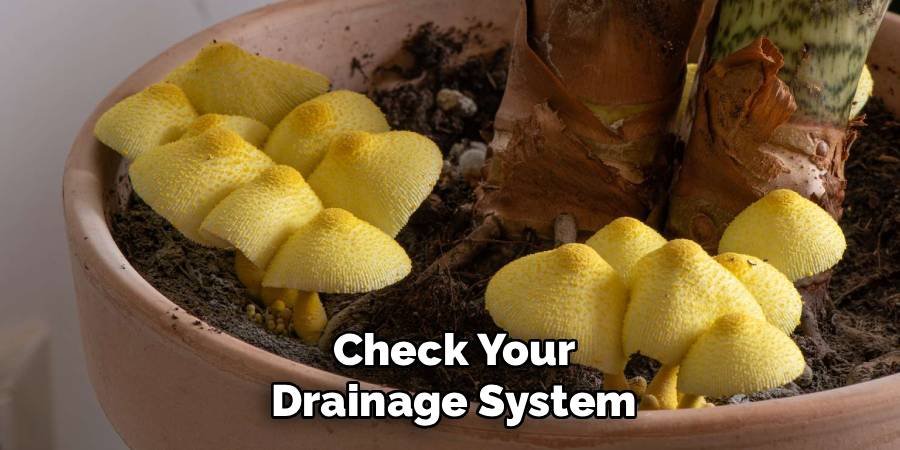
Adding a layer of gravel or small stones at the bottom of the pot can also improve water flow and reduce the chances of water pooling at the base, which can promote fungal growth.
Step 5. Adjust Your Watering Routine
Overwatering creates the perfect conditions for yellow fungus to thrive. Assess your plant’s watering needs based on its species, light exposure, and pot size. A good rule of thumb is to water only when the top inch of soil feels dry.
Ensure that water doesn’t sit stagnant in the saucer under your pot. Empty the saucer promptly after watering to keep moisture levels in check.
Step 6. Replace the Affected Soil
If the fungal problem persists after sterilizing the soil, it may be necessary to replace it entirely. Gently remove your plant from its pot and carefully shake off as much soil from its roots as possible.
Use a fresh, high-quality potting mix to repot the plant. Consider a mix with added perlite or sand, as these components improve aeration and drainage, making the environment less appealing for fungal growth.
Step 7. Use Natural Antifungal Treatments
There are several natural remedies to discourage yellow fungus from reappearing. For instance, sprinkling cinnamon on the soil acts as a natural antifungal agent. Neem oil is another safe and effective solution—mix it with water and spray it on the soil surface.
These treatments not only combat fungal spores but also help maintain soil health without introducing harmful chemicals.
Step 8. Improve Air Circulation
Fungus thrives in stagnant environments, so improving air circulation can significantly reduce its growth. If your houseplants are grouped together, try spacing them out to allow airflow between pots.
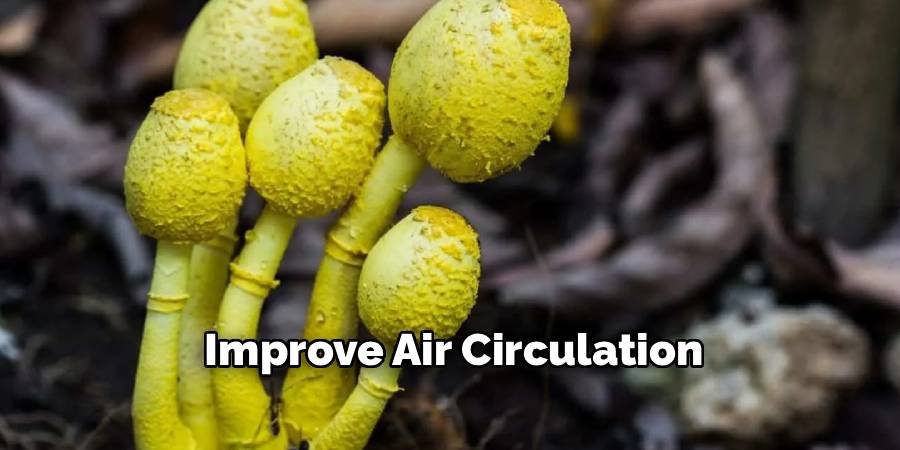
You might also consider using a fan in particularly humid rooms to maintain a steady flow of air. Increased ventilation discourages fungal spores from settling and spreading.
Step 9. Monitor Your Plant Closely
After completing the above steps, keep an eye on your houseplant to ensure the fungus doesn’t return. Inspect the soil surface regularly for any signs of new yellow fungal growth. Early detection allows you to act quickly and prevent another infestation.
Additionally, observe your plant’s overall health—including its leaves, stems, and growth rate. This gives you insights into whether the soil environment is improving.
Step 10. Prevent Future Fungal Growth
Prevention is key to avoiding recurring fungal problems. Use proper watering techniques, maintain good air circulation, and monitor your plant’s environment for excess moisture.
It’s also a good idea to periodically topdress your plant’s soil with fresh compost or a sterilized potting mix. This practice replenishes nutrients while keeping the soil’s surface free of mold.
Regularly inspecting your plants for signs of stress or imbalance can help you catch potential issues early. Look for yellowing leaves, wilting, or unusual spots, which may indicate underlying problems such as pests, nutrient deficiencies, or fungal infections. Addressing these signs promptly ensures your plants remain healthy and thriving in their environment.
Maintaining Your Houseplant’s Health
Keeping houseplants healthy requires balance—appropriate watering, proper soil composition, and good airflow all work together to create an ideal environment. Regularly check your plants for signs of stress, such as discoloration or wilting, and adjust their care routine as needed.
It’s also helpful to periodically aerate the soil with a small tool or chopstick to prevent compaction and improve drainage. Consistently following these practices will keep your houseplants thriving long-term.
Another important aspect of keeping houseplants healthy is ensuring they receive the right amount of light. Different plants have varying light requirements—some thrive in bright, direct sunlight, while others prefer indirect or low light conditions. It’s crucial to research the specific needs of each plant and position them accordingly in your home. Rotating plants regularly can also help ensure even growth and prevent them from leaning toward a single light source. By paying attention to their light exposure, you can support healthy and balanced development.
Common Mistakes to Avoid
One common mistake is overwatering plants, which creates a prime environment for yellow fungus. Make sure to allow the soil to dry out between waterings.
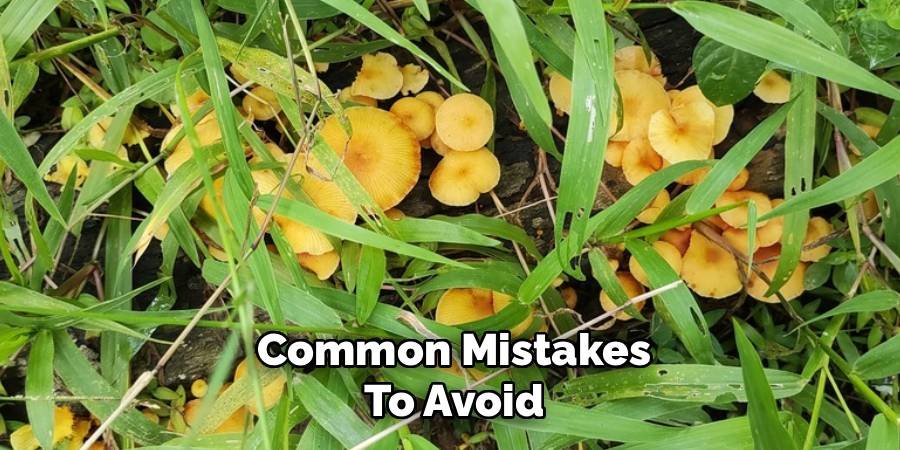
Another error is ignoring poor drainage—pots without proper drainage holes can trap water, which promotes fungal growth. Address this by ensuring water flows freely from the pot’s bottom.
Finally, avoid reusing contaminated soil. Always dispose of soil with visible fungus and replace it with fresh, clean material.
FAQ
What causes yellow fungus in houseplant soil?
Yellow fungus typically occurs in damp, poorly ventilated soils with high organic content. Overwatering and inadequate drainage also contribute to its growth.
Is yellow fungus harmful to my plants?
While yellow fungus isn’t usually directly harmful, it can compete with your plant for nutrients and indicate poor soil conditions that may harm roots over time.
How often should I water my houseplants to prevent fungus?
Water only when the top inch of soil is dry to the touch. Overwatering is a leading cause of houseplant fungal issues.
Can I use chemical fungicides to remove yellow fungus?
Chemical fungicides can work, but natural remedies like cinnamon or neem oil are often safer for your plants and the surrounding environment.
Does sunlight help prevent yellow fungus?
Yes, sunlight can help prevent fungal growth by reducing soil moisture. Positioning your plants in bright, indirect light is ideal.
Conclusion
Getting rid of yellow fungus in houseplant soil is essential to maintaining healthy plants. Addressing this issue starts with identifying and manually removing the visible fungus, sterilizing the soil, and implementing prevention techniques.
By following the steps in this guide, you can restore your houseplant soil and create an environment your plants will love. Stay consistent with proper watering, soil care, and ventilation—your plants (and their soil) will thank you!
Additionally, it’s important to monitor your plants regularly for any signs of recurring issues. Early detection can prevent minor problems from escalating into more serious conditions. Pay close attention to changes in your plant’s appearance, such as discoloration, drooping, or unusual growth, as these might indicate underlying soil or environmental problems. By maintaining a consistent care routine and staying vigilant, you can ensure your houseplants remain vibrant and healthy for years to come.
About Ravuk Barg
B.Sc. Horticulture Science | Certified Master Gardener
Ravuk Barg has spent more than a decade with his hands in the soil and his head full of questions about why some gardens thrive while others struggle. What started as a single raised bed of tomatoes and basil in a modest backyard has grown into a deep, working knowledge of everything from seed germination and soil amendment to companion planting and seasonal pruning.
Over the years, Ravuk has gardened through drought summers, waterlogged springs, and pest invasions that would make most gardeners hang up their trowels for good. Those hard seasons, he’ll tell you, taught him more than any perfect growing year ever could. He writes from that earned experience—covering vegetable growing, ornamental planting, houseplant care, composting, and garden design with equal confidence and curiosity.
Philosophy & Approach
Ravuk’s approach to gardening is rooted in practicality. He favors organic methods not out of dogma, but because they work long-term—resulting in healthier soil, fewer inputs, and stronger plants. He has a particular fondness for heirloom vegetable varieties (the kind with proper flavor), unruly cottage-style flower beds, and the stubborn houseplants that everyone else gave up on.
The Mission: Give readers the honest, experience-backed advice that helps them actually succeed in their gardens—not just the ideal version, but the real one; weeds, failures, and all.
Education & Credentials
-
B.Sc. in Horticulture Science
-
Greenfield Agricultural University
-
Focus: Plant Physiology, Soil Ecology, and Sustainable Crop Production
-
-
Master Gardener Certification
-
Cooperative Extension Service
-
Focus: 200+ hours of hands-on practical training and community garden work
-
Continuing Education
-
Organic Pest Management
-
Native Plant Landscaping
-
Sustainable Crop Production