

Rock landscaping offers a clean, low-maintenance alternative to traditional lawns, but its pristine appearance can be quickly marred by stubborn grass and weeds. These unwelcome intruders poke through the stones, turning a sleek design into a frustrating mess.
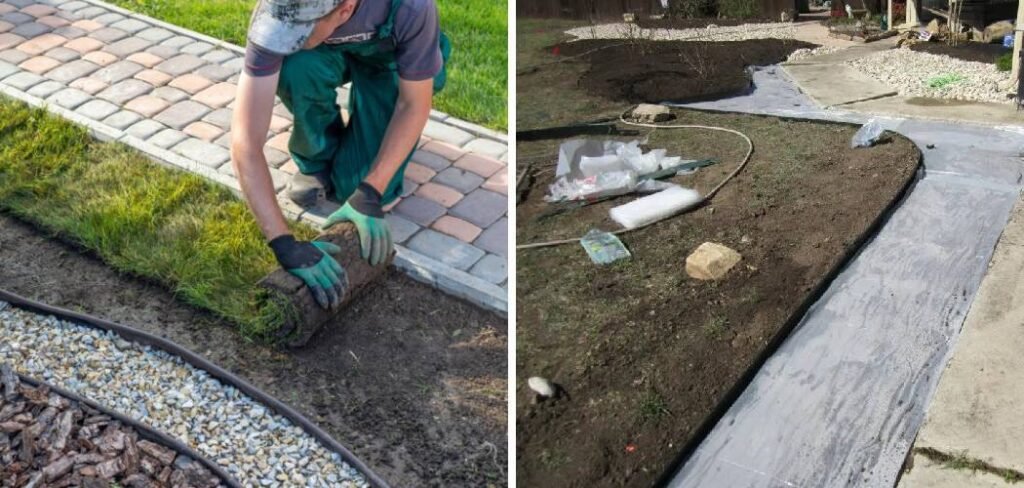
Learning how to get rid of grass in rock landscaping is essential for maintaining the beauty and integrity of your yard. The process involves a combination of manual removal, preventative measures, and long-term maintenance strategies. With the right approach, you can effectively eliminate grass and keep your rock beds looking sharp and well-defined for years to come. This guide will walk you through the necessary steps to reclaim your landscape and prevent future growth.
Why You Need to Remove Grass from Rock Landscaping
Allowing grass to grow unchecked in your rock landscaping does more than just spoil the aesthetic. Grass roots can become deeply entangled in the landscape fabric beneath the rocks, making removal increasingly difficult over time. If left to spread, the grass will compete with any ornamental plants for water and nutrients, potentially harming your desired shrubs or flowers.
Furthermore, dense grass growth can trap moisture against the ground, creating a welcoming environment for pests and plant diseases. A clean, grass-free rock bed not only looks more professional and intentional but also supports the health of your overall garden design. Prompt and thorough removal is a crucial step in landscape maintenance.
8 Step by Step Guide on How to Get Rid of Grass in Rock Landscaping
Follow these steps to effectively clear grass from your rock beds and prepare the area for a pristine, long-lasting finish.
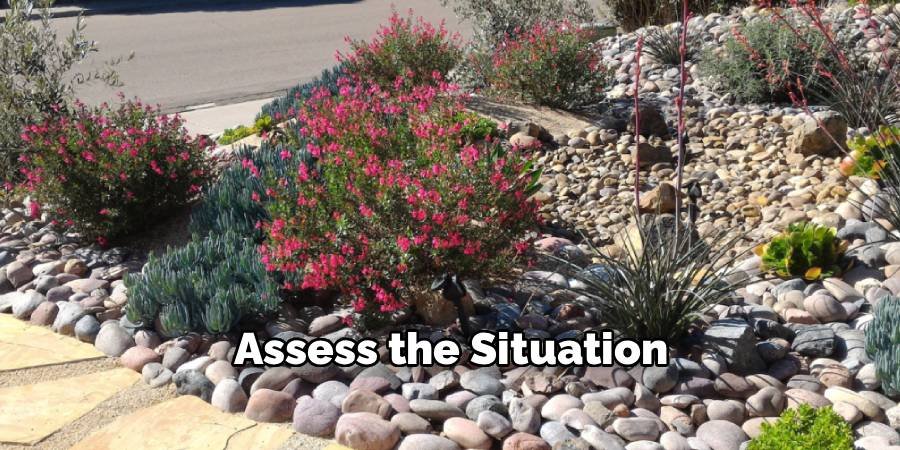
Step 1: Assess the Situation
Before you begin, take a close look at the extent of the grass problem. Is it a few isolated clumps or a widespread infestation? The density of the growth will determine which removal methods are most effective. For small patches, manual pulling might be sufficient. For larger, more established areas of grass, you may need a more aggressive approach combining several techniques. Also, identify the type of grass you are dealing with, as some varieties, like Bermuda grass, have deep, persistent root systems that require extra effort to eradicate completely.
Step 2: Manually Pull Large Weeds and Grass Clumps
Start by removing the most obvious offenders. Put on a pair of sturdy gardening gloves to protect your hands. The best time to pull grass is after a light rain or watering, as the moist soil makes it easier to extract the entire root system. Grasp the base of the grass clump firmly and pull steadily upward. Avoid yanking, which can cause the roots to break off and leave remnants in the soil to regrow. For stubborn clumps, use a garden fork or a weeding tool to loosen the soil around the base before pulling.
Step 3: Use a Shovel or Rake to Clear Smaller Growth
For areas with finer grass, a flat-headed shovel or a sturdy garden rake can be very effective. Use the shovel to scrape just below the surface of the rocks, cutting the grass at its base. A stiff-tined rake can be used to agitate the rocks and dislodge shallow-rooted grasses and small weeds. Be careful not to disturb the underlying landscape fabric too much during this process. Rake the dislodged grass and debris into a pile for easy collection and disposal. This step helps clear the area quickly and prepares it for more targeted treatments.
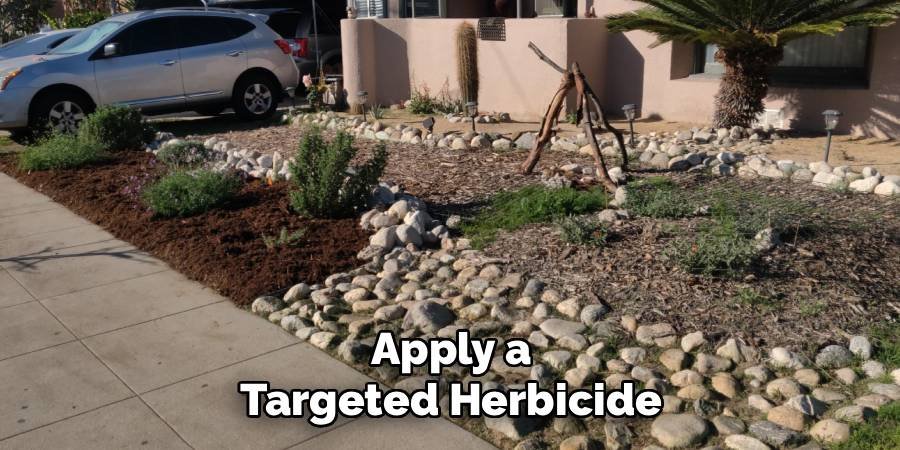
Step 4: Apply a Targeted Herbicide
For persistent grass that returns after manual removal, a targeted herbicide application may be necessary. Choose a post-emergent, non-selective herbicide containing glyphosate for the most effective results, as it will kill the entire plant down to the root. Apply the herbicide on a calm, sunny day to prevent drift onto desirable plants and to ensure the product is absorbed efficiently. Use a sprayer with a narrow nozzle or a foam applicator to apply the chemical directly to the grass blades, avoiding contact with any nearby flowers or shrubs. Always read and follow the manufacturer’s instructions for safety and proper application.
Step 5: Try Natural Weed-Killing Alternatives
If you prefer to avoid chemical herbicides, several natural alternatives can be effective. Boiling water, when poured directly onto the grass, will scorch the leaves and kill the plant. This method is best for isolated patches away from desirable plants. Another popular option is a vinegar solution. Mix horticultural vinegar (which has a higher acetic acid concentration than household vinegar) with a small amount of dish soap to help it adhere to the grass blades. Spray the mixture directly onto the grass on a hot, sunny day. These methods may require multiple applications to be fully effective, especially on tougher grass varieties.
Step 6: Rake Rocks Away and Inspect the Landscape Fabric
Once the visible grass has been removed or killed, rake the rocks away from the affected area to expose the landscape fabric underneath. Inspect the fabric for any rips, tears, or holes where grass may have pushed through. Over time, sunlight and the elements can degrade the fabric, creating openings for weeds to establish themselves. Also, check the seams to ensure they are still securely overlapped and pinned down. This step is crucial for identifying the root cause of the problem and preventing it from recurring in the future.
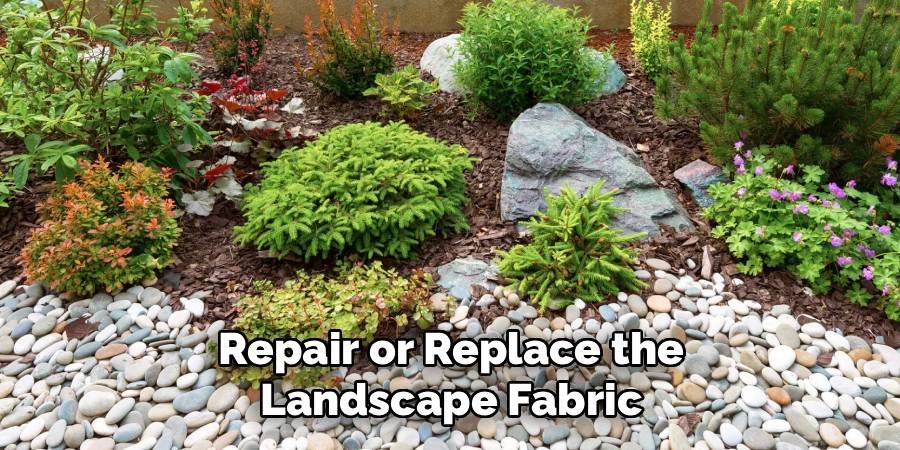
Step 7: Repair or Replace the Landscape Fabric
If you find any damage to the landscape fabric, it needs to be repaired. For small holes or tears, you can apply a patch using a new piece of fabric and secure it with landscape pins. Make sure the patch generously overlaps the damaged area. If the fabric is extensively degraded or torn, it is best to replace the entire section. Cut out the old, compromised fabric and lay down a new, high-quality piece, ensuring it overlaps any existing fabric by at least six inches. Secure the new fabric firmly with landscape pins, especially around the edges.
Step 8: Apply a Pre-Emergent Herbicide
With the landscape fabric repaired or replaced, you have an opportunity to apply a pre-emergent herbicide. This type of product works by creating a chemical barrier that prevents new seeds from germinating. It will not kill existing plants but is highly effective at stopping new grass and weeds from sprouting. Apply the granular or liquid pre-emergent evenly over the fabric according to the product’s directions. This preventative measure is one of the most important steps for long-term control, saving you significant effort in the seasons to come.
Maintaining Your Rock Landscaping
Consistent maintenance is key to keeping your rock landscaping grass-free. Beyond the weekly spot-pulling, plan for a semi-annual refresh. Each spring and fall, use a leaf blower to remove accumulated organic debris like leaves and twigs. This material can decompose and create a layer of soil on top of your landscape fabric, providing a perfect place for wind-blown seeds to germinate. At the same time, check the depth of your rocks and top them off as needed to maintain a thick, protective layer. This simple routine will preserve the clean look of your landscape and minimize future grass problems.
Common Mistakes to Avoid
One of the most common mistakes is not installing a high-quality landscape fabric from the start. A cheap, thin barrier will tear easily, allowing grass to grow through. Another frequent error is not creating a deep enough layer of rock. A shallow layer allows sunlight to penetrate, encouraging seed germination. Finally, many people wait too long to address small sprouts. Ignoring a few blades of grass allows them to develop extensive root systems, turning a small task into a major project. Avoiding these pitfalls will make managing your rock landscape much easier.
FAQ Frequently Asked Questions
How Do I Kill Grass in Rocks Without Killing My Flowers?
Use a targeted approach. Carefully apply a non-selective herbicide with a foam applicator or small brush directly onto the grass blades, or cover your flowers with cardboard for protection.
Is It Better to Use Vinegar or a Chemical Herbicide?
Chemical herbicides are generally more effective for killing the entire plant, including the roots. Vinegar is a natural alternative but may require multiple applications to be successful.
How Often Should I Apply a Pre-Emergent?
Most pre-emergent herbicides should be applied twice a year, once in the early spring before seeds germinate and again in the fall to control winter weeds.
What Is the Best Type of Rock to Use to Prevent Grass Growth?
Larger, angular rocks (around 1.5 inches or more) are better at locking together to form a tight barrier that blocks sunlight more effectively than smaller, rounded pebbles.
Why Does Grass Keep Coming Back in My Rocks?
Grass returns due to seeds blowing in and germinating in debris, or from roots left behind. It can also grow through tears in the underlying landscape fabric.
Conclusion
Mastering how to get rid of grass in rock landscaping transforms a persistent chore into a manageable task, ensuring your yard remains beautiful and low-maintenance. The key to success lies in a comprehensive strategy that combines diligent manual removal, strategic use of herbicides, and crucial preventative measures like maintaining a robust landscape fabric and a thick layer of rock. By following a structured plan and committing to a simple but consistent maintenance routine, you can effectively conquer grass invasions. Your effort will be rewarded with a clean, striking landscape that enhances your home’s curb appeal. A grass-free rock bed is not just an aesthetic victory; it is a testament to thoughtful and effective garden care.
About Ravuk Barg
B.Sc. Horticulture Science | Certified Master Gardener
Ravuk Barg has spent more than a decade with his hands in the soil and his head full of questions about why some gardens thrive while others struggle. What started as a single raised bed of tomatoes and basil in a modest backyard has grown into a deep, working knowledge of everything from seed germination and soil amendment to companion planting and seasonal pruning.
Over the years, Ravuk has gardened through drought summers, waterlogged springs, and pest invasions that would make most gardeners hang up their trowels for good. Those hard seasons, he’ll tell you, taught him more than any perfect growing year ever could. He writes from that earned experience—covering vegetable growing, ornamental planting, houseplant care, composting, and garden design with equal confidence and curiosity.
Philosophy & Approach
Ravuk’s approach to gardening is rooted in practicality. He favors organic methods not out of dogma, but because they work long-term—resulting in healthier soil, fewer inputs, and stronger plants. He has a particular fondness for heirloom vegetable varieties (the kind with proper flavor), unruly cottage-style flower beds, and the stubborn houseplants that everyone else gave up on.
The Mission: Give readers the honest, experience-backed advice that helps them actually succeed in their gardens—not just the ideal version, but the real one; weeds, failures, and all.
Education & Credentials
-
B.Sc. in Horticulture Science
-
Greenfield Agricultural University
-
Focus: Plant Physiology, Soil Ecology, and Sustainable Crop Production
-
-
Master Gardener Certification
-
Cooperative Extension Service
-
Focus: 200+ hours of hands-on practical training and community garden work
-
Continuing Education
-
Organic Pest Management
-
Native Plant Landscaping
-
Sustainable Crop Production