

Waterlogged soil in pots is one of the most common problems faced by both indoor and outdoor gardeners. When soil becomes waterlogged, it can cause serious problems for plant health, leading to root rot, fungal diseases, and ultimately plant death. Understanding how to fix waterlogged soil in pots is essential for maintaining healthy container gardens and ensuring your plants thrive throughout the growing season.

Waterlogged potting soil occurs when excess water cannot drain properly from the pot, creating anaerobic conditions that prevent the roots from getting enough oxygen. This problem affects millions of gardeners worldwide and can quickly destroy even the healthiest plants if not addressed promptly. The good news is that waterlogged soil can be fixed with the right techniques and preventative measures.
Understanding Waterlogged Soil in Container Gardens
Waterlogged soil occurs when water accumulates faster than it can drain out of the drainage holes of a pot. This creates a saturated situation where the soil particles are completely surrounded by water, leaving no air space for the roots to breathe. Plant roots need both water and oxygen to function properly, and waterlogging completely destroys the oxygen component.
Several factors contribute to waterlogged soil, including poor drainage, heavy clay-based soil mixes, blocked drainage holes, and overwatering habits. Container gardens are especially susceptible because they have limited drainage compared to ground plantings. When drainage is compromised, even normal amounts of water can create waterlogged conditions.
Signs of waterlogged soil include water pooling on the soil surface, a musty or sour smell coming from the pot, yellowing leaves, wilting despite wet soil, and fungal growth on the soil surface. Early detection of these signs allows gardeners to take corrective action before permanent damage occurs to the plant’s root system.
5 Step-by-Step Guide on How to Fix Waterlogged Soil in Pots
Step 1: Immediate Assessment and Water Removal
The first step in fixing waterlogged soil is to assess the severity of the problem and remove excess water. Carefully tap the pots to drain any water that has accumulated on the surface of the pot and the pot. If the water is not draining easily, the drainage system may be completely blocked and may need immediate attention.

Check to make sure all drainage holes in the bottom of the pot are clear and unobstructed. Use a pencil or thin stick to clear any blocked holes, removing any accumulated debris, roots, or soil particles. For severely waterlogged pots, you may need to create additional drainage holes using a drill with the appropriate bit for your pot material.
Temporarily remove any water-logged saucers or trays to maximize drainage during the recovery process. This prevents drained water from reabsorbing into the soil and helps speed up the drying process.
Step 2: Soil Examination and Root Assessment
Carefully remove plants from waterlogged containers to check both soil conditions and root health. Healthy roots appear white or light in color and feel firm to the touch. Waterlogged conditions often produce brown, black, or soft roots, which indicate the development of root rot.
Gently shake excess waterlogged soil from the root system, being careful not to damage healthy roots. Use clean, sharp pruning shears to remove any obviously damaged, soft, or discolored roots. This prevents further spread of root rot and allows the plants to focus their energy on developing healthy roots.
Examine the removed potting mix for drainage and structure problems. Heavy, clay-like soils tend to hold too much moisture, while properly drained potting mixes should feel light and crumbly even when moist.
Step 3: Soil Amendment and Improvement
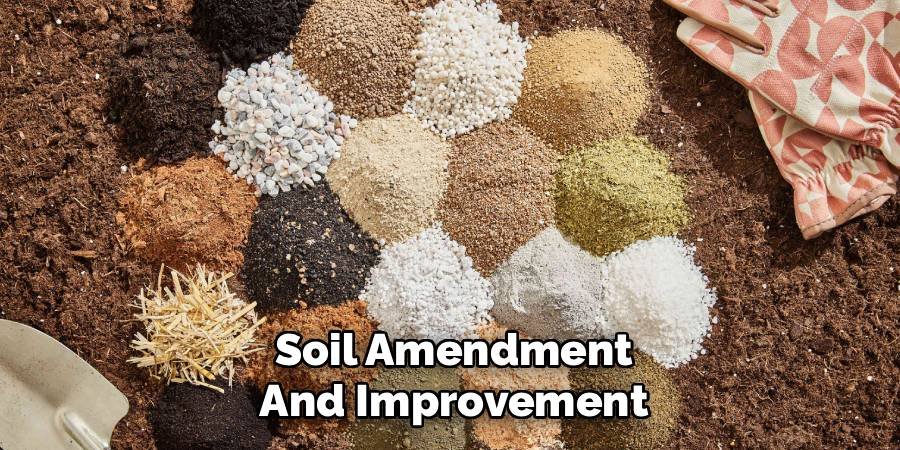
Create an improved potting mix by mixing drainage-enhancing amendments with existing soil. Add coarse materials such as perlite, vermiculite, coarse sand, or small gravel to improve soil structure and drainage. These amendments create air spaces between soil particles, drain excess water, and maintain adequate moisture for the plant’s needs.
For moderate waterlogging, mix one part drainage amendment with two parts existing potting soil. Severely waterlogged soils may require equal parts amendment and soil to improve optimal drainage. Avoid using fine sand, which can worsen drainage by filling air spaces between soil particles. Consider adding organic matter such as compost or well-aged bark chips to improve soil structure and maintain moisture holding capacity. These materials help create a balanced growing medium that drains well while retaining enough moisture for the plant to grow.
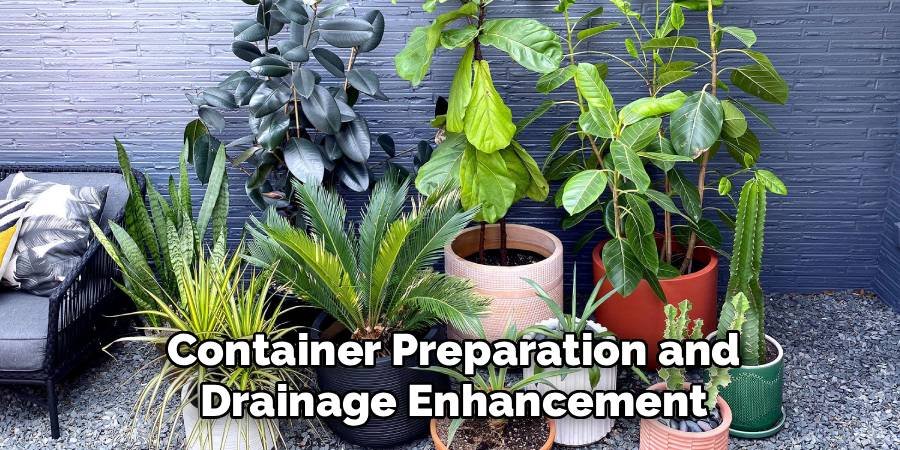
Step 4: Container Preparation and Drainage Enhancement
Before repotting, make sure the container has adequate drainage to prevent future waterlogging problems. Add a layer of drainage material to the bottom of the container using materials such as gravel, broken soil particles, or specialized drainage rocks. This layer should be one to two inches deep, depending on the size of the container.
Cover the drainage material with landscape fabric or coffee filters to prevent soil from washing into the drainage layer as water moves through. This will maintain the drainage function over time and prevent the system from clogging.
For containers that do not have adequate drainage holes, drill additional holes evenly around the bottom of the container. Most containers need one drainage hole for every four to six inches in diameter of the container to allow adequate water drainage.
Step 5: Proper Replanting Techniques
Repot the treated plants using an improved potting mix, taking care not to compact the soil around the roots. Leave enough space between the soil surface and the edge of the pot to allow for proper watering without overflowing. Gently firm the soil around the roots to eliminate air pockets while maintaining soil structure.
Water the newly repotted pots carefully, applying enough moisture to settle the soil around the roots without creating waterlogged conditions. Monitor the drainage system during the initial watering to ensure that the improvements are working effectively.
Place the pots in a location with good air circulation to allow the soil to dry out and prevent future moisture problems. Avoid areas where water may pool around the base of the pot during rain or irrigation.
Prevention Strategies for Container Gardens
Preventing waterlogging requires proper watering techniques, appropriate soil selection, and regular potting maintenance. Water plants only when the top inch of soil feels dry to the touch, and apply water slowly so that the soil does not become waterlogged.
Choose a high-quality potting mix specifically formulated for container gardening rather than garden soil or topsoil. Commercial potting mixes contain ingredients designed to ensure proper drainage while retaining enough moisture for plant growth.
Maintain drainage, regularly check holes for blockages, and clean pots thoroughly between plantings. Replace old potting soil annually or amend with fresh potting material to maintain optimal growing conditions.
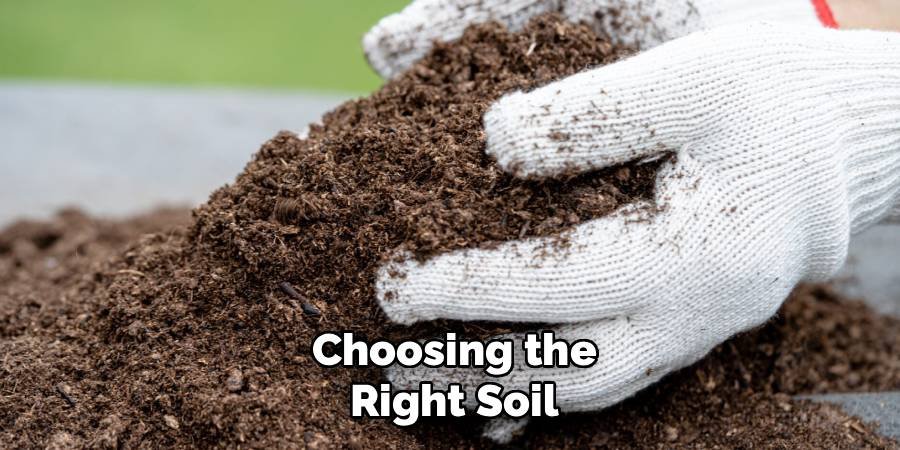
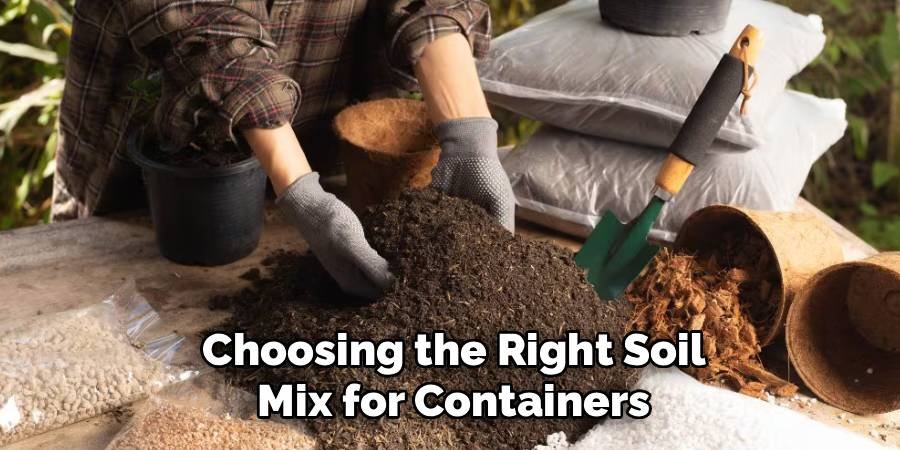
Choosing the Right Soil Mix for Containers
The key to preventing waterlogging is choosing the right potting mix for your container garden. Good quality commercial potting mixes contain a balanced mix of peat moss, vermiculite, perlite, and bark that provides excellent drainage while retaining essential moisture.
Avoid using garden soil or potting topsoil, as these materials are too heavy and hold excess moisture in a confined space. Garden soil can also contain weed seeds, diseases, or pests that can create additional problems in container gardening. For specific plant types, consider specialty potting mixes designed for specific growing needs. Succulent and cactus mixes provide improved drainage for water-sensitive plants, while moisture-retaining mixes work well for plants that need soil moisture.
Long-term Container Garden Maintenance
Successful container gardening requires constant attention to soil condition and drainage. Remove the top few inches of soil each year and replace it with fresh potting mix, compost, or slow-release fertilizer.
Monitor plant health regularly for signs of drainage problems, including yellowing leaves, stunted growth, or unusual insect problems that can stress the root system. Early action prevents minor drainage problems from becoming major waterlogging problems.
Adjust watering schedules seasonally to account for changing weather, plant growth stages, and exposure to the container. Plants in shaded areas will need less frequent watering than those in full sun, while larger plants will need more water than those in newly planted containers.
Frequently Asked Questions (FAQs)
1. How long does it take to fix waterlogged soil in pots?
Answer: Yes, waterlogged potting soil can be reused after proper amendment with drainage materials such as perlite or coarse sand. For best results, mix one part drainage amendment with two parts treated soil.
2. Can I reuse waterlogged potting soil after treatment?
Answer: Yes, waterlogged potting soil can be reused after proper amendment with drainage materials such as perlite or coarse sand. For best results, mix one part drainage amendment with two parts treated soil.
3. What are the best drainage materials for fixing waterlogged soil?
Answer: Perlite, vermiculite, coarse sand, and small gravel work great to improve soil drainage. Avoid fine sand or small particles, which can actually make drainage problems worse.
4. How do I know if my plant roots are damaged from waterlogged soil?
Answer: Damaged roots may look brown, black, or soft and have a foul odor. Healthy roots are white or light in color and feel firm. Remove damaged roots with clean pruning shears.
5. Should I fertilize plants after fixing waterlogged soil problems?
Answer: Wait 2-3 weeks after replanting and fertilize to allow the root system to recover. Use a diluted liquid fertilizer at first, then resume your normal fertilizing schedule once the plants show new growth.
Conclusion
Learning how to fix waterlogged soil in pots is an essential skill for successful container gardening. By following a step-by-step approach to removing water, amending the soil, improving drainage, and following proper repotting techniques, gardeners can rescue plants from waterlogged conditions and prevent future problems. The key to long-term success is understanding that the drainage needs of plants planted in containers are unique compared to those planted in the ground.
Prevention is the most effective method to avoid waterlogged soil problems. Using the right potting mix, maintaining proper drainage, and following proper watering practices will eliminate most waterlogged soil problems before they develop. Regular monitoring and maintenance ensure that container gardens remain healthy and productive throughout the growing season.
Keep in mind that fixing waterlogged soil requires patience, as it takes time for plants to recover from root damage and establish healthy growing conditions. With proper care and attention to drainage principles, container gardens can provide years of garden enjoyment and successful plant growth.
About Ravuk Barg
B.Sc. Horticulture Science | Certified Master Gardener
Ravuk Barg has spent more than a decade with his hands in the soil and his head full of questions about why some gardens thrive while others struggle. What started as a single raised bed of tomatoes and basil in a modest backyard has grown into a deep, working knowledge of everything from seed germination and soil amendment to companion planting and seasonal pruning.
Over the years, Ravuk has gardened through drought summers, waterlogged springs, and pest invasions that would make most gardeners hang up their trowels for good. Those hard seasons, he’ll tell you, taught him more than any perfect growing year ever could. He writes from that earned experience—covering vegetable growing, ornamental planting, houseplant care, composting, and garden design with equal confidence and curiosity.
Philosophy & Approach
Ravuk’s approach to gardening is rooted in practicality. He favors organic methods not out of dogma, but because they work long-term—resulting in healthier soil, fewer inputs, and stronger plants. He has a particular fondness for heirloom vegetable varieties (the kind with proper flavor), unruly cottage-style flower beds, and the stubborn houseplants that everyone else gave up on.
The Mission: Give readers the honest, experience-backed advice that helps them actually succeed in their gardens—not just the ideal version, but the real one; weeds, failures, and all.
Education & Credentials
-
B.Sc. in Horticulture Science
-
Greenfield Agricultural University
-
Focus: Plant Physiology, Soil Ecology, and Sustainable Crop Production
-
-
Master Gardener Certification
-
Cooperative Extension Service
-
Focus: 200+ hours of hands-on practical training and community garden work
-
Continuing Education
-
Organic Pest Management
-
Native Plant Landscaping
-
Sustainable Crop Production