

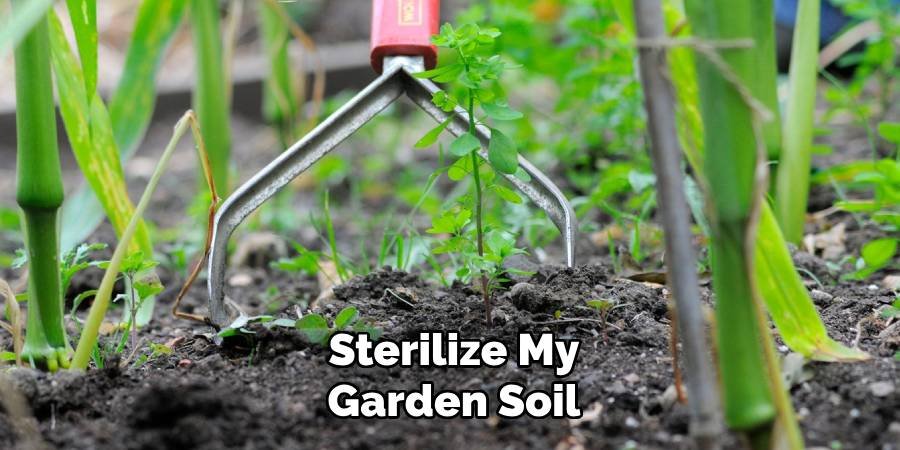
Learn how to sterilize soil to kill weeds effectively. Discover 10 proven methods including heat treatment, solarization, and chemical sterilization for weed-free gardening.
Weeds are every gardener’s worst enemy. They steal nutrients, water, and sunlight from your plants. If you want to grow healthy plants, you need clean soil. Learning to disinfect soil to kill weeds is one of the most important skills for any gardener. This guide will show you the right way to weed your soil using simple methods.
What Does It Mean to Sterilize Soil?
Soil sterilization means killing all living things in the soil. This includes weed seeds, harmful bacteria, fungi, and insects. When you properly sterilize the soil, you create a clean environment for your plants to grow. This process eliminates weed competition and reduces plant disease. Many gardeners wonder if soil sterilization is necessary. The answer depends on your situation. If you have a lot of weeds, diseased plants, or poor soil quality, sterilization can help. It gives your new plants the best chance of success.
Why Should You Sterilize Soil to Kill Weeds?
Weed seeds can survive in the soil for years. Some seeds can wait decades to germinate. This means that even if you remove all visible weeds, new weeds will still appear. By learning how to sterilize the soil to kill weeds, you can tackle this problem at the source.
There are many benefits to sterilized soil. Your plants will grow faster and stronger. You will spend less time pulling weeds. Your garden will look cleaner and more organized. Most importantly, your plants will get all the nutrients they need without competing with weeds.
10 Step-by-Step Methods on How to Sterilize Soil to Kill Weeds
Step 1: Heat Treatment in the Oven
One of the most effective ways to sterilize soil is with heat. Preheat your oven to 200°F (93°C). Fill shallow pots with moist soil, making sure the soil is about 2 inches deep. Cover each pot with aluminum foil to retain moisture.
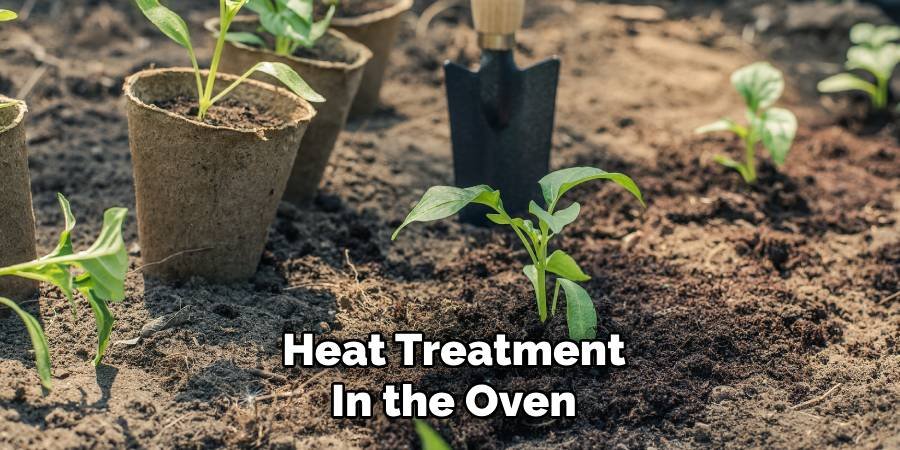
Place the pans in the oven for 30 minutes. Use a soil thermometer to check that the soil has reached 180°F (82°C). This temperature kills weed seeds and harmful microbes. Let the soil cool completely before using it. This method works well for small amounts of potting soil.
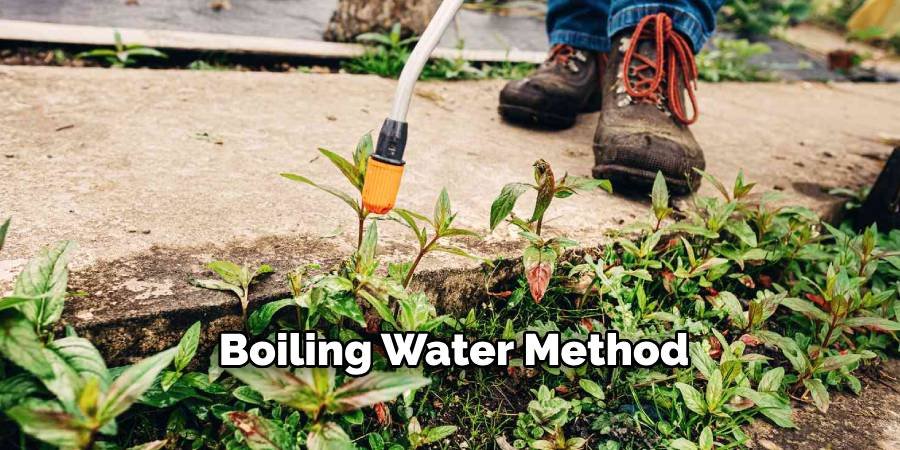
Step 2: Boiling Water Method
Boiling water is an easy way to disinfect small areas of soil. Bring a large pot of water to a boil. Slowly pour the hot water over the soil you want to treat. Make sure the water soaks deep into the soil. The hot water will kill weed seeds near the surface. You may need to repeat this process several times for tough weeds. This method works best for garden beds and small areas. It is all-natural and safe for organic gardening.
Step 3: Steam Sterilization
Steam sterilization is very effective for killing weeds in the soil. You can use a pressure cooker or, steam cleaner for this method. Add water to create steam, then direct the steam at the soil surface.
Steam each area for at least 10 minutes. The heat of the steam penetrates deeper than boiling water. This method kills weed seeds, insects, and disease-causing microbes. It is suitable for greenhouse soil and container gardening.
Step 4: Solar Sterilization (Solarization)
The soil is naturally sterilized by the application of solar energy. This method works best in hot, sunny weather. First, water the soil thoroughly until it is very wet. Then cover the area with a clear plastic sheet. Bury the edges of the plastic into the soil to trap heat. Leave the plastic in place for 6-8 weeks during the hottest part of the summer. The trapped heat will reach a temperature that will kill weed seeds and harmful microbes. This method is free and environmentally friendly.
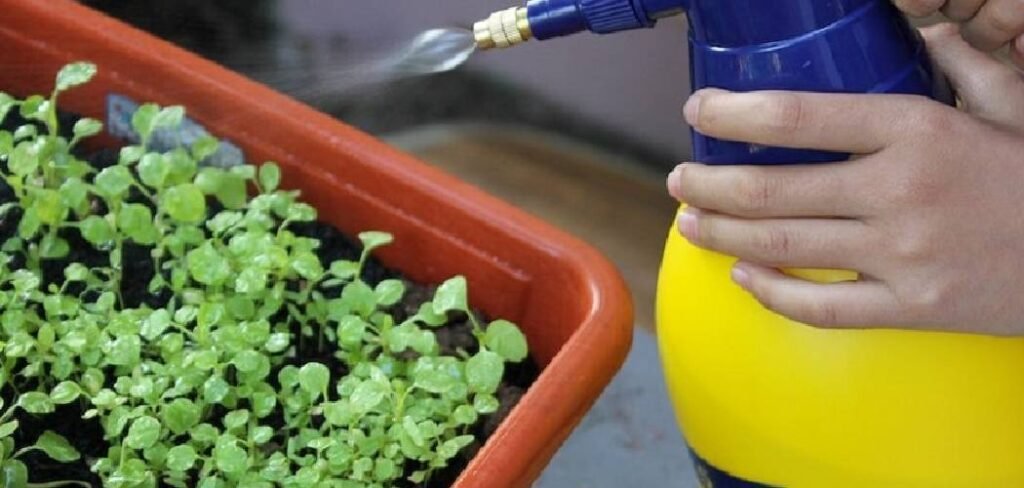
Step 5: Chemical Sterilization
Chemical soil disinfectants can kill all living organisms in the soil. Products containing methyl bromide or chloropicrin are very effective. However, these chemicals are dangerous and require special training to use safely. Always read and follow label directions carefully. Wear protective clothing, including gloves, a mask, and eye protection. Only apply chemicals in well-ventilated areas. Wait the recommended amount of time before planting anything in the treated soil. Consider hiring a professional for larger areas.
Step 6: Microwave Sterilization
Microwaving is suitable for small amounts of potting soil. Place moist soil in a microwave-safe container. Add a small amount of water to create steam. Cover the container with a microwave-safe lid or plastic wrap. Microwave on high power for 2-3 minutes per pound of soil. Allow the soil to cool before removing the lid. The steam and heat will kill weed seeds and harmful microorganisms. This method is quick and convenient for indoor gardening.
Step 7: Freezing Method
Freezing can kill some weed seeds, but it is not as reliable as heat methods. Place the soil in a sealed bag and place it in a freezer set at 0°F (-18°C). Keep the soil frozen for at least a week.
This method works better on some weed seeds than others. Hardier weed seeds can survive freezing temperatures. Use this method in conjunction with other disinfection techniques for best results. It is most effective for treating small amounts of soil.
Step 8: Hot Composting
Hot composting can disinfect the soil and add nutrients. Create a compost pile with the right mix of brown and green materials. Turn the pile regularly to maintain a high temperature. The pile temperature should be 140-160°F (60-71°C). Maintain this high temperature for several weeks. The heat will kill weed seeds and harmful microbes. The finished compost will be rich, sterile, and suitable for growing plants. This method takes time but yields excellent results.
Step 9: Alcohol Treatment
Rubbing alcohol can disinfect soil in small amounts. Mix one part 70% rubbing alcohol with one part water. Pour this mixture over the soil and mix thoroughly. The alcohol will kill weed seeds and harmful microorganisms.
Let the soil sit for 24 hours, then rinse with clean water. Allow the soil to dry completely before using. This method works well for seeding mixes and small containers. It is not practical for larger gardens.
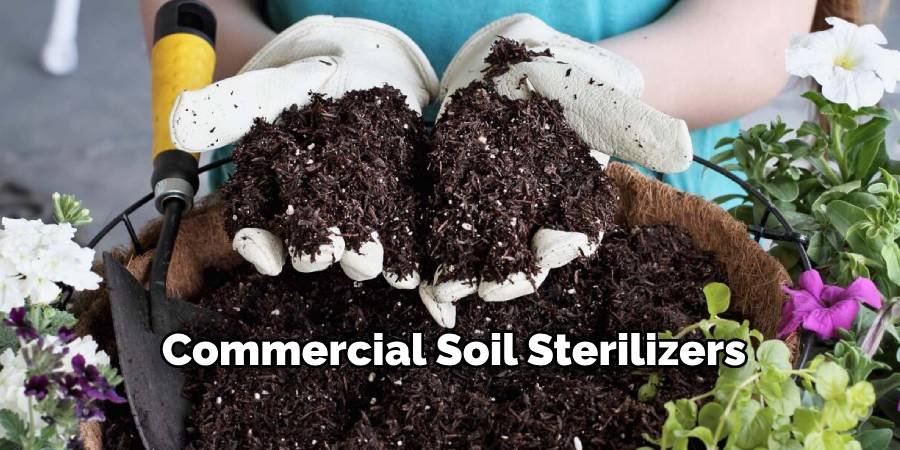
Step 10: Commercial Soil Sterilizers
Many commercial products are designed to disinfect soil. These products often contain chemicals that kill weeds, insects, and diseases. Follow the manufacturer’s instructions carefully for safe and effective use. Some products work by releasing a gas that penetrates the soil. Others are liquids that you mix with water and apply to the soil surface. These products can be expensive but are very effective. They are good for professional growers and serious gardeners.
Safety Tips for Soil Sterilization
Safety should always be your first concern when disinfecting soil. Always wear protective equipment, including gloves, a mask, and eye protection. Work in a well-ventilated area, especially when using chemicals or vapors.
Keep children and pets away from the area being treated. Store chemicals in their original containers away from food and medicine. Never mix different chemicals together. If you feel unwell during or after treatment, seek medical attention immediately.
When to Sterilize Your Soil
The best time to sterilize the soil depends on your method and climate. Solarization works best during the hot summer months. Heat treatments can be done indoors at any time. Chemical treatments should be done when the plants are not actively growing. Plan to sterilize the soil at least 2-4 weeks before planting. This gives harmful chemicals time to break down and allows beneficial microorganisms to return. Some methods may require a longer waiting period.
What Happens After Soil Sterilization?
Sterile soil is like a blank slate. All living things are gone, including beneficial organisms. It can take time for the soil to develop a healthy ecosystem again. You can speed up this process by adding compost or beneficial microorganisms. Observe your plants carefully after planting in sterile soil. They may need additional nutrients as the beneficial soil microbes are gone. Consider using organic fertilizers to feed your plants and improve soil health.
Alternative Methods to Control Weeds
If soil disinfection is too extensive, there are other ways to control weeds. Mulching prevents weed seeds from germinating. Hand pulling removes weeds without chemicals. Crop rotation can break the weed cycle.
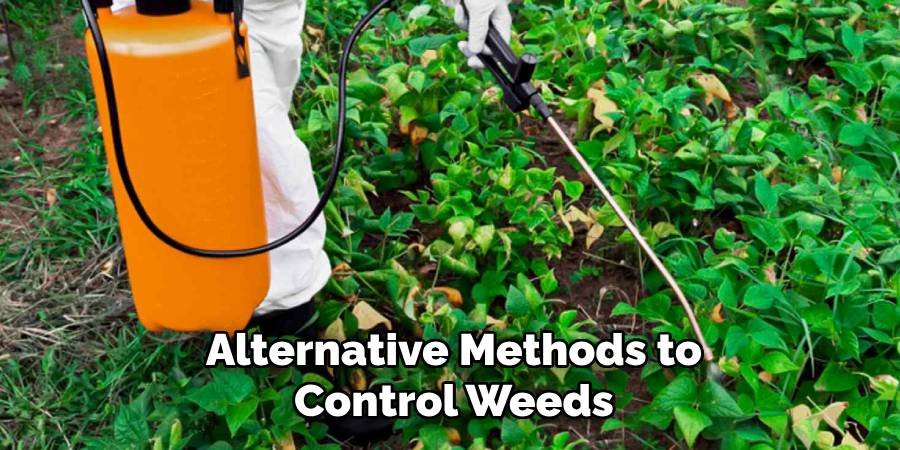
Cover crops can naturally suppress weeds. Proper plant spacing reduces the area where weeds can grow. Regular tillage prevents weeds from growing. These methods take longer but have a gentler effect on the soil ecosystem.
Frequently Asked Questions (FAQs)
Q1: How long does it take to sterilize soil to kill weeds?
Answer: The time depends on your method. Oven sterilization takes 30 minutes, while solar application takes 6-8 weeks. Chemical treatments can take 2-4 weeks before planting. Thermal methods are the fastest, while natural methods take longer but are safer.
Q2: Will sterilizing soil kill beneficial organisms too?
Answer: Yes, soil sterilization kills all living organisms, including beneficial bacteria and fungi. After sterilization, you should add compost or beneficial microorganisms to restore the health of the soil. This helps create a balanced ecosystem for plant growth.
Q3: Can I sterilize garden soil without chemicals?
Answer: Sure! You can use heat, steam, boiling water, or solar energy to naturally sterilize soil. These methods are safe for organic gardening and do not leave harmful residues. It may take longer but is an environmentally friendly option.
Q4: Is sterilized soil safe for growing vegetables?
Answer: Yes, properly sterilized soil is safe for growing vegetables. Be sure to wait the recommended time after chemical treatment before planting. Heat-treated and naturally sterilized soil can be used immediately after cooling or processing is complete.
Q5: How often should I sterilize my garden soil?
Answer: Most gardeners only need to disinfect the soil when starting a new garden or when dealing with a serious weed problem. Annual disinfection is usually not necessary. Good gardening practices, such as mulching and proper plant care, can prevent most weed problems without disinfection.
Conclusion
Learning how to sterilize soil to kill weeds is a valuable skill for any gardener. Whether you choose heat treatment, solar application, or chemical methods, proper soil disinfection can transform your garden. Clean, sterile soil gives your plants the best chance to grow strong and healthy without competition from weeds.
Remember that disinfection removes both harmful and beneficial microbes from the soil. After treatment, focus on rebuilding the soil’s health with compost and organic matter. With patience and the right techniques, you can create the perfect growing environment for your plants. Start with small areas to practice these methods before treating your entire garden.
About Ravuk Barg
B.Sc. Horticulture Science | Certified Master Gardener
Ravuk Barg has spent more than a decade with his hands in the soil and his head full of questions about why some gardens thrive while others struggle. What started as a single raised bed of tomatoes and basil in a modest backyard has grown into a deep, working knowledge of everything from seed germination and soil amendment to companion planting and seasonal pruning.
Over the years, Ravuk has gardened through drought summers, waterlogged springs, and pest invasions that would make most gardeners hang up their trowels for good. Those hard seasons, he’ll tell you, taught him more than any perfect growing year ever could. He writes from that earned experience—covering vegetable growing, ornamental planting, houseplant care, composting, and garden design with equal confidence and curiosity.
Philosophy & Approach
Ravuk’s approach to gardening is rooted in practicality. He favors organic methods not out of dogma, but because they work long-term—resulting in healthier soil, fewer inputs, and stronger plants. He has a particular fondness for heirloom vegetable varieties (the kind with proper flavor), unruly cottage-style flower beds, and the stubborn houseplants that everyone else gave up on.
The Mission: Give readers the honest, experience-backed advice that helps them actually succeed in their gardens—not just the ideal version, but the real one; weeds, failures, and all.
Education & Credentials
-
B.Sc. in Horticulture Science
-
Greenfield Agricultural University
-
Focus: Plant Physiology, Soil Ecology, and Sustainable Crop Production
-
-
Master Gardener Certification
-
Cooperative Extension Service
-
Focus: 200+ hours of hands-on practical training and community garden work
-
Continuing Education
-
Organic Pest Management
-
Native Plant Landscaping
-
Sustainable Crop Production