

Is your lawn feeling soft and spongy when you walk on it? Does it feel like walking on a thick carpet or bouncy mattress? Don’t worry! A spongy lawn is a common problem that many homeowners face. The good news is that you can fix it with the right steps and tools. A spongy lawn happens when too much dead grass builds up on top of your soil. This layer is called thatch. It can also happen when your soil gets packed down too tight or has poor drainage. When your lawn feels bouncy or soft under your feet, it means water and air can’t reach the grass roots properly.
In this guide, we’ll show you exactly how to fix spongy lawn problems. We’ll cover everything from identifying the cause to making your grass healthy and firm again. Let’s get your lawn back to looking and feeling great!
8 Step by Step How to Fix Spongy Lawn
Step 1: Check Your Lawn for Thatch Buildup
The first step to fix your spongy lawn is to find out what’s causing the problem. Most of the time, a bouncy lawn means you have too much thatch. Thatch is a layer of dead grass, roots, and stems that sits between your living grass and the soil.
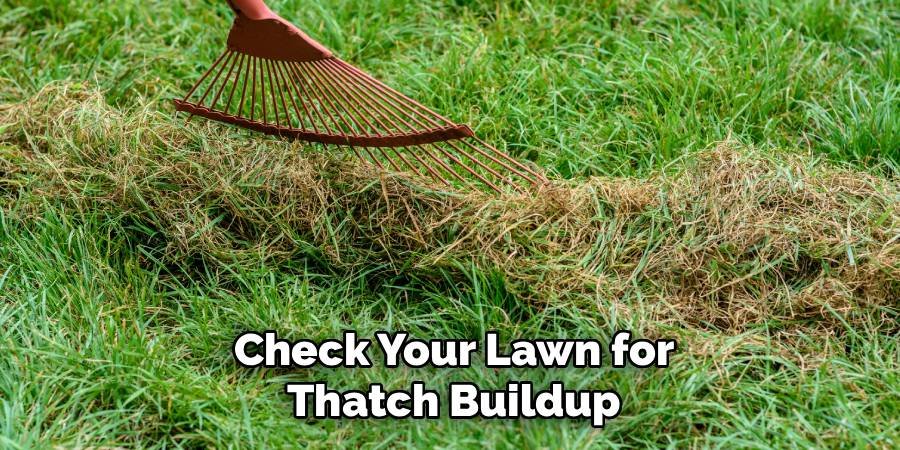
To check for thatch, dig a small hole in your lawn about 2-3 inches deep. Look at the side of the hole. If you see a thick brown layer between the green grass and the soil, that’s thatch. A healthy lawn should have less than half an inch of thatch. If your thatch layer is thicker than three-quarters of an inch, it needs to be removed. Thatch buildup happens when dead grass doesn’t break down fast enough. This can be caused by too much fertilizer, wrong mowing habits, or acidic soil. Heavy clay soil and compacted ground also make thatch problems worse.
Step 2: Test Your Soil Drainage
Poor drainage can make your lawn feel spongy and wet. To test your drainage, dig a hole about 12 inches deep and 6 inches wide. Fill it with water and see how long it takes to drain. Good soil should drain the water in 4-6 hours. If water is still there after 24 hours, you have a drainage problem.
Bad drainage happens for several reasons. Your soil might be too packed down, or you might have heavy clay soil that water can’t move through easily. Sometimes, a high water table or poor yard slope can cause standing water. If you have drainage issues, you’ll need to fix them along with the thatch problem. Water that sits on your lawn too long creates the perfect conditions for more thatch to build up.
Step 3: Gather Your Lawn Dethatching Tools
Before you start fixing your spongy lawn, you need the right tools. For small lawns, you can use a dethatching rake. This special rake has sharp tines that pull up dead grass and thatch. For bigger lawns, you might want to rent a power dethatcher from your local hardware store.
You’ll also need these tools:
- Garden rake for cleanup
- Lawn mower (set to lowest setting)
- Grass seed for bare spots
- Fertilizer
- Garden hose or sprinkler
- Work gloves
If your thatch layer is very thick (more than 1 inch), consider renting a power dethatcher. These machines work much faster than hand rakes and do a better job on thick thatch layers.
Step 4: Remove Thatch with Dethatching
Now it’s time to remove the thatch that’s making your lawn spongy. Start by mowing your grass shorter than normal, but don’t scalp it completely. Set your mower to cut about half the normal grass height. If you’re using a dethatching rake, work in one direction first, then go over the area again at a 90-degree angle. Pull the rake firmly through the grass to bring up dead material. This is hard work, so take breaks as needed.
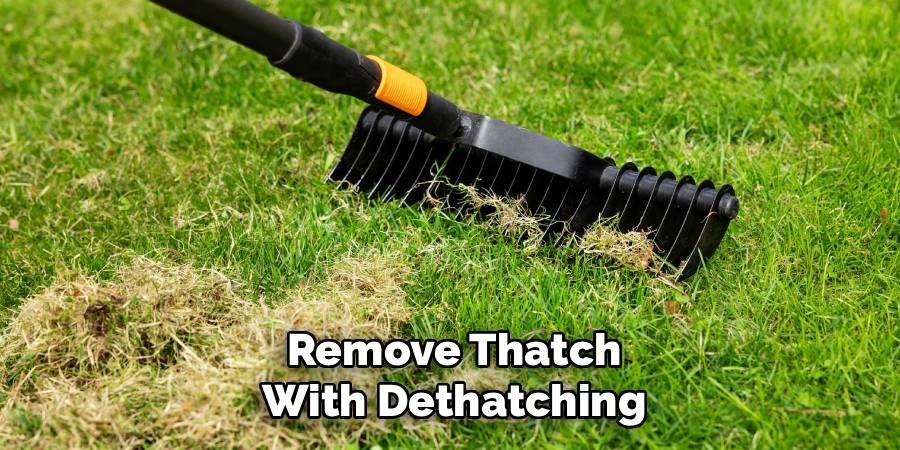
For power dethatchers, follow the machine instructions carefully. These tools have rotating tines that dig into the thatch layer. Go over your lawn once in each direction, just like with the hand rake. The machine will pull up a lot of dead material, which is normal. After dethatching, you’ll have piles of dead grass and debris all over your lawn. Rake up all this material and put it in your compost bin or yard waste bags. Don’t leave it on the lawn, as it will just create new thatch problems.
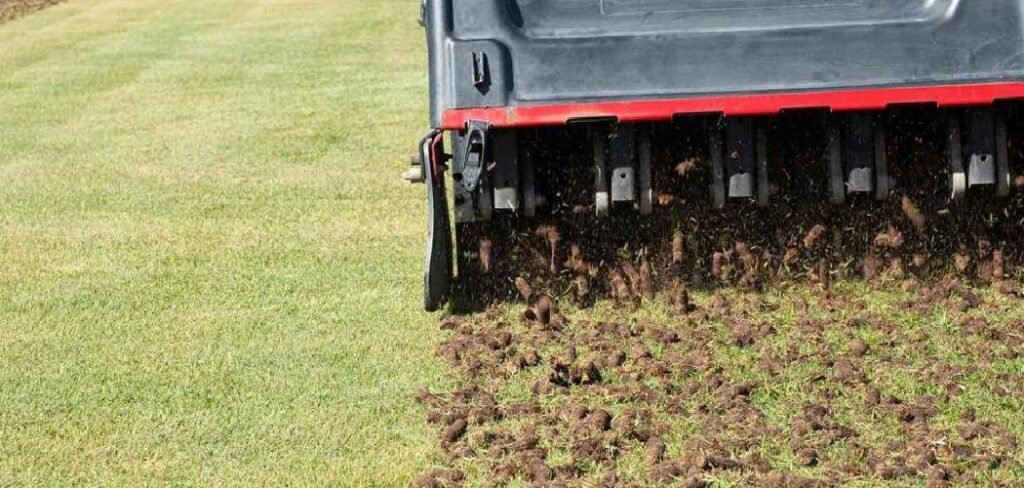
Step 5: Perform Core Aeration for Soil Compaction
If your soil is packed down hard, dethatching alone won’t fix your spongy lawn problem. You’ll also need to do core aeration. This process makes small holes in your soil to let air, water, and nutrients reach the grass roots better. You can rent a core aerator from most hardware stores. These machines pull out small plugs of soil, leaving holes about 2-3 inches deep. The best time to aerate is when your soil is slightly moist but not muddy.
Run the aerator over your entire lawn, making sure the holes are about 2-4 inches apart. Don’t worry about the soil plugs that are left on top of your lawn. These will break down naturally with rain and watering. Core aeration is especially important if you have clay soil or get a lot of foot traffic on your lawn. It helps prevent future thatch buildup by improving soil health and drainage.
Step 6: Improve Drainage Issues
If your drainage test from Step 2 showed water sitting for too long, you need to fix this problem. Poor drainage makes thatch problems worse and keeps your lawn feeling spongy. For small wet areas, you might be able to fix the problem by adding sand and compost to improve soil structure. Mix equal parts sand, compost, and existing soil, then work it into the problem areas.
For bigger drainage problems, you might need to install a French drain or improve your yard’s slope. A French drain is a trench filled with gravel that carries water away from wet areas. This is a bigger project that might need professional help. You can also plant water-loving grass types in areas that stay wet. Some grass varieties handle moisture better than others and won’t develop as many thatch problems.
Step 7: Overseed and Fertilize Your Lawn
After dethatching and aerating, your lawn might look pretty rough. This is normal! Now it’s time to help new grass grow in the thin or bare areas. Choose grass seed that matches your existing lawn type and is right for your climate. Spread the grass seed evenly over thin areas, following the package directions for how much to use. Lightly rake the seed into the soil so it makes good contact. This helps with germination.
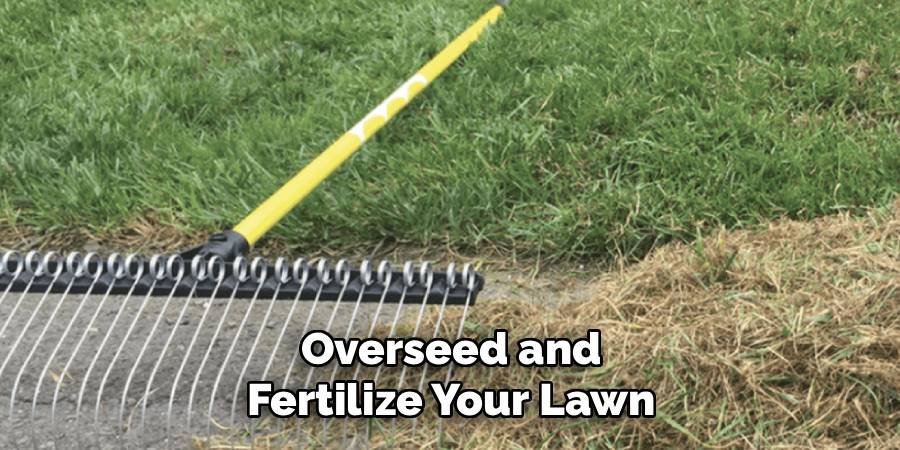
Apply a starter fertilizer that’s made for new grass seed. These fertilizers have the right nutrients to help seeds grow quickly. Follow the package directions carefully – too much fertilizer can actually slow down seed growth. Water your newly seeded areas lightly but frequently. The soil should stay moist but not soggy until the new grass is about 2 inches tall. This usually takes 2-4 weeks depending on grass type and weather.
Step 8: Prevent Future Spongy Lawn Problems
The best way to avoid spongy lawn problems in the future is good lawn care habits. Here are the most important things to remember: Mow your grass regularly and never cut more than one-third of the blade length at one time. Cutting too much at once stresses the grass and can lead to thatch buildup. Water deeply but less often instead of light, frequent watering. This encourages deep root growth and helps prevent thatch. Most lawns need about 1 inch of water per week, including rainfall.

Test your soil pH every few years and add lime if needed. Acidic soil can slow down the natural breakdown of thatch. Most grass types prefer soil pH between 6.0 and 7.0. Don’t over-fertilize your lawn, especially with nitrogen-heavy fertilizers. Too much nitrogen makes grass grow too fast and creates more thatch. Follow fertilizer package directions and don’t apply more than recommended.
Frequently Asked Questions
What causes a spongy lawn?
A spongy lawn is usually caused by too much thatch buildup between your grass and soil. Thatch is dead grass, roots, and stems that haven’t broken down properly. Other causes include soil compaction, poor drainage, and over-watering. Clay soil and acidic conditions can make the problem worse by slowing down natural decomposition.
How do I know if my lawn needs dethatching?
Check for thatch by digging a small hole in your lawn and looking at the layers. If you see more than 3/4 inch of brown, spongy material between the green grass and soil, your lawn needs dethatching. Your lawn will also feel bouncy when you walk on it, and water might run off instead of soaking in.
When is the best time to dethatch a lawn?
The best time to dethatch depends on your grass type. For cool-season grasses like fescue and bluegrass, dethatch in early spring or early fall when the grass is actively growing. For warm-season grasses like Bermuda and Zoysia, dethatch in late spring through early summer after the second mowing of the season.
Can I prevent thatch buildup naturally?
Yes! You can reduce thatch buildup by following good lawn care practices. Mow regularly without cutting too much at once, water deeply but less often, and avoid over-fertilizing. Adding beneficial bacteria and earthworms to your soil helps break down organic matter naturally. Also, keep your soil pH balanced between 6.0 and 7.0.
Should I hire a professional to fix my spongy lawn?
For small lawns or minor thatch problems, you can usually handle the job yourself with rented equipment. However, consider hiring a professional if you have a large lawn, severe thatch buildup over 1 inch thick, or major drainage issues. Professionals have better equipment and experience dealing with difficult lawn problems.
Conclusion
Fixing a spongy lawn takes some work, but it’s definitely doable with the right approach. The key is identifying whether you’re dealing with thatch buildup, soil compaction, drainage problems, or a combination of these issues. Most spongy lawns are caused by too much thatch, which you can remove through dethatching and proper lawn care.
Remember that prevention is always better than trying to fix problems later. By following good mowing practices, watering correctly, and avoiding over-fertilization, you can keep your lawn healthy and prevent thatch from building up again. Regular core aeration every few years will also help keep your soil healthy and prevent compaction.
Don’t get discouraged if your lawn looks rough right after dethatching and aerating. This is completely normal, and your grass will bounce back stronger than ever with proper care. Most homeowners see significant improvement in their lawn’s feel and appearance within 4-6 weeks of treatment. With patience and consistent care, you’ll have a firm, healthy lawn that you can enjoy for years to come.
About Ravuk Barg
B.Sc. Horticulture Science | Certified Master Gardener
Ravuk Barg has spent more than a decade with his hands in the soil and his head full of questions about why some gardens thrive while others struggle. What started as a single raised bed of tomatoes and basil in a modest backyard has grown into a deep, working knowledge of everything from seed germination and soil amendment to companion planting and seasonal pruning.
Over the years, Ravuk has gardened through drought summers, waterlogged springs, and pest invasions that would make most gardeners hang up their trowels for good. Those hard seasons, he’ll tell you, taught him more than any perfect growing year ever could. He writes from that earned experience—covering vegetable growing, ornamental planting, houseplant care, composting, and garden design with equal confidence and curiosity.
Philosophy & Approach
Ravuk’s approach to gardening is rooted in practicality. He favors organic methods not out of dogma, but because they work long-term—resulting in healthier soil, fewer inputs, and stronger plants. He has a particular fondness for heirloom vegetable varieties (the kind with proper flavor), unruly cottage-style flower beds, and the stubborn houseplants that everyone else gave up on.
The Mission: Give readers the honest, experience-backed advice that helps them actually succeed in their gardens—not just the ideal version, but the real one; weeds, failures, and all.
Education & Credentials
-
B.Sc. in Horticulture Science
-
Greenfield Agricultural University
-
Focus: Plant Physiology, Soil Ecology, and Sustainable Crop Production
-
-
Master Gardener Certification
-
Cooperative Extension Service
-
Focus: 200+ hours of hands-on practical training and community garden work
-
Continuing Education
-
Organic Pest Management
-
Native Plant Landscaping
-
Sustainable Crop Production