

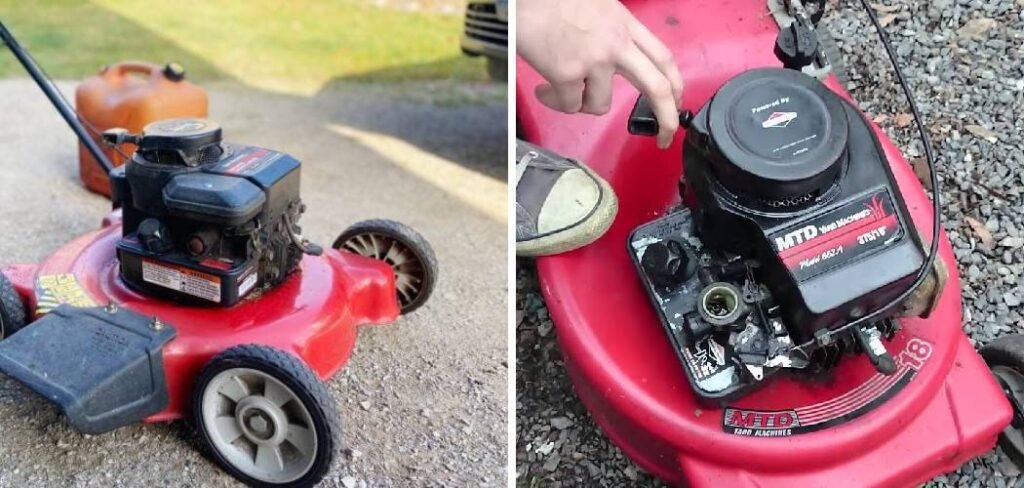
Discovering gas in the oil of your lawn mower can be alarming, especially if you rely on it to keep your yard looking neat. This common issue often signals a problem with the carburetor, but the good news is that it’s usually fixable with a little patience and some basic tools.
For many homeowners, the thought of engine repair can be daunting, but this guide is designed to help. We will walk you through the process, making it easy for even a beginner to understand. Learning how to fix gas in oil lawn mower problems not only saves you a trip to the repair shop but also empowers you with valuable maintenance skills. You can tackle this issue confidently and get your mower running smoothly again.
Why Fixing Gas in Your Mower’s Oil is Crucial
Ignoring fuel contamination in your engine’s oil is a recipe for disaster. When gasoline seeps into the crankcase, it thins the oil, severely reducing its ability to lubricate the engine’s moving parts. This lack of proper lubrication leads to increased friction and heat, causing premature wear and tear on critical components like pistons, cylinders, and bearings. If left unaddressed, the engine can overheat and seize, resulting in catastrophic failure that is far more expensive and difficult to repair than the initial problem. Addressing the issue promptly protects your investment, ensures the longevity of your lawn mower, and maintains its performance and efficiency for seasons to come.
8 Step-by-Step Guide on How to Fix Gas in Oil Lawn Mower
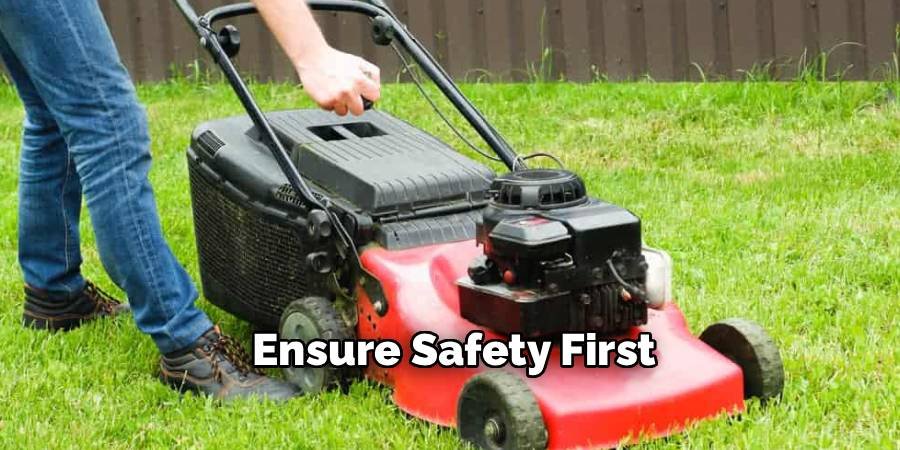
Step 1: Ensure Safety First
Before starting any maintenance on your lawn mower, safety is your top priority. Move the mower to a well-ventilated area, like a driveway or an open garage, to avoid inhaling gasoline fumes. Disconnect the spark plug wire by firmly pulling the boot off the plug. This simple action prevents the engine from accidentally starting while you work, which could cause serious injury. It’s also wise to wear safety glasses to protect your eyes from fuel splashes and nitrile gloves to keep gasoline and oil off your skin. Having a fire extinguisher nearby is an added precaution when working with flammable liquids.
Step 2: Confirm the Presence of Gas in the Oil
The next step is to verify that gasoline has indeed contaminated the oil. Locate the oil dipstick, pull it out, and wipe it clean with a rag. Reinsert it fully, then pull it out again to check the oil level and condition. If the oil level is significantly higher than the “full” mark, it’s a strong indicator of contamination. You should also observe the oil’s consistency. Oil mixed with gas will appear thinner and less viscous than normal. Lastly, smell the oil on the dipstick. A distinct, strong smell of gasoline is a clear confirmation of the problem.
Step 3: Drain the Contaminated Oil and Fuel
Now you must drain all the contaminated fluids. Start with the fuel tank. Use a siphon pump to safely transfer the gasoline into an approved container. Next, drain the oil. Place an oil drain pan under the mower and locate the drain plug on the bottom of the engine. Unscrew the plug and allow the thinned oil-gas mixture to drain completely. If your mower doesn’t have a drain plug, you will need to carefully tilt it on its side—with the carburetor and air filter facing up—to pour the oil out through the filler tube.
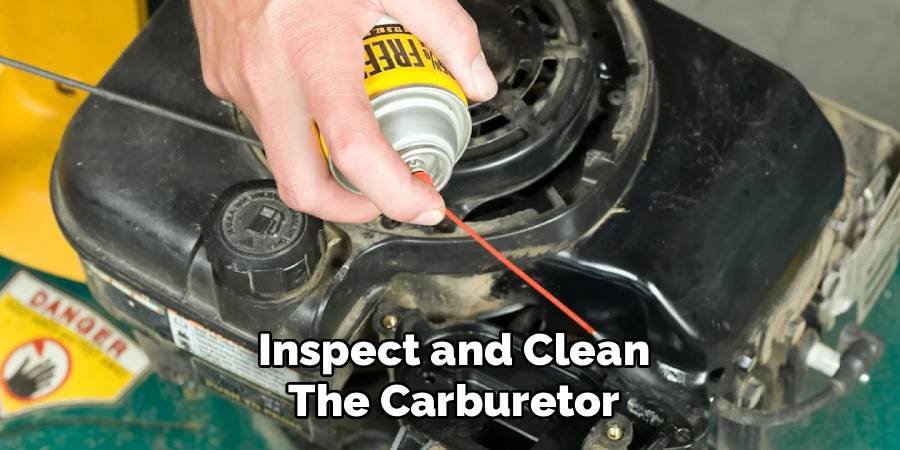
Step 4: Inspect and Clean the Carburetor
The carburetor is the most common culprit when gas leaks into the oil. This usually happens because the needle valve, which controls fuel flow, is stuck open. Carefully remove the air filter and its housing to access the carburetor. Disconnect the fuel line and any linkages. Unbolt the carburetor from the engine. Once removed, take off the float bowl at the bottom. You will see the float and the needle valve. Gently clean the needle valve and its seat with carburetor cleaner and a soft brush to remove any grime or debris that could be preventing it from sealing properly.
Step 5: Check and Adjust the Carburetor Float
The carburetor float regulates the fuel level in the float bowl. If it’s set incorrectly or damaged, it can cause the needle valve to stay open. Inspect the float for any signs of damage, like cracks or holes, which could cause it to fill with gas and sink. If it’s a brass float, you can check for leaks by submerging it in water. For plastic floats, just check for damage. If the float is adjustable, ensure it is parallel to the carburetor body when held upside down. This position allows the needle valve to close correctly when the bowl is full.
Step 6: Replace the Carburetor Needle Valve if Necessary
Even after cleaning, a needle valve can fail to seal if its rubber tip is worn, hardened, or damaged. Inspect the conical tip of the valve closely. If you see any imperfections, it’s best to replace it. Needle valve kits are inexpensive and widely available for most common lawn mower engines. Installing a new needle valve is a crucial part of learning how to fix gas in oil lawn mower issues permanently, as it ensures a tight seal and prevents future fuel leaks into the carburetor throat and, subsequently, the engine cylinder. Reassemble the carburetor with the new valve.
Step 7: Reinstall the Carburetor and Fuel System
With the carburetor cleaned and serviced, you can now reinstall it. Bolt it back onto the engine, making sure the gaskets are in good condition and properly aligned to prevent vacuum leaks. Reconnect the throttle and choke linkages, ensuring they move freely. Attach the fuel line securely to the carburetor inlet. Reinstall the air filter housing and a new or cleaned air filter. A clean air filter is essential for proper engine performance and prevents dirt from entering the newly cleaned carburetor. Double-check that all connections are secure before proceeding to the next step.
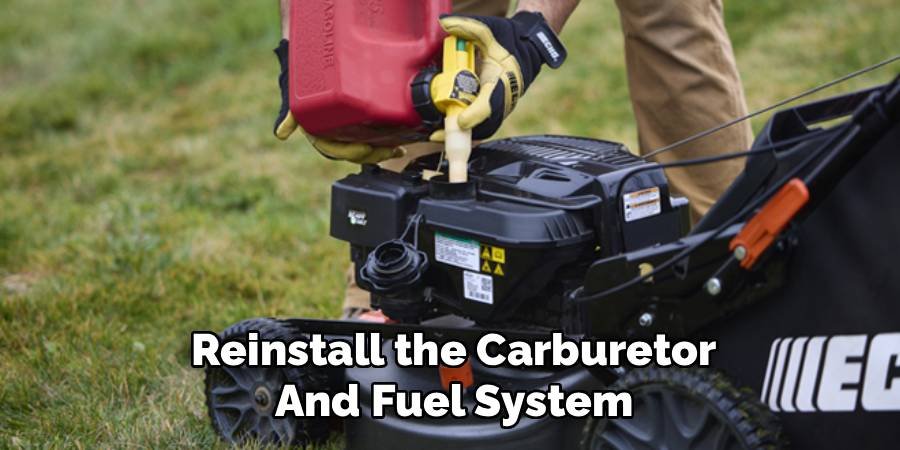
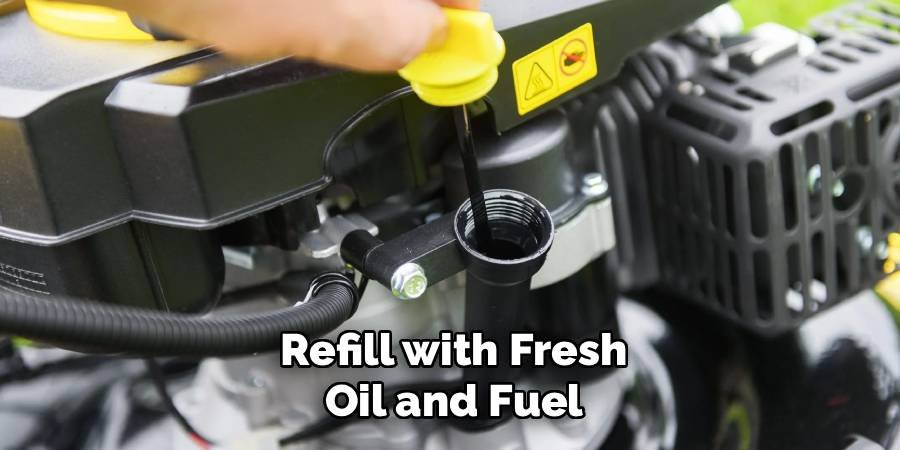
Step 8: Refill with Fresh Oil and Fuel
Your final step in this guide on how to fix gas in oil lawn mower engines is to add fresh fluids. First, securely tighten the oil drain plug. Refer to your owner’s manual for the correct type and amount of engine oil. Use a funnel to pour the fresh oil into the engine through the oil filler tube. Use the dipstick to check that the level is at the “full” mark. Next, fill the fuel tank with fresh, clean gasoline. It’s best to use fuel that is less than 30 days old, and consider adding a fuel stabilizer to prevent future carburetor problems.
Frequently Asked Questions (FAQ)
What Causes Gas to Get into the Oil of a Lawn Mower?
Gas usually enters the oil because of a faulty carburetor. The most common reason is a stuck needle valve, which is supposed to shut off fuel flow when the carburetor’s float bowl is full. If dirt, debris, or old fuel residue keeps the valve from closing, gasoline can overflow, seep past the piston rings, and drain down into the crankcase, where it mixes with the engine oil.
Can I Run My Mower with a Little Gas in the Oil?
No, you should never run your mower if you suspect there is gas in the oil. Gasoline is a solvent that thins the oil, drastically reducing its lubricating properties. Running the engine with contaminated oil will cause:
- Increased friction and heat
- Rapid wear on internal engine parts
- Potential for the engine to seize completely
This can lead to catastrophic and expensive engine damage.
How Often Should I Change My Lawn Mower’s Oil?
Regular oil changes are key to engine health. Most manufacturers recommend changing the oil after the first five hours of use on a new mower. After that, a good rule of thumb is to change the oil once every mowing season or after every 50 hours of operation, whichever comes first. If you mow in very dusty or dirty conditions, you may need to change it more frequently.
Is a Carburetor Replacement Necessary?
Not always. In many cases, a thorough cleaning of the carburetor, float bowl, and needle valve is all that’s needed to fix the problem. However, if the needle valve tip is visibly worn or damaged, or if the float is cracked, those parts should be replaced. If the carburetor body itself is warped or cracked, or if a deep cleaning doesn’t solve the fuel leak, then replacing the entire carburetor is the most effective solution.
How Can I Prevent Gas from Getting in My Oil in the Future?
Preventive maintenance is your best defense. Always use fresh gasoline (less than 30 days old) and add a fuel stabilizer, especially if the mower will be stored for more than a month. At the end of the mowing season, either run the engine until the fuel tank is empty or use a fuel shut-off valve to stop flow to the carburetor. Regularly cleaning your air filter also helps prevent dirt from entering the carburetor.
Conclusion
Fixing a lawn mower that has gas in its oil might seem like a complex task, but by following the steps outlined in this guide, you can confidently handle it yourself. From ensuring your safety to draining the old fluids, cleaning the carburetor, and refilling with fresh oil, each step is a manageable part of the solution. You’ve learned to identify the problem, locate the source, and perform the necessary repairs. By taking the time to learn how to fix gas in oil lawn mower issues, you not only save money but also extend the life of your equipment. Now, you’re ready to get your mower running like new and tackle that lawn with confidence.
About Ravuk Barg
B.Sc. Horticulture Science | Certified Master Gardener
Ravuk Barg has spent more than a decade with his hands in the soil and his head full of questions about why some gardens thrive while others struggle. What started as a single raised bed of tomatoes and basil in a modest backyard has grown into a deep, working knowledge of everything from seed germination and soil amendment to companion planting and seasonal pruning.
Over the years, Ravuk has gardened through drought summers, waterlogged springs, and pest invasions that would make most gardeners hang up their trowels for good. Those hard seasons, he’ll tell you, taught him more than any perfect growing year ever could. He writes from that earned experience—covering vegetable growing, ornamental planting, houseplant care, composting, and garden design with equal confidence and curiosity.
Philosophy & Approach
Ravuk’s approach to gardening is rooted in practicality. He favors organic methods not out of dogma, but because they work long-term—resulting in healthier soil, fewer inputs, and stronger plants. He has a particular fondness for heirloom vegetable varieties (the kind with proper flavor), unruly cottage-style flower beds, and the stubborn houseplants that everyone else gave up on.
The Mission: Give readers the honest, experience-backed advice that helps them actually succeed in their gardens—not just the ideal version, but the real one; weeds, failures, and all.
Education & Credentials
-
B.Sc. in Horticulture Science
-
Greenfield Agricultural University
-
Focus: Plant Physiology, Soil Ecology, and Sustainable Crop Production
-
-
Master Gardener Certification
-
Cooperative Extension Service
-
Focus: 200+ hours of hands-on practical training and community garden work
-
Continuing Education
-
Organic Pest Management
-
Native Plant Landscaping
-
Sustainable Crop Production