

A broken garden hose spray nozzle can turn your relaxing watering routine into a frustrating experience. Whether you’re dealing with a trigger that won’t activate, water spraying in all directions, or complete blockage, knowing how to fix garden hose spray nozzle issues saves you time and money.
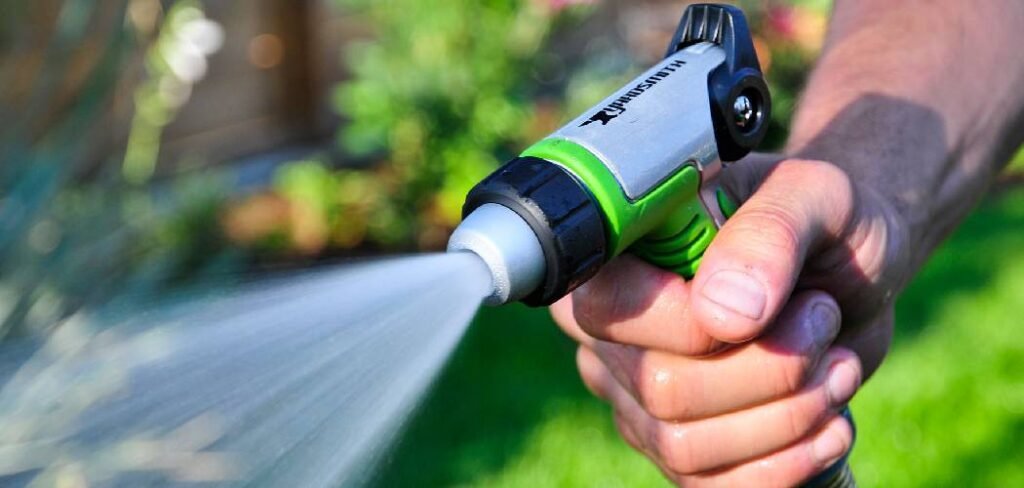
Most nozzle problems stem from common culprits like mineral buildup, worn seals, or damaged internal components. The good news? You can tackle most repairs with basic tools and a little patience.
This guide walks you through identifying problems, gathering the right supplies, and performing step-by-step repairs. You’ll learn when to clean, when to replace parts, and when it’s time for a new nozzle entirely.
Why You Need to Fix Your Spray Nozzle
A malfunctioning spray nozzle wastes water and makes garden maintenance unnecessarily difficult. Leaky connections can increase your water bill while poor spray patterns leave plants inadequately watered.
Beyond the practical concerns, a broken nozzle creates safety hazards. Uncontrolled water pressure can damage delicate plants or create slippery surfaces around your garden.
Fixing your nozzle also extends its lifespan significantly. Regular maintenance prevents minor issues from becoming major failures, protecting your investment in quality garden equipment.
10 Step-by-Step Guide: How to Fix Garden Hose Spray Nozzle
Step 1: Disconnect and Inspect the Nozzle
Start by disconnecting your spray nozzle from the garden hose completely. Turn off the water supply and unscrew the connection carefully to avoid losing small parts.
Examine the entire nozzle for obvious damage like cracks, bent components, or missing pieces. Look closely at the trigger mechanism, spray head, and connection threads. Take note of any mineral deposits, debris, or discoloration that might indicate internal problems.
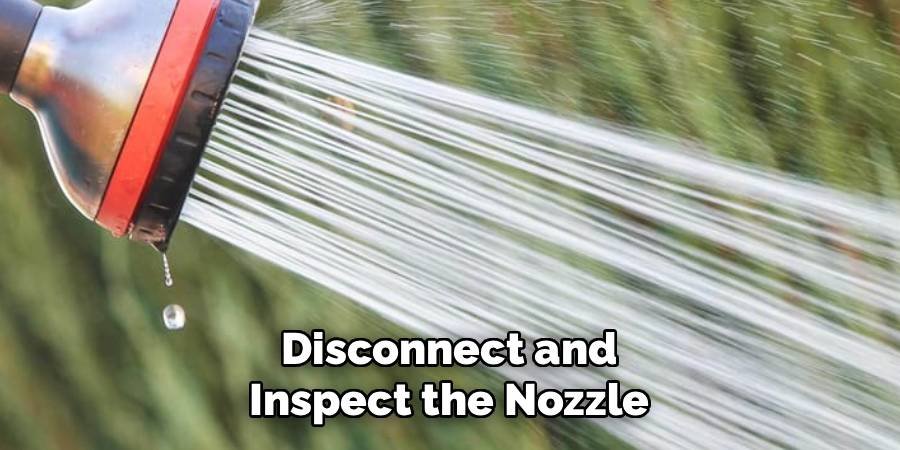
Check the connection end for damaged threads or worn gaskets. These small rubber rings often cause major leakage issues when they deteriorate over time.
Step 2: Gather Your Repair Tools and Supplies
Collect the essential tools before starting your repair work. You’ll need needle-nose pliers, a small screwdriver set, and possibly a wrench for stubborn connections. Purchase replacement parts if needed, including O-rings, gaskets, and internal seals. Most hardware stores carry universal nozzle repair kits that include common components for various brands.
Have cleaning supplies ready too. White vinegar, an old toothbrush, and clean rags will help remove mineral buildup and debris from internal components.
Step 3: Disassemble the Nozzle Components
Remove the spray head by unscrewing or unclipping it from the main body, depending on your nozzle design. Work slowly and keep track of how pieces fit together. Take apart the trigger assembly carefully, noting the position of springs, washers, and other small parts. Some nozzles have complex internal mechanisms that require gentle handling.
Place all components in a logical order on your work surface. Consider taking photos during disassembly to reference during reassembly.
Step 4: Clean All Internal Components
Soak removable parts in white vinegar for 15-30 minutes to dissolve mineral deposits and calcium buildup. This natural cleaning method works effectively without damaging plastic or rubber components. Scrub stubborn deposits with an old toothbrush, paying special attention to small openings and channels where water flows. Remove all visible debris and buildup from every surface.

Rinse thoroughly with clean water and dry completely before moving to the next step. Moisture trapped inside can cause premature wear or corrosion.
Step 5: Examine and Replace Worn Seals
Inspect all rubber gaskets, O-rings, and seals for cracks, hardening, or deformation. These components typically fail first and cause most nozzle problems. Replace any questionable seals rather than risking future failures. New seals are inexpensive and dramatically improve nozzle performance and longevity.
Apply a thin layer of plumber’s silicone grease to new seals before installation. This lubrication helps prevent binding and extends seal life significantly.
Step 6: Check and Repair the Trigger Mechanism
Test the trigger action before reassembly by pressing it several times. It should move smoothly without sticking or requiring excessive force. Clean the trigger pivot points and apply a drop of light machine oil if movement feels stiff. Avoid over-lubricating, which can attract dirt and debris.
Replace trigger springs if they appear stretched, corroded, or broken. A weak spring reduces trigger responsiveness and affects water flow control.
Step 7: Inspect the Spray Pattern Selector
Rotate the spray pattern selector through all positions, checking for smooth operation and proper alignment. Many nozzles fail when this mechanism becomes clogged or damaged.
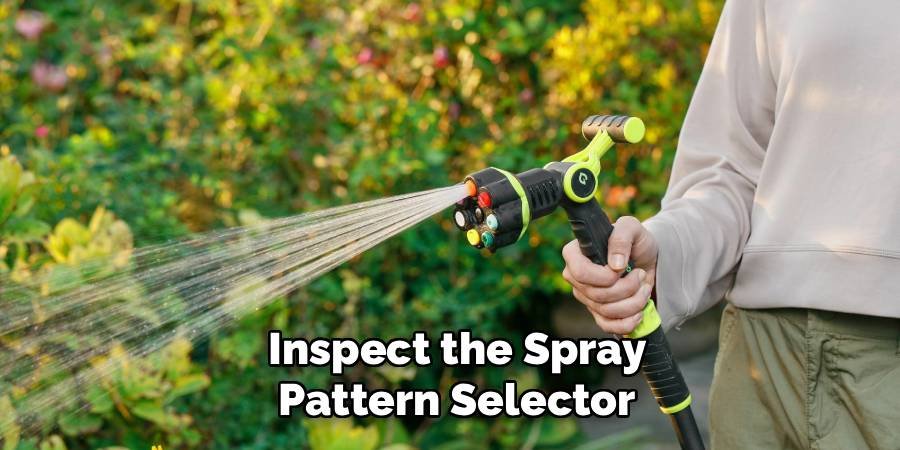
Clean the selector mechanism thoroughly, removing any debris that prevents proper rotation. Pay attention to the internal channels that direct water to different spray patterns. Lubricate moving parts lightly with silicone spray or light oil. Test the mechanism several times to ensure smooth operation before proceeding.
Step 8: Reassemble in Reverse Order
Begin reassembly by following your disassembly steps in reverse order. Work slowly and ensure each component seats properly in its designated position. Tighten connections hand-tight first, then use tools for final adjustments. Over-tightening can damage threads or crush seals, creating new leak points. Double-check that all moving parts operate freely and that spray patterns align correctly with selector positions. Make adjustments as needed before final assembly.
Step 9: Test Water Flow and Spray Patterns
Reconnect the repaired nozzle to your garden hose and turn on the water supply gradually. Start with low pressure to check for immediate leaks or problems. Test each spray pattern systematically, verifying that water flows properly and patterns match selector positions. Look for consistent pressure and even spray distribution. Check all connection points for leaks while water is flowing. Minor seepage often appears only under pressure and indicates incomplete repairs.
Step 10: Perform Final Adjustments and Maintenance
Fine-tune trigger sensitivity and spray pattern alignment if necessary. Most nozzles allow minor adjustments to optimize performance for your specific needs. Apply thread sealant tape to hose connections if minor leaks persist. This inexpensive fix often eliminates stubborn connection problems without major repairs. Document your repair date and replacement parts used for future reference. This information helps track component lifespan and plan preventive maintenance schedules.
Maintaining Your Spray Nozzle
Regular cleaning prevents most nozzle problems before they develop into major repairs. Rinse your nozzle with clean water after each use, especially when applying fertilizers or chemicals.
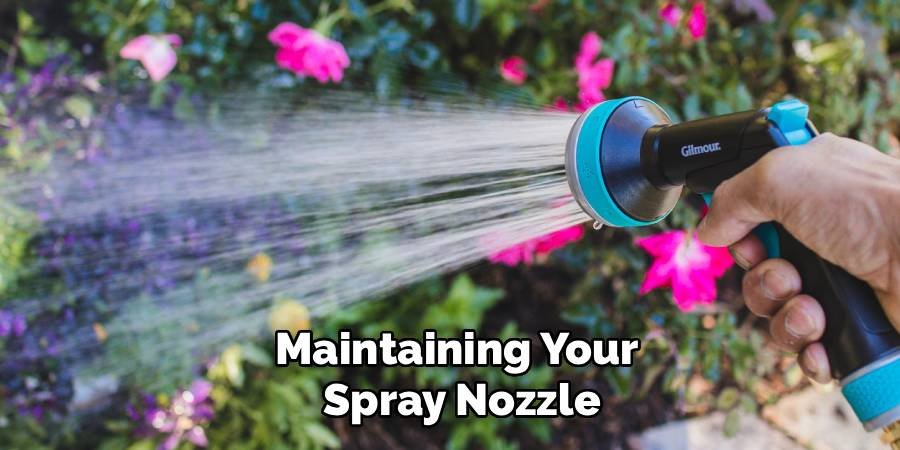
Store nozzles in a dry location during winter months to prevent freeze damage. Drain all water from internal components and protect rubber seals from extreme temperatures. Inspect connections monthly for early signs of wear or damage. Catching problems early makes repairs simpler and less expensive than waiting for complete failure.
Common Mistakes to Avoid
Never use harsh chemicals or abrasive cleaners on plastic nozzle components. These substances can weaken materials and accelerate wear, creating more problems than they solve. Avoid over-tightening connections, which damages threads and crushes seals. Hand-tight plus a quarter turn with tools provides adequate sealing without risking damage. Don’t ignore minor leaks or performance issues. Small problems quickly escalate into major failures that require complete nozzle replacement rather than simple repairs.
Regularly inspect nozzles for blockages, wear, or deformation. Proper maintenance includes gently cleaning clogged nozzles with appropriate tools, such as soft brushes or compressed air, to avoid damaging delicate components. Additionally, store nozzles in a clean, dry environment when not in use to prevent contamination or corrosion. Consistent care and attention extend the lifespan of nozzles and ensure optimal performance for the tasks at hand.
FAQ Frequently Asked Questions
How Often Should I Clean My Garden Hose Spray Nozzle?
Clean your nozzle monthly during active growing seasons and after each use with fertilizers or chemicals. Regular cleaning prevents mineral buildup and extends component life significantly.
What Causes Spray Nozzles to Lose Water Pressure?
Clogged internal passages, worn seals, and debris in the trigger mechanism commonly reduce water pressure. Mineral deposits from hard water create the most frequent blockage problems.
Can I Repair a Cracked Nozzle Body?
Minor cracks in plastic bodies can sometimes be sealed with plastic cement or epoxy. However, replacement is usually more cost-effective than temporary crack repairs.
Why Does My Nozzle Leak at the Hose Connection?
Worn gaskets, damaged threads, or improper tightening cause most connection leaks. Replace the rubber washer and apply thread sealant tape for reliable sealing.
When Should I Replace My Spray Nozzle Instead of Repairing It?
Replace nozzles with cracked bodies, severely corroded metal parts, or multiple simultaneous failures. Repair costs often exceed replacement prices for extensively damaged units.
Conclusion
Learning how to fix garden hose spray nozzle problems empowers you to maintain your gardening equipment effectively and economically. Most issues require only basic tools, inexpensive parts, and a systematic approach to diagnosis and repair. Regular maintenance prevents many common problems from developing into costly failures. Monthly cleaning, proper storage, and prompt attention to minor issues keep your nozzle functioning reliably for years.
The skills you’ve learned apply to most spray nozzle brands and styles, making you self-sufficient for future repairs. Your garden and your budget will thank you for mastering these essential maintenance techniques. Remember that some problems indicate it’s time for replacement rather than repair. Investing in a quality nozzle and maintaining it properly provides the best long-term value for your gardening needs.
About Ravuk Barg
B.Sc. Horticulture Science | Certified Master Gardener
Ravuk Barg has spent more than a decade with his hands in the soil and his head full of questions about why some gardens thrive while others struggle. What started as a single raised bed of tomatoes and basil in a modest backyard has grown into a deep, working knowledge of everything from seed germination and soil amendment to companion planting and seasonal pruning.
Over the years, Ravuk has gardened through drought summers, waterlogged springs, and pest invasions that would make most gardeners hang up their trowels for good. Those hard seasons, he’ll tell you, taught him more than any perfect growing year ever could. He writes from that earned experience—covering vegetable growing, ornamental planting, houseplant care, composting, and garden design with equal confidence and curiosity.
Philosophy & Approach
Ravuk’s approach to gardening is rooted in practicality. He favors organic methods not out of dogma, but because they work long-term—resulting in healthier soil, fewer inputs, and stronger plants. He has a particular fondness for heirloom vegetable varieties (the kind with proper flavor), unruly cottage-style flower beds, and the stubborn houseplants that everyone else gave up on.
The Mission: Give readers the honest, experience-backed advice that helps them actually succeed in their gardens—not just the ideal version, but the real one; weeds, failures, and all.
Education & Credentials
-
B.Sc. in Horticulture Science
-
Greenfield Agricultural University
-
Focus: Plant Physiology, Soil Ecology, and Sustainable Crop Production
-
-
Master Gardener Certification
-
Cooperative Extension Service
-
Focus: 200+ hours of hands-on practical training and community garden work
-
Continuing Education
-
Organic Pest Management
-
Native Plant Landscaping
-
Sustainable Crop Production