

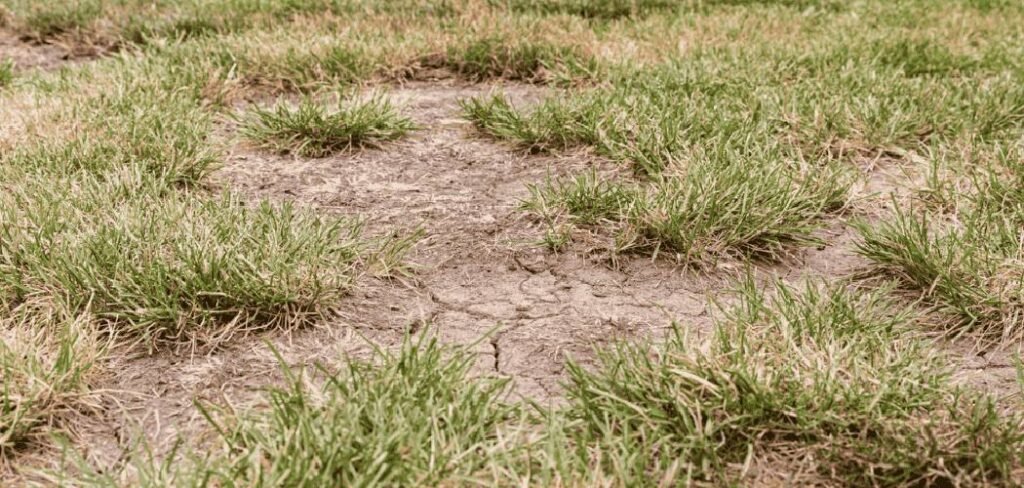
A lush, green lawn is the dream of many homeowners, but it all starts with what’s underneath. If you’re struggling with patchy, yellowing, or weak grass, the problem might not be your watering schedule or choice of seed, but the soil itself. Poor soil can be compacted, lack nutrients, or have the wrong pH, making it nearly impossible for grass to thrive.
The good news is that you don’t have to be a soil scientist to turn things around. Learning how to fix bad soil for grass is a straightforward process that involves testing, amending, and nurturing your yard back to health. This guide will walk you through every step, transforming your frustrating lawn into a vibrant, healthy carpet of green.
Why Fixing Bad Soil is Crucial for a Healthy Lawn
Many people focus on fertilizing and watering, but without a healthy foundation, these efforts are often wasted. Bad soil can be too sandy, letting water and nutrients drain away, or too full of clay, becoming a compacted, waterlogged mess that suffocates grassroots. It might also lack essential organic matter and microbial life needed to break down nutrients for your grass to absorb.
Understanding how to fix bad soil for grass is about creating an environment where roots can grow deep, access moisture, and find the nourishment they need. By improving the soil structure and nutrient content, you’re not just treating symptoms like yellow patches; you’re solving the root cause of an unhealthy lawn.
8 Step Methods on for How to Fix Bad Soil for Grass
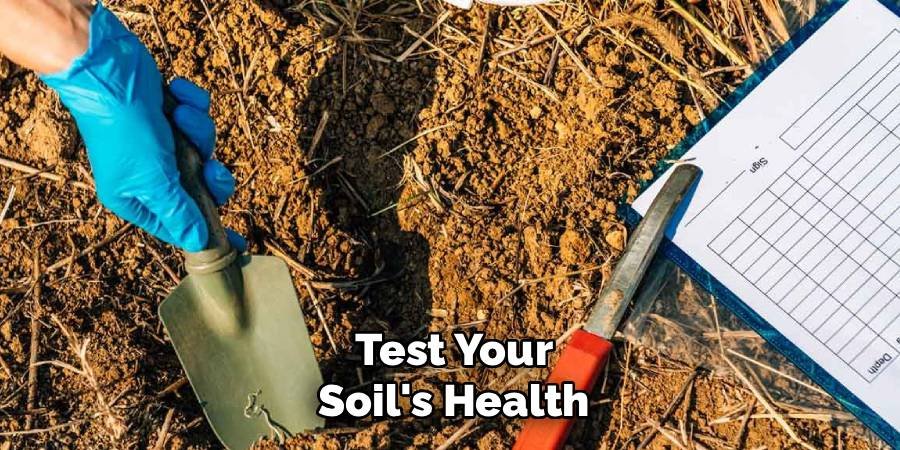
Step 1: Test Your Soil’s Health
Before making any changes, you need to know what you’re working with. A soil test is the most important first step. You can purchase a DIY kit from a garden center or, for more detailed results, send a sample to your local cooperative extension service. This test will reveal your soil’s pH level, nutrient deficiencies (like nitrogen, phosphorus, and potassium), and its composition (sandy, clay, or loam). Understanding these specifics is critical, as it tells you exactly what your soil needs. Without this information, you’re just guessing, which can waste time and money on amendments that won’t help.
Step 2: Dethatch the Lawn to Remove Buildup
Thatch is a layer of dead grass, roots, and other organic debris that accumulates between the soil surface and the green grass blades. A thin layer is normal, but a thick one (over half an inch) can block water, air, and nutrients from reaching the soil and grassroots. To remove it, use a specialized dethatching rake for small areas or rent a power dethatcher for larger lawns. Rake vigorously to pull up the matted layer. Clearing away this barrier ensures that the amendments you add in later steps can actually penetrate the soil and do their job effectively.
Step 3: Aerate to Relieve Compaction
Compacted soil is a common problem, especially in high-traffic areas or yards with heavy clay content. Compaction squeezes the air pockets out of the soil, making it difficult for roots to grow, water to soak in, and beneficial organisms to live. Core aeration is the best solution. A core aerator pulls small plugs of soil out of the ground, creating channels for air, water, and nutrients to penetrate deep into the root zone. This process immediately reduces compaction and is one of the most effective ways to begin improving soil structure for better grass growth.
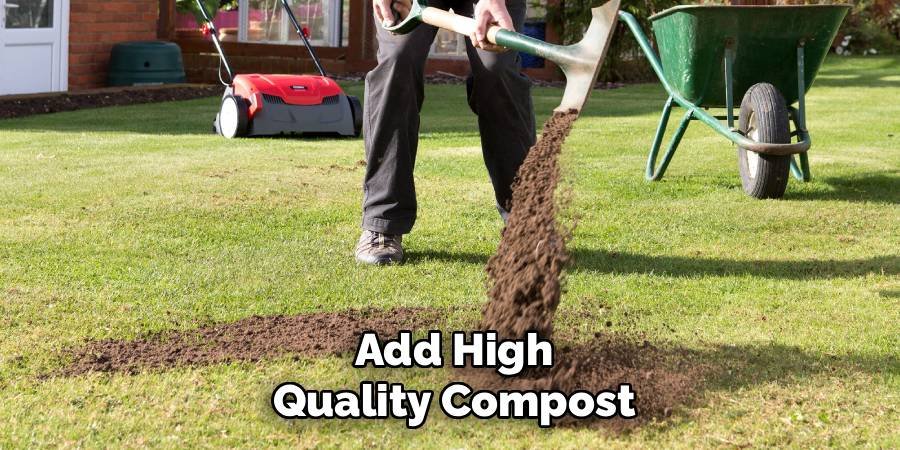
Step 4: Add High-Quality Compost
Compost is the single best amendment for almost any soil type. It’s a powerhouse of organic matter that improves soil structure, adds vital nutrients, and introduces beneficial microbes. If your soil is sandy, compost helps it retain moisture and nutrients. If your soil is heavy clay, compost helps break it up, improving drainage and aeration. After aerating, spread a half-inch layer of high-quality, finished compost across your entire lawn. Use a rake to work it into the aeration holes and evenly distribute it across the surface. This step is fundamental to a successful soil overhaul.
Step 5: Amend the Soil Based on Test Results
Your soil test results will guide this step. If the test showed your soil is too acidic (low pH), you will need to add lime to raise the pH. If it’s too alkaline (high pH), you’ll need to add sulfur or peat moss to lower it. Grass typically prefers a slightly acidic pH between 6.0 and 7.0. The test will also reveal specific nutrient deficiencies. You may need to add a fertilizer rich in nitrogen for leaf growth, phosphorus for root development, or potassium for overall plant health. Apply these amendments according to the package directions for your lawn’s square footage.
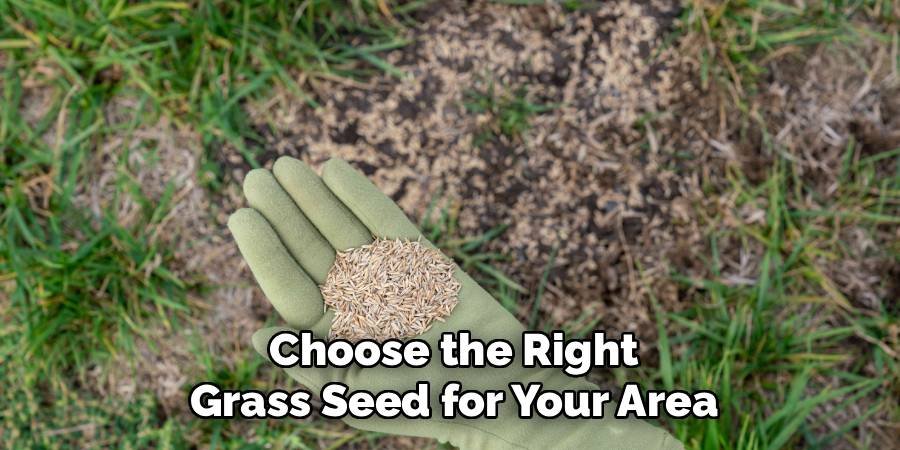
Step 6: Choose the Right Grass Seed for Your Area
Not all grass is created equal. Planting a type of grass that isn’t suited to your climate or soil conditions is a recipe for failure. Research grass varieties that thrive in your specific region. Consider factors like sun exposure (full sun, partial shade), water requirements, and foot traffic. Overseeding your lawn after amending the soil gives the new seeds the best possible start. Spreading the right seed over your prepared soil ensures that your hard work results in a dense, resilient lawn that can withstand local environmental challenges and flourish for years to come.
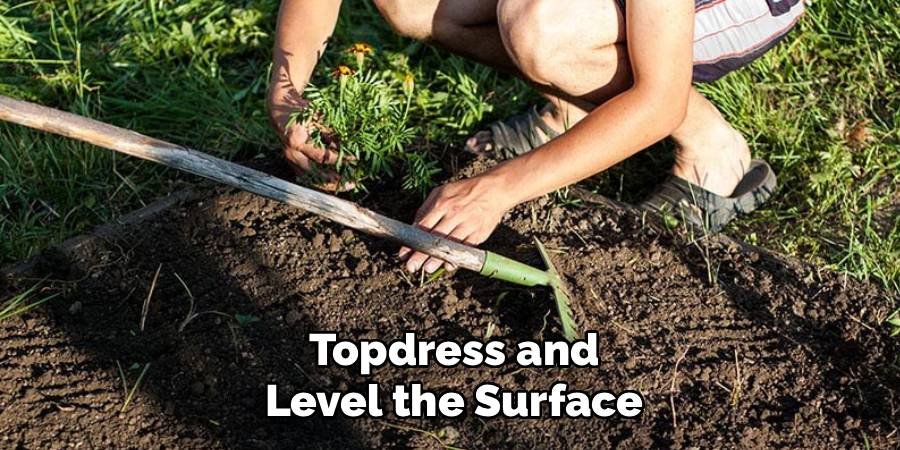
Step 7: Topdress and Level the Surface
Topdressing is the process of applying a thin layer of material, like a mix of compost and topsoil or sand, over the lawn. After spreading your amendments and seed, a light topdressing can help protect the new seeds, hold moisture, and further improve the soil’s surface texture. It helps fill in any low spots and creates a smoother, more even lawn. Use the back of a rake to gently spread the topdressing material to about a quarter-inch thick. This final layer helps integrate all your amendments and provides an ideal germination environment for the new grass seed.
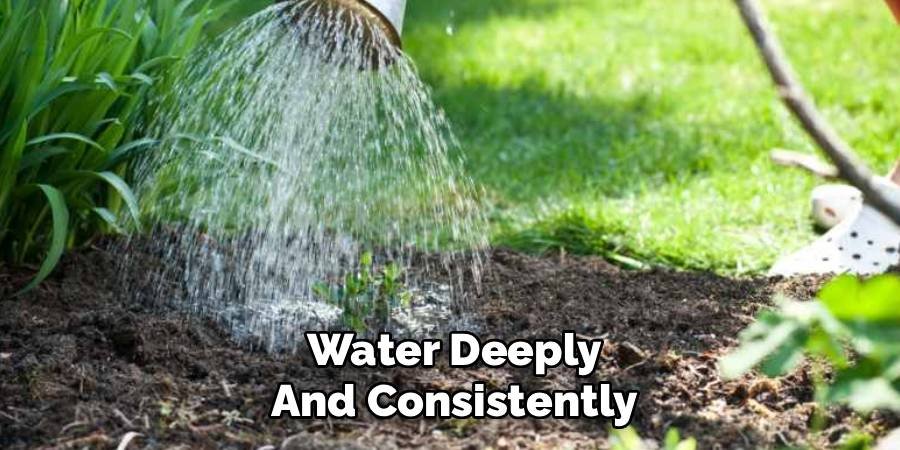
Step 8: Water Deeply and Consistently
Proper watering is crucial after you’ve amended the soil and overseeded. Instead of light, frequent sprinkling, water deeply but less often. This encourages the grass roots to grow deeper into the improved soil to find moisture, making the lawn more drought-tolerant. For new seed, the soil should be kept consistently moist until germination. After the new grass is established, water once or twice a week, providing about an inch of water in total. The best time to water is early in the morning to minimize evaporation and prevent fungal diseases.
Maintenance
Maintaining a healthy lawn requires consistent care throughout the year. Begin by mowing the grass at the correct height, as cutting too short can stress the lawn and encourage weed growth. Regularly sharpen your mower blades to ensure clean cuts and prevent tearing the grass. Fertilize according to the season and the specific needs of your lawn, using a balanced fertilizer to provide essential nutrients. Additionally, aerate the soil annually to improve air circulation, water penetration, and root development. Finally, monitor for pests and diseases, addressing any issues promptly to keep your lawn vibrant and resilient.
Common Mistakes to Avoid
When caring for your lawn, avoiding common mistakes can ensure healthier, more resilient grass. One frequent error is overwatering, which can lead to shallow root growth and increase the risk of fungal diseases. Conversely, underwatering can stress the grass and make it more prone to damage. Another mistake is mowing the lawn too short, often referred to as “scalping,” which weakens the grass and allows weeds to take over.
Failing to aerate the soil or apply fertilizer at appropriate times can also limit nutrient absorption and harm lawn health. Lastly, neglecting to address pest or weed issues promptly can allow them to spread, causing significant damage over time. By being mindful of these common pitfalls, you can maintain a vibrant and well-kept lawn.
Frequently Asked Questions
What Are the Telltale Signs of Bad Soil?
You can often identify poor soil just by looking at your lawn. Common signs include:
- Patchy or thinning grass, with bare spots that won’t fill in.
- Water puddling on the surface after rain, indicating poor drainage and likely clay-heavy soil.
- Yellow or discolored grass blades, which can signal a nutrient deficiency or incorrect pH.
- An abundance of weeds, as many weed species thrive in poor, compacted soil where grass struggles.
- Difficulty pushing a screwdriver or trowel into the ground, which points to heavy compaction.
How Long Does It Take to Improve Soil Quality?
Improving soil quality is a gradual process, not an overnight fix. You can see noticeable improvements in your lawn’s health within a single growing season if you follow the steps of aerating, amending, and overseeding. However, making a significant, lasting change to the soil structure, especially with heavy clay or very sandy soil, can take 2-3 years of consistent effort. Annual aeration and topdressing with compost will continue to build a healthier, more resilient soil profile over time. Patience and consistency are key.
Can I Fix Bad Soil Without Tilling Everything Up?
Yes, absolutely. In fact, for an existing lawn, avoiding tilling is preferable as it preserves any existing turf and the soil’s microbial ecosystem. Methods like core aeration, dethatching, and topdressing are designed to improve soil without major disruption. Core aeration directly addresses compaction by pulling out plugs of soil, and topdressing with compost allows organic matter to slowly work its way down into the soil with the help of water and earthworms. These non-invasive techniques are highly effective for revitalizing the soil under an established lawn.
What Is the Best Amendment for Clay Soil?
For heavy clay soil, the best amendment is organic matter. Compost is the top choice because it helps bind the tiny clay particles into larger aggregates, which improves drainage and creates space for air and roots. Other excellent organic amendments include aged manure, peat moss, and leaf mold. It’s a common misconception that adding sand will fix clay soil. In reality, adding sand to clay can create a concrete-like substance that makes the problem even worse. Stick with organic materials to gradually improve the texture and health of your clay soil.
How Often Should I Test My Soil?
For a lawn with significant issues, it’s a good idea to test your soil annually to track your progress and adjust your amendment strategy. Once your lawn is healthy and the soil pH and nutrient levels are balanced, you can reduce testing to every 2-3 years. Regular testing ensures you’re not applying unnecessary amendments and helps you catch any new deficiencies before they become major problems, allowing you to maintain a healthy lawn with minimal guesswork.
Conclusion
A beautiful lawn is a direct reflection of the healthy soil beneath it. While it may seem daunting at first, the process of reviving a struggling yard is manageable for any homeowner. By systematically testing your soil, relieving compaction through aeration, and enriching it with vital organic matter like compost, you create the perfect foundation for grass to flourish. The journey doesn’t end there; proper watering and consistent care will ensure your hard work pays off for seasons to come. Now that you know how to fix bad soil for grass, you have the power to transform your patchy yard into a lush, green oasis you can be proud of.
About Ravuk Barg
B.Sc. Horticulture Science | Certified Master Gardener
Ravuk Barg has spent more than a decade with his hands in the soil and his head full of questions about why some gardens thrive while others struggle. What started as a single raised bed of tomatoes and basil in a modest backyard has grown into a deep, working knowledge of everything from seed germination and soil amendment to companion planting and seasonal pruning.
Over the years, Ravuk has gardened through drought summers, waterlogged springs, and pest invasions that would make most gardeners hang up their trowels for good. Those hard seasons, he’ll tell you, taught him more than any perfect growing year ever could. He writes from that earned experience—covering vegetable growing, ornamental planting, houseplant care, composting, and garden design with equal confidence and curiosity.
Philosophy & Approach
Ravuk’s approach to gardening is rooted in practicality. He favors organic methods not out of dogma, but because they work long-term—resulting in healthier soil, fewer inputs, and stronger plants. He has a particular fondness for heirloom vegetable varieties (the kind with proper flavor), unruly cottage-style flower beds, and the stubborn houseplants that everyone else gave up on.
The Mission: Give readers the honest, experience-backed advice that helps them actually succeed in their gardens—not just the ideal version, but the real one; weeds, failures, and all.
Education & Credentials
-
B.Sc. in Horticulture Science
-
Greenfield Agricultural University
-
Focus: Plant Physiology, Soil Ecology, and Sustainable Crop Production
-
-
Master Gardener Certification
-
Cooperative Extension Service
-
Focus: 200+ hours of hands-on practical training and community garden work
-
Continuing Education
-
Organic Pest Management
-
Native Plant Landscaping
-
Sustainable Crop Production