

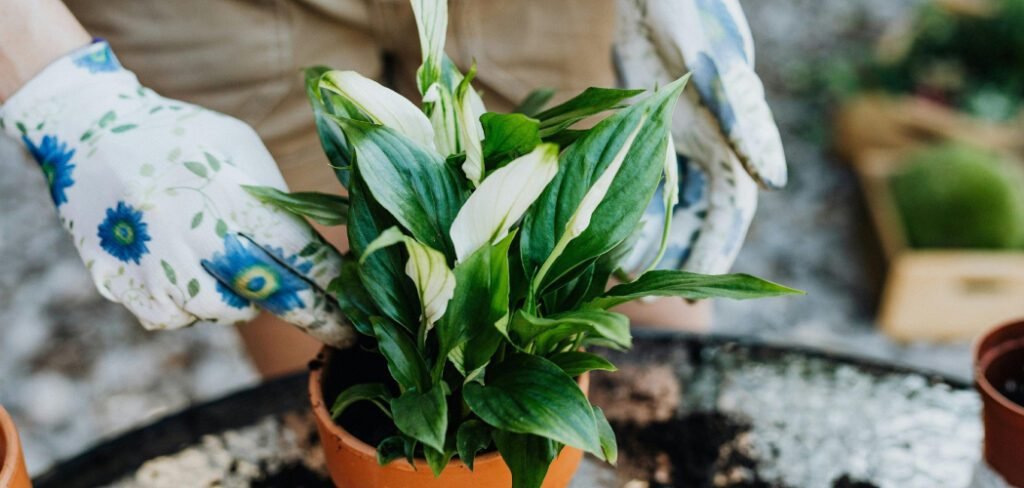
Peace lilies, with their elegant white blooms and deep green leaves, are a favorite among houseplant enthusiasts. They bring a sense of calm and beauty to any indoor space. While generally low-maintenance, providing the right nutrients is key to helping them flourish. Many new plant owners wonder about the best approach to feeding these tropical beauties. This guide will walk you through everything you need to know about how to fertilize peace lily plants, ensuring yours stays healthy, vibrant, and continues to produce those iconic flowers year after year. Let’s get your plant on the path to perfect health.
Why Fertilizing Your Peace Lily Is Important
Feeding your peace lily is crucial for its long-term health and vitality. In their native environment, these plants receive a continuous supply of nutrients from decomposing organic matter in the soil. Inside a pot, however, they rely entirely on you for their nutritional needs. The soil in a container has a finite amount of nutrients, which the plant gradually depletes over time.
Fertilizing replenishes these essential minerals, promoting robust growth, strong root development, and lush, dark green foliage. Most importantly, proper feeding encourages the plant to produce its signature white spathes, or blooms. Without adequate nutrients, your peace lily may struggle to flower, its leaves may turn yellow, and its growth can become stunted. A well-fed peace lily is a happy and beautiful one.
8 Step-by-Step Guide on How to Fertilize Peace Lily
Step 1: Choose the Right Fertilizer
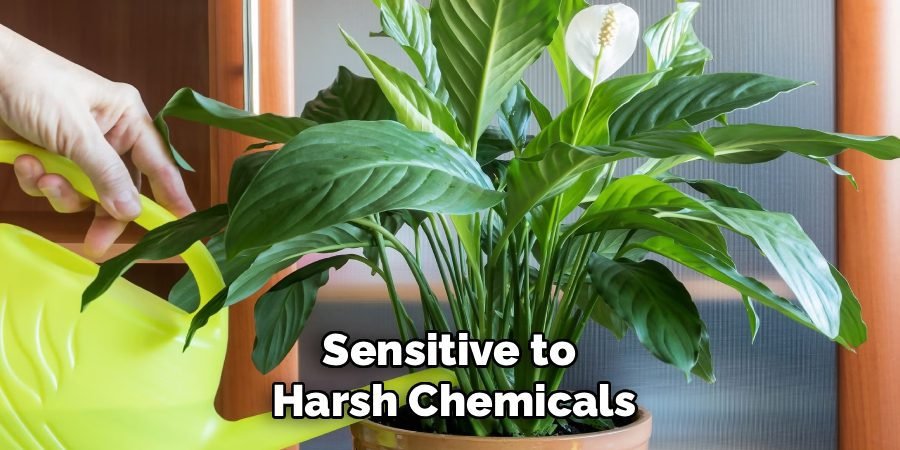
Selecting an appropriate fertilizer is the first and most important step. Peace lilies are sensitive to harsh chemicals, so a balanced, water-soluble houseplant fertilizer is your best option. Look for a product with an N-P-K ratio like 20-20-20 or 10-10-10. This indicates a balanced mix of nitrogen (N) for leaf growth, phosphorus (P) for root and flower development, and potassium (K) for overall plant function. Organic options like fish emulsion or compost tea are also excellent choices if you prefer a more natural approach to plant care.
Step 2: Know When to Fertilize
Timing is everything. Peace lilies only need fertilizer during their active growing season, which spans from spring through summer. During the fall and winter, the plant’s growth naturally slows down, and it enters a dormant period. Fertilizing during this time can do more harm than good, as the unused nutrients can build up in the soil and burn the roots. A good rule of thumb is to start feeding your plant in the spring when you notice new growth and stop in the early fall.
Step 3: Dilute the Fertilizer Correctly
Peace lilies are sensitive to over-fertilization, so it is critical to dilute the fertilizer properly. Never apply a full-strength fertilizer directly to the plant. Instead, read the instructions on the product label and dilute it to half-strength or even quarter-strength. For a 20-20-20 fertilizer, this might mean mixing just a quarter teaspoon of fertilizer per gallon of water. It is always better to under-fertilize than to overdo it, as you can always add more later if needed, but you cannot easily remove excess salts from the soil.
Step 4: Water the Plant Before Fertilizing
Always water your peace lily thoroughly with plain water before you apply any fertilizer solution. The soil should be evenly moist but not waterlogged. Applying fertilizer to dry soil is a common mistake that can lead to severe root burn, as the roots absorb the concentrated nutrients too quickly. Watering first ensures the roots are hydrated and protected, allowing them to take up the fertilizer solution more gently and effectively. This simple step can prevent significant stress and damage to your plant.
Step 5: Apply the Diluted Fertilizer
Once your plant is watered and the fertilizer is diluted, it’s time to apply it. Pour the fertilizer solution evenly over the soil surface, avoiding direct contact with the leaves and flowers. Apply enough of the mixture so that it begins to drain from the bottom of the pot. This ensures the entire root system has access to the nutrients. Discard any excess water that collects in the saucer beneath the pot to prevent the plant from sitting in stagnant, nutrient-rich water, which could lead to root rot.

Step 6: Establish a Consistent Feeding Schedule
Consistency is key to keeping your peace lily healthy. During the spring and summer growing season, a feeding schedule of once every 4 to 6 weeks is generally sufficient. Set a reminder on your calendar to help you stay on track. Avoid the temptation to fertilize more frequently, even if you want to see faster growth or more blooms. Over-fertilizing can cause yellowing leaves, brown leaf tips, and root damage. A patient and consistent approach will yield the best results for your plant’s long-term health.
Step 7: Observe Your Plant for Cues
Your peace lily will give you signs about its nutritional needs. If the leaves are a vibrant, deep green and the plant is producing flowers, your routine is likely working well. However, if you notice yellowing lower leaves, it could indicate a nitrogen deficiency. Stunted growth or a lack of flowers might mean the plant needs more phosphorus. Conversely, brown, crispy leaf tips can be a sign of fertilizer burn from over-feeding. Pay attention to these visual cues and adjust your approach as needed to keep your plant happy.
Step 8: Flush the Soil Periodically
Even with proper dilution, fertilizer salts can slowly accumulate in the soil over time. To prevent this buildup from harming the roots, it’s a good practice to flush the soil every few months. To do this, simply place the pot in a sink or bathtub and let lukewarm water run through the soil for several minutes. This will wash away any excess mineral salts. Allow the pot to drain completely before returning it to its saucer. This “leaching” process gives the root system a fresh start.
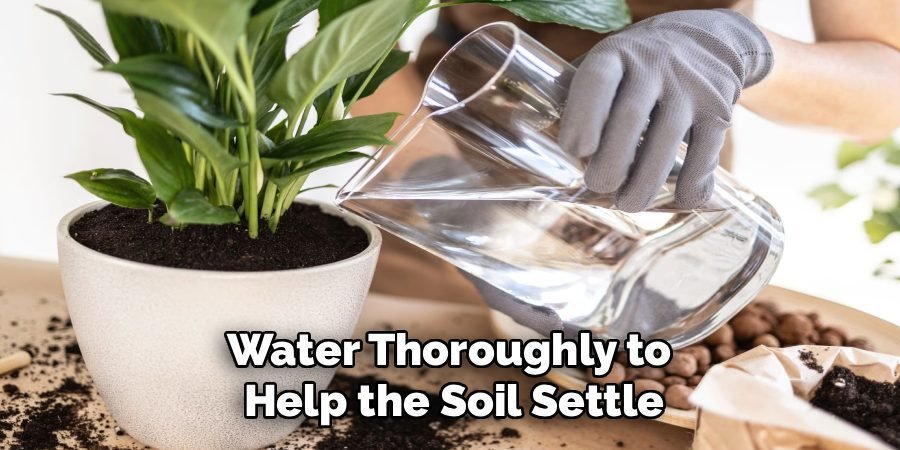
Repotting When Necessary
Over time, plants may outgrow their current pots, leading to a constrained root system and reduced growth. Repotting is essential to ensure the plant has enough space to thrive. To repot, gently remove the plant from its pot, taking care not to damage the roots. Inspect the root system and prune any dead or rotting roots. Choose a new pot that is one to two inches larger in diameter, and fill it with fresh, well-draining potting mix. Place the plant in the center, fill around the roots, and water thoroughly to help the soil settle. Repotting every 1-2 years can reinvigorate your plant and promote healthier, more robust growth.
Frequently Asked Questions (FAQ)
What Are the Signs of Over-fertilizing a Peace Lily?
Over-fertilizing a peace lily can cause significant stress. The most common signs are brown, crispy tips or edges on the leaves, which is a classic symptom of fertilizer burn. You might also see yellowing lower leaves, a white crust of salt building up on the soil surface, or stunted growth. In severe cases, the entire plant may wilt even when the soil is moist, indicating that the roots have been damaged and are unable to absorb water properly. If you suspect over-fertilization, flush the soil immediately with water.
Can I Use Coffee Grounds to Fertilize My Peace Lily?
While coffee grounds contain nitrogen and can be a component of compost, using them directly on your peace lily is not recommended. Fresh coffee grounds are highly acidic and can lower the soil’s pH to a level that is unsuitable for the plant. They can also compact the soil, reducing aeration and potentially leading to root rot. If you wish to use them, it is much safer to add them to a compost pile first, allowing them to break down and neutralize before being used as a soil amendment.
How Soon Should I Fertilize a Newly Repotted Peace Lily?
After repotting a peace lily, you should wait at least 4 to 6 weeks before you start fertilizing again. The process of repotting can be stressful for the plant’s root system, and it needs time to recover and establish itself in the new soil. Most fresh potting mixes also contain a slow-release starter fertilizer, so your plant will have access to nutrients during this initial period. Adding more fertilizer too soon can overwhelm and burn the delicate, recovering roots, causing more harm than good.
Should I Fertilize My Peace Lily While It Is Blooming?
Yes, it is perfectly fine and often beneficial to continue your regular fertilizing schedule while your peace lily is in bloom. The process of producing and sustaining flowers requires a significant amount of energy and nutrients from the plant. Providing a balanced, diluted fertilizer during this time can help prolong the life of the current blooms and give the plant the resources it needs to produce more flowers in the future. Just be sure to stick to your established spring and summer feeding routine and avoid increasing the frequency.

What Is the Best Type of Water to Use for Fertilizing?
The best type of water to use for both regular watering and mixing fertilizer for your peace lily is filtered, distilled, or rainwater. Tap water often contains minerals, chlorine, and fluoride, which can build up in the soil over time and cause brown leaf tips. These chemicals can also react with the nutrients in the fertilizer. If you must use tap water, let it sit out uncovered for at least 24 hours before using it. This allows some of the chlorine to evaporate, making it gentler on your plant.
Conclusion
Mastering how to fertilize peace lily plants is a simple yet rewarding skill that can transform your plant from merely surviving to truly thriving. By choosing the right fertilizer, diluting it properly, and feeding only during the growing season, you provide the essential nutrients for lush foliage and beautiful blooms. Remember to water before feeding and flush the soil periodically to prevent salt buildup. With this straightforward care routine, you are well-equipped to enjoy the serene beauty of your healthy and happy peace lily for years to come.
About Ravuk Barg
B.Sc. Horticulture Science | Certified Master Gardener
Ravuk Barg has spent more than a decade with his hands in the soil and his head full of questions about why some gardens thrive while others struggle. What started as a single raised bed of tomatoes and basil in a modest backyard has grown into a deep, working knowledge of everything from seed germination and soil amendment to companion planting and seasonal pruning.
Over the years, Ravuk has gardened through drought summers, waterlogged springs, and pest invasions that would make most gardeners hang up their trowels for good. Those hard seasons, he’ll tell you, taught him more than any perfect growing year ever could. He writes from that earned experience—covering vegetable growing, ornamental planting, houseplant care, composting, and garden design with equal confidence and curiosity.
Philosophy & Approach
Ravuk’s approach to gardening is rooted in practicality. He favors organic methods not out of dogma, but because they work long-term—resulting in healthier soil, fewer inputs, and stronger plants. He has a particular fondness for heirloom vegetable varieties (the kind with proper flavor), unruly cottage-style flower beds, and the stubborn houseplants that everyone else gave up on.
The Mission: Give readers the honest, experience-backed advice that helps them actually succeed in their gardens—not just the ideal version, but the real one; weeds, failures, and all.
Education & Credentials
-
B.Sc. in Horticulture Science
-
Greenfield Agricultural University
-
Focus: Plant Physiology, Soil Ecology, and Sustainable Crop Production
-
-
Master Gardener Certification
-
Cooperative Extension Service
-
Focus: 200+ hours of hands-on practical training and community garden work
-
Continuing Education
-
Organic Pest Management
-
Native Plant Landscaping
-
Sustainable Crop Production