

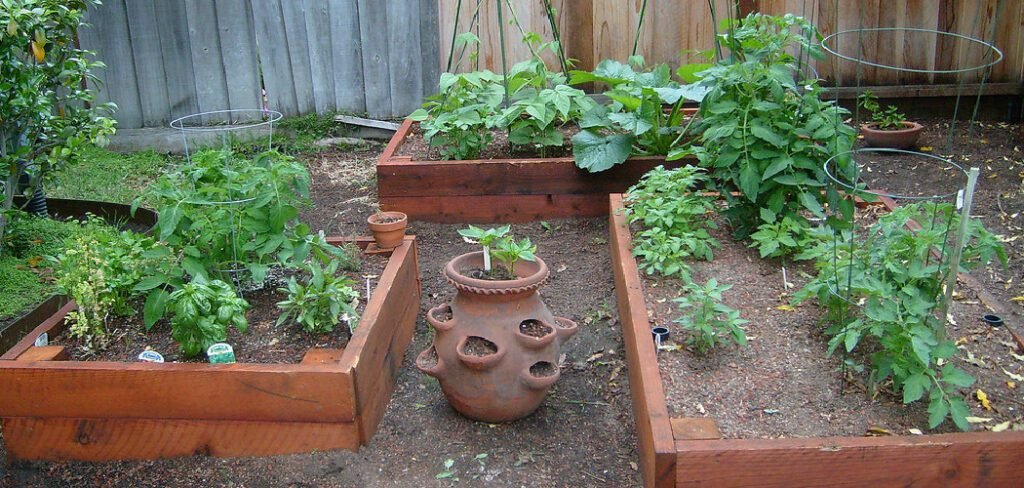
A raised garden bed is a fantastic way to grow your own vegetables, herbs, or flowers, giving you control over soil quality and drainage. However, even the most beautiful garden can be at risk from hungry critters or accidental damage. Protecting your hard work is essential for a successful harvest. This guide will provide clear, easy-to-follow instructions on how to fence a raised garden bed. We will walk you through everything from selecting materials to installing the final gate, ensuring your plants stay safe and sound all season long.
Why Fence a Raised Garden bed?
Fencing your raised garden bed offers a simple yet effective solution to many common gardening challenges. The most obvious benefit is pest control. A well-constructed fence acts as a physical barrier, keeping out rabbits, squirrels, deer, and other animals that see your garden as a buffet. This protection is crucial for young seedlings and ripening vegetables, which are especially vulnerable. Beyond pest prevention, a fence can help define your garden space, adding a neat, organized look to your yard. It also protects your plants from being accidentally trampled by children or pets.
8 Methods Guide on How to Fence a Raised Garden Bed
Step 1: Determine Your Fencing Needs and Goals
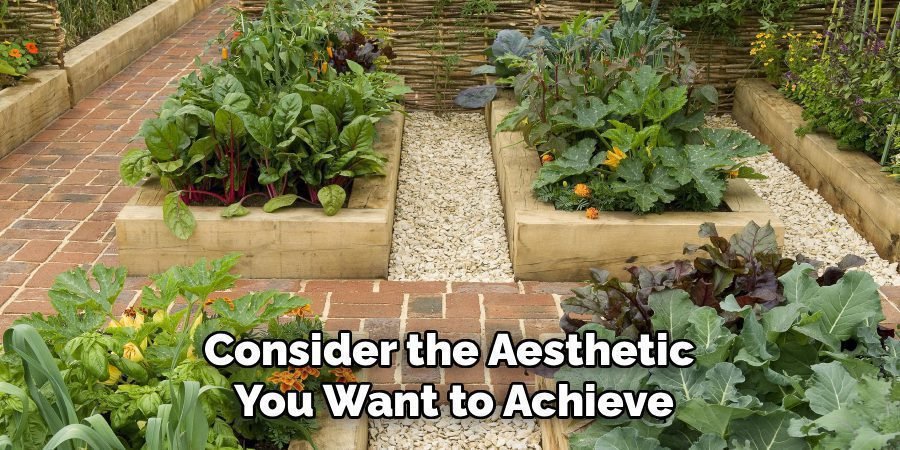
Before you start building, take a moment to identify why you need a fence. Are you trying to keep out small animals like rabbits, or larger ones like deer? The answer will dictate the height and durability of your fence. For smaller pests, a simple 2-foot fence might suffice. For deer, you’ll need something at least 6 feet tall. Also, consider the aesthetic you want to achieve. A rustic wood and wire fence creates a different feel than a sleek, modern metal one.
Step 2: Choose Your Fencing Materials
Your choice of materials will impact the fence’s effectiveness, cost, and appearance. Common options include wood posts with hardware cloth (wire mesh), pre-made fence panels, or even metal T-posts with rolled fencing. Hardware cloth is excellent for keeping out small burrowing animals if you bury it a few inches below the soil. Wood offers a classic look but requires more maintenance. Metal fencing is durable and long-lasting. Select materials that fit your budget, skill level, and protection goals.
Step 3: Measure Your Raised Garden Bed
Accurate measurements are critical for purchasing the right amount of materials. Use a tape measure to determine the perimeter of your raised garden bed. Measure all four sides and add them together to get the total length of fencing you will need. While you’re at it, decide on the desired height of your fence. This will help you calculate the amount of hardware cloth or rolled fencing required, as well as the length of your corner posts. Always buy a little extra to account for cuts and mistakes.
Step 4: Gather Your Tools and Supplies
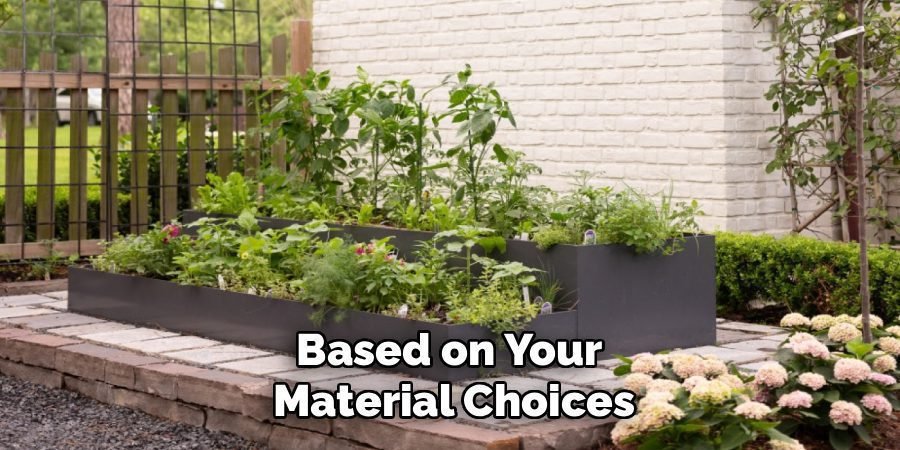
Now it’s time to assemble everything you need to complete the project. Based on your material choices, your tool list will vary. Generally, you will need a post-hole digger or auger, a level, a drill, screws or staples, a staple gun, wire cutters, a tape measure, and safety gear like gloves and eye protection. Lay out all your tools and materials near your workspace before you begin. This simple step saves time and prevents you from having to stop mid-project to find a missing tool.
Step 5: How to Install the Fence Posts
The posts are the backbone of your fence, so they need to be secure. Start by digging holes for your corner posts. The holes should be about one-third the height of the post. For a 3-foot-tall fence, dig a 1-foot-deep hole. Place a post in each hole, use a level to ensure it is perfectly vertical, and then backfill the hole with soil, tamping it down firmly as you go. For added stability, you can mix concrete to set the posts, but for most garden fences, tightly packed soil is sufficient.
Step 6: Attach the Horizontal Supports
With your corner posts securely in place, it’s time to add horizontal supports if your design requires them. These are typically 2×4 boards that run between the posts at the top and bottom of the fence. They provide a sturdy frame to which you can attach your wire mesh or fence panels. Measure the distance between the posts and cut your boards to size. Attach them to the inside of the posts using a drill and weather-resistant screws for a strong, lasting connection.
Step 7: Attach the Fencing Material
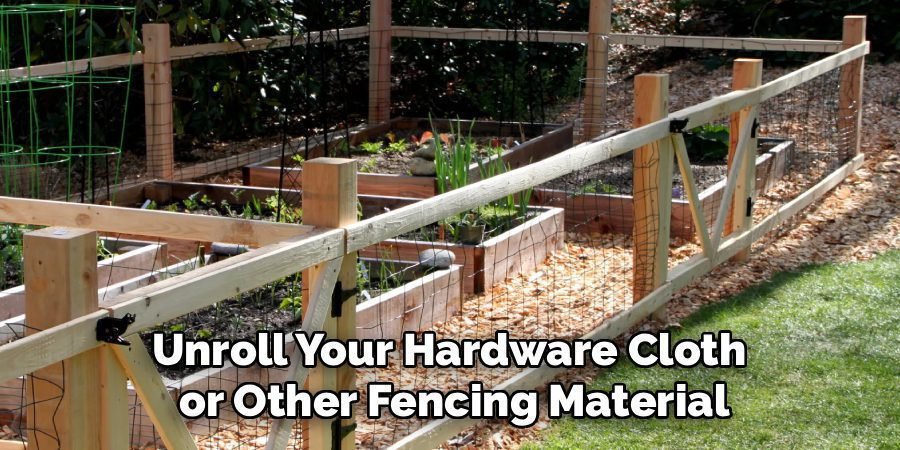
This is where your fence truly takes shape. Starting at one corner post, unroll your hardware cloth or other fencing material. Secure the end to the post using a staple gun with heavy-duty staples. Pull the fencing taut as you move to the next post, stapling it to the horizontal supports every few inches to prevent sagging. Overlap sections by a few inches where one roll ends and another begins. Use wire cutters to trim any excess material once you’ve gone all the way around.
Step 8: How to Add a Gate to Your Raised Bed Fence
A gate is essential for easy access to your garden for planting, weeding, and harvesting. You can build a simple gate frame from 1×4 lumber that matches the height of your fence. Assemble the frame with screws and cover it with the same fencing material you used for the main structure. Attach the gate to one of the fence posts using a pair of hinges. Install a simple latch on the opposite side to keep it securely closed when you’re not in the garden.
Common Mistakes to Avoid
When adding a gate to your raised bed fence, there are a few common mistakes that can hinder its functionality and durability. One frequent error is failing to measure the gate opening accurately, which can result in a gate that doesn’t fit snugly or swings unevenly. Another issue is using low-quality or untreated wood, which may warp or rot over time, especially when exposed to the elements. Additionally, forgetting to check that the gate aligns properly with the fence can lead to gaps that allow unwanted animals to enter your garden.
Finally, neglecting to secure hinges and latches tightly can cause the gate to sag or not close properly. By planning carefully and using quality materials, you can avoid these pitfalls and create a long-lasting, functional gate.
Frequently Asked Questions (FAQ)
What Is the Best Height for a Raised Garden Bed Fence?
The ideal height depends on the pests you want to deter. For small animals like rabbits and groundhogs, a fence that is 2 to 3 feet tall is usually sufficient. To prevent them from digging underneath, you can bury the bottom 6 inches of the fence material. If you are dealing with deer, which are excellent jumpers, your fence will need to be much taller—at least 6 to 8 feet high.
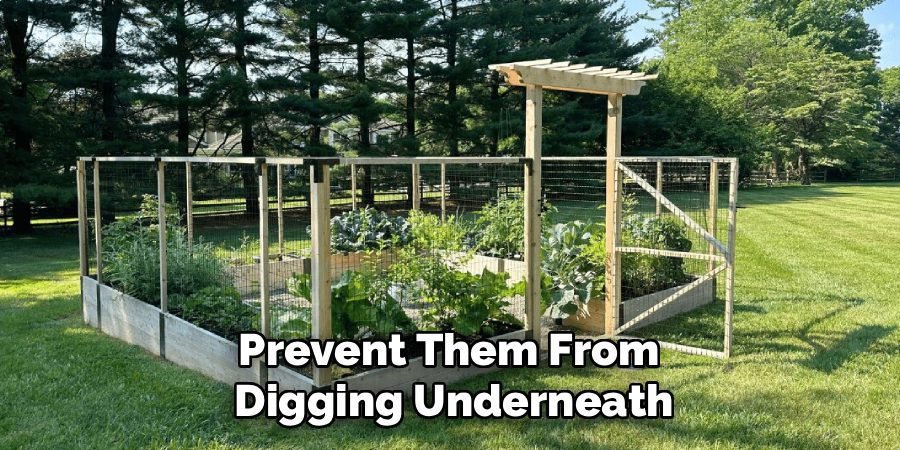
How Can I Stop Animals From Digging Under My Fence?
Burrowing animals can be persistent, but you can stop them with a simple technique. When installing your fence, leave an extra 6 to 12 inches of wire mesh at the bottom. Instead of cutting it off, bend it at a 90-degree angle to create an “L” shape that extends outward from the base of the fence, away from the garden. Bury this L-shaped flap under a few inches of soil or mulch. When an animal tries to dig down, it will hit this underground barrier and give up.
Can I Attach a Fence Directly to My Raised Garden Bed?
Yes, you can attach a fence directly to the frame of your raised garden bed, especially if it’s a shorter fence for small pests. This method is often easier and requires fewer materials. You can do this by:
- Screwing posts or stakes directly to the corners of the bed’s frame.
- Using brackets to mount fence panels.
- Stapling wire mesh directly to the wooden sides.
However, for taller or heavier fences, it’s better to install separate posts in the ground for greater stability.
What Are the Most Cost-Effective Fencing Materials?
For budget-friendly options, consider using bamboo stakes or metal T-posts combined with plastic deer netting or chicken wire. These materials are lightweight, easy to install, and effective against many common garden pests. Reclaimed wood pallets can also be disassembled and repurposed into a rustic and virtually free fence. While these may not be as durable as cedar and hardware cloth, they provide an excellent low-cost solution for protecting your plants.
Do I Need a Gate for My Garden Fence?
While not strictly necessary, a gate is highly recommended for convenience. Without one, you will have to step over the fence every time you need to tend to your garden, which can be cumbersome and potentially damaging to the fence over time. A simple, well-placed gate provides easy access for watering, weeding, and harvesting. It makes your gardening experience more enjoyable and helps maintain the structural integrity of your fence.
Conclusion
Building a protective barrier around your raised garden bed is a rewarding project that ensures your plants can thrive without interference from wildlife. By following these steps, you can create a sturdy and effective enclosure tailored to your specific needs. From choosing the right materials to installing a convenient gate, you now have the knowledge to get the job done. Don’t let pests ruin your hard work. Now that you know how to fence a raised garden bed, you can confidently protect your investment and look forward to a bountiful harvest.
About Ravuk Barg
B.Sc. Horticulture Science | Certified Master Gardener
Ravuk Barg has spent more than a decade with his hands in the soil and his head full of questions about why some gardens thrive while others struggle. What started as a single raised bed of tomatoes and basil in a modest backyard has grown into a deep, working knowledge of everything from seed germination and soil amendment to companion planting and seasonal pruning.
Over the years, Ravuk has gardened through drought summers, waterlogged springs, and pest invasions that would make most gardeners hang up their trowels for good. Those hard seasons, he’ll tell you, taught him more than any perfect growing year ever could. He writes from that earned experience—covering vegetable growing, ornamental planting, houseplant care, composting, and garden design with equal confidence and curiosity.
Philosophy & Approach
Ravuk’s approach to gardening is rooted in practicality. He favors organic methods not out of dogma, but because they work long-term—resulting in healthier soil, fewer inputs, and stronger plants. He has a particular fondness for heirloom vegetable varieties (the kind with proper flavor), unruly cottage-style flower beds, and the stubborn houseplants that everyone else gave up on.
The Mission: Give readers the honest, experience-backed advice that helps them actually succeed in their gardens—not just the ideal version, but the real one; weeds, failures, and all.
Education & Credentials
-
B.Sc. in Horticulture Science
-
Greenfield Agricultural University
-
Focus: Plant Physiology, Soil Ecology, and Sustainable Crop Production
-
-
Master Gardener Certification
-
Cooperative Extension Service
-
Focus: 200+ hours of hands-on practical training and community garden work
-
Continuing Education
-
Organic Pest Management
-
Native Plant Landscaping
-
Sustainable Crop Production