

Building a raised garden bed with concrete blocks is one of the best ways to start a garden. Concrete blocks are strong, long-lasting, and easy to use. They help you create the perfect growing space for vegetables, flowers, and herbs. This guide will show you exactly how to build a raised garden bed with concrete blocks from start to finish.
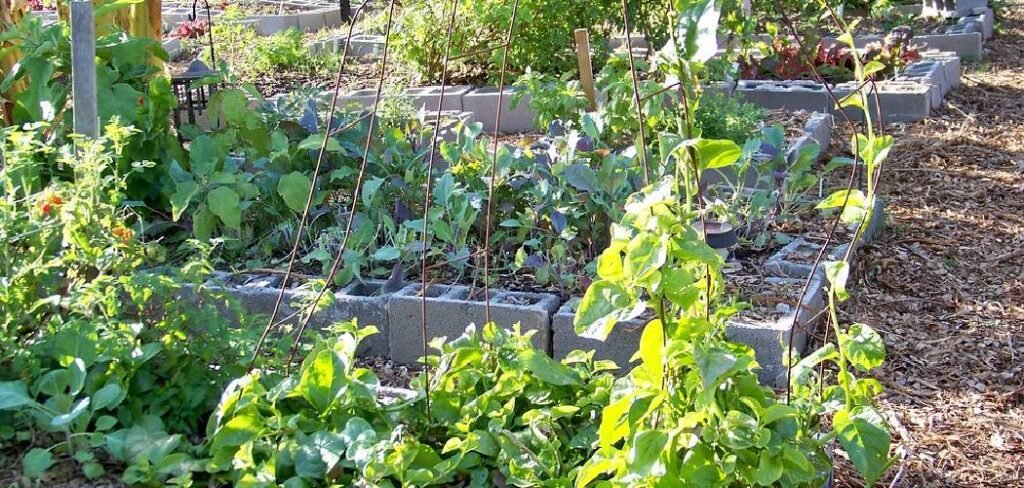
Raised garden beds offer many advantages over regular ground gardening. They provide better Drainage, warmer soil, and easier access for planting and harvesting. When you use concrete blocks, your garden beds become more durable and attractive.
Why Choose Concrete Blocks for Raised Garden Beds?
Concrete blocks are a great choice for building raised garden beds. Here’s why many gardeners love them:
Durability and Strength: Concrete blocks can last for decades without breaking down. Unlike wood, they do not rot or get damaged by insects. They can withstand all types of weather, from hot summers to freezing winters.
Easy to Stack The design of concrete blocks makes them easy to stack. They fit together naturally, creating strong walls without the need for special tools or skills. Even beginners can create professional-looking raised beds.
Good Drainage. The gaps in the concrete blocks help with Drainage. Water can flow through these spaces, which prevents your garden bed from becoming overly wet. This keeps the plant roots healthy and prevents root rot.
Cost-Effective Solution: Concrete blocks are reasonably priced and widely available. You can find them at most home improvement stores. They are often cheaper than other materials like stone or premium wood.
Versatile Design Options: You can arrange concrete blocks in a variety of ways. Create curved beds, rectangular beds, or even multi-level gardens. The possibilities for creating raised garden beds with concrete blocks are endless.
Materials and Tools You’ll Need
Before starting construction, gather all the materials and tools. Having everything ready will help the project go smoothly.
Materials Required:
- Concrete blocks (calculate based on your bed size)
- Landscape fabric or cardboard
- Gravel or crushed stone (2-3 inches deep)
- Quality garden soil
- Compost or organic matter
- Sand for leveling (if needed)
Tools You’ll Need:
- Measuring tape
- String line and stakes
- Shovel or spade
- Level (2-4 feet long)
- Wheelbarrow or garden cart
- Rake
- Garden hose
- Work gloves
Optional Supplies:
- Concrete adhesive (for permanent installation)
- Rebar (for extra stability)
- Mulch for finishing
Planning Your Raised Garden Bed
Good planning is essential when learning how to build raised garden beds with concrete blocks. Take the time to plan before you start digging.
Choosing the Right Location: Choose a location that gets at least 6-8 hours of sunlight per day. Most vegetables and flowers need plenty of sun to grow well. Make sure the location has good Drainage and is close to a water source.
Determining the Right Size A standard concrete block is 8 inches wide, 8 inches long, and 16 inches tall. Plan your bed size based on these measurements. Popular sizes include:
- 4 feet x 8 feet (good for beginners)
- 4 feet x 12 feet (larger vegetable garden)
- 3 feet x 6 feet (small herb garden)
Deciding on Height. Most raised beds work best at 12-16 inches high. This Height is suitable for most plants and is easy to maintain. If you want deeper soil, you can stack the blocks higher.
6 Step-by-Step Guide: How to Build a Raised Garden Bed with Concrete Blocks
Step 1: Mark and Prepare the Ground
Start by marking where your raised garden bed will go. Use a stake and string to outline the exact shape and size. Walk around the marked area to make sure you are happy with the location and size.
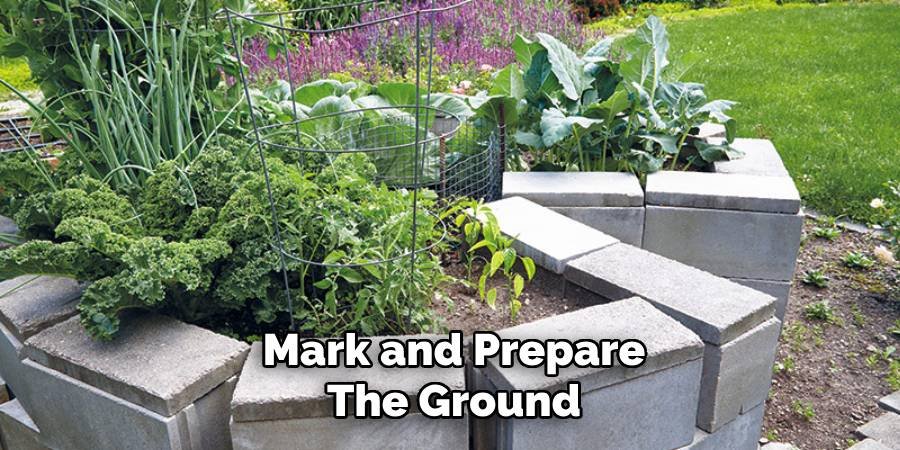
Remove any grass, weeds, or debris from the marked area. There is no need to dig deep, but simply clear everything from the surface. If you have thick grass, use a shovel to cut it into pieces. Check that the ground is level enough. Use your level to find any high or low spots. You can add or remove soil to make the area more level, but small holes are fine because the concrete blocks are tolerant.
Step 2: Create a Level Foundation
A solid base is very important when building a raised garden bed with concrete blocks. Dig about 2-3 inches across the entire area. This will give you room to place the gravel and help level the base. Add a layer of gravel or crushed stone about 2 inches thick. Spread it evenly over the entire area. Use a rake to level and smooth the gravel. Pack the gravel by walking on it or tamping it down with your hands. This creates a stable base that won’t shift over time. The gravel also helps with Drainage under your garden bed.
Step 3: Lay the First Course of Blocks
Place your first concrete block in one corner of your planned bed. Use your level to make sure it sits evenly. If one end is higher than the other, add or remove gravel underneath until it is level. Continue placing blocks on one side of your bed. Push each block firmly against the previous one. Check that each block is level both side to side and front to back. Complete the entire first row by connecting all four sides. The blocks should form a perfect rectangle or square. Take the time to make sure that all corners are square and all blocks are level.
Step 4: Add Additional Courses
Build your second row of blocks. Offset them like a brick wall – each block should extend into the joint between the two blocks below. This creates a stronger, more stable wall. Check each block as you add it to make sure it is level. The beauty of concrete blocks is that they stack easily, but taking the time to level them will make the final result look professional. For most garden beds, two courses (16 inches high) work perfectly. If you want a deeper bed, continue adding courses using the same technique.
Step 5: Install Drainage and Weed Barrier
Line the bottom of your entire concrete block frame with a few layers of landscape fabric or cardboard. This will help prevent weeds from growing in your garden bed and allow water to drain.
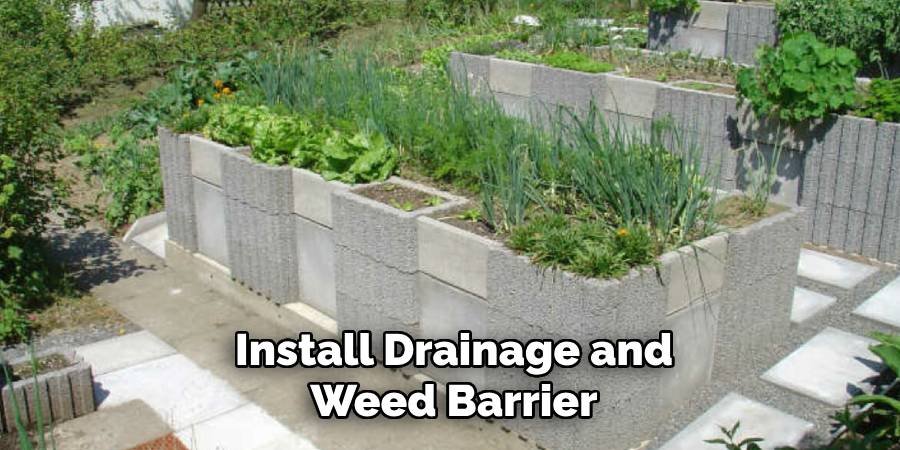
Make sure the fabric or cardboard covers the entire bottom and extends slightly up the sides. If using landscape fabric, secure it with landscape pins or small rocks. The drainage layer, made of gravel, helps move water away from plant roots. Combined with the weed barrier, it creates the perfect growing environment.
Step 6: Fill with Growing Medium
Now comes the exciting part – filling your raised garden bed with soil. For best results, use a mixture of good-quality garden soil, compost, and other organic matter.
A good soil mixture includes:
- 50% quality garden soil or topsoil
- 30% compost
- 20% other organic matter (aged manure, leaf mold, etc.)
Fill the bed gradually, adding soil in layers. Water lightly as you fill to help the soil settle. This prevents large air pockets that can settle later.
Leave about 2 inches of space above your concrete blocks. This prevents the soil from washing away when watering and gives you room to add mulch later.
Tips for Success
Check Local Building Codes. Some areas have regulations regarding permanent structures. While most raised beds do not require a permit, it is wise to check local regulations before getting started.
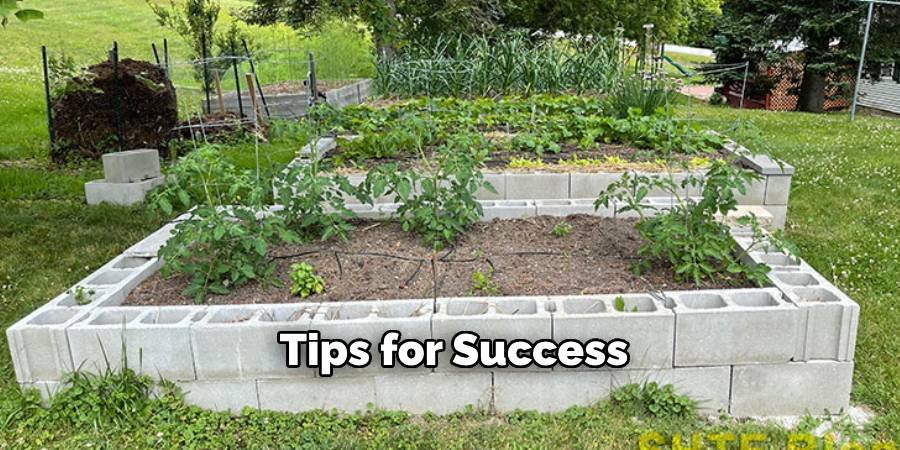
Consider Block Orientation. You can place the concrete blocks facing up or sideways. The holes facing up create small planting pockets, which some gardeners prefer for herbs or small plants.
Add Stability for Tall Beds. If you are building a bed longer than 24 inches, consider using concrete adhesive between the courses or adding rebar for extra durability.
Plan for Irrigation: Think about how you will water your garden bed. Consider setting up drip irrigation or soaker hoses before adding all the soil.
Maintenance and Care
Caring for your concrete block garden bed is easy. The blocks require almost no maintenance, but your soil and plants will need regular Care.
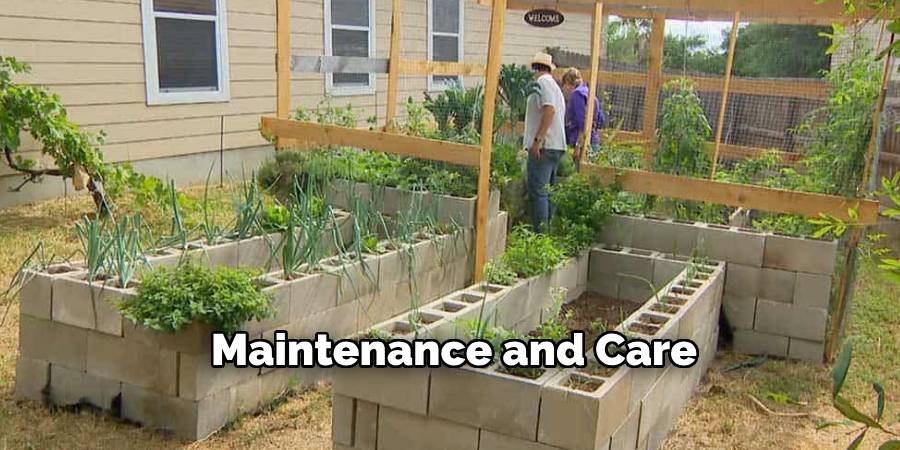
Soil Maintenance: Add compost or organic matter each season to keep the soil healthy. Soil on raised beds dries out more quickly than in a garden at ground level, so frequent watering may be necessary.
Seasonal Care During the winter, you can leave the concrete blocks as they are. They can withstand freezing and thawing without any damage. Cover the soil with mulch to protect it during the cold months.
Block Cleaning: Occasionally, you might want to clean the concrete blocks. A simple rinse with a garden hose usually removes any dirt or algae growth.
Common Mistakes to Avoid
Learning how to build a raised garden bed with concrete blocks is straightforward, but avoiding common mistakes makes your project more successful.
Skipping the Foundation Don’t place blocks directly on uneven ground. Taking the time to create a level base will help avoid problems later and make your bed look professional.
Using Poor Quality Soil. Cheap soil often contains too much clay or sand. Invest in high-quality garden soil and compost for plant growth and easy maintenance.
Making Beds Too Wide keeps beds narrow enough that you can reach the center from both sides. Most people can comfortably stand about 2 feet tall, making a 4-foot-wide bed ideal.
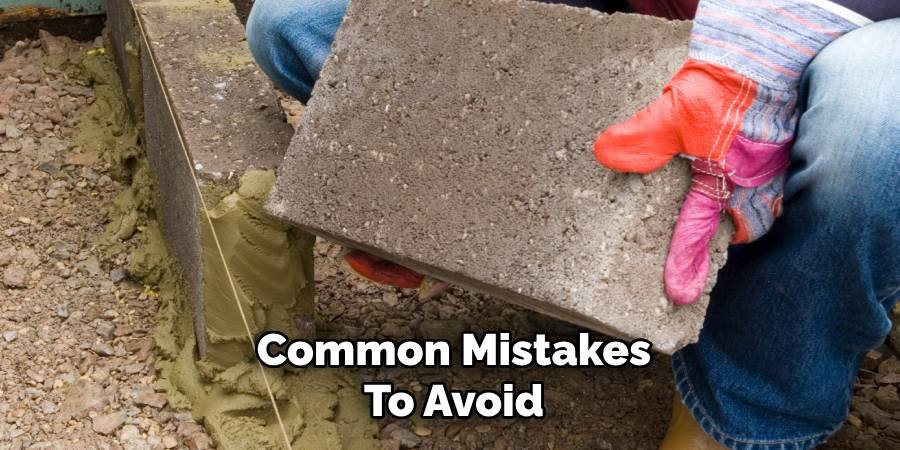
Ignoring Drainage. Even with concrete blocks, poor Drainage can be a problem. Make sure your space drains well naturally, and don’t skip the gravel base layer.
Conclusion
Learning how to build a raised garden bed with concrete blocks opens up amazing possibilities for your garden. These durable, attractive beds provide the perfect growing environment for vegetables, herbs, and flowers. The step-by-step process is easy enough for beginners, yet the results look professional and last for years.
Concrete blocks offer unique benefits, including excellent Drainage, easy stacking, and incredible durability. Unlike wooden beds that rot or metal beds that rust, concrete block beds improve with age. They provide a return on your initial investment with years of productive gardens and minimal maintenance requirements.
With proper planning, high-quality materials, and careful construction, your concrete block raised garden bed will become a central feature of your landscape. Start with a simple rectangular design to master the basics, then expand your skills with more creative shapes and multi-tiered designs. Your plants will thrive in the improved drainage and soil conditions, while you’ll appreciate the easy access and reduced weed control of a raised bed.
Building a raised garden bed with concrete blocks is one of the best ways to start a garden. Concrete blocks are strong, long-lasting, and easy to use. They help you create the perfect growing space for vegetables, flowers, and herbs. This guide will show you exactly how to build a raised garden bed with concrete blocks from start to finish.
Raised garden beds offer many advantages over regular ground gardening. They provide better Drainage, warmer soil, and easier access for planting and harvesting. When you use concrete blocks, your garden beds become more durable and attractive.
About Ravuk Barg
B.Sc. Horticulture Science | Certified Master Gardener
Ravuk Barg has spent more than a decade with his hands in the soil and his head full of questions about why some gardens thrive while others struggle. What started as a single raised bed of tomatoes and basil in a modest backyard has grown into a deep, working knowledge of everything from seed germination and soil amendment to companion planting and seasonal pruning.
Over the years, Ravuk has gardened through drought summers, waterlogged springs, and pest invasions that would make most gardeners hang up their trowels for good. Those hard seasons, he’ll tell you, taught him more than any perfect growing year ever could. He writes from that earned experience—covering vegetable growing, ornamental planting, houseplant care, composting, and garden design with equal confidence and curiosity.
Philosophy & Approach
Ravuk’s approach to gardening is rooted in practicality. He favors organic methods not out of dogma, but because they work long-term—resulting in healthier soil, fewer inputs, and stronger plants. He has a particular fondness for heirloom vegetable varieties (the kind with proper flavor), unruly cottage-style flower beds, and the stubborn houseplants that everyone else gave up on.
The Mission: Give readers the honest, experience-backed advice that helps them actually succeed in their gardens—not just the ideal version, but the real one; weeds, failures, and all.
Education & Credentials
-
B.Sc. in Horticulture Science
-
Greenfield Agricultural University
-
Focus: Plant Physiology, Soil Ecology, and Sustainable Crop Production
-
-
Master Gardener Certification
-
Cooperative Extension Service
-
Focus: 200+ hours of hands-on practical training and community garden work
-
Continuing Education
-
Organic Pest Management
-
Native Plant Landscaping
-
Sustainable Crop Production